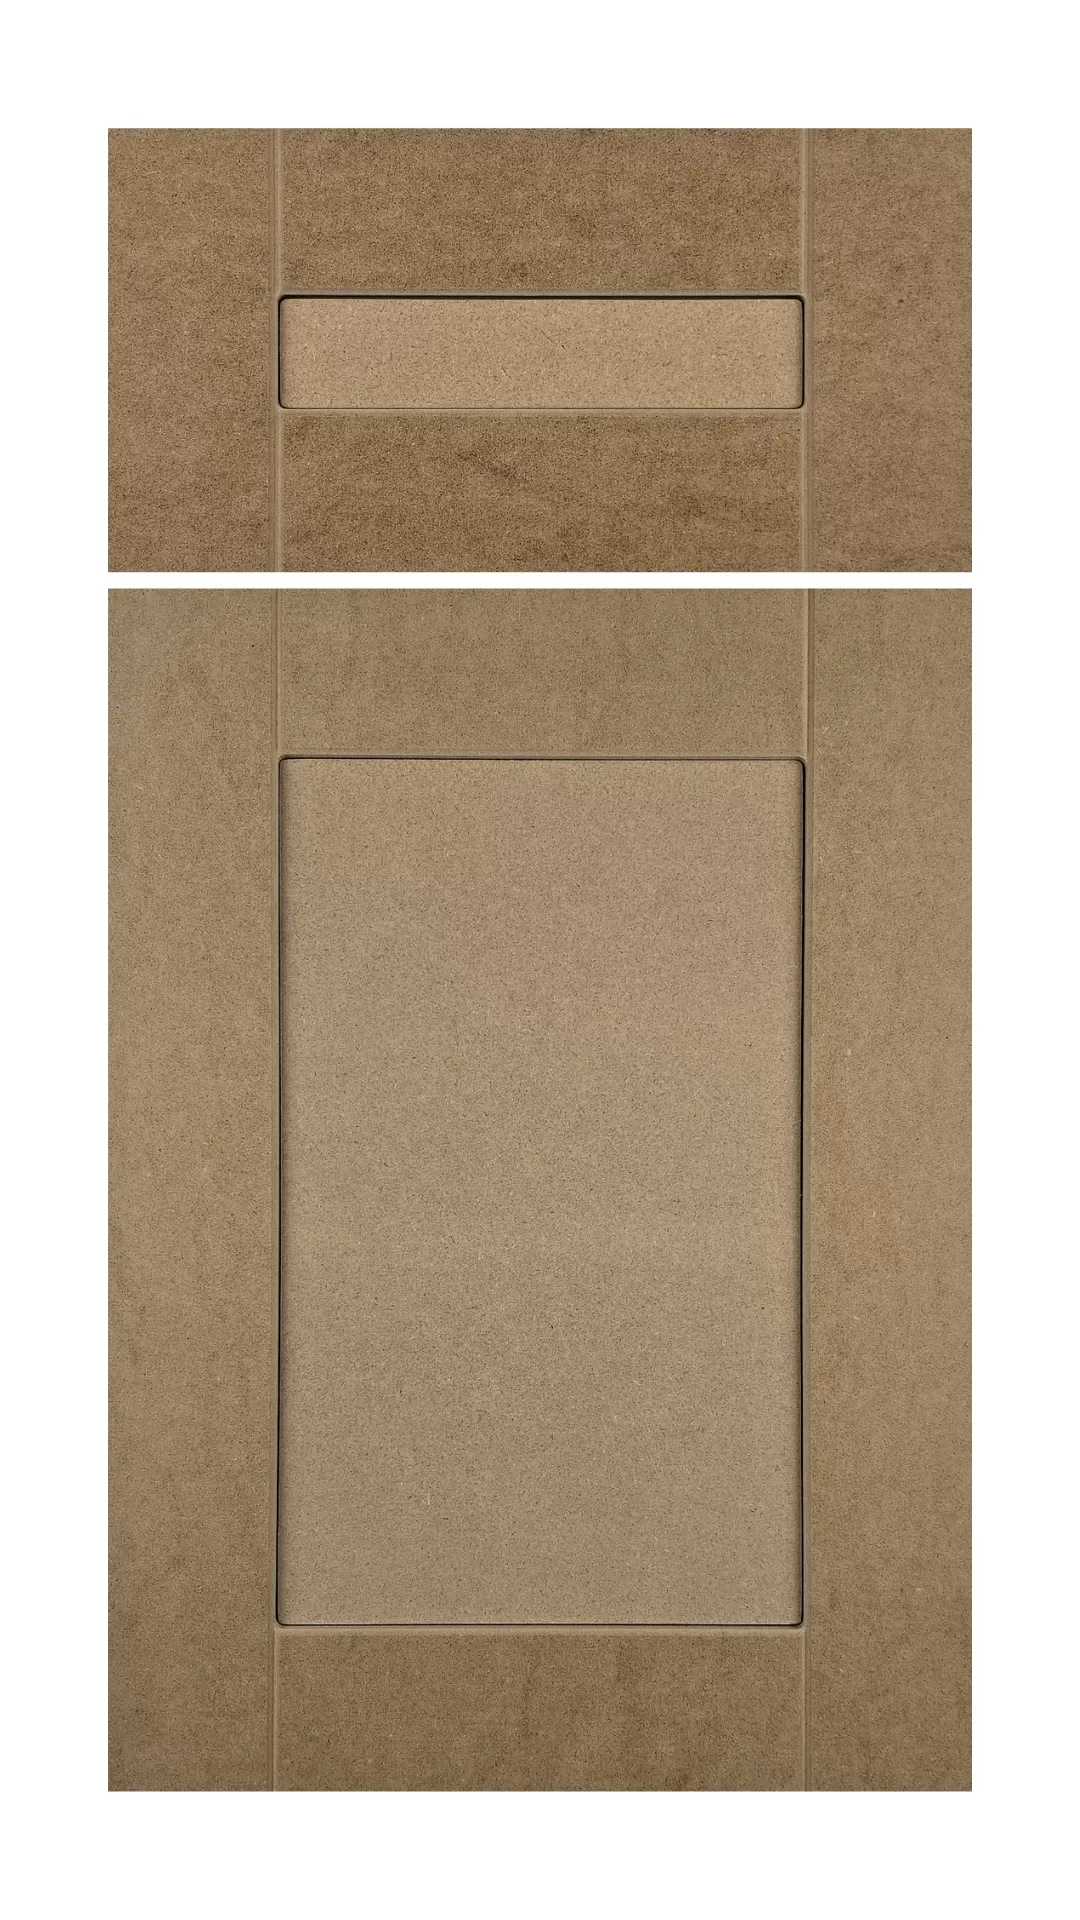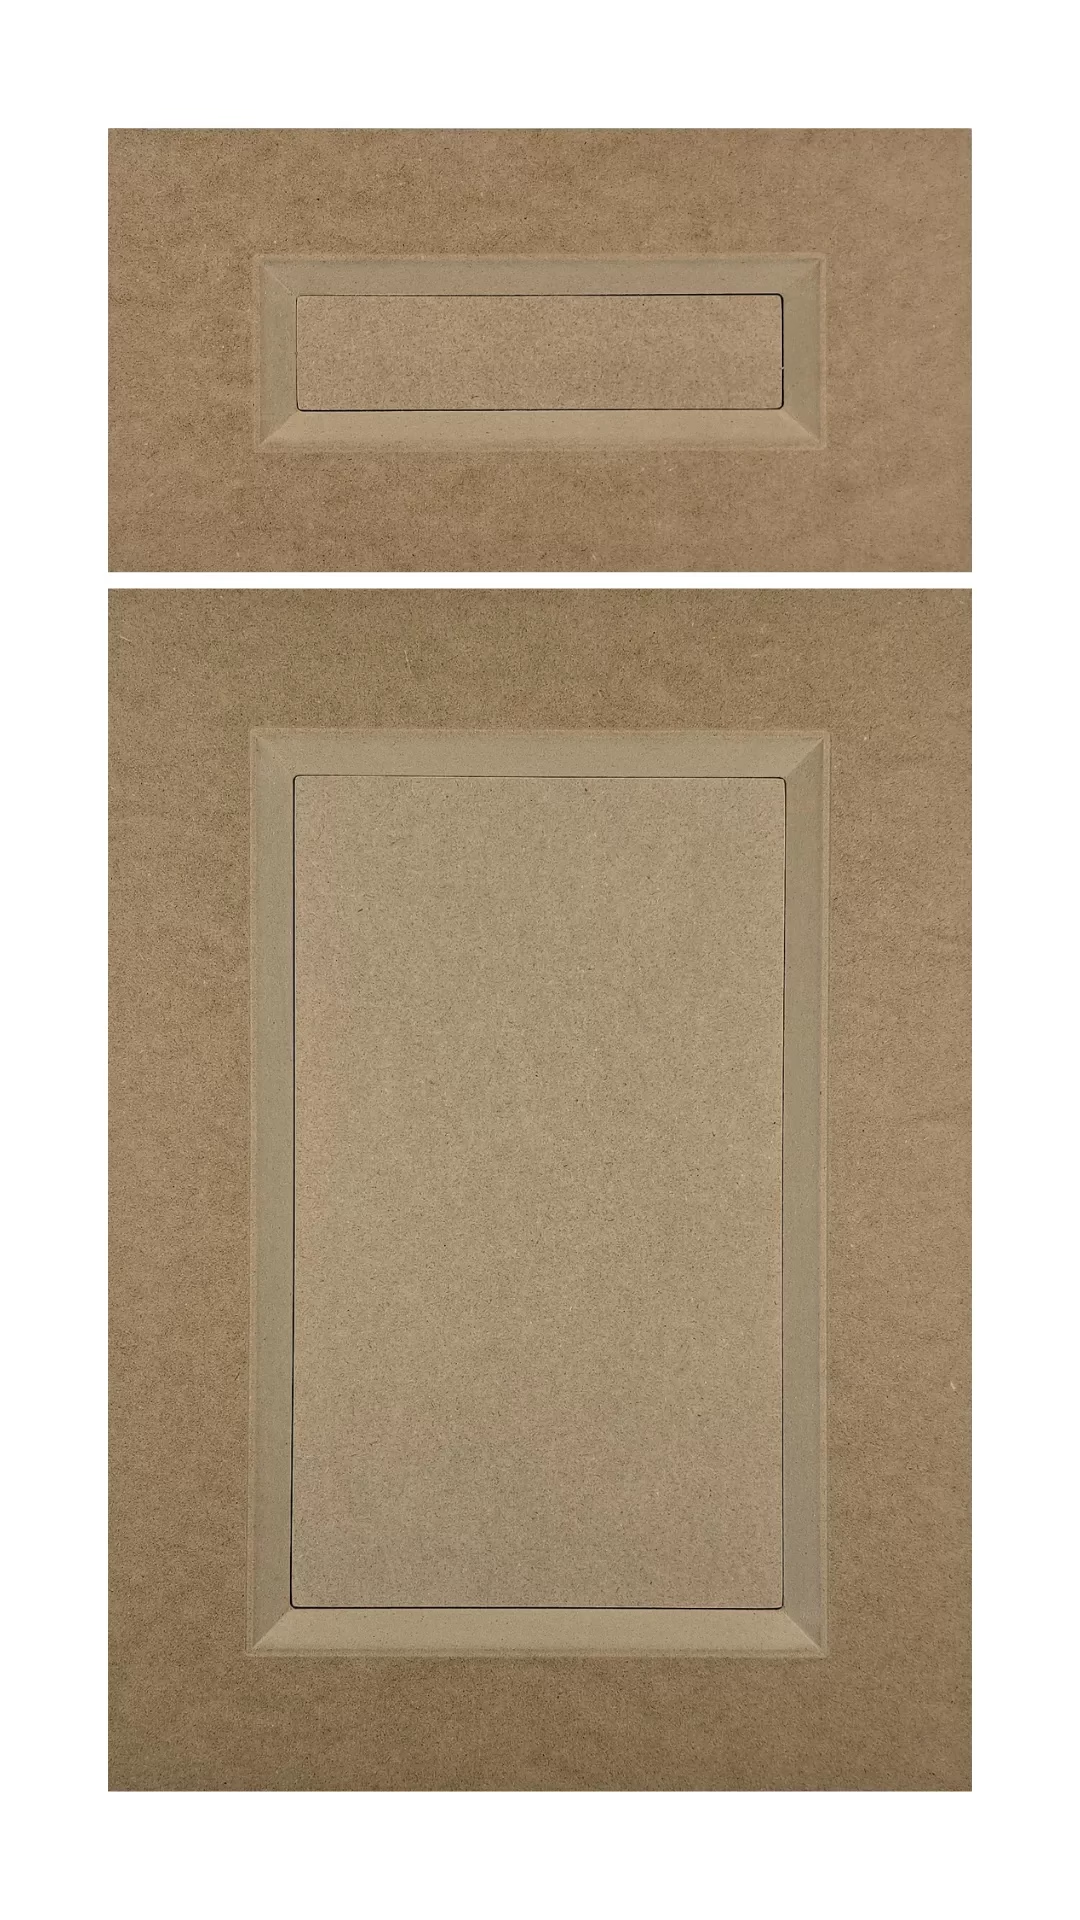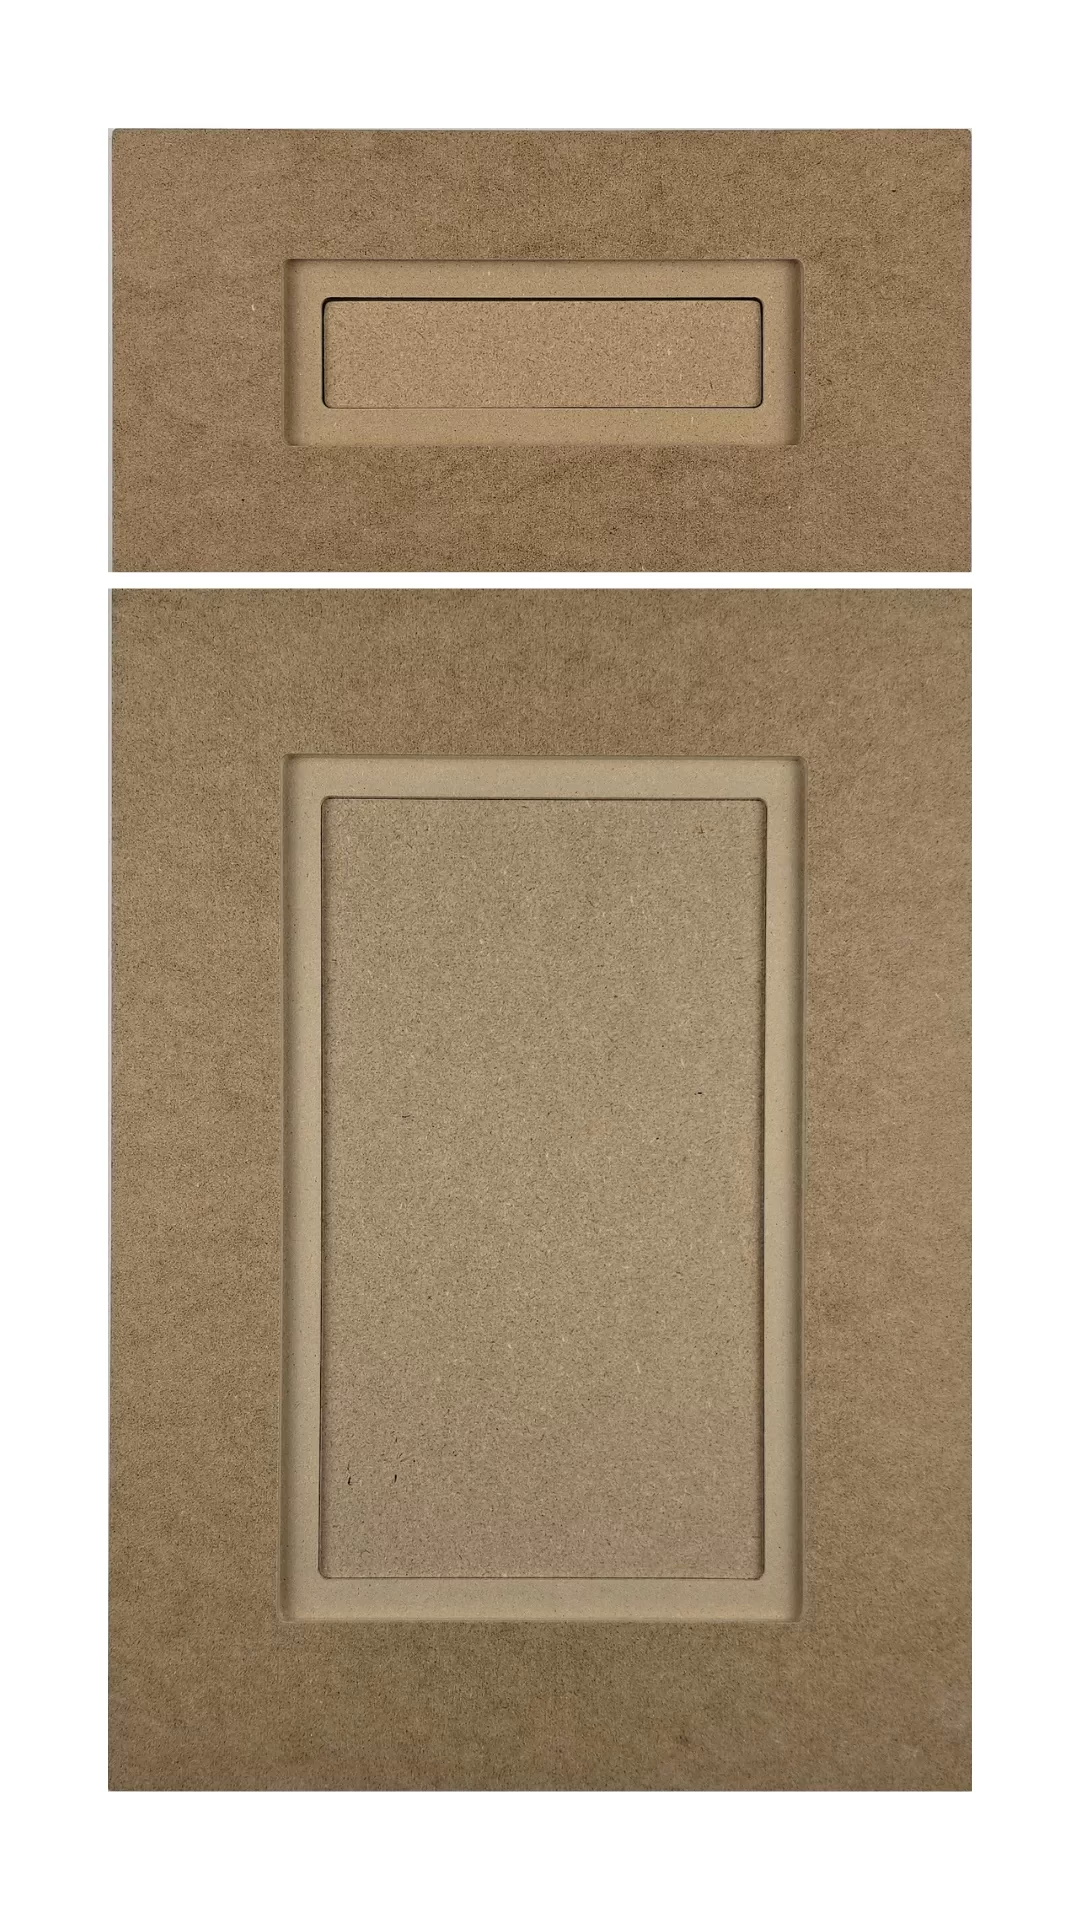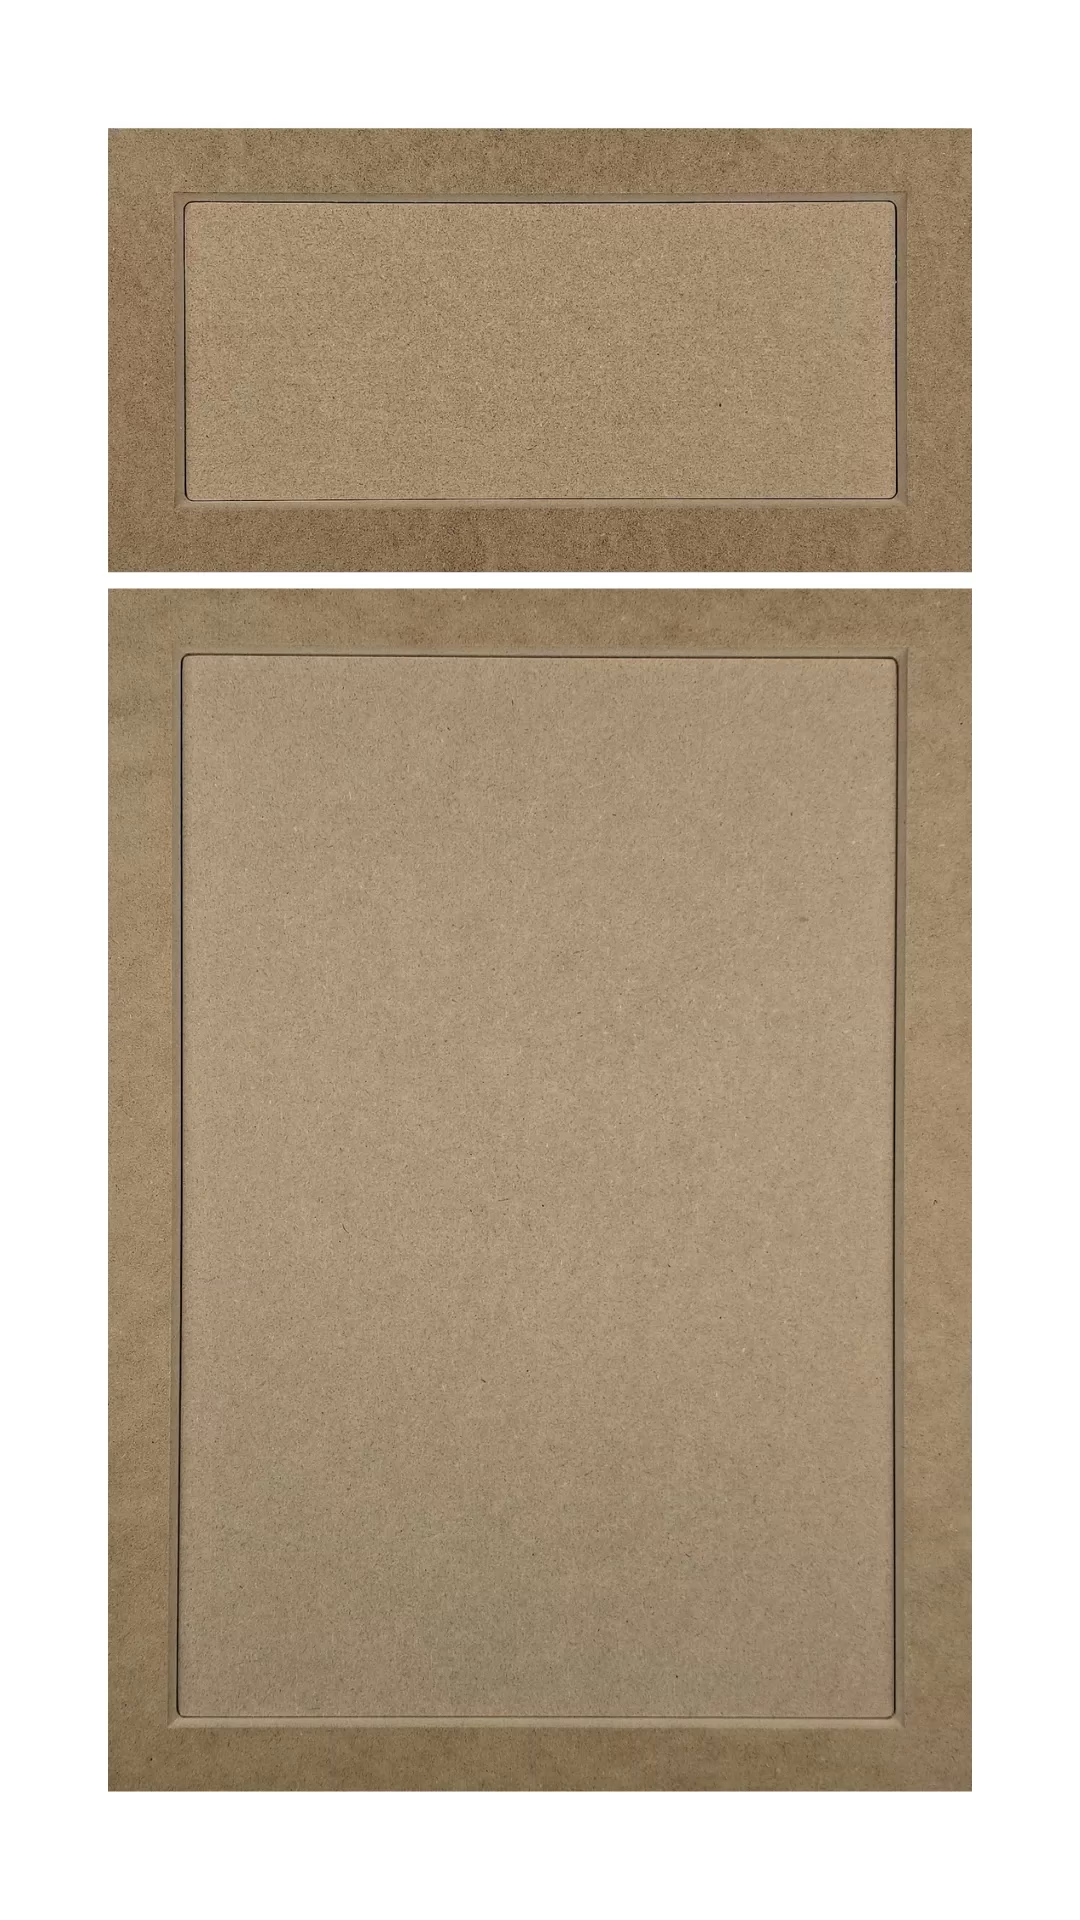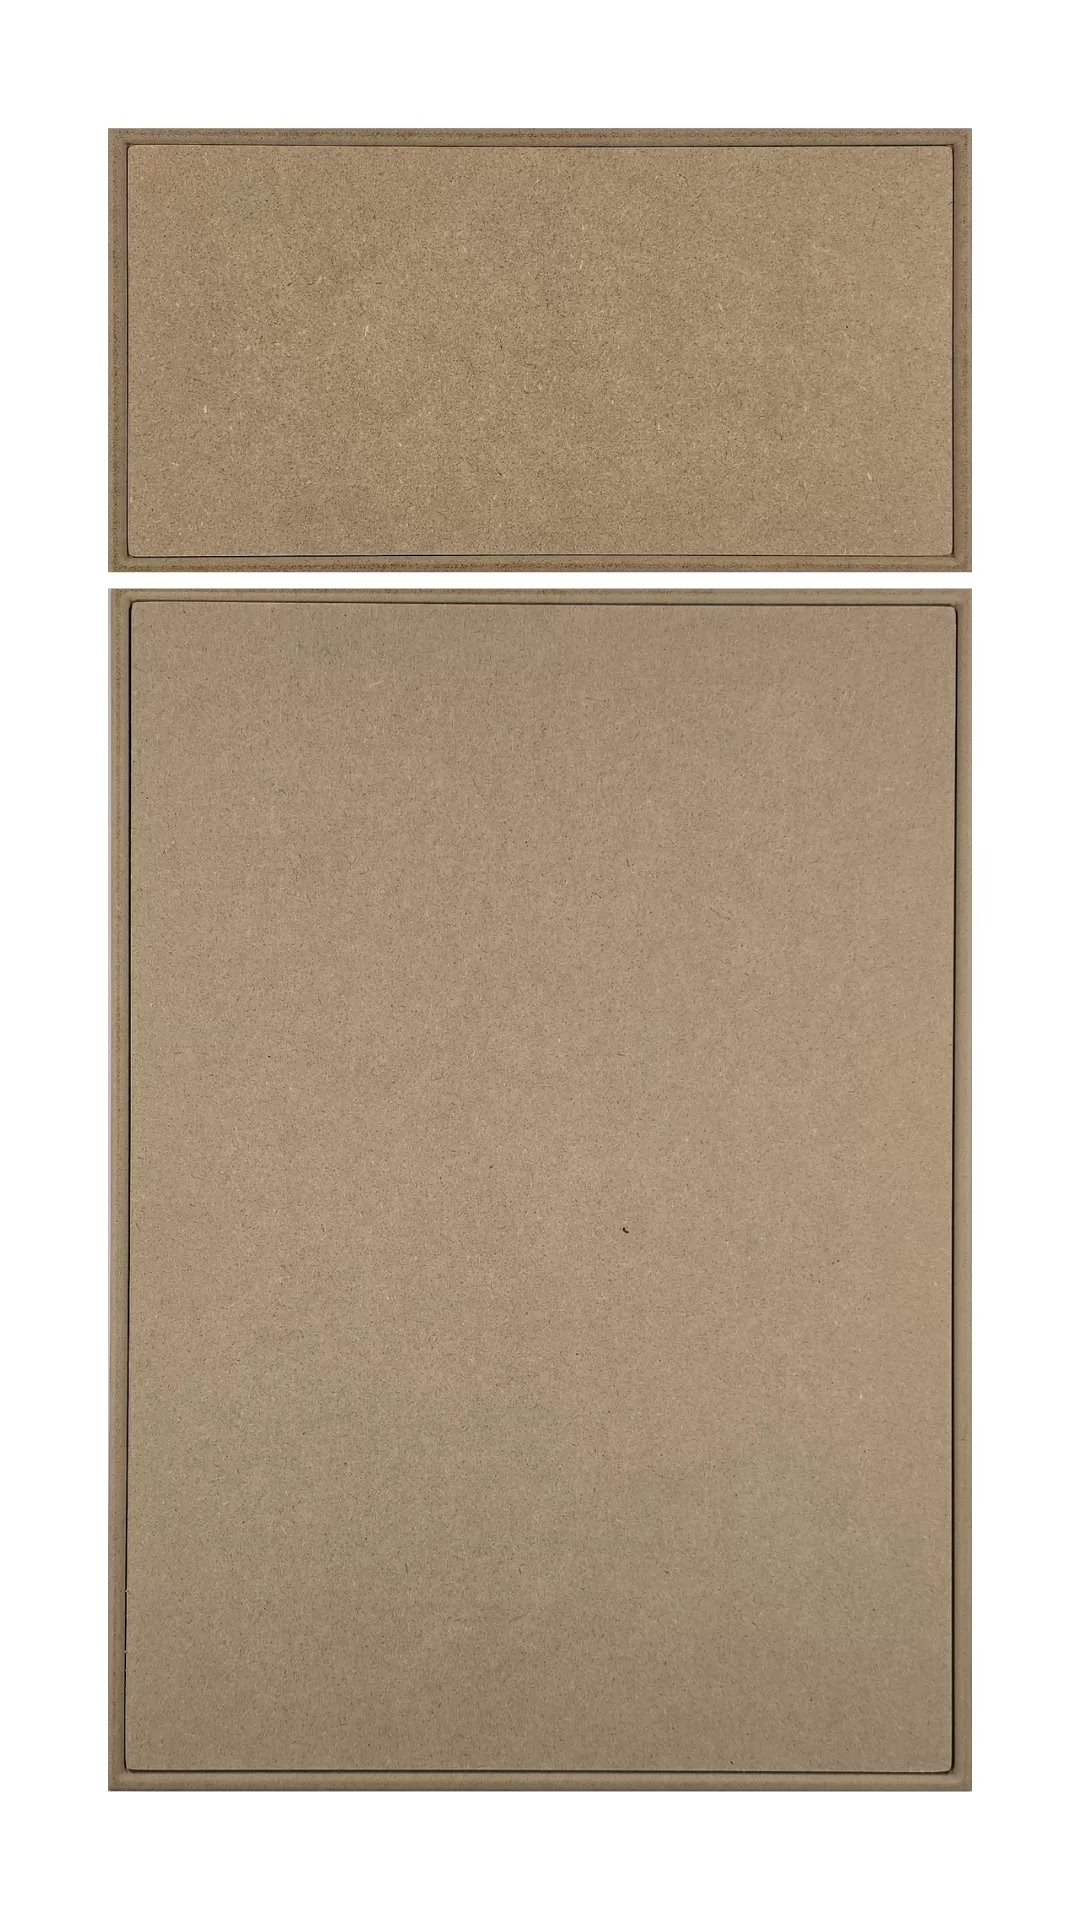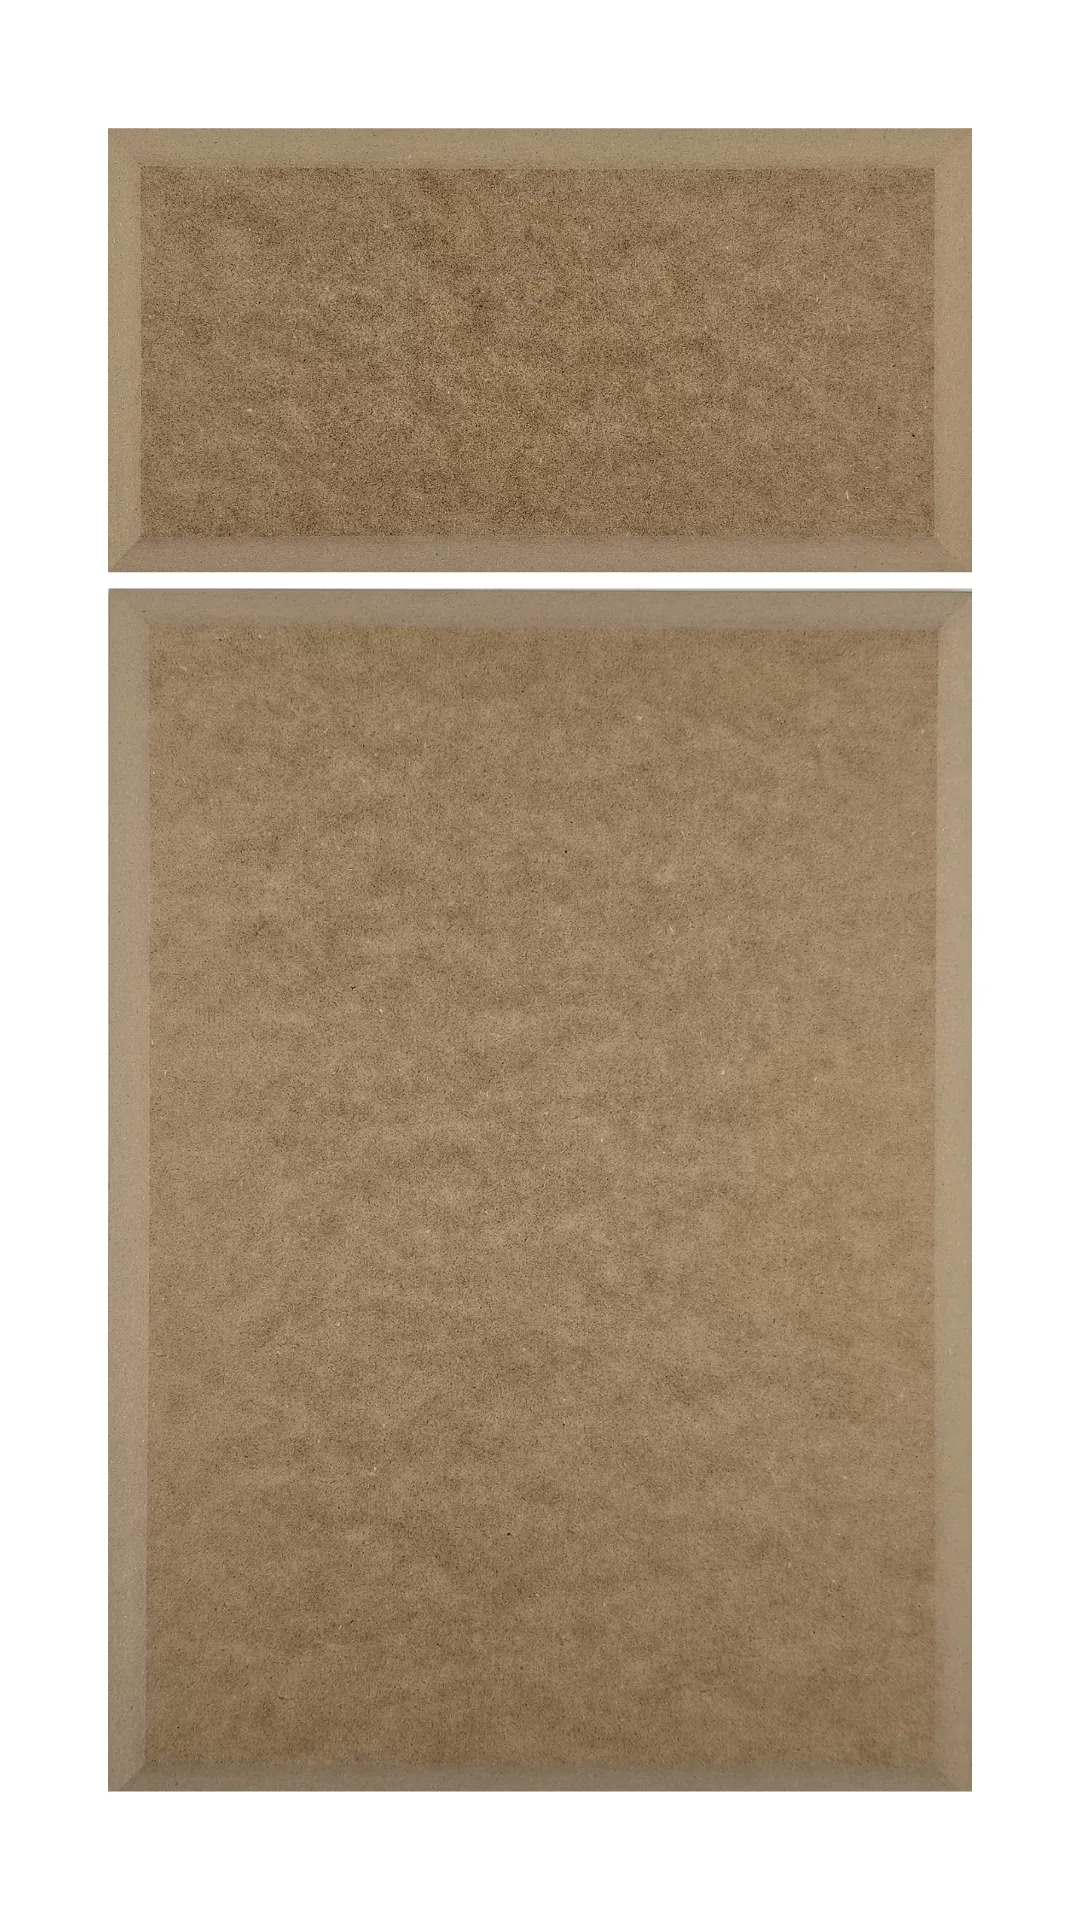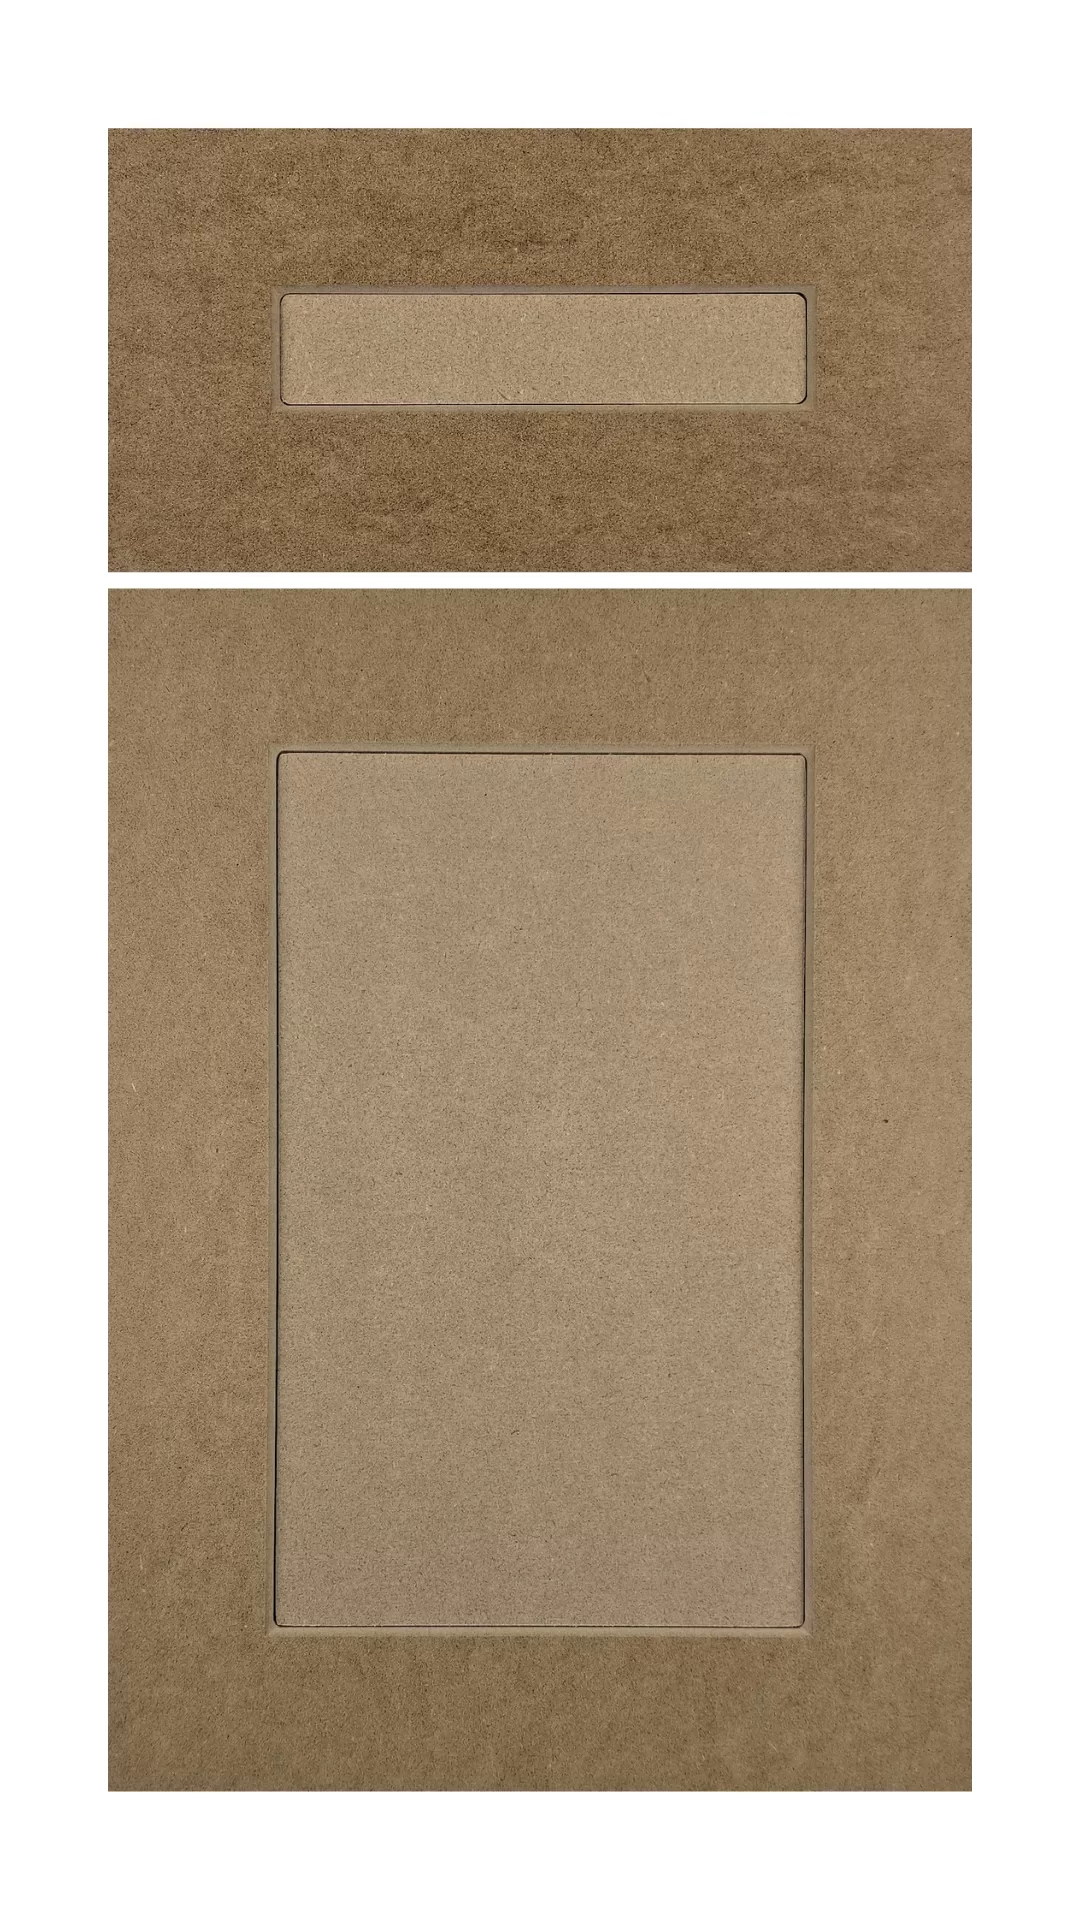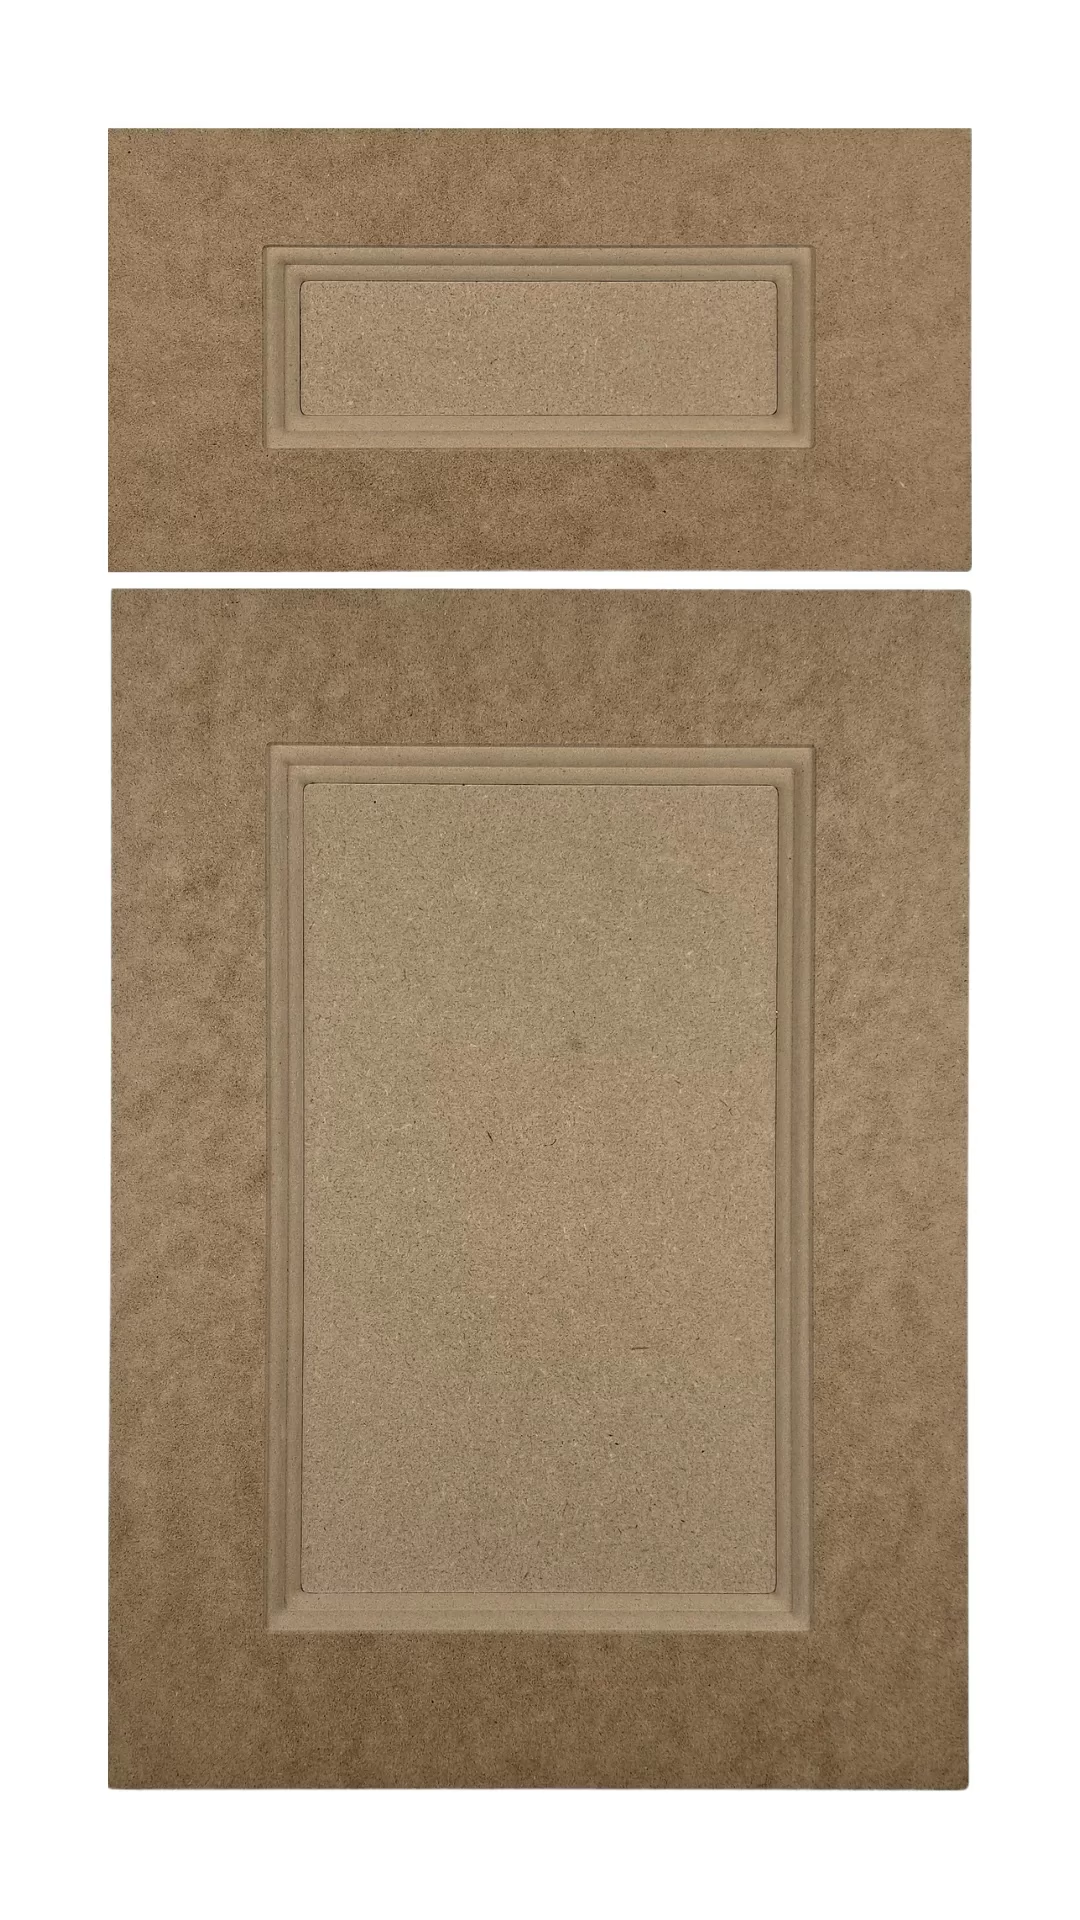
Cutlist Ready Face Frame Measurements for Cabinetmakers

BY Ksenija Lebec, Blog Sep 1 2026

Cutlist Ready Face Frame Measurements for Cabinetmakers

Standard face frame stiles run 1-3/4" to 2" wide at 3/4" thickness, with rails using the same stock. Rail length equals box width minus two stile widths, and you overhang the frame roughly 1/4" (a range of 1/8" to 3/8") past the cabinet box for scribing. For doors, add double the overlay to the opening size for a single door, or split that total in half and subtract a small center gap for a pair.


TL;DR:

  • Accurate face frame measurement relies on three-point checks at each dimension to account for cabinet box shifting and ensure proper fit.
  • Standard stile widths range from 1-3/4" to 2", with variations for specific needs like hardware clearance or wall scribing.
  • Door sizes should be calculated based on the measured opening plus overlays, with consistent spacing to prevent binding during humidity changes.
  • Using a story stick and writing measurements immediately reduces errors and streamlines the cut and assembly process.
  • Tolerance issues beyond 1/16" can cause misaligned doors, inconsistent reveals, and hinge problems, emphasizing precise measuring discipline.

Table of Contents

How to Measure Face Frame Openings and Convert Them to Cut Sizes

Getting accurate face frame measurements starts with the cabinet box itself, not the frame. Measure the width and height of each opening at three points: top, middle, and bottom for width; left, center, and right for height. Boxes flex, shift, and get built slightly out of square more often than you’d expect, so three-point measuring and using the largest reading keeps the frame from falling short anywhere along the edge.

Once you have your numbers, the math is straightforward:

  1. Stile length equals the finished frame height, top to bottom.
  2. Rail length equals frame width minus two stile widths (so a 2" stile on each side subtracts 4" total from the box width).
  3. Single door width equals the opening width plus two times the overlay.
  4. Double door width equals the opening width plus two times the overlay, divided by two, minus a small center gap.

That center gap matters more than most first-time builders realize. Doors expand and contract with humidity, and subtracting roughly 1/16" per door creates a 1/8" gap between the pair, which keeps them from binding against each other during a humid summer.

A few habits protect you from cascading errors:

  • Round every measurement to the nearest 1/16" before you calculate anything.
  • Recalculate once, then check your work by re-adding the parts to confirm they equal the original opening plus overlay.
  • Write measurements down immediately. Memory is the least reliable tool in the shop.

If you’re planning to order finished doors rather than build the whole frame, The Door Maker’s cabinet door calculator walks through this same math and flags entries that look off before you commit to an order.

Standard Face Frame Sizes and Material Choices

Cabinet frame dimensions have settled into a narrow range for good reason. Stiles typically run 1-3/4" to 2" wide, and top and bottom rails match or come close, at 1-1/2" to 2". Thickness across the board is 3/4", which matches standard hardwood lumber and gives hinges enough meat to bite into.

A few situations call for adjustments:

  • Bottom rails are sometimes widened to 2-1/4" or more to clear drawer hardware and slides, especially on base cabinets with a bank of drawers stacked above a door.
  • Scribed stiles, the ones that will meet a wall or another cabinet, often get an extra 1/4" to 3/4" of width so you can plane or sand them to a tight fit on-site.
  • Thicker stock, closer to 7/8" or 1", shows up occasionally on furniture-grade builds where the extra mass changes the visual weight of the piece.

Wood choice depends entirely on your finish plan. If you’re painting, poplar or soft maple sand smoothly, take paint evenly, and cost less than harder species. If you’re staining, you want maple, oak, or cherry, since paint-grade woods often blotch or show grain inconsistently under stain. Whatever you choose, keep every stile and rail width identical across the whole run. A 1/16" drift in stile width from one cabinet to the next throws off your reveals and makes doors that were cut perfectly look crooked once installed.

What Tools and Steps Produce Reliable Measurements?

Sloppy measuring habits cause more wasted lumber than bad joinery ever will. Before you touch a tape measure, sketch the layout of the run and label each cabinet with an ID number. Open every door and pull any drawers that block your line of sight to the opening.

From there, work through this sequence for every cabinet:

  1. Measure width at the top, middle, and bottom of the opening, and height at the left, center, and right.
  2. Record the largest reading for each dimension. Using the largest measurement means you’re planing down a slightly oversized frame rather than trying to patch a gap in an undersized one.
  3. Transfer those numbers to a story stick, a straight piece of scrap marked with the actual opening widths and centerlines rather than written numbers.
  4. Repeat for every cabinet in the run before you cut anything.

A story stick earns its place in this list because it eliminates the arithmetic entirely. Instead of re-reading a tape measure and re-copying a number six times across a kitchen run, you transfer marks directly from the stick to your lumber. Errors that come from misreading a fraction or transposing digits simply can’t happen if there’s no number to misread.

Your tools list stays short: a steel tape for rough measurements, a combination square to verify openings are actually square, a digital caliper for door thickness and reveal checks, a sharp marking knife instead of a pencil for layout lines, and a 24" level to catch tilted cabinet boxes before they become a frame-fitting headache.

Pro Tip: Cut your story stick a few inches longer than the widest opening in the run, and mark it with a permanent centerline. That single reference point lets you check every subsequent cabinet against the same baseline instead of re-measuring from scratch each time.

Story stick aligned across cabinet openings

Building a Cutlist: A 24" Base Cabinet Example

Numbers on paper only help once they’re organized into something you can hand to a saw. Take a standard 24" wide base cabinet with 2" stiles.

  1. Subtract two stile widths from the box width: 24" − 4" = 20" rail length.
  2. Cut two stiles to the full frame height, say 34-1/2" for a typical base cabinet.
  3. If the opening includes a drawer above a door, add a mid rail. Split the remaining height between drawer and door openings based on drawer box depth, then cut the mid rail to the same 20" length as the top and bottom rails.
  4. List every part by cabinet ID, with stile and rail counts, lengths, and widths in one column so you can batch identical cuts across the whole kitchen.

Add a kerf allowance of about 1/8" per cut and an extra 1/2" per board for end trimming when you’re calculating how much raw lumber to buy. Grouping parts by width rather than by cabinet lets you gang-cut identical pieces on the miter saw, which saves time and produces more consistent lengths than cutting one cabinet’s parts at a time.

Assembling the Frame and Getting Doors to Fit

Pocket screws are the fastest joinery method for a DIY build, and they hold up fine for face frames since the joint isn’t load-bearing the way a table leg would be. Dowels or loose tenons give a cleaner look with no visible screw holes, but they demand more setup time and precise alignment.

A few practices separate a frame that fits from one that fights you during install:

  • Dry-fit the whole frame before glue touches any joint, and check every corner with a square.
  • Clamp in a sequence that pulls the frame together evenly, not corner by corner.
  • Never force a frame square onto a box that’s already racked. Fix the box first.
  • Build the frame about 1/16" larger than the box, attach it proud, then flush-trim the edges with a router and a guide bearing once the glue cures.
  • Keep at least 1-3/4" of stile width wherever a hinge lands, so the screws have enough wood to grip without blowing out the edge.

Pro Tip: Check overlay alignment against your door sizing before you drill a single hinge hole. A frame that’s flush-trimmed perfectly can still produce misaligned doors if the overlay math was off by even 1/8".

How The Door Maker Fits Into Your Measuring Workflow

Once you’ve got accurate openings measured and a cutlist built, you’ve got two paths: build the frame and doors yourself, or hand your numbers to a supplier that specializes in precision output. The Door Maker’s process runs in three steps: measure, design, and order, with sizing tools built specifically around the fractions and tolerances this kind of project demands.

Its custom sizing guide walks you through applying the same overlay and opening math covered above, then feeds those numbers into an online configurator that cuts to precise specifications.

A rough decision guide:

  • Building your own frame and doors saves money if you already own the tools and enjoy the process.
  • Ordering custom doors saves time if your priority is a finished kitchen, not a weekend project.
  • A hybrid approach, building the frame yourself and ordering doors to match your measured openings, works well when you want control over the frame but don’t want to invest in door-specific tooling like rail and stile bits.

How Do You Measure Face Frames on Existing Cabinets?

Measuring an existing face frame is different from measuring a bare box, because the frame itself is now your reference point instead of the opening behind it. Start by measuring the outside dimensions of the frame, corner to corner, to confirm the cabinet’s overall footprint hasn’t shifted or warped over time.

Then measure the opening inside the frame, the actual door or drawer opening, using the same three-point method: width at top, middle, and bottom, height at left, center, and right. This inside measurement is what determines your new door sizes, not the frame’s outer edge.

Check stile and rail widths directly by measuring the visible wood between openings. If you’re refacing rather than replacing, these widths tell you how much overlay room you have to work with, and whether existing hinge locations will still land on solid wood.

Take note of any settling or damage. Older cabinets, especially site-built ones from decades ago, often show face frames that are no longer perfectly square, even if they were installed that way. A combination square laid across each corner reveals whether you’re dealing with a true rectangle or a slight parallelogram, which changes how you approach new door sizing. Measure every opening individually rather than assuming identical cabinets in a run have stayed identical after years of humidity swings and settling.

Inset vs. Overlay: Why the Measurements Differ

Inset and overlay cabinets ask for almost opposite measuring approaches, and confusing the two is one of the fastest ways to end up with doors that don’t fit.

With overlay construction, the door sits on top of the face frame, covering part of it. Your door dimensions come from the opening size plus the overlay amount on each side, commonly 1/2" total per edge. The face frame itself has more forgiveness here, since the door hides any minor gaps between the frame and the door edge.

Inset construction flips that logic. The door sits flush inside the frame opening, with no overlap at all. That means your door dimensions come from the opening size minus a small clearance gap, typically 1/16" to 1/8" per side, to allow the door to swing without binding against the frame. Inset work demands tighter face frame measurements from the start, because there’s no overlay material to visually mask a slightly oversized or undersized opening. A frame that’s off by 1/8" on an overlay cabinet is barely noticeable. That same 1/8" on an inset cabinet shows up as a visible gap or a door that won’t close.

Inset and overlay door measurement comparison

If you’re converting an overlay cabinet to inset styling, or vice versa, don’t assume the existing face frame openings work for the new door style without remeasuring. The frame width requirements, hinge type, and clearance tolerances are different enough that treating them interchangeably is a common source of return orders.

Common Face Frame Measurement Mistakes

The mistakes that ruin a face frame project almost always trace back to a handful of habits, and every one of them is avoidable once you know to watch for it.

Measuring only once, at one point on the opening, is the most frequent error. A box that’s even slightly out of square will give you a different width at the top than at the bottom, and if you only measure once, you have no way of knowing which number is accurate. That’s why measuring at three points and using the largest figure isn’t an optional extra step. It’s the core practice that prevents visible gaps.

Mixing up inside and outside measurements comes next. Confusing the opening dimension with the outer frame dimension, or forgetting whether a reading includes the stile width, produces parts that are consistently off by exactly one stile or rail width, which is a frustrating error to trace after the fact.

Skipping the rounding step causes small errors to compound. If you carry a measurement like 23-13/16" through several calculations without rounding to a workable fraction, you end up trying to cut a line your tape measure and saw can’t actually mark accurately.

Forgetting the center gap on double doors is a narrower mistake but a common one. Builders calculate two door widths that add up perfectly to the opening, then wonder why the doors touch and bind six months later once summer humidity swells the wood.

Finally, inconsistent member widths across a multi-cabinet run throw off reveals even when every individual measurement was correct. A story stick, again, solves this by locking every cabinet in the run to the same reference dimensions.

Why Measurement Tolerances Affect Door Fit and Hardware

A face frame measurement that’s off by 1/16" rarely causes a visible problem. Push that tolerance to 1/8" or beyond, and the consequences show up in three places: door fit, hinge alignment, and reveal consistency.

Door fit is the most obvious casualty. Overlay doors have some built-in forgiveness, since the door edge sits on top of the frame and small gaps hide under the overlap. Inset doors have almost none. A 1/8" error on an inset opening can mean a door that won’t close flush, or one that rubs against the frame every time it swings.

Hinge installation tightens the tolerance further. Concealed European hinges are typically drilled with a Forstner bit at a fixed diameter, and the cup location depends on precise stile width and door edge distance. If your face frame stile came in narrower than planned, the standard hinge boring distance might land too close to the frame’s inside edge, weakening the joint or causing the hinge cup to break through the back of the stile.

Reveal consistency is the cumulative effect. Reveal is the visible gap between two adjacent doors or between a door and the cabinet edge. Small measurement errors on individual doors are invisible in isolation but become obvious once you step back and look at a full run of six or eight doors side by side. A kitchen where every reveal is a consistent 1/8" reads as intentional and finished. A kitchen where reveals wander between 1/16" and 3/16" reads as a DIY project, even if every individual cut was technically close to accurate.

The Honest Take on Face Frame Measurements

Most face frame guides oversell the math and undersell the discipline. The formulas here aren’t complicated: subtract stile widths, add overlay, split for double doors. Anyone can memorize that in five minutes. What actually separates a clean install from a frustrating one is the boring stuff: measuring at three points every single time, writing numbers down instead of trusting memory, and using a story stick when a run has more than two or three identical cabinets.

Where conventional advice falls short is in treating every cabinet in a kitchen as identical once you’ve measured the first one. Boxes settle differently, walls aren’t perfectly plumb, and a “standard” 24" cabinet rarely measures exactly 24" by the time you check three points on the actual opening.

If you’re building the frame yourself, prioritize the measuring discipline over the joinery method. Pocket screws versus dowels barely matters if your rail lengths were wrong to begin with. If you’d rather skip the build entirely, ordering doors sized to your own measurements removes the tolerance-stacking risk altogether, since the cutting precision shifts from your table saw to a shop built around exact fractional sizing.

— David

Sources

FAQ

What Are the Standard Dimensions of a Face Frame?

Stiles typically run 1-3/4" to 2" wide and 3/4" thick, with rails matching that width, though bottom rails are sometimes widened to clear drawer hardware.

How Much Overhang Should a Face Frame Have?

Shops commonly overhang the face frame about 1/4" past the cabinet box, with an acceptable range of 1/8" to 3/8" depending on how much scribing room you want for wall fitting.

Is a Face Frame Cut at the Same Dimensions as the Cabinet Box?

No. Rail length equals the box width minus two stile widths, and the whole frame is typically built about 1/16" larger than the box, then flush-trimmed after attachment.

What Are Standard Frame Measurements for Door Sizing?

A single door equals the opening width plus two times the overlay, while double doors split that total in half and subtract a small center gap, commonly 1/16" per door, to prevent them from touching.

FROM THE SAME CATEGORY

Aug 31 2026 BY Ksenija Lebec, Blog

Homeowner's guide to eco friendly refacing: the 3 phases, what makes a reface sustainable, and why precision custom doors cut waste and cost.

Aug 30 2026 BY Ksenija Lebec, Blog

Give prefinished doors 48–72 hours, rough dimension raw stock and rest until stable, or skip the wait by ordering Tdm-thedoormaker custom doors.

Aug 29 2026 BY Ksenija Lebec, Blog

Practical DIY cabinet door design and build advice: choose styles and materials, measure overlay vs inset, follow a Shaker workflow, or order precise...

Build a Door MADE TO FIT YOU!