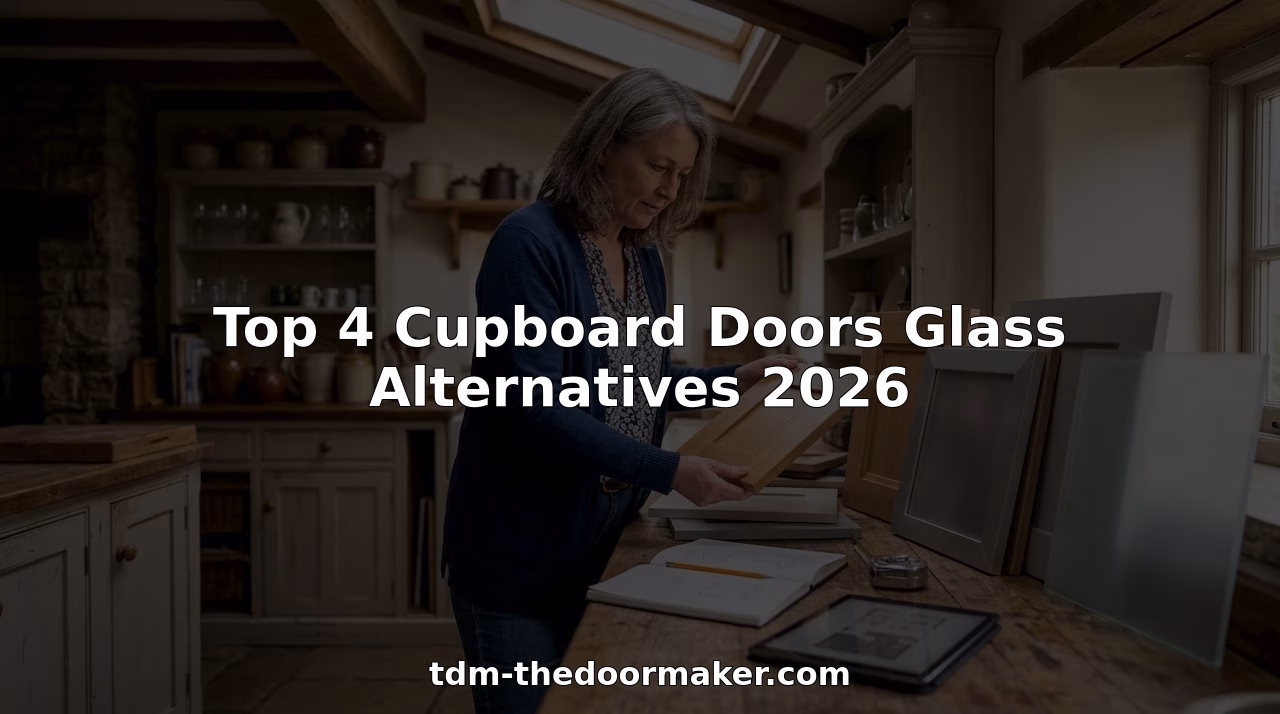
Finding a custom cabinet door alternative to glass that fits style, color, and precision sizing needs can take weeks of research and missed fit. Most suppliers limit choices to a single material or style, refuse custom sizes, or restrict shipping to only large bulk buyers. This comparison covers style range, material options, sizing flexibility, and DIY fit so you can select a custom cabinet door alternative that matches your remodel needs.
Table of Contents
- TDM-The Door Maker
- cabinetdoorsnmore.com
- FastCabinetDoors
- Belmont Doors
- cncwoodcraft
- Comparison of alternatives
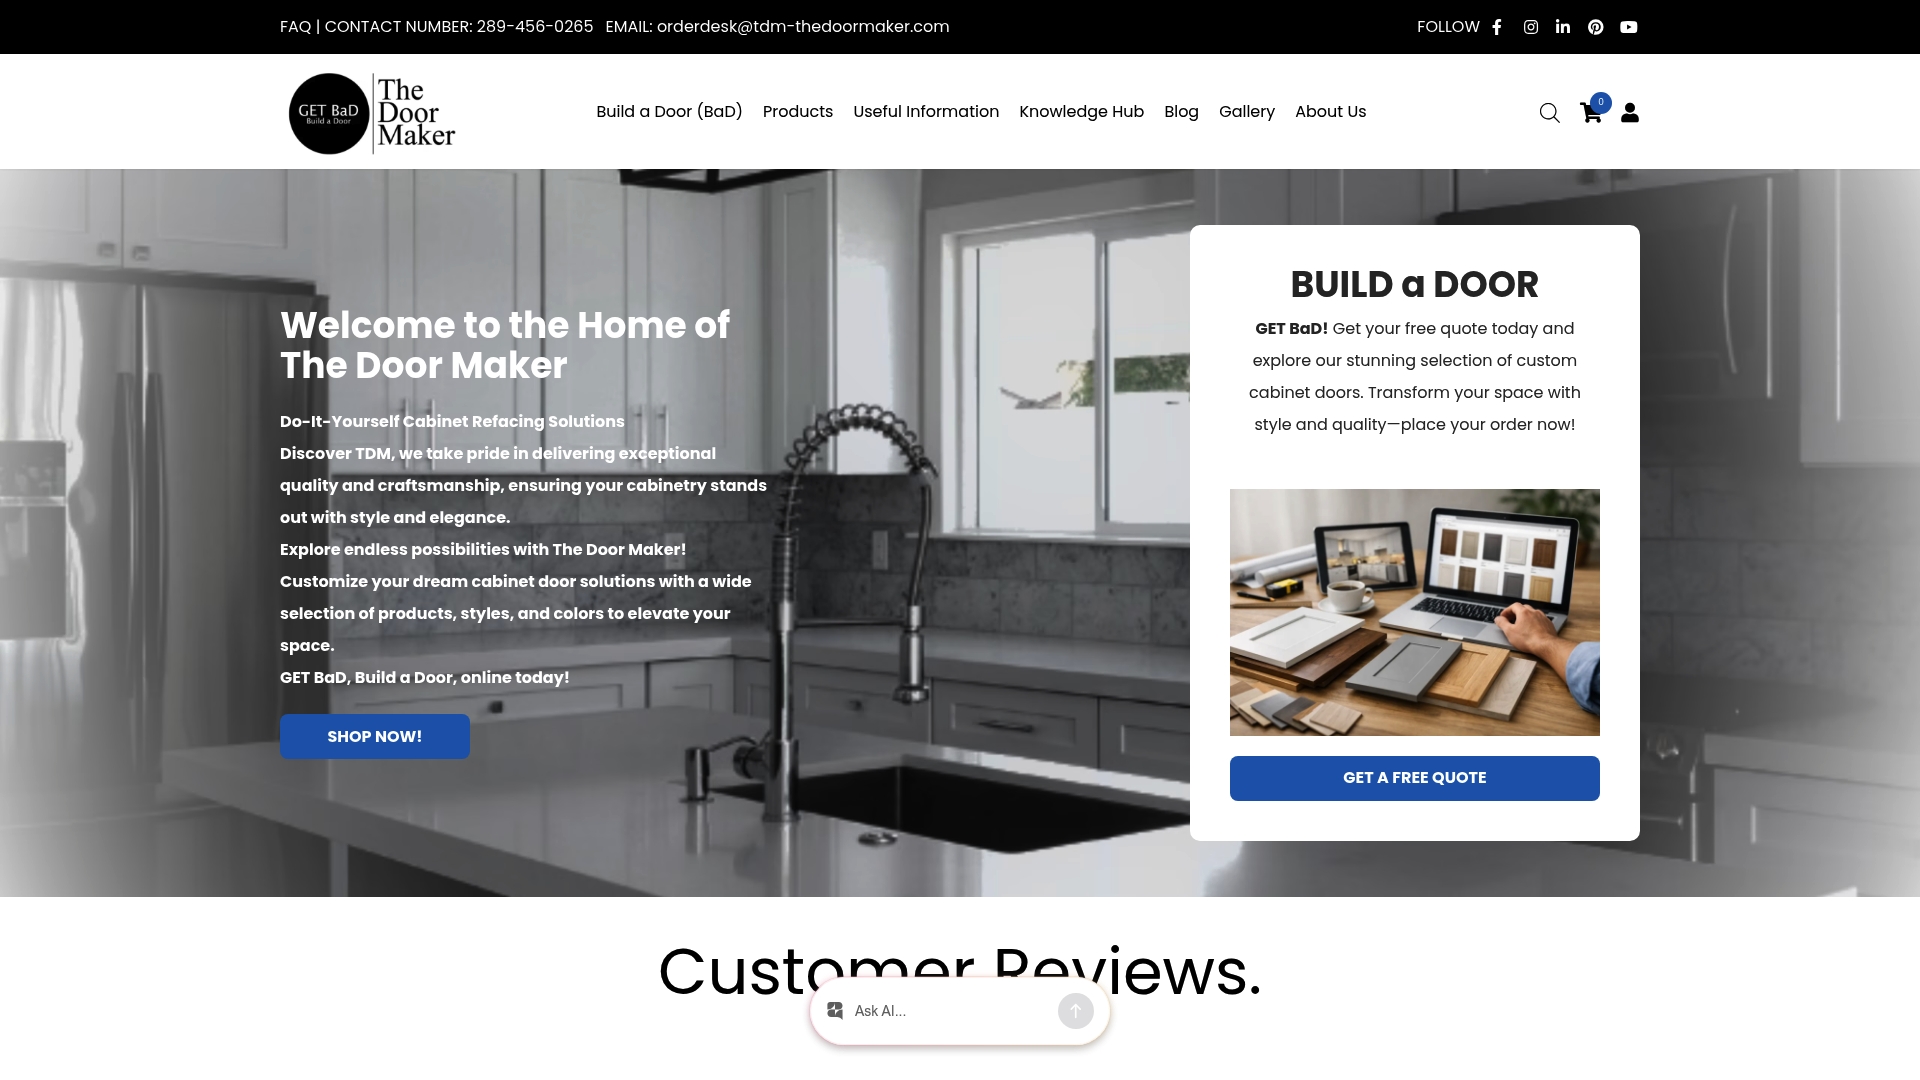
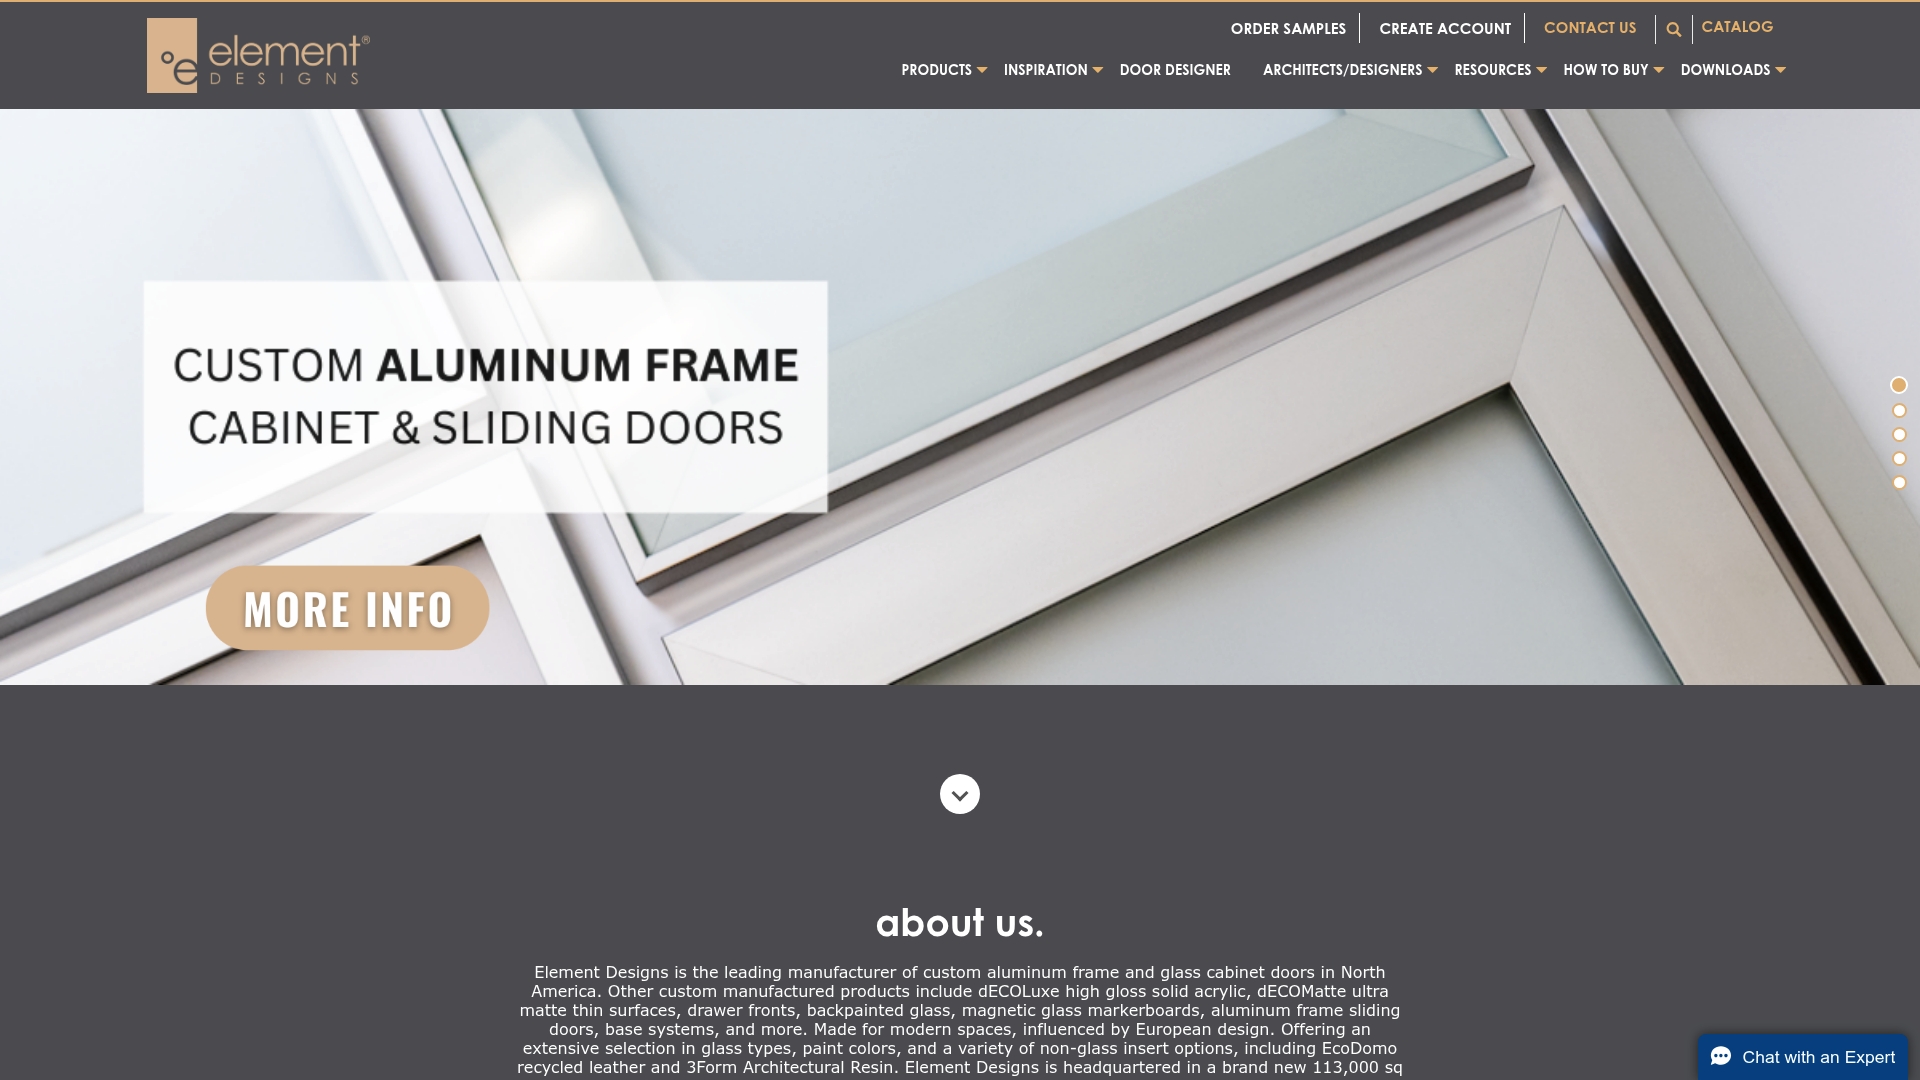
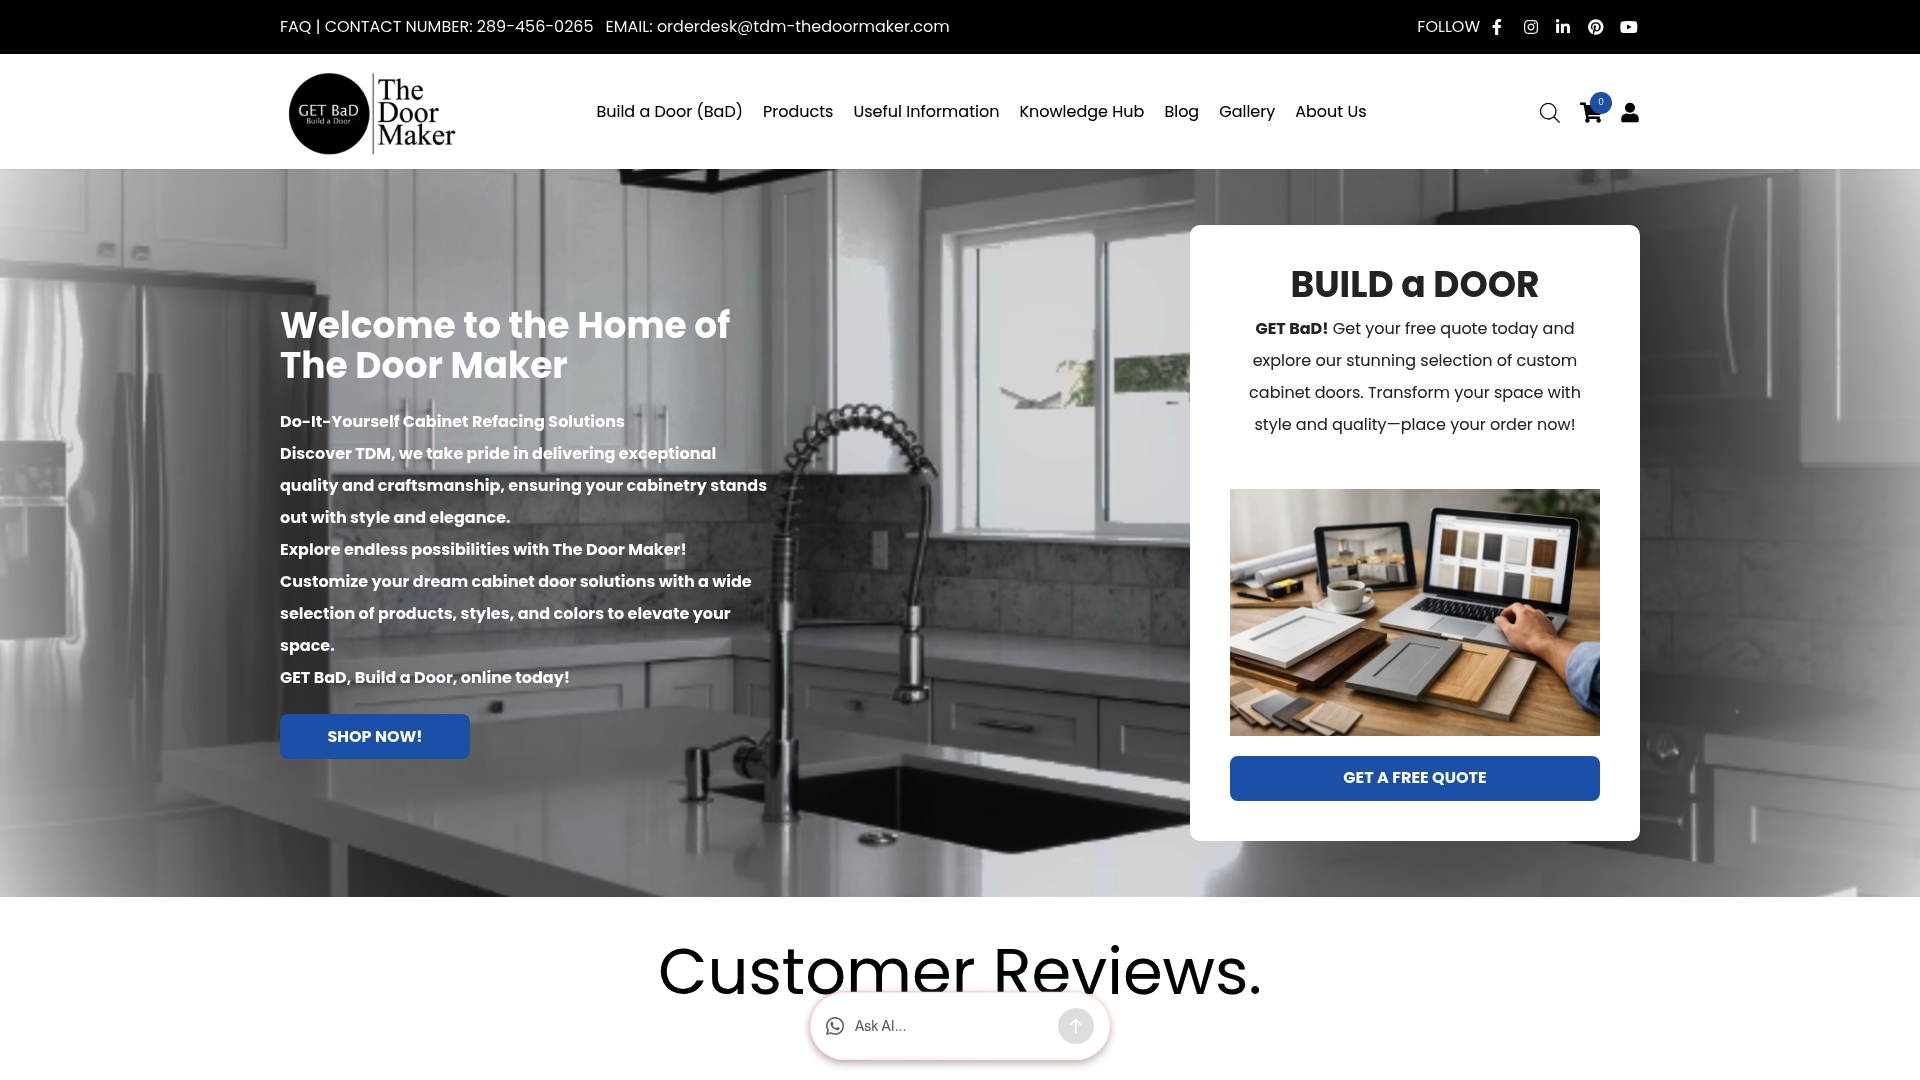
TDM-The Door Maker
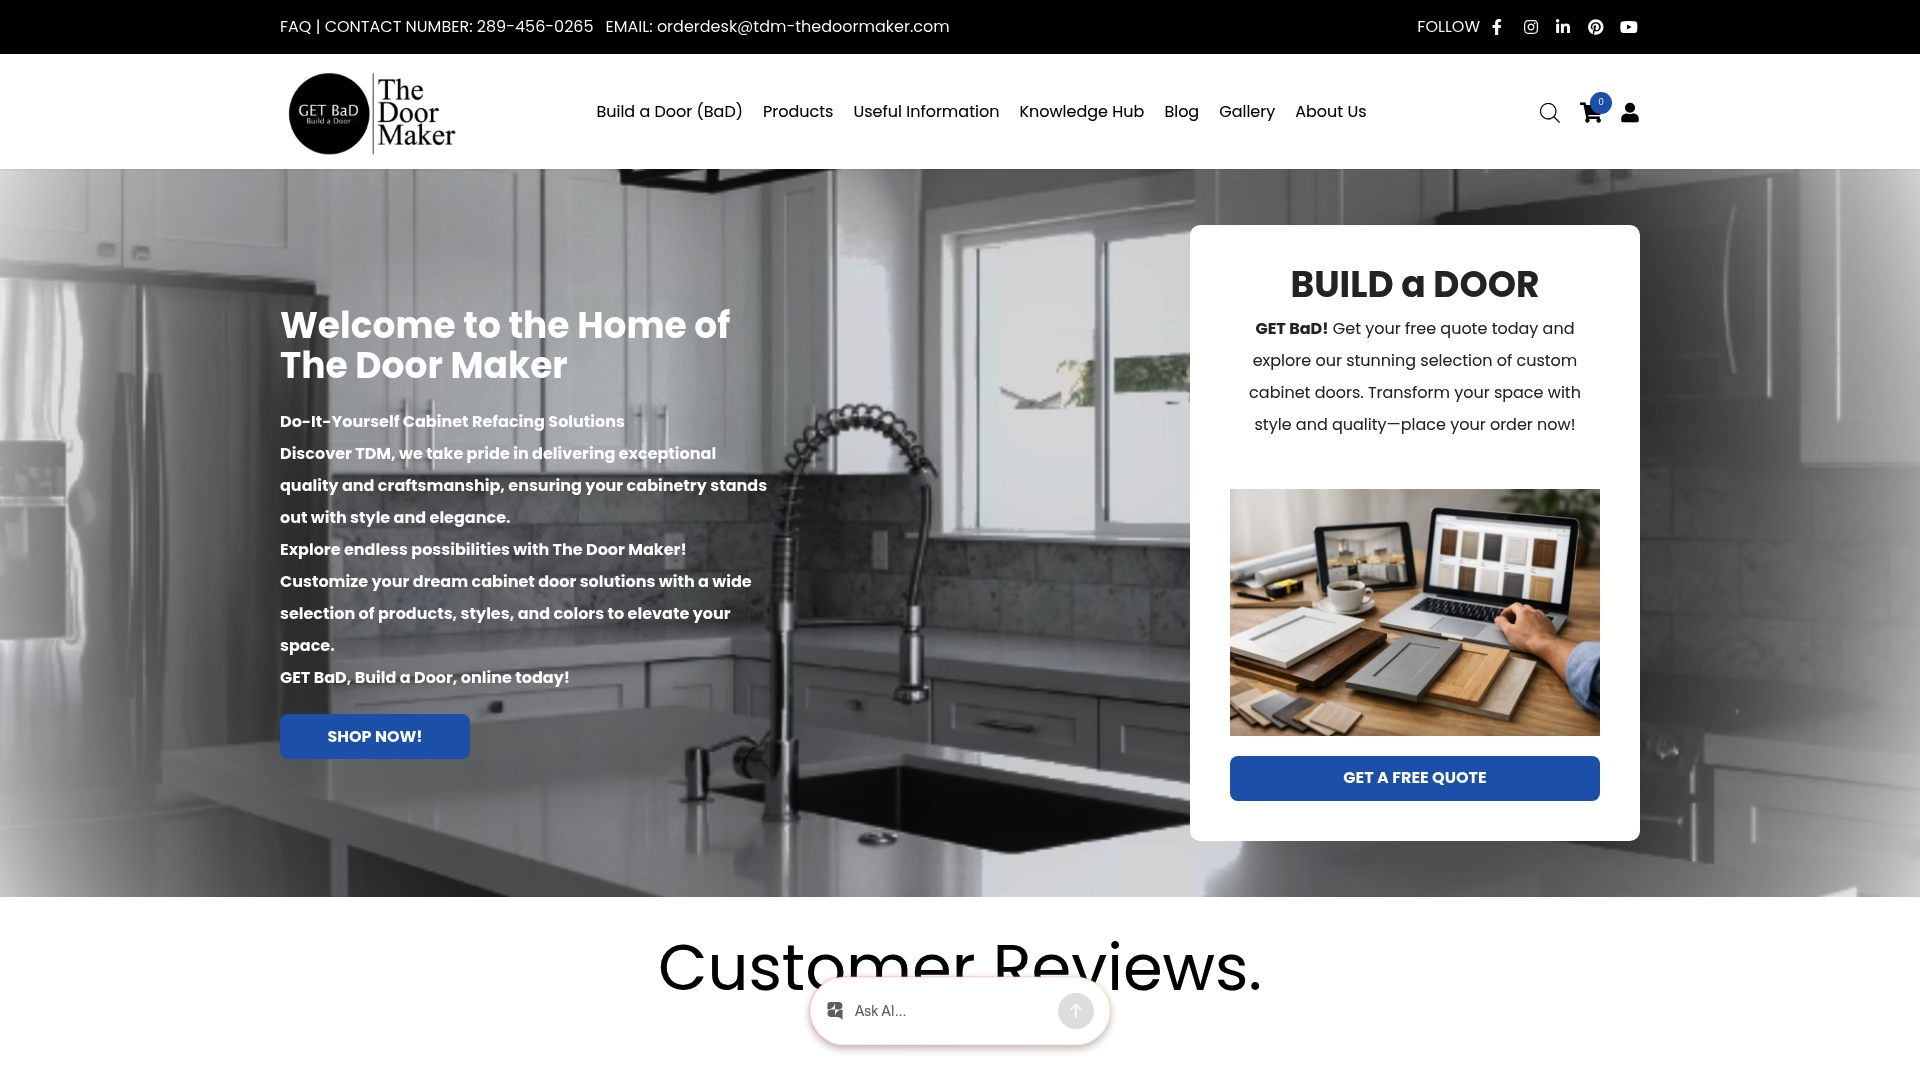
At a Glance
The vendor reports over 48 years of manufacturing experience. The catalog lists more than 30 door profiles and 130 color options, and production lead time is advertised at about four weeks. That depth and relatively quick turnaround give DIYers substantial design choice without a full cabinet replacement.
Core Features
TDM-The Door Maker sells custom cabinet doors in a wide range of styles and finishes and supports selection with sample swatches and swatch books. The online Build a Door configurator guides you through measuring, designing, and ordering, and accessories include mullions, panels, and moldings for complete refacing. The company emphasizes precision manufacturing to match custom sizes for retrofit installs.
Key Differentiator
The vendor claims its catalog depth and configurator options exceed other North American manufacturers. That larger palette of styles, colors, and accessories combined with decades of shop experience lets you match period details or modern minimal designs with a single supplier.
Pros
According to the company, pricing often undercuts major big box retailers like Home Depot and Lowe’s, which can reduce project cost when you keep existing cabinet boxes. The configurator plus sample swatches help you dial in color and profile choices before ordering, reducing fit and finish surprises. Precision cutting and custom sizing help the doors fit with minimal trim work, and the ordering workflow supports DIY installation with online measurement guides and tutorials.
Cons
- Limited international shipping outside North America may rule out buyers abroad.
Who It’s For
This product fits DIY homeowners, renovation hobbyists, and small contractors who want high quality cabinet doors without replacing cabinet boxes. You value broad style and color choices, precise custom sizing, and the ability to install doors yourself using guided instructions. If you need full cabinetry or worldwide shipping, this is not the right match.
Unique Value Proposition
The three step measure, design, and order workflow lets you replace cabinet doors rather than entire cabinets, and the vendor advertises savings of thousands compared with full replacements and larger retailers. That workflow shortens decision friction for DIYers and keeps labor costs down when you install on your own.
Real World Use Case
A homeowner measures existing door openings, orders color swatches, and uses the online configurator to pick profiles and accessories. They place a full order, receive parts in about four weeks, and follow video tutorials to install the doors themselves. The result is a bespoke kitchen appearance without hiring a cabinetmaker.
Pricing
The vendor lists sample doors at $27.38, color swatches at $2, and swatch books at $100. Final door prices vary by style and size, and shipping plus customization affect total project cost.
Website: https://tdm-thedoormaker.com
cabinetdoorsnmore.com

At a Glance
cabinetdoorsnmore.com reports turnaround times of 15 days or less for custom cabinet components. The site focuses on doors, drawer fronts, and drawer boxes made to exact specifications. Orders ship free within the United States, which reduces total project cost for homeowners. Fast delivery and a broad material selection make it a practical option for tight remodel schedules.
Core Features
The store offers custom made cabinet doors and drawer fronts in solid wood species and RTF Thermofoil, plus MDF options for painted finishes. Customers choose from shaker, recessed panel, arched, mullion, and slab styles and submit measurements through an online ordering flow. The service includes free shipping and a promise of quick delivery, paired with online guidance to help homeowners measure accurately.
Key Differentiator
What sets cabinetdoorsnmore.com apart is the combination of fully customizable components and a short production window, plus free shipping for every order. That timeframe helps remodelers and DIY homeowners who must coordinate installers and appliance deliveries. The emphasis on exact sizing reduces the need for field trimming during installation.
Pros
High quality materials, including hard maple, cherry, and oak, give solid wood doors a durable finish and long service life. The range of styles and finishes covers classic and contemporary looks, which lets you match existing cabinetry or create a new focal point. Fast production and free shipping cut lead time and logistics hassles for small contractors and homeowners. The company reports strong customer satisfaction, which supports confidence in product fit and finish.
Cons
- Limited product scope means the company supplies components only, not full kitchen cabinet boxes or installation services.
- International shipping is limited, with primary service focused on the United States.
- Pricing can be higher than mass produced options, especially for solid wood species.
- Accurate customization requires precise measurements from the buyer to avoid remakes.
When It May Not Fit
Large commercial projects requiring thousands of cabinet units will find the offering narrow in scale. If you need a full cabinet system with factory assembled boxes and on site installation, this vendor is not a match. International buyers who need consolidated freight and customs handling should look elsewhere. Contractors who prefer turnkey supply chains may prefer a wholesaler that handles installation and volume discounts.
Who It’s For
This product fits DIY homeowners updating a kitchen or bathroom who can measure existing openings and install doors themselves. It also suits remodeling contractors and property managers who order custom sized components for multiple small units. Buyers who value a wide material selection, precise sizing, and faster delivery will get the most value.
Real World Use Case
A homeowner measures existing frames, selects shaker doors in maple, and orders matching drawer fronts for a full refresh. The doors arrive within the promised timeframe, match specified dimensions, and install with standard hinges and drawer slides. The result updates the kitchen look at a fraction of the cost of cabinet replacement.
Pricing
Prices vary by material and size and are charged per square foot for many components. Typical ranges for drawer fronts start around $43.20 for MDF and about $57.60 for hard maple per square foot. Free shipping applies to all orders placed within the United States.
Website: https://cabinetdoorsnmore.com
FastCabinetDoors

At a Glance
Prices start at $16.40 per square foot for basic shaker doors, with more complex styles rising above $32 per square foot. The company crafts doors and drawer fronts made in the USA and ships across the continental US, offering free shipping on orders over $1500. The setup suits single-door replacements and full refacing projects for homeowners and contractors.
Core Features
FastCabinetDoors sells a broad selection of cabinet styles, including shaker, raised panel, inset panel, and thermofoil options, and it offers made to measure sizing for each order. The online ordering flow lets you enter custom measurements, choose materials and finishes, and request guidance from the in-house customer support team. The vendor also advertises fast shipping within the continental US and tailored installation advice when you need it.
Key Differentiator
FastCabinetDoors focuses on variety and American craftsmanship, positioning itself around a very broad catalog of handcrafted custom fronts and drawer faces. That emphasis on domestic production pairs with a straightforward online ordering system. The result is a product set meant to fit both small DIY updates and larger contractor refacing jobs with consistent lead times.
Pros
The product line matches many interior styles, so you can find a traditional raised panel or a modern shaker within the same storefront. Because pieces are made in the USA, turnaround and quality control tend to be consistent and easier to follow than offshore options. The site supports custom sizing and the customer support team will assist with measurements and installation questions, which reduces guesswork for DIYers. Pricing targets budget conscious homeowners and contractors, and the free shipping on orders over $1500 lowers total cost for larger remodels.
Cons
- Shipping is limited to the continental US, which leaves out Alaska, Hawaii, and international buyers.
- The catalog centers on doors, drawer fronts, and hardware only, so you cannot buy full cabinet boxes from them.
- Lead times vary by order complexity, so tight schedules for large projects may not fit their production window.
- The company does not advertise wholesale bulk discounts for large contractor orders.
When It May Not Fit
If you need full cabinet assemblies rather than replacement doors, this supplier will not meet that need. Large property managers with urgent turnarounds could find lead times restrictive for simultaneous multiunit flips. Buyers outside the continental US must look elsewhere due to geographic shipping limits.
Who It’s For
You are likely a budget conscious homeowner, a DIY enthusiast, or a contractor who wants custom replacement doors without replacing cabinets. You value clear online ordering, domestic craftsmanship, and a variety of finish and style options. You also want support for measuring and installation rather than going it completely alone.
Real World Use Case
A homeowner measures existing cabinet faces, selects custom shaker doors and matching drawer fronts, and uploads measurements through the ordering form. The customer calls the support team for a measurement check and schedules delivery within the advertised shipping window. The homeowner then installs the fronts and new hardware, updating the kitchen appearance without new cabinet boxes.
Pricing
Price depends on style and material, quoted per square foot. Basic shaker doors typically start at $16.40 per square foot, while complex harmony or mitered styles can exceed $32 per square foot. Orders over $1500 qualify for free shipping; custom sizes and specialty finishes add fees.
Website: https://fastcabinetdoors.com
Belmont Doors
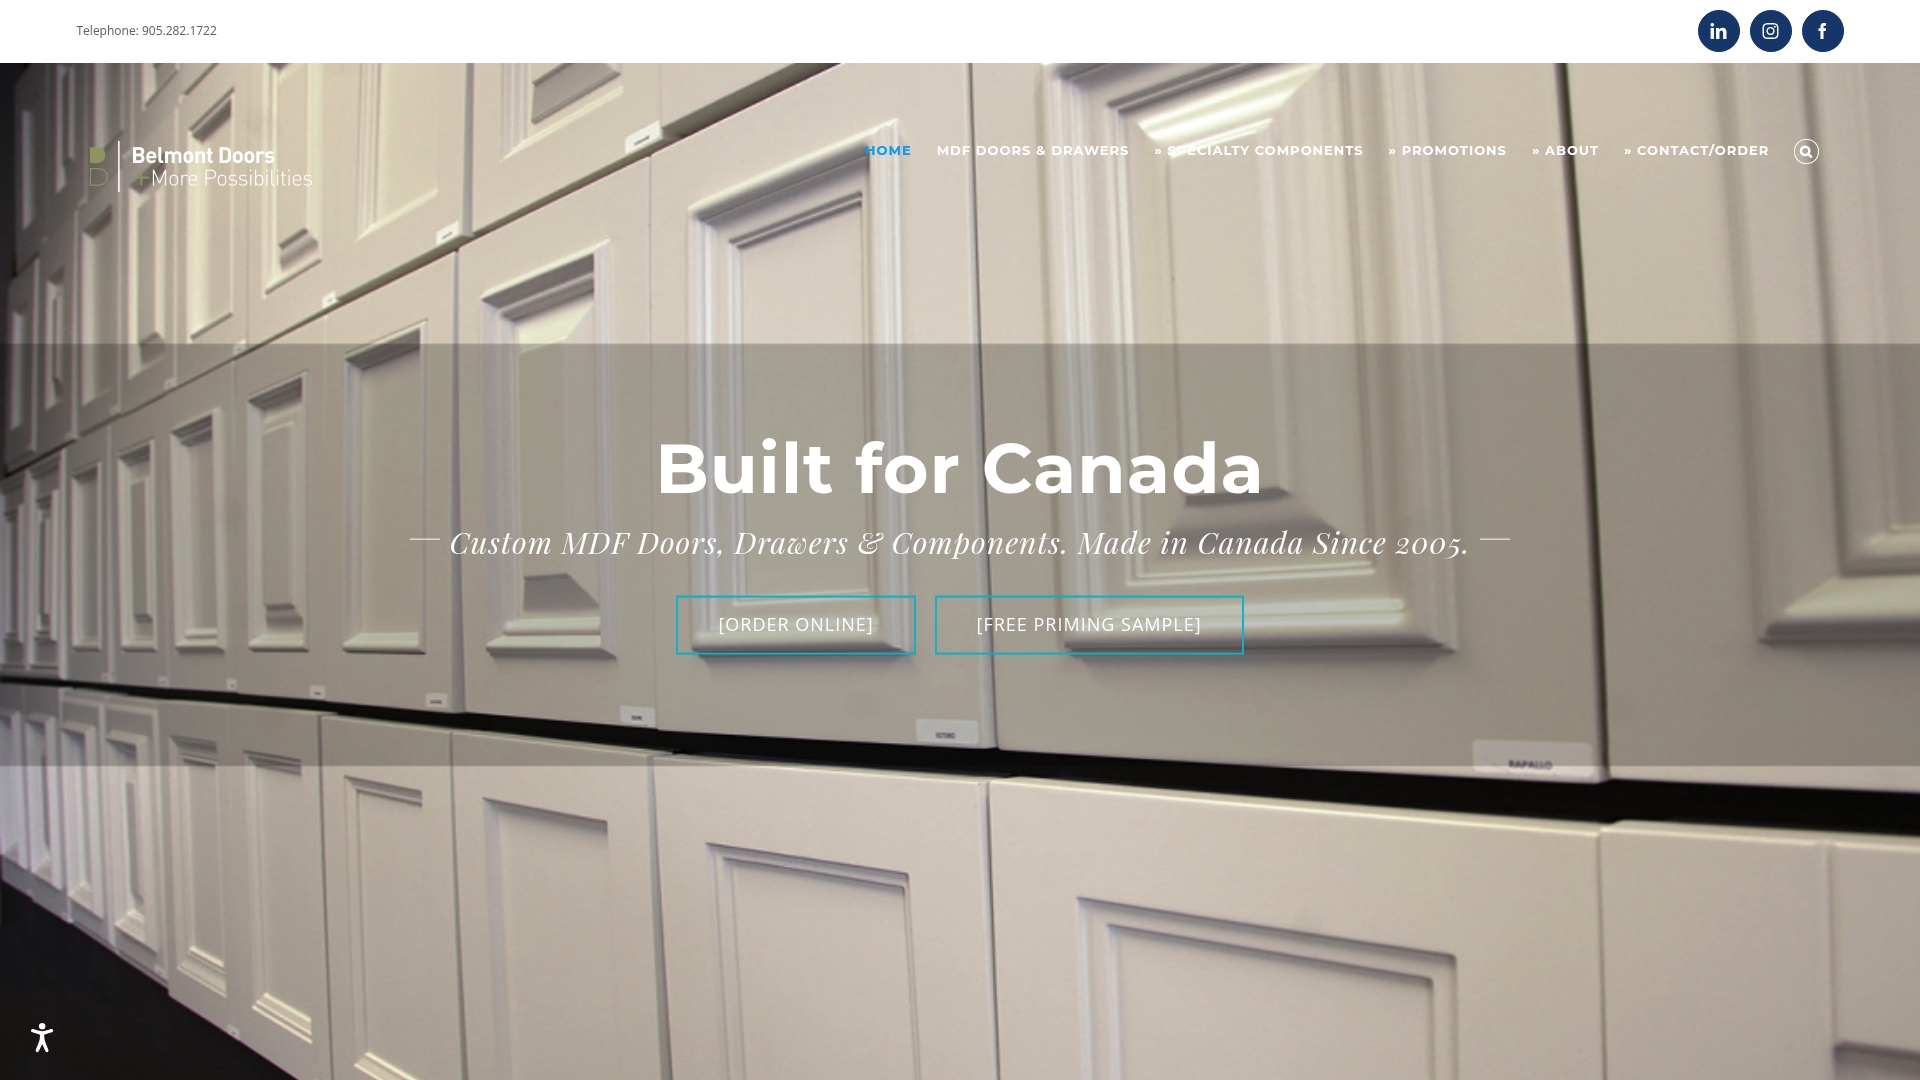
At a Glance
Belmont Doors reports more than 15 years serving Canadian cabinetmakers with custom MDF doors, drawer fronts, and components. The company offers free rail and stile size adjustments and runs an online ordering and sample system aimed at trade professionals. Production uses CNC machining in Mississauga for consistent part dimensions.
Core Features
Belmont supplies custom MDF cabinet doors, drawer fronts, and specialty components across shaker, flat panel, raised panel, and transitional styles. The catalog includes online sample requests and an ordering portal that speeds repeat purchases for shops. Manufacturing centers on CNC machining and local production to keep dimensions consistent and lead times predictable.
Key Differentiator
The clear distinction is that Belmont focuses on being Canadian-made with deep customization for professionals, including free profile adjustments. That approach suits cabinet shops that need precise, repeatable parts rather than a retail consumer selection. This narrows its audience compared with Tdm-thedoormaker, which targets homeowners and DIY remodelers.
Pros
Belmont brings trade-ready features and a wide set of MDF profiles that appeal to designers and cabinetmakers. The free stile and rail adjustments remove a common customization obstacle and save fabrication decisions at quoting time. The online ordering flow and sample options reduce guesswork before a large production run, and local manufacturing supports consistent sizing and easier communication with a Canadian factory.
Cons
-
Focused on MDF only, so you will not find solid wood or thermofoil alternatives here.
-
The business primarily serves professionals, so retail shoppers may not get the same account support or consumer pricing.
-
The website has reported server errors and missing pages, which can disrupt browsing or placing orders.
When It May Not Fit
If you are a homeowner who wants direct retail purchase or a broad material palette, Belmont is not the best match. Shops that require non MDF substrates will need a different supplier. Teams that rely on flawless self-serve ordering may encounter interruptions while the vendor resolves website issues.
Who It’s For
Belmont suits Canadian kitchen designers, cabinetmakers, and builders who need reliable, customizable MDF parts produced to tight dimensions. It fits professionals who prefer local manufacturing, sample verification, and the ability to tweak profiles without extra fees.
Real World Use Case
A cabinetmaker orders a large run of primed MDF shaker doors and requests a free primed sample to check paint adhesion. They specify adjusted stile and rail widths to match a client detail and receive uniformly machined parts that fit their existing production fixtures.
Pricing
Pricing varies by style and level of customization and ranges from moderate to premium depending on options. Free samples are available, and online ordering supports volume pricing and trade accounts for regular buyers.
Website: https://belmontdoors.ca
cncwoodcraft
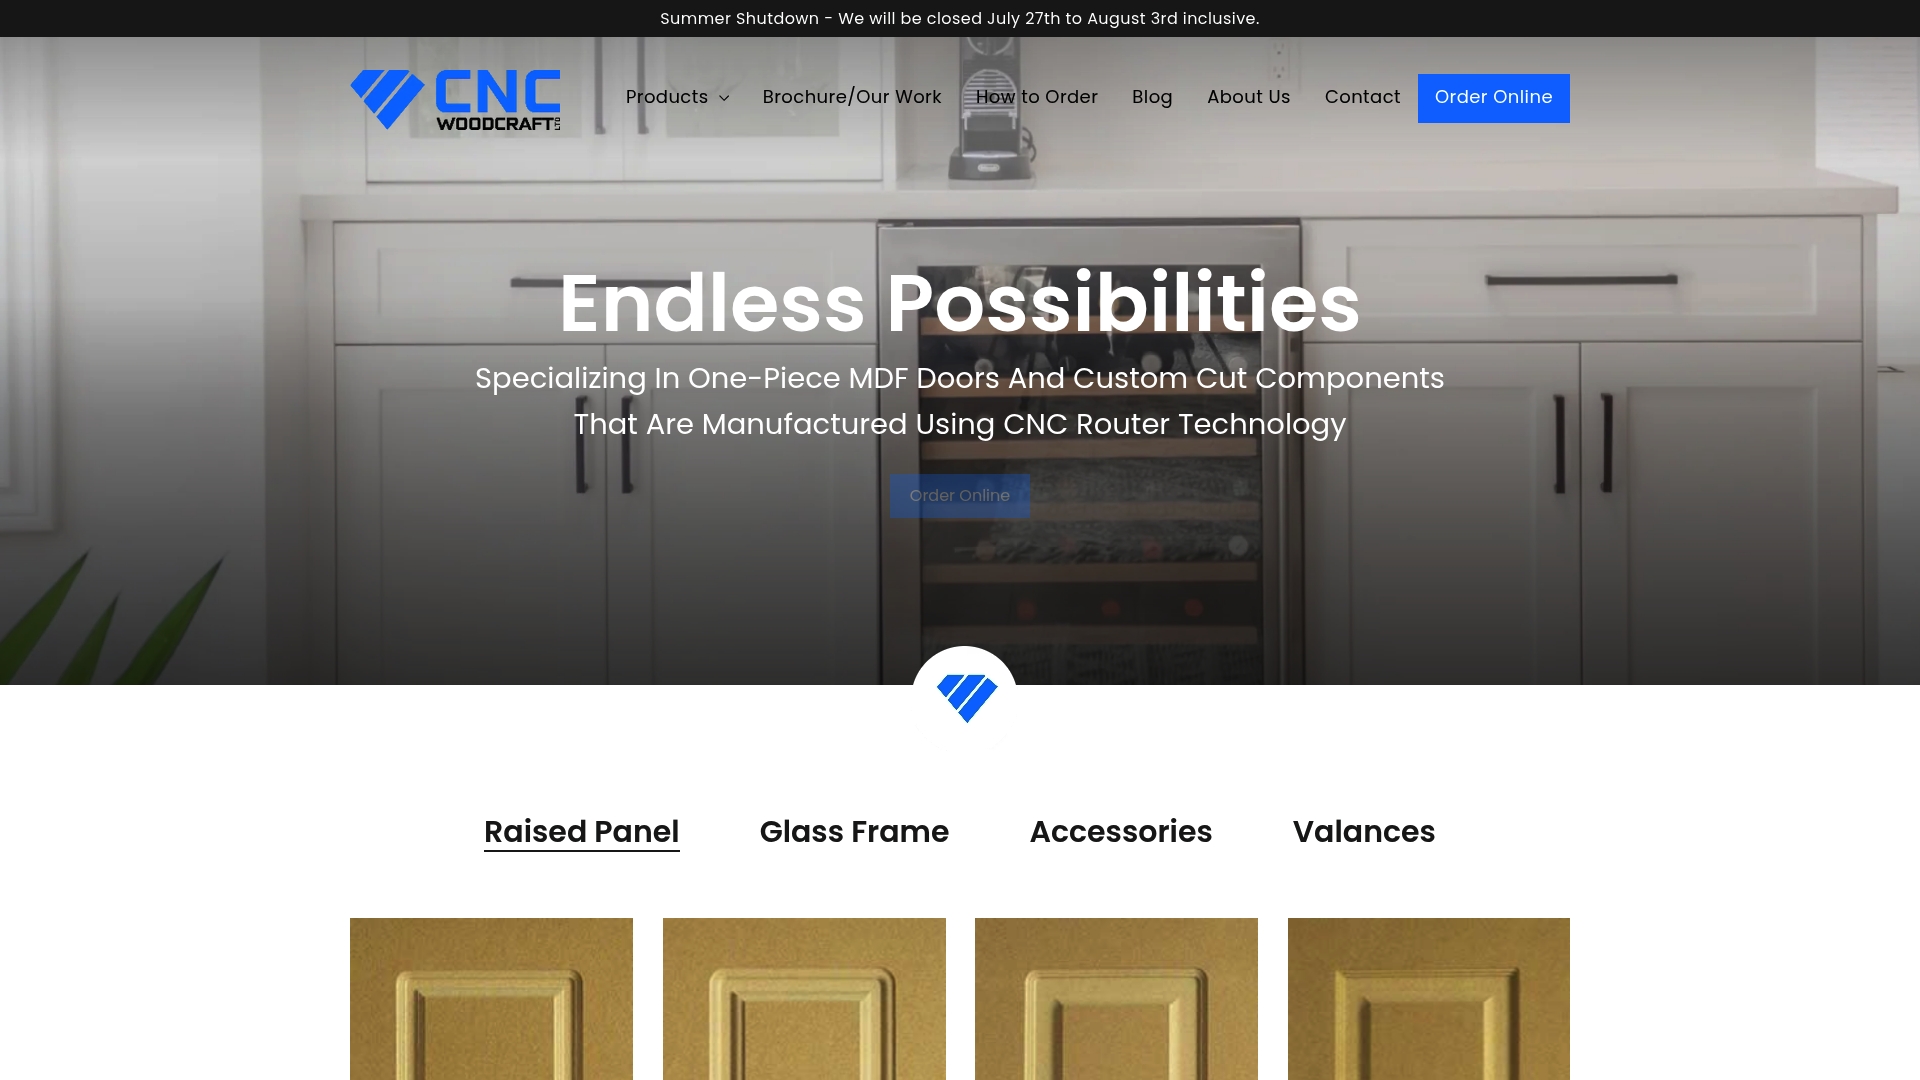
At a Glance
According to the company, CNC Woodcraft has operated since 1992 and offers more than 40 door styles. The shop runs multiple CNC routers in St. Catharines, Ontario, with a team reported at over 10 employees. The firm emphasizes precision routing, quick turnarounds, and competitive pricing for custom MDF work.
Core Features
CNC Woodcraft uses CNC routing to cut custom MDF doors and components to precise dimensions, which reduces fit issues on site. The catalog spans raised panel, flat panel, shaker, glass frame, and decorative options while supporting custom sizes and detailed edge profiles. The company can handle high volume and intricate machining and publishes a free brochure that outlines its portfolio and capabilities.
Key Differentiator
The standout angle is a focus on high precision CNC routing that drives consistent tolerances across bespoke door runs. That emphasis makes the shop a fit for renovation firms and builders who need many identical parts or tightly toleranced components rather than one-off retail purchases. The workflow prioritizes repeatability and speed for professional trades.
Pros
Customization covers size, profile, and style so projects that require unusual dimensions or matching existing cabinetry benefit directly. The vendor reports several decades of manufacturing experience and a longstanding presence in North America, which supports predictable production and finish handling. Fast turnaround and competitive quoting make it practical for contractors working to tight schedules and budgets. Using CNC routers reduces manual trimming at the job site and helps parts arrive ready to assemble.
Cons
- The shop primarily works with MDF and other wood based products, limiting choices for buyers wanting solid wood or metal alternatives.
- The emphasis on custom MDF doors means small retail buyers seeking off the shelf units may find ordering and minimums awkward.
- Visibility to homeowners is lower because the business targets B2B channels and trade customers more often.
When It May Not Fit
If you need authentic hardwood or veneer face stock, this vendor will not be the right match. For single-piece retail purchases where speed and a stocked finish matter, a local cabinet shop or big box retailer may be more convenient. If your project requires in person showrooms and walk in selection, the B2B oriented setup could feel cumbersome.
Who It’s For
This maker suits professional woodworkers, contractors, and interior designers specifying custom MDF door runs and trim for renovations. It also fits renovation companies that need multiple identical panels or contractors who value delivered, ready to finish parts. High volume jobs and projects with nonstandard sizes benefit most from the facility’s tooling.
Real World Use Case
A renovation company orders a batch of custom MDF cabinet doors and microwave frames for a kitchen remodel. They submit exact dimensions and edge profiles through an order form. CNC Woodcraft cuts the parts to spec, performs quality control, and ships completed components to the job site so the contractor can install on schedule.
Pricing
Pricing is custom and varies by size, style, and order volume, with typical project costs provided on request. The company offers free initial consultations and quotes rather than standard item pricing. Expect the final price to reflect material, complexity, and quantity.
Website: https://cncwoodcraft.com
Comparison of alternatives
When selecting the custom kitchen cabinet doors, product catalogs, material variety, and pricing offer prominent factors to evaluate. Each provider analyzed presents unique benefits tailored to different audiences and renovation needs.
Catalog depth and configuration flexibility
TDM-The Door Maker stands out for its impressive variety of available styles and finishes, offering over 30 door profiles and 130 color choices. This extensive selection allows customers to design highly personalized cabinets matching any desired aesthetic. Additionally, their proprietary Build a Door configurator guides users through styles, sizing, and ordering—perfect for DIY homeowners aiming for precision without professional installation costs. However, FastCabinetDoors features a similarly broad catalog with efficient customer support for design assistance, making it an appealing option as well.
Production timelines and shipping coverage
cabinetdoorsnmore.com distinguishes itself with a production time of just 15 days, significantly shorter than TDM-The Door Maker’s four-week timeline. This capability is particularly advantageous for contractors with tight deadlines or schedules dependent upon quicker delivery. Furthermore, cabinetdoorsnmore.com and FastCabinetDoors offer free shipping, either for all orders or those exceeding specific values, reducing total costs for high-volume purchases.
Best fit
- For DIY homeowners visualizing a custom kitchen transformation with detailed color and style matching, TDM-The Door Maker offers personalization and guidance resources.
- For contractors requiring rapid, consistent delivery to maintain project schedules efficiently, consider cabinetdoorsnmore.com for its 15-day production capability and free shipping.
- For trade professionals requiring unique door dimensions and detailed specifications for large-scale projects, Belmont Doors’ free profile adjustments and CNC Woodcraft’s extensive expertise in high-volume, precise customizations present strong benefits.
Our pick
TDM-The Door Maker excels at offering extensive customization options paired with accessible guidance for DIY kitchen renovations. Their combination of an expansive catalog with an intuitive ordering system supports personalized and high-quality renovations. However, if expedited timelines or specific material needs such as solid wood are priorities, consider alternatives like cabinetdoorsnmore.com. Each user’s unique needs determine their ideal provider.
Compare options based on style variety, materials, and turnaround times.
| Product | Core Features | Key Differentiator | Pricing | Notable Limitation |
|---|---|---|---|---|
| Tdm-thedoormaker | Custom cabinet doors and finishes | Extensive style and color options | Sample doors from $27.38 | Limited international shipping |
| cabinetdoorsnmore.com | Solid wood, MDF, RTF options | Quick delivery and free US shipping | Price starts at $43.20/sq ft | Requires precise buyer measurements |
| FastCabinetDoors | Shaker, raised panel, inset panel designs | Broad catalog and domestic craftsmanship | Price starts at $16.40/sq ft | Geographic shipping limits (continental US only) |
| Belmont Doors | Custom MDF cabinet doors and drawer fronts | Canadian-made and professional trade focus | Price not published | MDF only, no solid wood or thermofoil alternatives |
| cncwoodcraft | Precision CNC routed MDF doors and trim | High precision and repeatability for B2B | Price not published | Limited focus on MDF, fewer options for retail buyers |
Challenges Choosing Durable Alternatives to Custom Cabinet Doors Glass
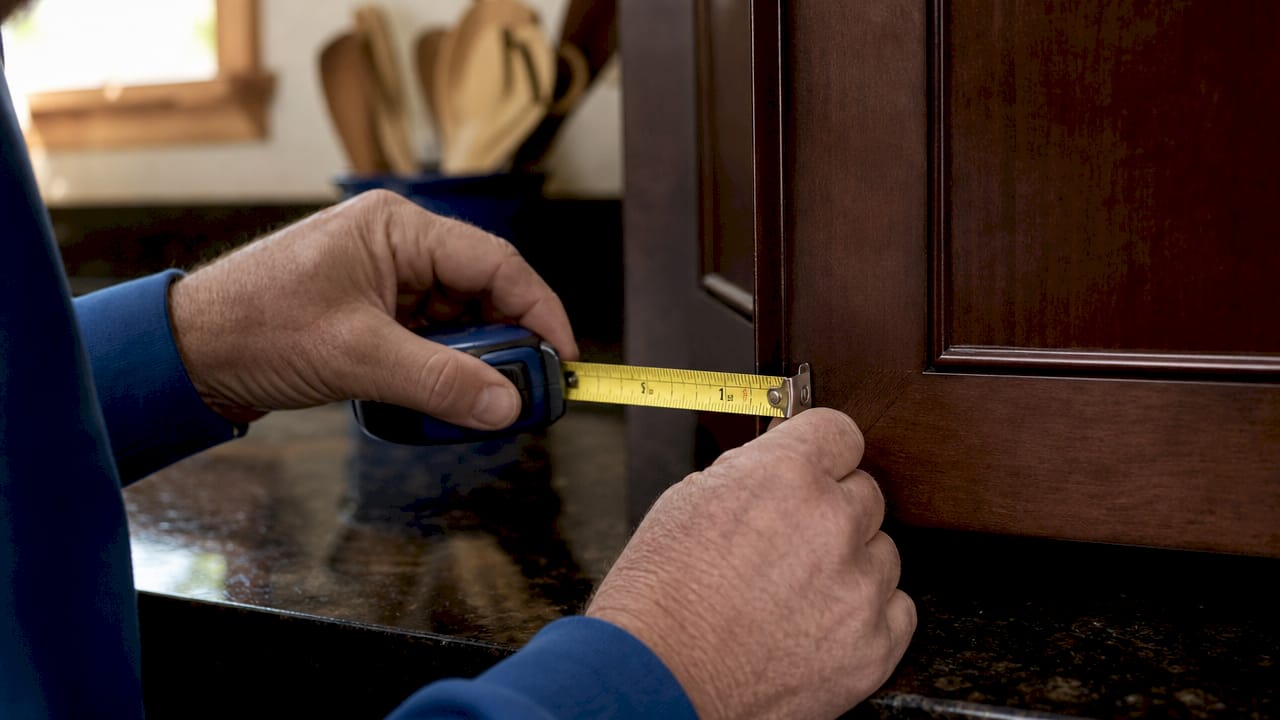
Selecting a lasting glass alternative for custom cabinet doors presents specific challenges for homeowners and DIY remodelers. You want broad style choices that suit your kitchen’s look, precise sizing to fit existing frames, and clear guidance to avoid mistakes during installation. The risk of costly errors or mismatched finishes often makes this process feel overwhelming.
Tdm-thedoormaker offers an approach designed for these concerns. Their three-step measure, design, and order system helps you pick from over 30 door profiles and 130 colors, all tailored to your exact dimensions. This reduces surprises in fit or finish and keeps costs lower than full cabinet replacements. See how Tdm-thedoormaker’s solutions support custom cabinet door refacing at Uncategorized Archives | The Door Maker and learn more on their main site Tdm-thedoormaker.
Ready to replace cabinet doors without full remodeling costs or delays?
Explore Tdm-thedoormaker’s precise sizing and extensive style options now. Begin measuring to achieve the cabinet look you want with confidence and less risk.
FAQ
What are the benefits of choosing Tdm-thedoormaker for custom cabinet doors?
Tdm-thedoormaker offers a wide range of custom cabinet doors, including over 30 door profiles and 130 color options, providing substantial design choices. Their precise manufacturing helps ensure a perfect fit for retrofit installs, allowing you to enhance your kitchen without a full cabinet replacement. You can access their online configurator to easily measure, design, and order your doors.
How does cabinetdoorsnmore.com compare to Tdm-thedoormaker in turnaround time?
Cabinetdoorsnmore.com promises a quick turnaround time of 15 days or less for custom cabinet components, which is impressive for those on tight schedules. Tdm-thedoormaker, on the other hand, has a longer production lead time of about four weeks, making it better suited for projects that can accommodate a bit more time and require a wider array of styles and custom options.
What features make Tdm-thedoormaker ideal for DIY homeowners?
Tdm-thedoormaker provides a combination of customizable cabinet doors and online measurement guides, making it ideal for DIY homeowners. Their online Build a Door configurator allows you to design and order without the need for professional assistance, ensuring that you can achieve a bespoke kitchen appearance with confidence.
Does FastCabinetDoors provide any advantages for contractors?
FastCabinetDoors focuses on a variety of cabinet styles and offers free shipping on orders over $1500. While Tdm-thedoormaker excels in its catalog depth and configurator features, FastCabinetDoors might appeal to contractors looking for budget-friendly pricing and free shipping for larger orders. This makes FastCabinetDoors a competitive choice for those managing multiple projects simultaneously.
How does the pricing of Tdm-thedoormaker compare to others?
Tdm-thedoormaker offers sample doors starting at $27.38, along with a wide range of prices for final door orders based on style and size. This competitive pricing often undercuts major retailers like Home Depot and Lowe’s, providing you with an affordable option for high-quality cabinet doors.