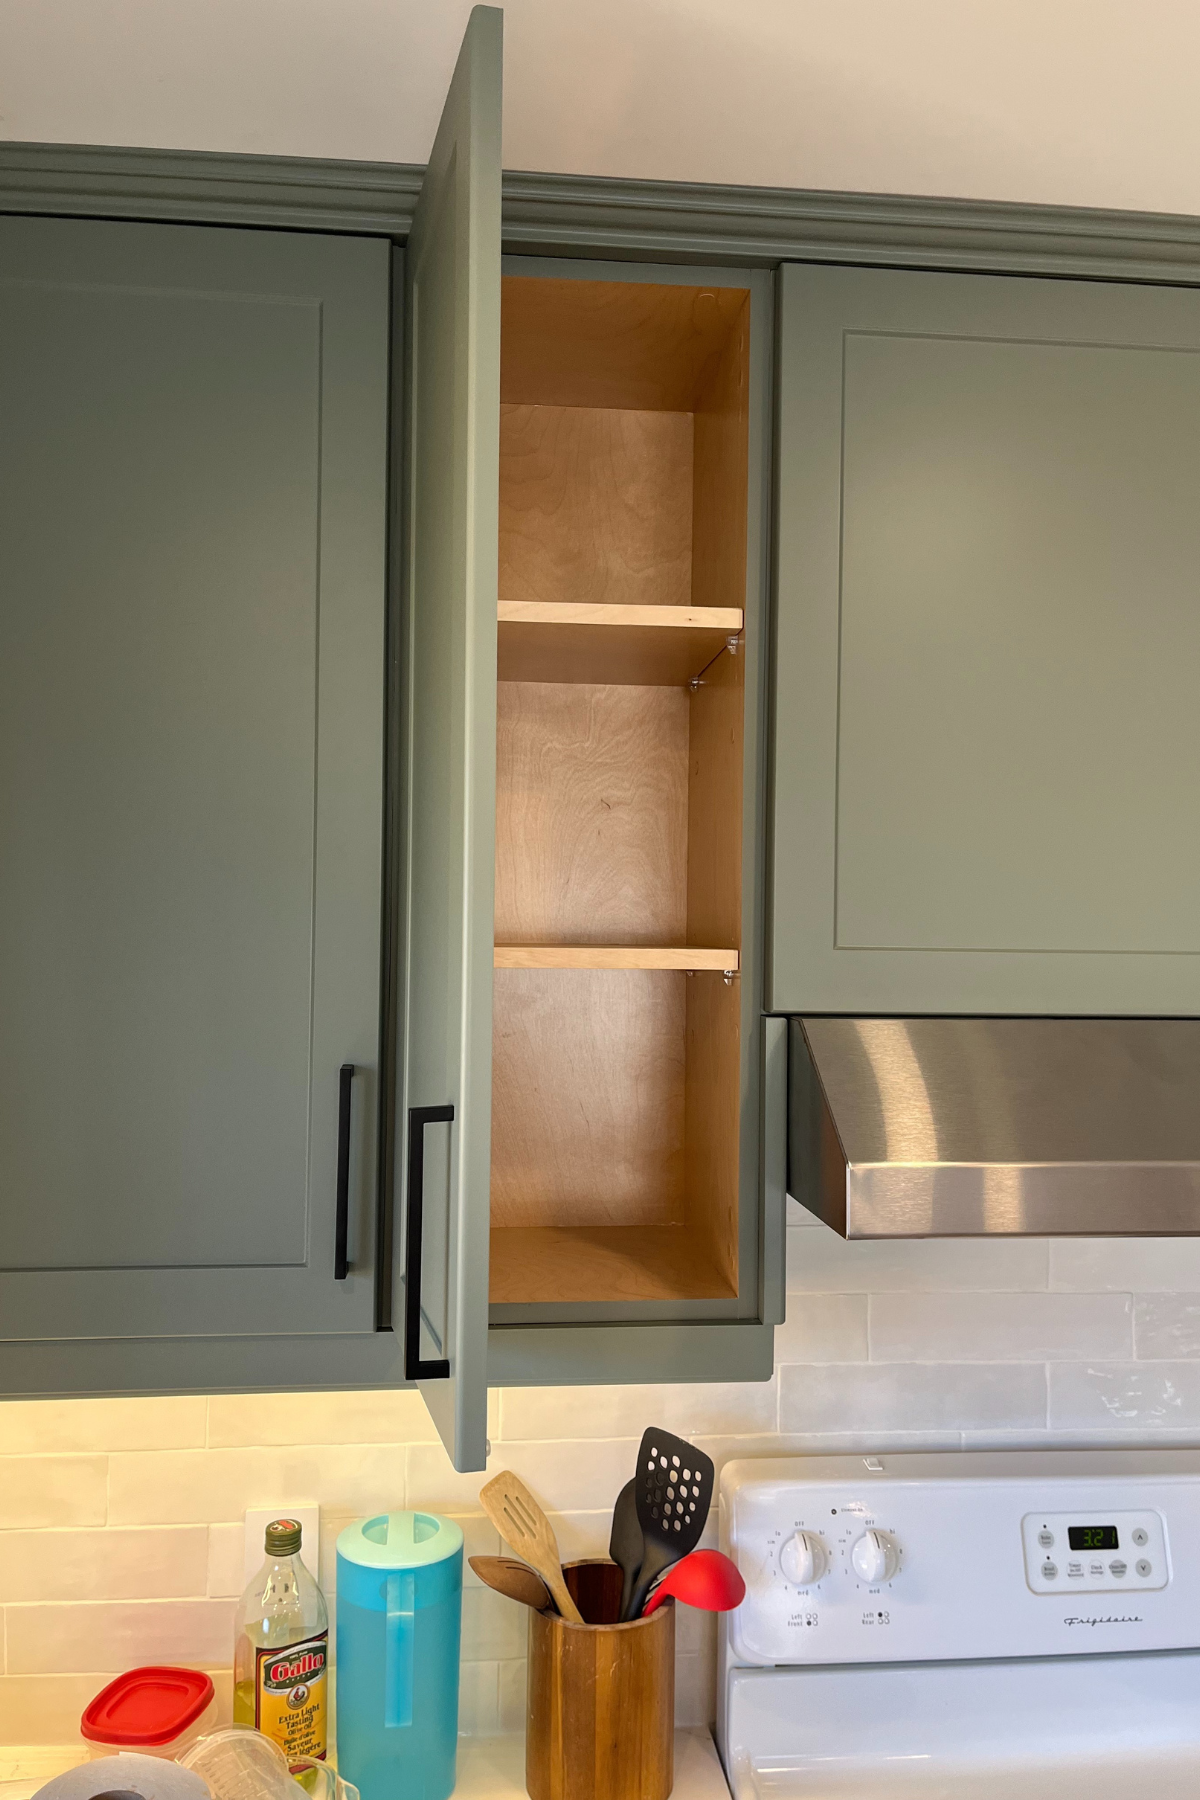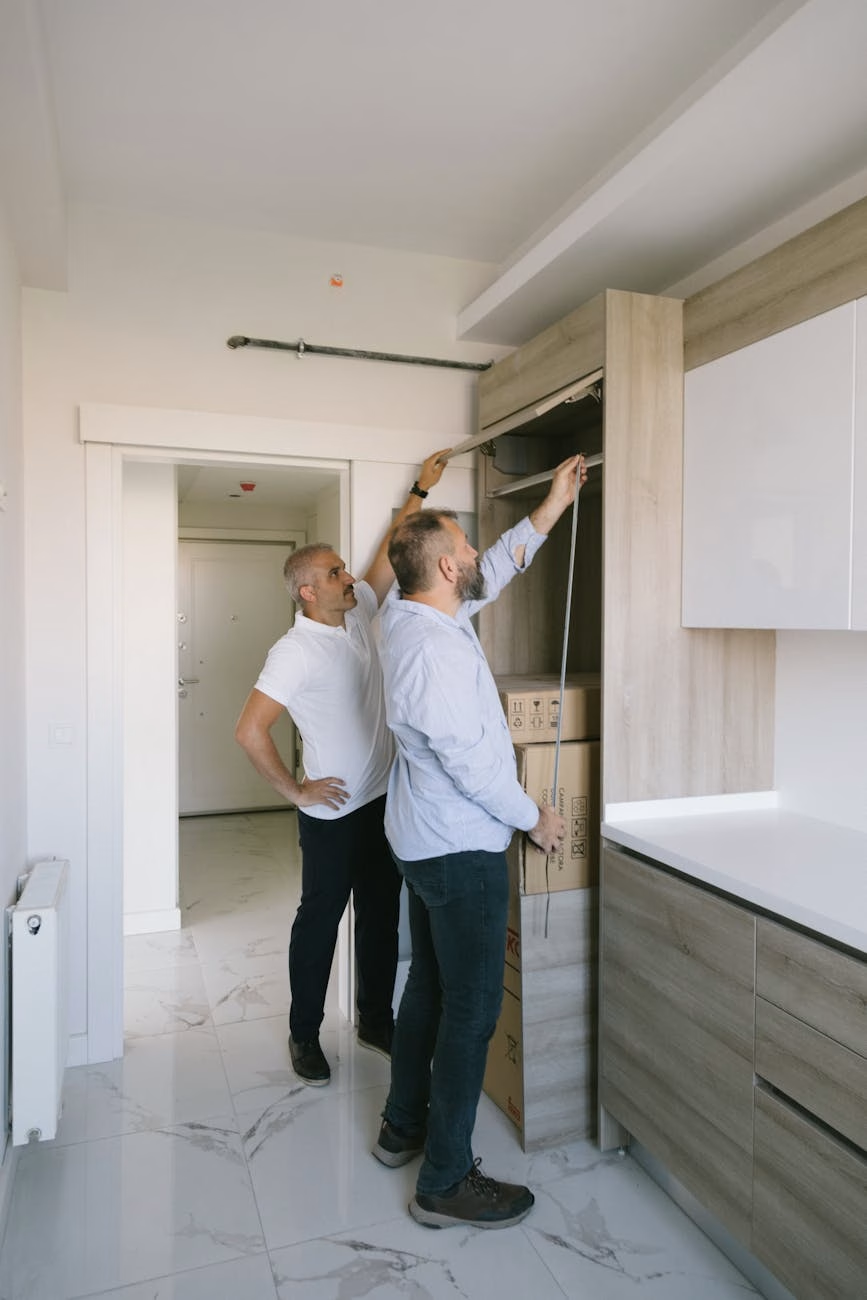
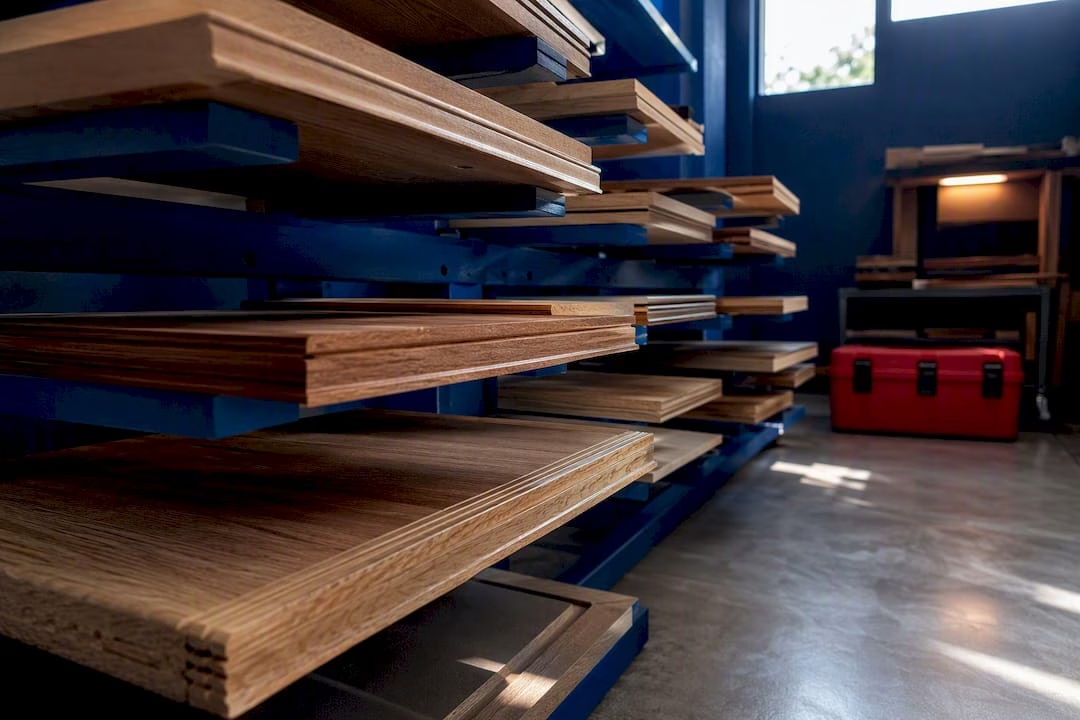
Yes. Cabinet doors need time to equilibrate to your home’s temperature and humidity before final milling or installation. Factory-finished doors usually need a couple of days of rest in the room where they’ll hang. Raw solid wood or newly milled stock is a different animal. It can take days to several weeks before it’s dimensionally stable enough to trust.
TL;DR:
- Most cabinet doors need a minimum of 48 to 72 hours of acclimation in a conditioned space before milling or installation.
- Raw solid wood can take several weeks to stabilize, especially in extreme seasonal humidity, while engineered materials stabilize faster.
- Avoid drilling or hinge routing until measurements are stable over multiple days, as premature work locks in shifting dimensions.
- Maintain indoor humidity between 30% and 55% and temperature around 68 to 72°F to prevent wood swelling, shrinking, or joint issues.
- Consider ordering prefinished custom doors, which arrive precisely sized and finished, to avoid lengthy shop time and waiting periods.
Table of Contents
- Quick Checklist: What to Do the Moment Doors Arrive
- How Long Does Acclimation Actually Take?
- The Step-by-Step Process From Arrival to Installation
- What Temperature and Humidity Should Your Space Hold?
- Fixing and Preventing Warped or Swollen Doors
- When Does Ordering Custom Doors Make More Sense Than DIY Milling?
- A Faster Path to Doors That Don’t Need Weeks of Waiting
- Where to Read More on Acclimation and Finishing
- Sources
- FAQ
Quick Checklist: What to Do the Moment Doors Arrive
Before you touch a drill or a hinge, run through this on delivery day:
- Unpack doors from plastic and cardboard right away. Trapped moisture under wrapping causes uneven equilibration.
- Label and photograph each door so you can track any movement over the following days.
- Place doors in the conditioned space where they’ll be installed, spaced apart for airflow, away from direct sun or heat vents.
- Check your indoor humidity with a digital hygrometer and log the starting number.
- Give prefinished doors 48 to 72 hours minimum. Raw stock needs rough milling, a rest period, then final milling.
- Hold off on hinge routing or drilling until dimensions stop changing.
That last point trips up more DIYers than any other. Drilling too early locks in measurements that shift a week later.
How Long Does Acclimation Actually Take?
There’s no single number, and manufacturer guidance reflects that spread. Some cabinet shops tell customers 48 to 72 hours is enough for factory-finished doors. Others recommend 30 to 60 days of acclimation for full cabinetry before installation, particularly when the home’s humidity hasn’t stabilized after construction.
The material makes the biggest difference. Raw solid wood, especially long boards, can take weeks to settle. Engineered materials like plywood and MDF stabilize faster, but they still need time once a finish goes on. Trade guidance on trim and mill stock puts the range even wider: a few days up to six weeks, depending on board thickness and how far the wood’s moisture content is from your home’s baseline.
Season matters too. Winter air below 20% relative humidity pulls moisture out of wood fast, and summer humidity above 60% pushes it back in. Both extremes usually call for longer waits or active humidity control.
Don’t confuse finish dry time with cure time. A coat can feel dry to the touch in hours, but full hardness on water-based finishes often takes 7 to 21 days, and oil-based finishes can take up to 30. Plan handling and hardware installation around cure time, not the moment the surface stops feeling tacky.
The Step-by-Step Process From Arrival to Installation
Getting this right isn’t complicated, but skipping a step is how warped doors end up back on a return truck.
- Inspect on arrival. Photograph and label each door, check for shipping damage, and remove all packaging. If you have a moisture meter, take a baseline reading on the wood and log your room’s humidity with a hygrometer.
- Rough-dimension raw stock first. Leave extra thickness rather than cutting to final size immediately. Cutting straight to final dimensions can release internal stresses that only show up later as bowing.
- Stack and rest. Use thin stickers between boards so air circulates evenly, and let the stack rest in the conditioned space for days to weeks depending on thickness and species.
- Final-dimension once stable. Only mill to final size after the stock has stopped moving between measurements.
- For factory-finished doors, open the boxes and let them sit in the installation room for 48 to 72 hours before you start layout work.
- Confirm stability before drilling for hinges. Take repeat measurements a day apart. If a door has moved, wait longer and keep monitoring.
- Watch for cupping, bowing, or checking at the ends. Document any movement and decide whether light planing, sanding, or a full replacement panel is the right fix.
Pro Tip: Keep a simple log with the date, door number, and measurement on a sticky note taped to each piece. It takes thirty seconds and saves you from second-guessing whether a door actually moved or you’re just eyeballing it wrong.
What Temperature and Humidity Should Your Space Hold?
Aim for 30% to 55% relative humidity and roughly 68 to 72°F, which lines up with the humidity range manufacturers generally recommend to keep cabinetry stable long after installation. Outside that band, wood either swells and jams joints or shrinks and opens gaps at the seams.
A few practical moves get you there:
- Run your HVAC system consistently rather than letting the house swing between heating cycles.
- Add a small humidifier in dry winter climates or a dehumidifier during humid stretches.
- Never store doors in a basement or an unconditioned garage. Those spaces run far outside your target range and defeat the whole point of acclimating.
- Store doors flat on a clean, level surface with thin stickers for airflow between them, or upright on a padded A-frame with even support along the full length.
- Leave plastic wrap off once doors are indoors so moisture can equalize naturally.
If you’re mid-renovation, hold off on final cabinet installation until wet trades like drywall mudding or fresh concrete have finished and the space has had time to dry out. Those jobs dump moisture into the air that undoes days of careful acclimation.
Fixing and Preventing Warped or Swollen Doors
Most warping traces back to uneven moisture absorption, and the fix starts before the door ever gets hung. Finishing both faces of a door equally, including the edges, keeps moisture moving in and out at the same rate on both sides. A door finished on the front only will almost always cup toward the unfinished back over time.
- Seal end grain on solid wood parts. It absorbs moisture faster than the face grain and is a common source of splitting.
- Leave a small expansion gap for panels inside frame-and-panel doors. A panel fit too tight will bind and crack when humidity rises.
- Rough-mill and rest stock before final dimensioning, especially with kiln-dried hardwood that may carry hidden internal stress.
- For minor issues, adjust the hinges, plane a tight edge, or sand lightly. Real structural distortion usually means remaking the panel.
Pro Tip: If you see the same door warp twice after two separate fixes, stop repairing and start replacing. That pattern almost always points to a stress problem baked into the wood itself, not a workmanship issue.
For panel-specific movement issues, our cabinet side panel guide breaks down expansion gaps in more detail, and our guide on replacing warped cabinet doors walks through when repair stops making sense.
When Does Ordering Custom Doors Make More Sense Than DIY Milling?
Acclimation isn’t hard to understand, but it takes patience, shop space, and the discipline to leave stock alone for weeks when you’d rather be installing. If you’re dealing with irregular cabinet openings, widespread movement across a dozen doors, or you simply don’t have room to rough-mill and rest lumber properly, DIY acclimation stops being the low-risk option.
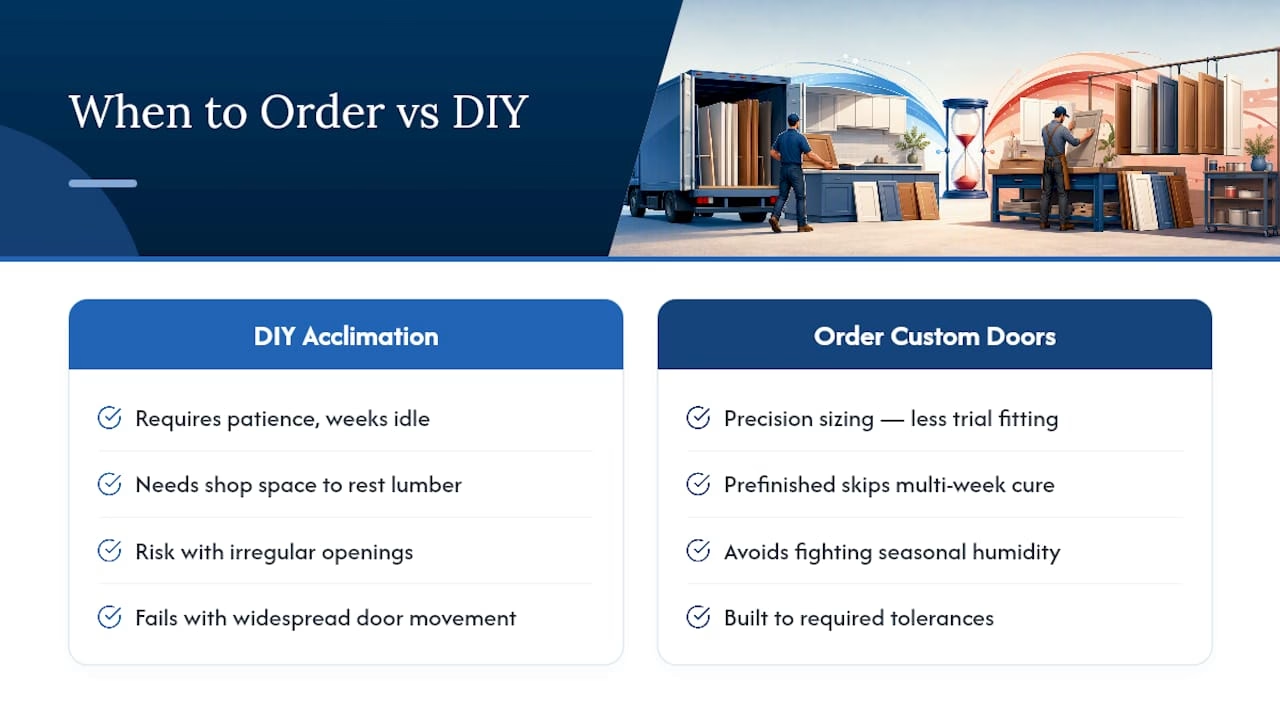
That’s where a measure, design, and order process removes most of the guesswork. Precision sizing eliminates the on-site trial-and-error that comes from hand-fitting raw stock, and prefinished options skip the multi-week finish cure window entirely. You’re not fighting seasonal humidity swings with a stack of boards in your garage. You’re ordering doors already built to the tolerances your cabinets need.
For readers weighing solid wood against engineered options before they even get to acclimation, our comparison of solid wood cabinet doors versus MDF covers how each material behaves in shop conditions.
— David
A Faster Path to Doors That Don’t Need Weeks of Waiting
Tdm-thedoormaker is the alternative to raw lumber and weeks of shop time for anyone who wants finished cabinet doors without babysitting a stack of boards for a month. Measure your openings, design your doors in over 30 styles and 130+ colors and finishes, and place the order. Because every door is cut to precise sizing down to 1/10,000 of an inch and arrives finished, you skip the rough mill, rest, and final mill cycle entirely, along with the finish cure wait that comes with painting or staining on site.
Doors also come with hinge-hole options, sample doors, and color swatches, so you can check fit and finish before committing to a full order. If your current doors are already showing bowing or swelling and you’re deciding whether to repair or replace, start by browsing custom cabinet doors online to see sizing and finish options for your project.
Where to Read More on Acclimation and Finishing
- Humidification guidance for cabinetry from MasterBrand Cabinets
- Bowing cabinet doors, Woodworkers Journal
- Dry time versus cure time, General Finishes
- Acclimating trim stock before installing, Woodweb
- Are solid wood interior doors worth it?, One Day Doors & Closets
Sources
- Humidification Education – MasterBrand Cabinets
- Bowing cabinet doors – Woodworkers Journal
- What is the difference between dry time and cure time? | General Finishes
- Acclimating trim stock before installing – Woodweb
FAQ
How do I adjust cabinet doors so they don’t swing open too far?
Most cabinet hinges have a built-in adjustment screw that controls the door’s opening angle. Turn it clockwise to restrict swing or counterclockwise to loosen it, checking the fit against neighboring doors after each turn.
What cabinet color won’t go out of style?
Warm and cool neutrals like white, gray, and greige have held up as durable long-term choices because they pair with changing hardware and countertop trends without looking dated.
How can I update my kitchen cabinet doors without replacing the whole cabinet box?
Refacing with new custom doors and drawer fronts keeps your existing cabinet boxes in place while swapping the visible surfaces, which is exactly the approach Tdm-thedoormaker’s measure, design, and order process is built around.
What is the 1/3 rule for cabinet hardware?
The 1/3 rule places knobs or pulls roughly one third of the way down from the top edge on upper cabinet doors and one third up from the bottom edge on lower cabinet doors, giving a consistent, comfortable grip height throughout the kitchen.