
Blog
Back to Blog list
Oct 4 2026 BY David Adrian, Blog
Durable, Affordable, and Low-Maintenance (to name a few)
When upgrading your kitchen, Thermofoil cabinet doors are a popular choice for homeowners seeking a combination of durability, affordability, and easy maintenance. Whether refacing an old kitchen or building a new one, Thermofoil-sealed doors offer several advantages making them a smart investment. Here’s why:
1. Durable and Long-Lasting
Thermofoil cabinet doors are known for their exceptional durability. The PVC covering is resistant to scratches, dents, and cuts, providing a practical choice for busy kitchens. Whether you have kids, pets, or everyday wear and tear, Thermofoil cabinets hold up well over time and maintain their pristine appearance.
2. Moisture and Warp Resistant
Another standout feature is their moisture resistance. The vacuum-sealed PVC finish helps prevent moisture from seeping into the cabinet doors and drawer fronts. This provides an ideal solution for kitchen environments where humidity and spills are common. Unlike wood, Thermofoil doors will not warp or crack over time due to water exposure. They will maintain their shape and structure for years.
3. UV Resistant – No Fading
Unlike painted wood or laminate surfaces, the PVC material used in Thermofoil cabinet products does not fade or change color when exposed to sunlight. This UV resistance ensures that your custom cabinet doors will stay vibrant and beautiful, even in kitchens with lots of natural light.
4. Easy to Maintain
Cleaning and maintaining Thermofoil cabinet doors could not be simpler. All you need is a soft cloth, soap and water, or a common household cleaner. Easily wipe away dirt and grime without worrying about damaging the finish. Their low-maintenance nature makes them perfect for anyone who wants to spend less time cleaning and more time enjoying their kitchen.
5. Affordable
Because of the efficient manufacturing process, Thermofoil doors are a lower cost than traditional wood doors, while still offering a high-end look. The streamlined production and ease of customization mean you get a top-quality product at a fraction of the price. Allowing you to upgrade your kitchen without breaking the bank.
6. Easy to Replace
Custom cabinet doors with a Thermofoil finish are easy to replace. If you ever need a replacement cabinet door, the streamlined production process allows for exact replicas to be made. This means you can order a cabinet replacement that matches your existing doors perfectly and without any hassle.
7. Solid, One-Piece Construction
Thermofoil doors are constructed as a single solid piece, eliminating the risk of joint failure common with traditional wood doors. The absence of seams or joints increases their strength, giving the doors a sleek, modern look that many homeowners love.
8. Extended Warranty for Peace of Mind
Enjoy the security of cabinet doors with a longer warranty. The Door Maker offers a 10-year warranty on all Thermofoil doors, far surpassing the typical 1- to 2-year coverage applied to most wood doors. This extended warranty provides peace of mind, knowing your investment is protected for a decade. The durability and resilience of Thermofoil doors, combined with this extensive warranty, make them an unbeatable option for anyone planning to upgrade with custom Thermofoil cabinetry.
When you are ready to upgrade your kitchen, bathroom, laundry, or any room in your home or office with durable, stylish Thermofoil cabinet doors, The Door Maker has everything you need. With over 30 styles and 130 colors, you can customize the perfect look for your space. Use the Build a Door tool to get started today!

Sep 18 2026 BY superuser, Blog
What is cabinet refacing?
Cabinet refacing involves replacing existing doors and drawer fronts of your kitchen cabinets with new ones. If the base cabinets are in good shape and haven’t lost their colour, you can leave them as is and make do without veneer panels or painting them. If you are considering updating the colour of the base cabinets too, you can paint them with a new colour or glue a new veneer on them. The hardware (handles, drawer pulls and hinges) is normally replaced during DIY kitchen cabinet refacing too.How does DIY cabinet refacing work?
While many people think kitchen cabinet refacing is the same as cabinet renovation, in reality, it is not. Cabinet refacing primarily involves replacing the doors and drawer fronts of the kitchen cabinets with newer replacement options. The average process would look something like this:- You get precise measurements of your cabinets doors and drawer fronts. Check out this video guide on measuring kitchen cabinet doors for your DIY kitchen cabinet refacing project.
- Do your research on cabinet door suppliers and choose the one you can trust. Select the desired colour for your new cabinet replacement doors and drawer fronts and place the order.
- Remove your old cabinet doors.
- Install new hardware on the new cabinet replacement doors. This step is unnecessary if the old hinges and handles are still in good condition and you decided to keep them.
- Mount new doors and drawer fronts on the cabinets.
Where to get materials for DIY cabinet refacing?
There are multiple cabinet-refacing suppliers in Toronto, the GTA and throughout Ontario. As someone dreaming of a perfect kitchen, you want to be sure the cabinet door replacements you buy are high-quality, long-lasting and of the best possible price. You can start by researching cabinet thermofoil door suppliers online and sorting them by reviews. Next, compare the pricing and the quality of the materials, and find out if the supplier has a physical location where you can visit and ask for samples. All this will help you choose the best supplier at a reasonable price.Why Choose The Door Maker For Your DIY Kitchen Cabinet Refacing Project?
The Door Maker is the number one provider of cabinet thermofoil doors in Ontario and all across Canada. Having been in the business for over 48 years, we have gained a reputation as a reliable and trustworthy kitchen/bath cabinet doors supplier with the best quality products. Not only do our clients get to choose from a wide range of colours, door profiles and edge designs, but they also take advantage of the most affordable prices and flexible payment options. Our clients are never left to wonder about the door's design as our staff is always available to help with colour and design considerations. Our product is easy to install and gives the appearance of painted wood or finely stained natural grain cabinet doors. We are also the manufacturer of our product, so we can offer our customers the best pricing on the market. To top up our exceptional service and excellent product, we use only the latest in technology and machinery to ensure a high level of efficiency in the manufacturing process and zero carbon footprint. TDM is your go-to source for exceptional quality thermofoil cabinet doors in North America.
How much does DIY kitchen cabinet refacing cost?
According to the Home Guide, the average kitchen cabinet refacing cost is $6,518 (~ CAD 8,950). A 10′ x 12′ kitchen will cost between $4,214 and $8,110 (~ CAD 5,783 to CAD 11,130) to reface. Of course, these numbers greatly depend on aspects such as the quality of the materials, hardware, kitchen size and more. Labour costs are also important to keep in mind. If you hire kitchen refacing contractors, expect to pay between $30 to $100 per hour on top of the materials and hardware costs. But if you want to save even more money and are up for a challenge, consider a DIY option.Pros and Cons of DIY kitchen cabinet refacing
When considering DIY kitchen cabinet refacing, it is crucial to weigh all pros and cons of this venture.Why go for DIY kitchen cabinet refacing?
- Brand new kitchen cabinets for a fraction of the cost - DIYing your kitchen cabinet refacing is definitely cheaper than renovating your entire kitchen from scratch.
- No city permits are required - Since cabinet refacing doesn’t involve any major plumbing or electrical work, you don’t need to apply for any permits to reface your kitchen cabinets.
- Boosted home-resale value - With cabinet refacing, your kitchen will look as stunning as a brand new kitchen, so expect to get a higher resale value when selling your home.
- An outlet for creativity - If you are keen on all things DIY, especially those concerning home design, kitchen refacing is a great opportunity to allow your creativity to run wild.
When to stay away from DIY kitchen cabinet refacing?
- Not worth the money if cabinets are old or damaged - cheap, old plywood cabinets showing signs of wear may not be worth the effort of refacing them.
- Doesn’t help change kitchen layout and cabinet space - if kitchen layout is what bothers you more than the cabinet fronts themselves, refacing may not be the best option as it will not change the kitchen’s layout.
FAQs
Can you DIY kitchen cabinet refacing?
Yes, you can! In fact, this process is so easy that you shouldn’t even bother hiring a professional installer to complete your kitchen cabinet refacing project. All you need is ordering the right supplies and a little DIY spirit.How long do kitchen cabinet refacing projects take to complete?
Depending on the kitchen size, it could take you from a weekend to a week or two to finish a DIY kitchen cabinet refacing project. The installation time will also vary depending on your skill level. An experienced DIYer will complete the installation in less time than a novice.Is DIY cabinet refacing worth the money?
Indubitably, yes. Aside from saving you a big chunk of money, your kitchen will obtain a brand-new look without the hassle of a full remodel.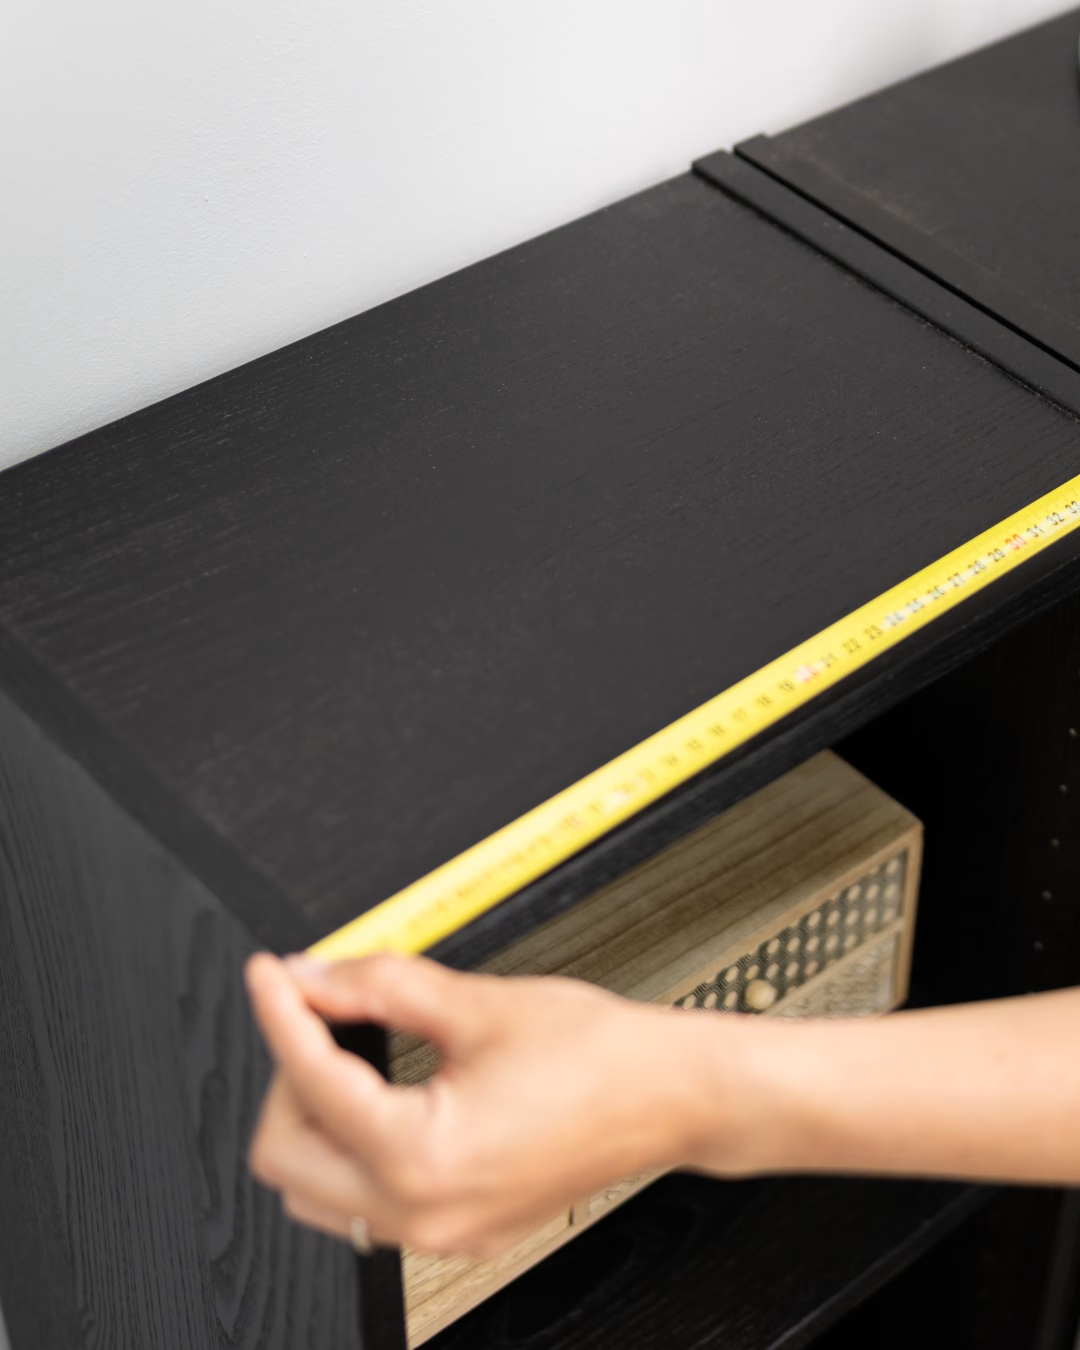
Aug 7 2026 BY David Adrian, Blog
Gathering the Right Tools for the Job
A few minutes of organization now will save you from a ton of frustrating do-overs later. You only need a few simple things, but they need to be the right things. A flimsy, old tape measure just won't cut it. They can sag or even stretch, which is a recipe for disaster when you're ordering custom doors. Your most important tool is a high-quality steel tape measure. It gives you the rigidity you need for a perfectly straight, precise reading, especially when you're measuring a wide opening. Next, grab a simple notepad and a pencil. It's tempting to just jot numbers down on a scrap of wood or punch them into your phone, but don't. A dedicated notepad keeps your width and height measurements organized and easy to read, which seriously cuts down on the chance of mixing them up. For example, a note like "Upper Cabinet #1: 18" W x 32" H" is much clearer than a random "18x32" in your phone's notes.Pro Tip: Always double-check if your cabinet frames are square. This is a big one, especially in older homes where things have had time to settle. Just hold a small level against the frame—it'll tell you instantly if it's plumb. This quick check can save you a headache and explain why you might be getting different measurements at the top and bottom of an opening.Here's a quick rundown of what you'll want on hand:
- Steel Tape Measure: This is non-negotiable for accurate, consistent readings.
- Notepad & Pencil: To keep every measurement clear and organized.
- Straight Edge or Level: Perfect for checking if frames are square and helping you draw straight lines if needed.
Cracking the Code on Cabinet Overlays
 Before you even think about touching a tape measure, you need to understand how your doors sit on the cabinet frame. This is called overlay, and it’s the single biggest factor in getting your door sizes right. A measurement for one style will be completely wrong for another, so this is a critical first step.
Simply put, overlay describes how much of the cabinet face frame the door covers when closed. Getting this right dictates the entire formula for your final door dimensions.
Full Overlay Doors
Just like the name says, full overlay doors cover almost the entire cabinet face frame. This gives you that modern, seamless look with very tight gaps between doors. When you look at the cabinets, you see door, door, door—and very little of the frame behind them. To measure for a single full overlay door, you’ll take the opening's width and height, then add the overlay amount to each dimension. A very common overlay is 1/2 inch, which means you’d add a total of 1 inch to the final width and height measurements (1/2 inch for the left side, 1/2 inch for the right, and so on). Here's a real-world example: If your cabinet opening is 16 inches wide by 30 inches high, and you want a standard 1/2 inch overlay:- Door Width: 16" + 1" = 17"
- Door Height: 30" + 1" = 31"
Partial Overlay Doors
Partial overlay is the classic style you’ve probably seen in countless kitchens. Also known as traditional or standard overlay, the door only partially covers the face frame. This design leaves a good portion of the frame—usually 1 to 1.5 inches—exposed around each door. The measuring process is the same as for full overlay, but you're just adding a smaller amount. For instance, with a 3/8 inch overlay, you'd add a total of 3/4 inch to the opening's width and height. Practical Example: For that same 16-inch wide by 30-inch high opening, but with a 3/8-inch partial overlay:- Door Width: 16" + 3/4" = 16 3/4"
- Door Height: 30" + 3/4" = 30 3/4"
A small mistake here can throw everything off. You could end up with doors that collide with each other or have sloppy, uneven gaps, completely ruining the professional look you're after. Nail the overlay, and the rest of the job becomes much easier.
Inset Doors
Inset doors are in a class of their own. They don't sit on top of the frame at all—they sit perfectly flush inside the cabinet opening. The face of the door is level with the cabinet frame, giving it a high-end, custom furniture appearance. Measuring for inset doors is the opposite of the other styles; you subtract instead of add. You'll measure the opening precisely and then subtract a small amount, typically 1/8 inch total from both the width and height. This creates a tiny, consistent clearance gap so the door doesn't scrape against the frame. Let's use our example opening: For a 16-inch wide by 30-inch high opening:- Door Width: 16" - 1/8" = 15 7/8"
- Door Height: 30" - 1/8" = 29 7/8"
Cabinet Door Overlay Measurement Guide
To make things easier, here’s a quick-reference table that breaks down the math for each style.| Door Style | Measurement Approach | Example Calculation |
|---|---|---|
| Full Overlay | Opening + (Overlay x 2) | 16" Opening + (1/2" x 2) = 17" |
| Partial Overlay | Opening + (Overlay x 2) | 16" Opening + (3/8" x 2) = 16 3/4" |
| Inset | Opening - Clearance Gap | 16" Opening - 1/8" = 15 7/8" |
Measuring Cabinet Openings Like a Pro
Alright, let's get to the most important part: measuring your cabinet openings. This is where a little bit of precision goes a long way. I’m going to walk you through the same process the pros use to make sure every door hangs perfectly, and it all comes down to what we call the "rule of threes." One thing you learn quickly is that cabinet frames, especially in older homes, are almost never perfectly square. Houses settle, wood shifts over the years, and things can get a bit skewed. Just measuring in one spot is a classic rookie mistake that leads to doors that scrape, bind, or have weird, uneven gaps.The Rule of Threes in Practice
To work around any of these imperfections, you need to measure the width at the top, middle, and bottom of the opening. Then, you'll do the same for the height by measuring the left, middle, and right sides. This approach gives you the full story of the opening's actual shape, not just a single snapshot. Once you have your three width and three height measurements, the rule is simple: always use the smallest measurement of the set. This is your safety net. It guarantees your new door will fit into the tightest point of the opening without any trouble. Let’s say you measure the width and get these numbers:- Top: 15 inches
- Middle: 15 1/16 inches
- Bottom: 14 15/16 inches
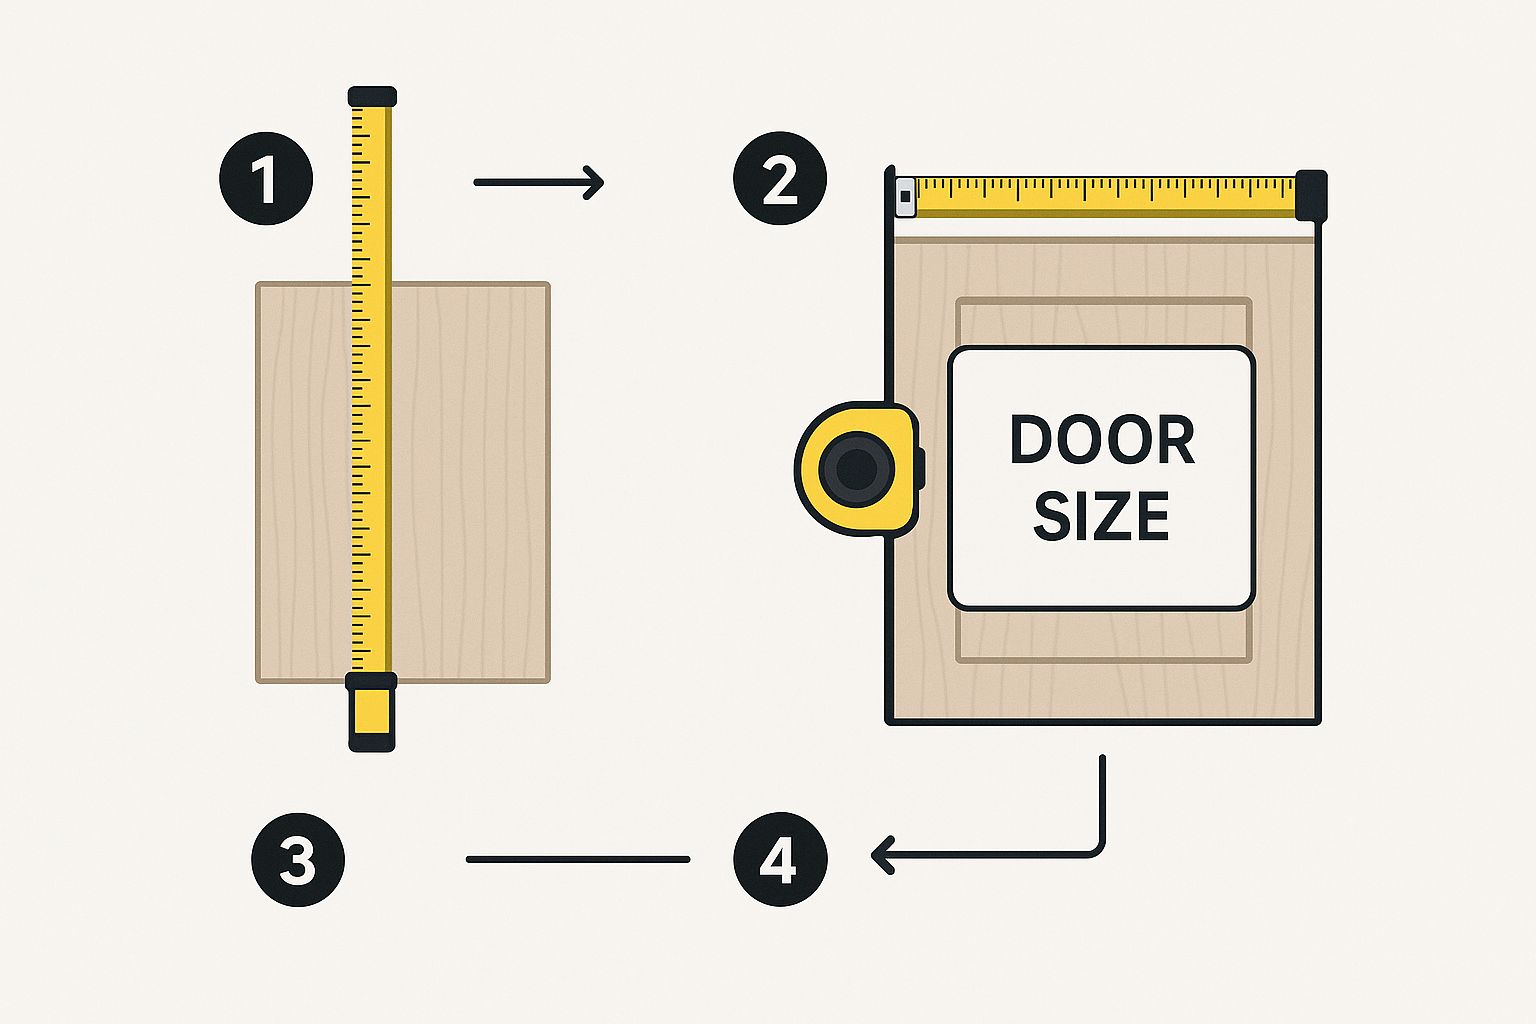 It’s a great visual reminder that both height and width need that same level of careful attention. These two dimensions are the foundation of your whole project.
Measuring for Double Doors
What about those wide openings that need a pair of doors? The process starts the same but has one extra step to make sure they meet perfectly in the center without clashing. First, measure the opening's width using the rule of threes and take the smallest dimension, just like before. Now, you need to account for a small gap between the two doors so they don't smack into each other. A standard gap is 1/8 inch. To figure out the width for each individual door, you'll add 1 inch for the overlay (assuming a standard 1/2-inch overlay on both sides), subtract the 1/8-inch gap, and then divide the whole thing by two. Here's a practical example: Your opening is 30 inches wide.- Add Overlay: 30" + 1" = 31"
- Subtract Gap: 31" - 1/8" = 30 7/8"
- Divide by Two: 30 7/8" ÷ 2 = 15 7/16" Each of your two doors should be 15 7/16 inches wide.
How to Measure Existing Doors for a Perfect Match
If you're already happy with how your current doors fit and you're just looking for a style upgrade, measuring your existing doors is a fantastic shortcut. But there's definitely a right way to do it. The biggest mistake I see people make is trying to measure a door while it's still hanging on the hinges—it’s a surefire way to get inaccurate numbers. To get a perfect measurement, you have to take the door off first. Lay it down on a flat, stable surface like a workbench or even a clean spot on the floor. This gets rid of any sag from the hinges and guarantees your tape measure lies perfectly straight. Once it's flat, carefully measure the exact height and width down to the nearest 1/16th of an inch.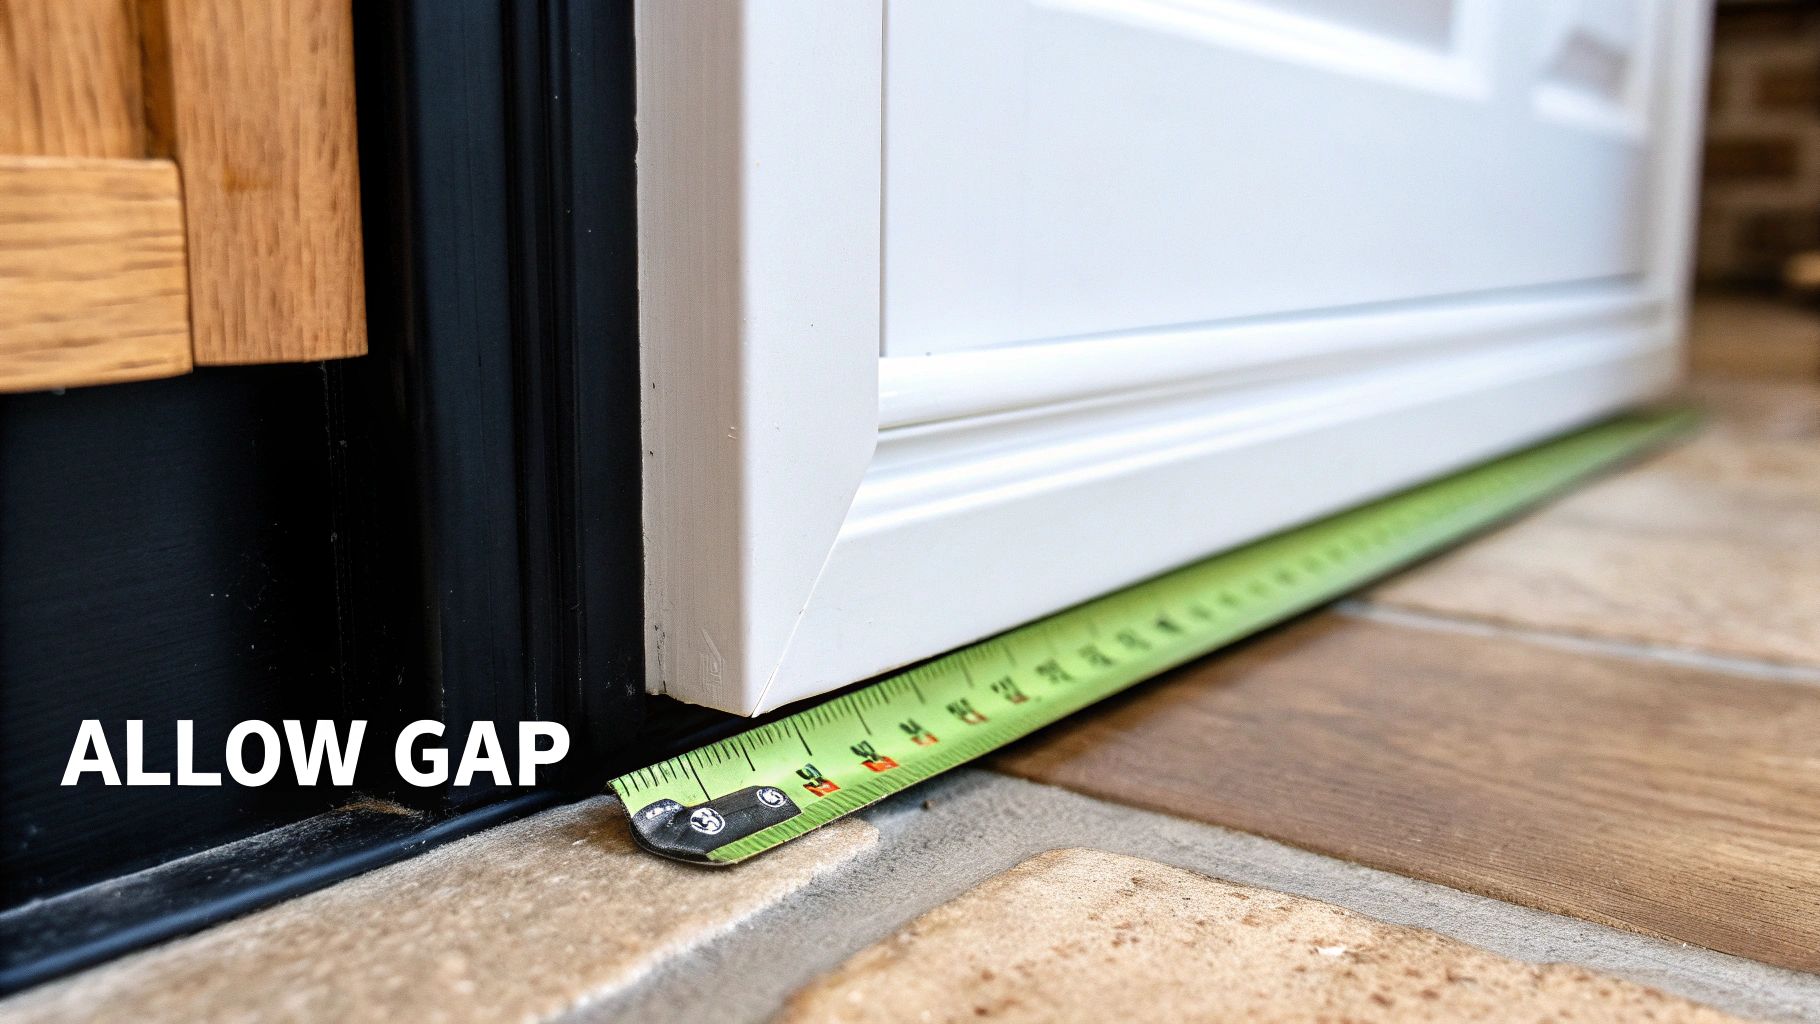
Don't Forget Hinge Placement
Getting the height and width is only half the battle. The most critical step—and the one people often forget—is to measure for your hinge placements. If you skip this, your new doors won't line up with the existing hinge holes on your cabinet frames, and that's a massive headache you don't want. You'll need to record the distance from both the top and bottom edge of the door to the center of each hinge cup hole. That's the large, round recess where the hinge itself sits.For example, if your top hinge cup is 3 inches from the top edge of the door, and the bottom hinge is 3 inches from the bottom edge, you need to write those exact numbers down. This precision is what turns the project into a seamless swap instead of a frustrating struggle.This step is an essential part of the process when you want to transform your kitchen by replacing cabinet doors without the pain of redrilling your cabinet frames. A few extra moments of careful measuring here will pay off big time. To make sure you don't miss anything, just follow this simple checklist for each door:
- Door Width: Measured flat, to the nearest 1/16".
- Door Height: Measured flat, to the nearest 1/16".
- Top Hinge: Distance from the top edge to the center of the hinge cup.
- Bottom Hinge: Distance from the bottom edge to the center of the hinge cup.
Common Measuring Mistakes and How to Avoid Them
Even with the best intentions, a few simple mistakes can derail your entire cabinet door project. We’ve seen it happen. Let’s walk through the common traps people fall into and, more importantly, how you can sidestep them for a flawless result. These small details are often the difference between a professional finish and a frustrating redo. One of the most frequent slip-ups is just mixing up the width and height measurements on your notepad. It sounds basic, but in the middle of a project, it happens more than you’d think. Always, always label your numbers clearly—something like "15” W x 30” H"—to avoid any confusion when it's time to place your order.Overlooking the Details
Another classic mistake is forgetting to correctly account for your overlay or necessary clearance gaps. We once had a homeowner who measured perfectly for a set of inset doors but forgot to subtract the crucial 1/8-inch clearance gap on all sides. The result? Beautiful new doors that were just slightly too big and wouldn't close. A real headache.The old carpenter’s mantra, "Measure twice, cut once," is the golden rule here. Before you finalize anything, do yourself a favor and double-check every single number on your list against the actual cabinet frames. This one final check is your best insurance policy against costly errors.Getting these measurements right is absolutely vital. The global cabinet door market was valued at around USD 17 billion in 2025, a figure that shows just how massive this industry is. Improper sizing doesn't just affect your project; it contributes to waste and installation issues that have a ripple effect. Avoiding these common pitfalls is a huge step toward a successful project. For those looking to dive deeper, our guide on refacing kitchen cabinet doors offers even more tips that can help ensure a smooth process from start to finish.
Answering Your Cabinet Measurement Questions
Even with the most detailed guide, there are always a few questions that pop up right when you think you’re done measuring. We’ve been there. To help you get over that final hurdle, we’ve pulled together the most common questions we hear from customers and installers alike.Key Questions Answered
So, what’s the standard overlay for modern cabinets? While it can definitely vary, 1/2 inch is what you’ll see most often. This just means the door overlaps the cabinet frame by that amount on all four sides. But remember, the real boss here is your hinges—always check their specs before you lock in your final door size. Another tricky spot we get asked about all the time is corner cabinets, especially those with bi-fold or lazy Susan doors. These can feel a little intimidating. The best way to tackle them is to measure each of the two door panels individually for both its width and height. For a practical example, a Lazy Susan door might consist of two panels, each measuring 10" x 30", hinged together to cover a larger corner opening.The golden rule through all of this? Consistency. In the U.S., most suppliers, including us, work in inches down to the 1/16th. On the other hand, European-style cabinets are often measured in millimeters. It’s always smart to check with your door supplier to see what unit they prefer so you can avoid any frustrating conversion errors.Nailing these final details will help you figure out if this is a project you want to tackle yourself or if it’s time to call in a pro. Our guide on choosing between DIY and hiring contractors can help you make that call. For a wider perspective on getting dimensions right, you might find these expert tips on how to measure furniture for a perfect fit helpful, too.
Ready to turn those perfect measurements into the perfect doors? At The Door Maker, our “Build a Door” tool makes it simple to design the exact custom cabinet doors you've been imagining. Start your project today at https://tdm-thedoormaker.com. Article created using Outrank