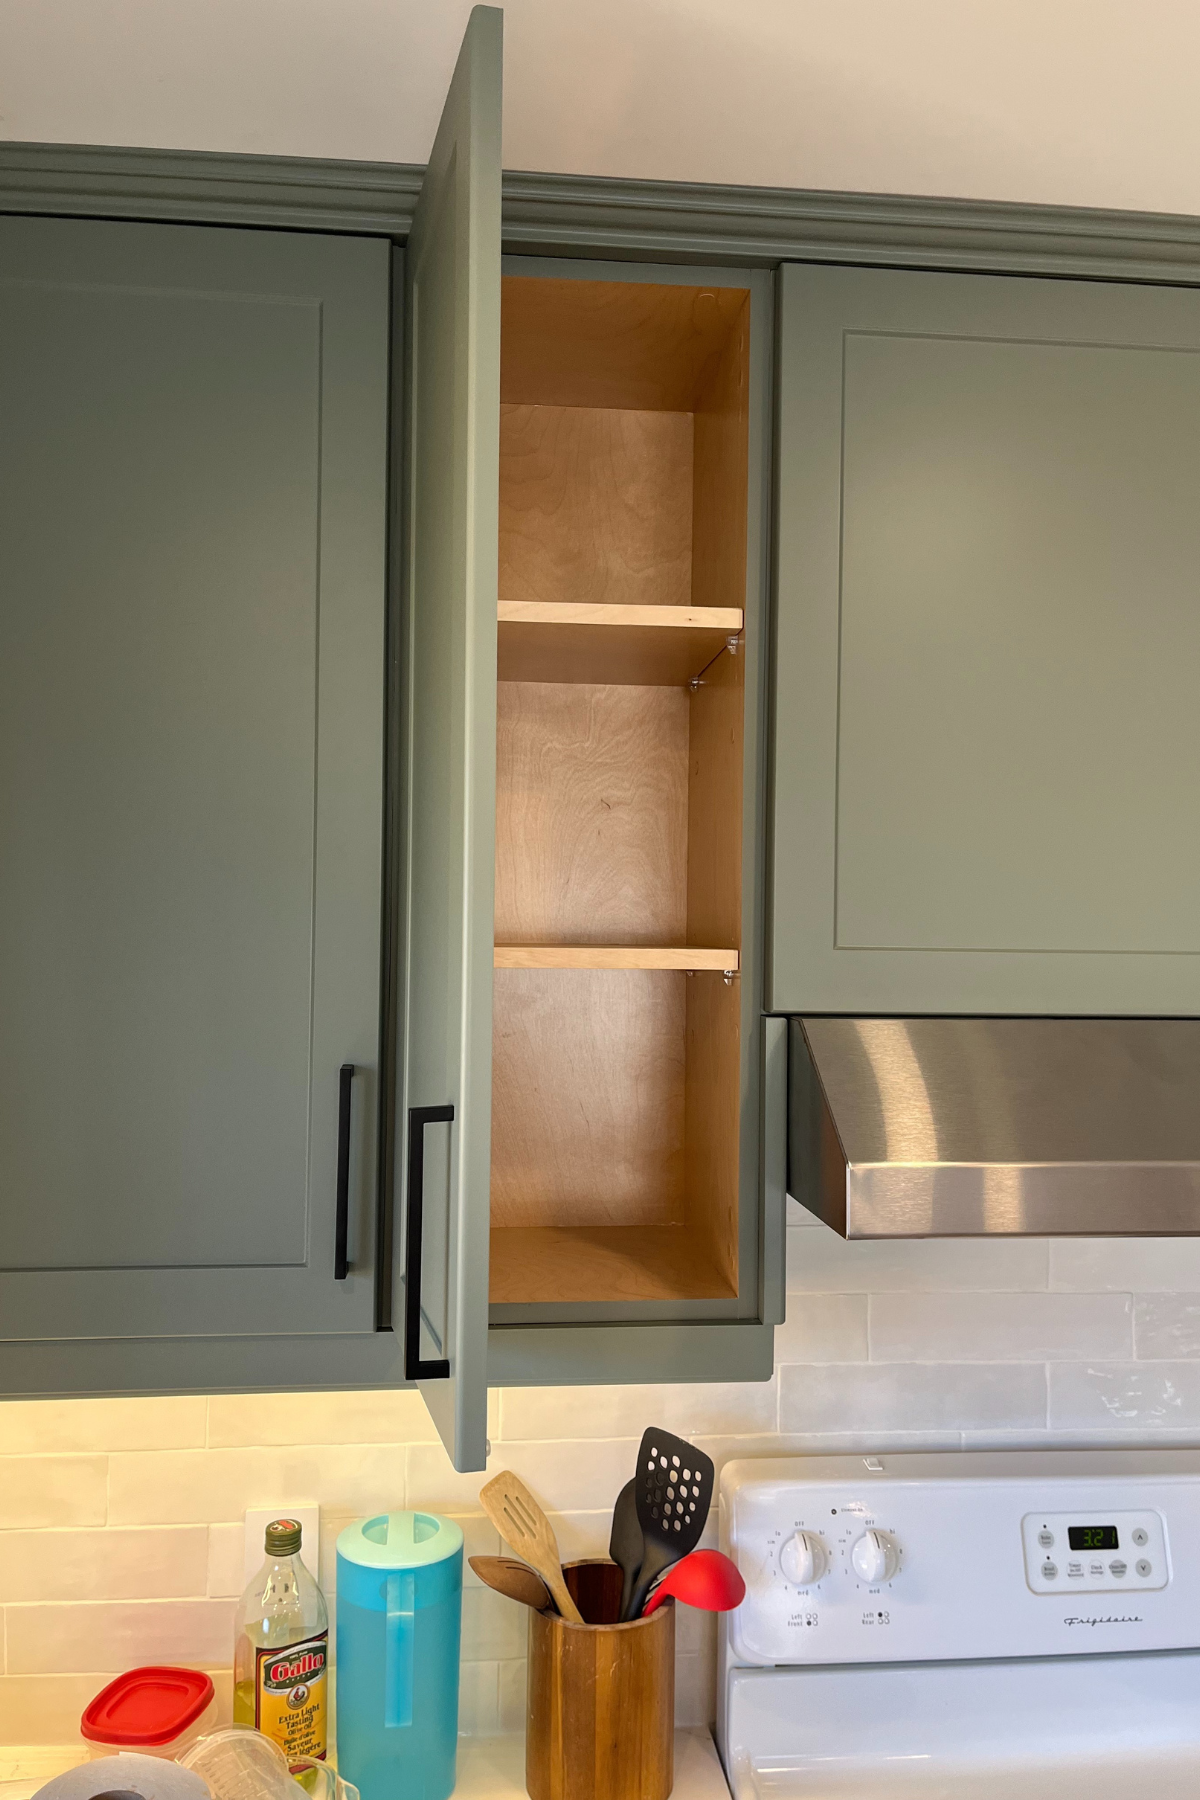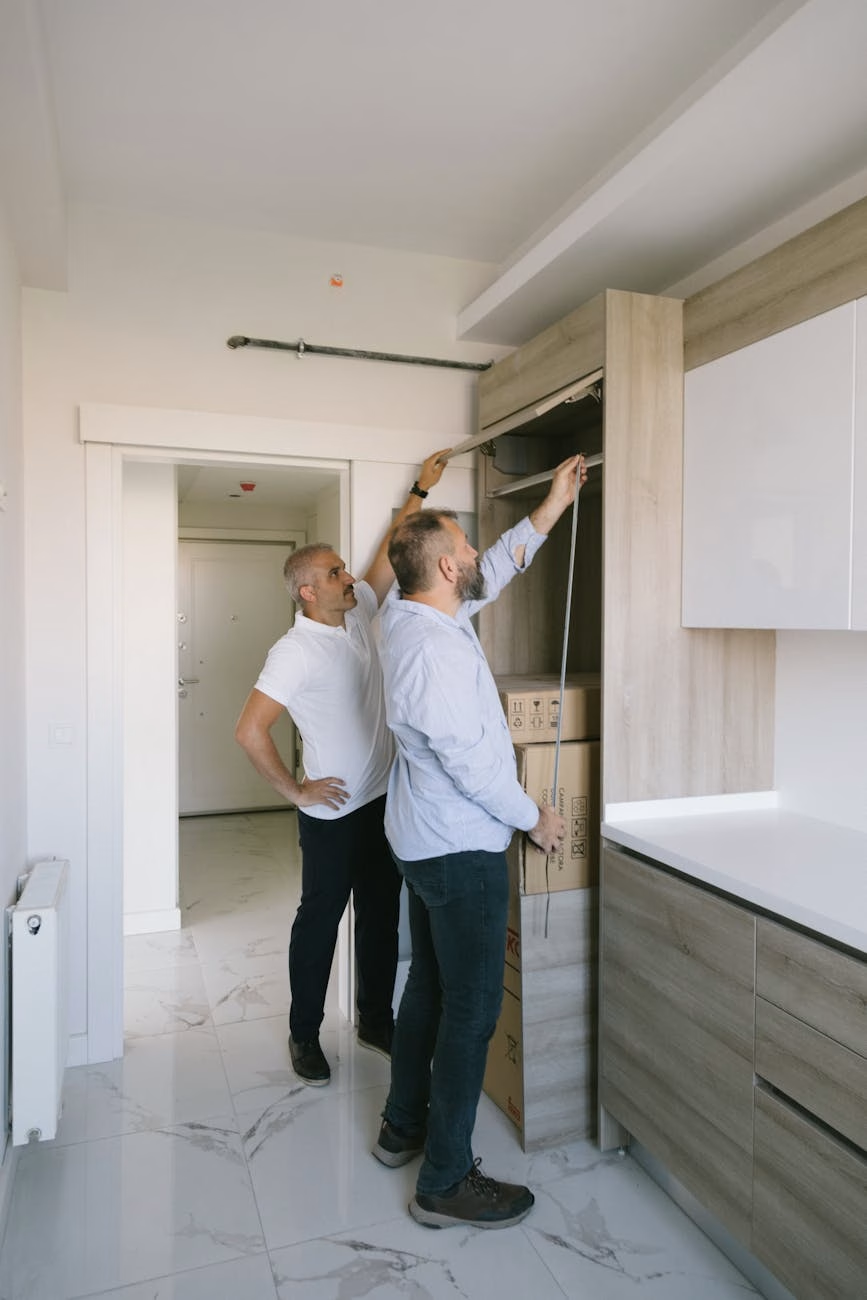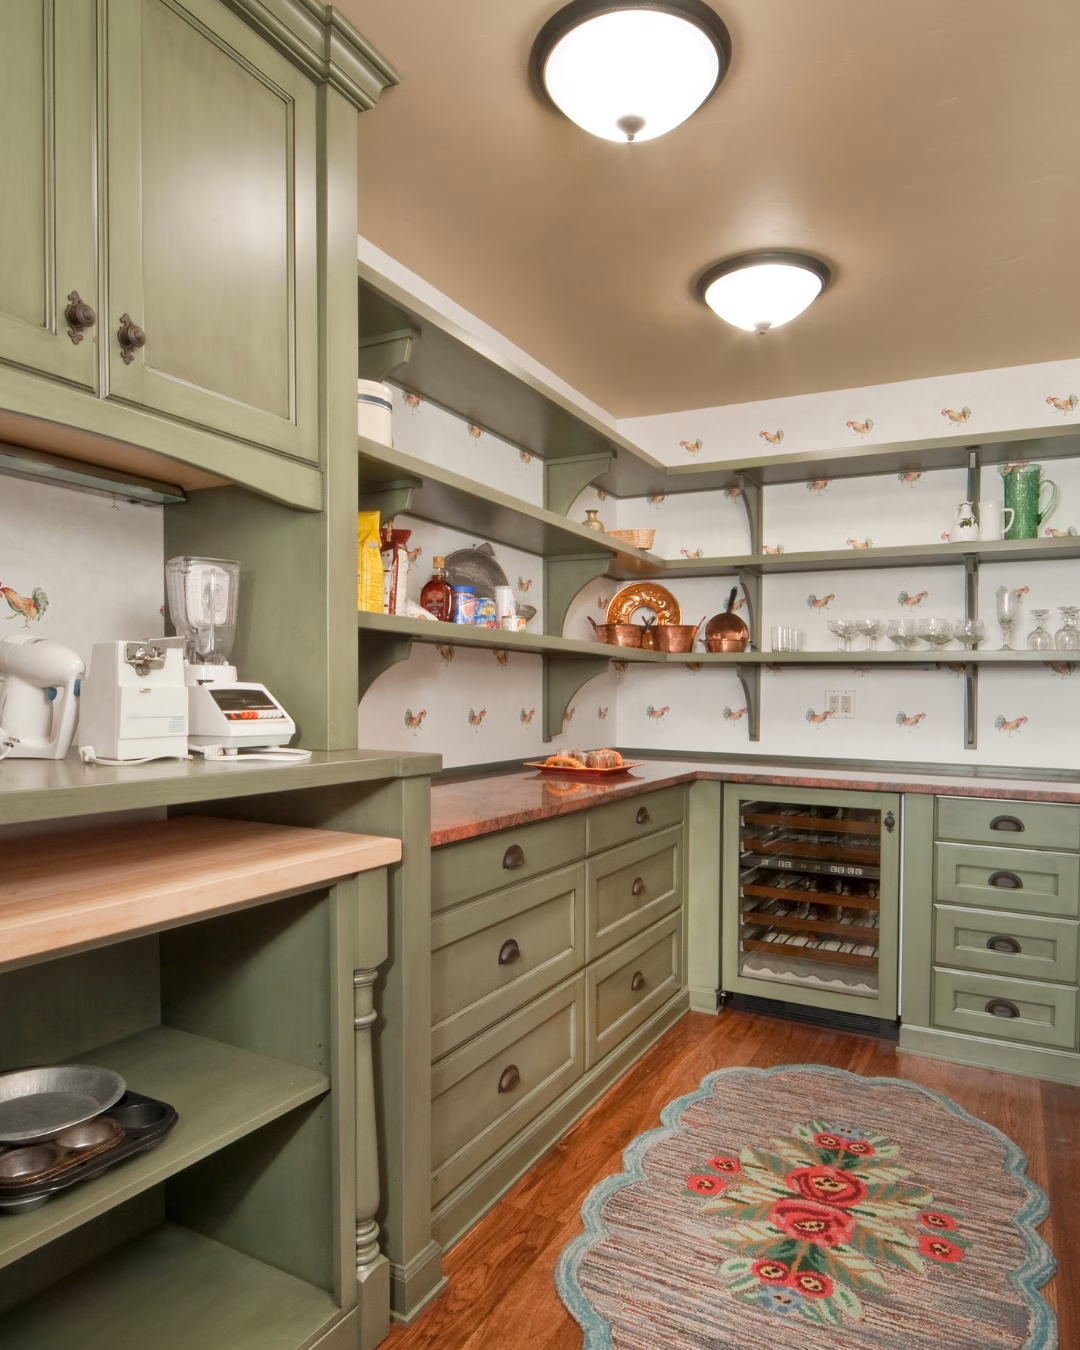
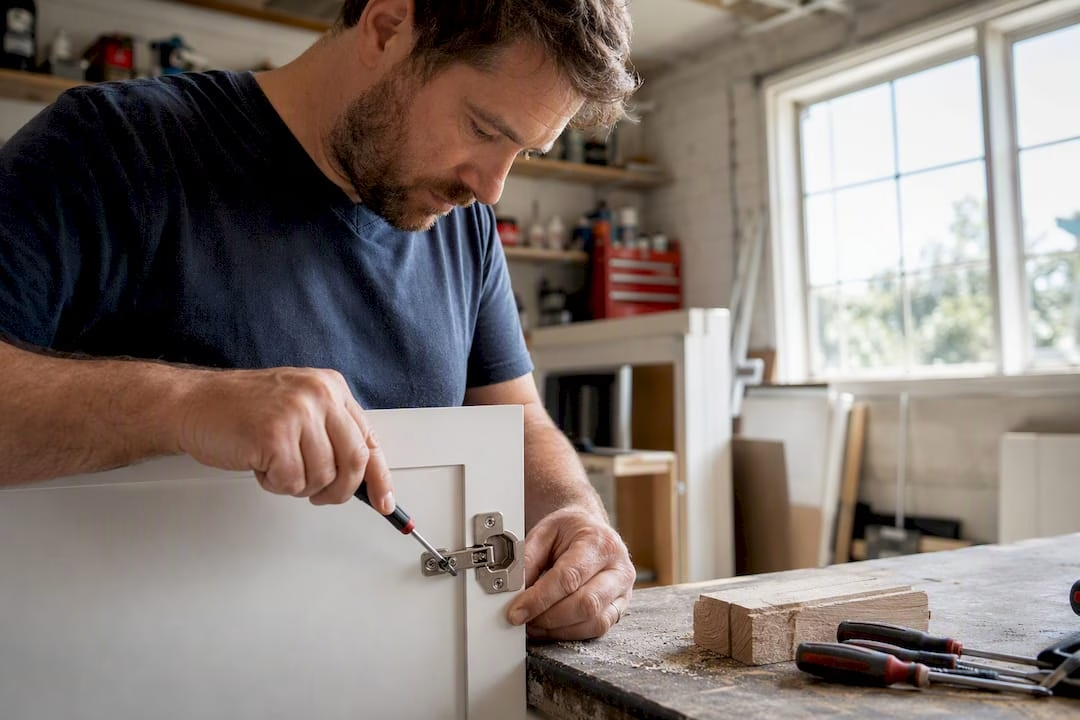
Most cabinet doors should sit with a 1/8-inch reveal around each edge. That’s the industry benchmark cabinetmakers use because it hides seasonal wood movement while still looking crisp. Acceptable range runs from about 1/16 inch on tight, frameless installs up to 1/4 inch on older face-frame cabinets.
Before you touch a screwdriver, do two things. First, measure the gap at the top, bottom, hinge side, and latch side of every problem door. Second, try a quarter-turn on the hinge’s adjustment screws and see if the gap closes evenly. Most uneven cabinet door gaps trace back to hinges that simply drifted out of adjustment, not a warped door or a bad cabinet box.
- Target reveal is a modest small gap for standard overlay doors
- Tight-fit range varies depending on hinge and style
- First fix to try is small hinge adjustments, rechecked after each turn
Key Takeaways
Consistent cabinet door gaps come from correct hinge adjustment first, precise measurement second, and custom-sized replacement doors when repair reaches its limit.
| Point | Details |
|---|---|
| Target reveal | Aim for a 1/8-inch gap around doors, adjusting down to 1/16 inch only with hinges rated for it. |
| Measure before adjusting | Check top, bottom, hinge side, and latch side with a caliper before touching any screws. |
| Hinges first, trimming last | Try lateral, height, and depth hinge adjustments in quarter-turn steps before cutting any material. |
| Watch for structural causes | Warped doors or an out-of-square cabinet box won’t respond to hinge adjustment alone. |
| Order custom when repair fails | Tdm-thedoormaker builds doors to exact measurements when hinge fixes and trimming no longer solve the gap. |
Table of Contents
- How to Measure Cabinet Door Gaps Accurately
- Common Causes of Wide or Uneven Cabinet Door Gaps
- Fixing Cabinet Door Gaps With Hinge Adjustment and Shims
- When to Trim, Plane, or Order a Replacement Door
- Tools, Hinge Types, and Materials for the Job
- Deciding Between Repair and Custom Replacement Doors
- Making Small Gaps Look Intentional
- An Installer’s Note on Realistic Expectations
- Get Cabinet Doors That Hold Their Fit
- Sources
How to Measure Cabinet Door Gaps Accurately
Grab a digital caliper, a feeler gauge, or a steel ruler. Calipers give you the most repeatable numbers, which matters once you start comparing “before” and “after” on multiple doors.
- Label each door (top left, bottom right, and so on) so your notes don’t get scrambled.
- Measure the gap between cabinet doors at the top, bottom, and both vertical edges, then check the midpoint between double doors, where mismatched hinges often show up first.
- Note the hinge type and give the door a gentle push and pull to feel for looseness.
- Write down every number next to your target reveal so you can see exactly which edge is off and by how much.
Pro Tip: Keep a simple measurement log for the whole run of cabinets. Comparing four doors side by side makes it obvious whether one hinge is the problem or the whole cabinet run is out of square.
Common Causes of Wide or Uneven Cabinet Door Gaps
Not every gap problem has the same fix, so diagnosis matters more than tools here.
Common causes of wide or uneven cabinet door gaps include hinge adjustment drift, stripped or loose mounting screws, warped doors, and an out-of-square cabinet carcass. Each cause affects gap issues differently and requires appropriate diagnosis.
Fixing Cabinet Door Gaps With Hinge Adjustment and Shims
Most modern hinges give you three adjustment paths, and each one corrects a different symptom. Lateral adjustment shifts the door left or right, which is your main tool for evening out the gap between double doors. Height adjustment raises or lowers the door, useful when one door sits higher than its neighbor. Depth adjustment moves the door in or out from the frame, correcting a door that sits flush on one side and proud on the other.
- Loosen the relevant adjustment screw a quarter turn, never more on the first pass.
- Close the door and check the reveal by eye and with your ruler or caliper.
- Repeat in quarter-turn increments until the gap matches your target on all four edges.
- If the hinge won’t hold adjustment, or the screws spin without tightening, the mounting plate is likely stripped.
For stripped screw holes, back the screws out, fill the hole with wood glue and a few wooden toothpicks or matchsticks, let it cure, and redrive the screw into fresh material. For a hinge plate that sits slightly proud or recessed, thin shim stock or a stacked washer behind the plate closes small gaps without replacing hardware. Both repairs cost under a couple of dollars and take fifteen minutes, which makes them worth trying before you assume a door needs replacing.
Pro Tip: Adjust one screw at a time and recheck the gap before moving to the next. Turning two adjustment points at once makes it nearly impossible to tell which change actually fixed the problem.
When to Trim, Plane, or Order a Replacement Door
If hinge adjustment and shimming don’t close the gap, and the door itself is oversized or warped, trimming becomes the next option, particularly for inset doors that need to sit flush inside the frame.
- Test-fit the door in the opening before removing any material.
- Work from the hinge stile outward, removing small amounts at a time with a hand plane or table saw.
- Recheck squareness and reveal after every pass. It’s far easier to remove another sixteenth of an inch than to add material back.
Solid-wood doors need a margin for seasonal expansion, so trimming a reveal down to 1/16 inch in a dry Canadian winter can mean binding doors by mid-summer. If a door needs more than modest trimming, ordering a replacement is usually the better move. A custom order needs exact height, width, overlay or reveal amount, hinge cup placement, and door style, since precise sizing is what actually prevents the same gap problem from reappearing.
Tools, Hinge Types, and Materials for the Job
A basic kit handles nearly every gap repair: a digital caliper or steel ruler, a Phillips and flathead screwdriver, a small level, shim stock or thin washers, wood glue, and toothpicks for stripped holes. On the hinge side, European cup hinges come in several swing angles, commonly 107, 120, and 170 degrees, and swapping hinge models can be the actual fix if your current hardware can’t hold a tight reveal.
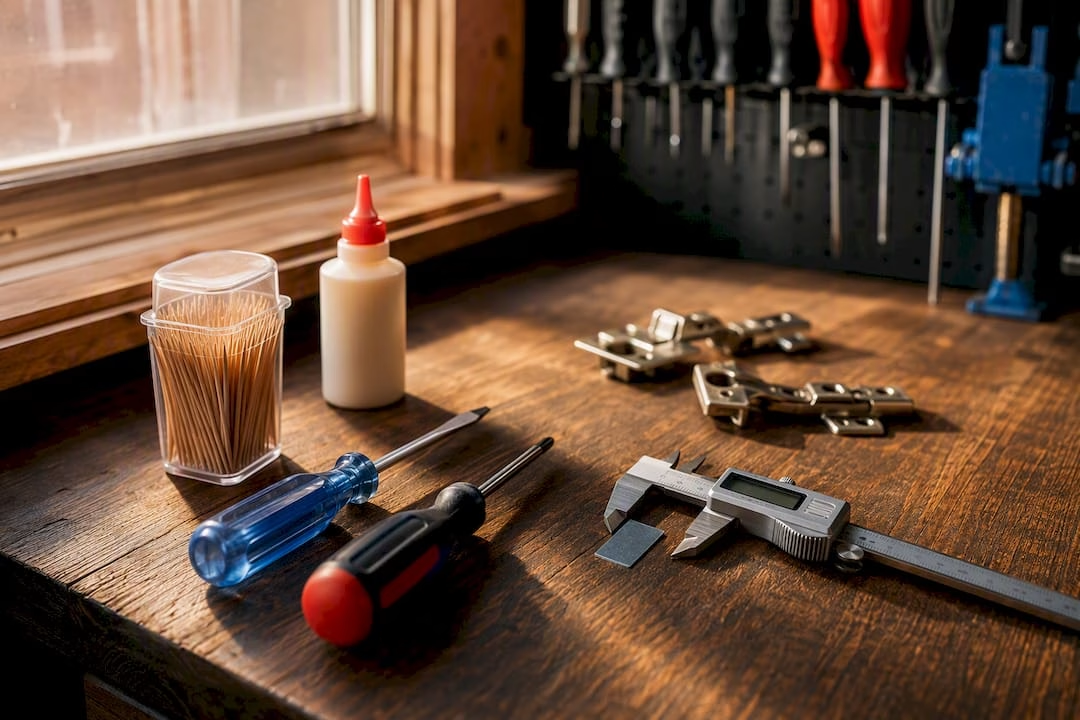
For trimming jobs, a table saw or track saw gives the cleanest edge, and a Forstner bit handles new hinge cup holes. If you only need these once, renting beats buying.
Deciding Between Repair and Custom Replacement Doors
Hinge adjustment fixes most gap problems. But some situations call for new doors instead of another round of tweaking.
- Multiple doors affected: if three or more doors on the same run show inconsistent gaps, the cabinet box itself may be out of square, and no amount of hinge work fixes that.
- Visible warping: a door that won’t sit flat against the frame, even with new hinges, needs replacing.
- Cabinet age and finish wear: boxes that are structurally sound but cosmetically dated are strong candidates for refacing rather than full replacement.
- Low tolerance for repeat adjustments: if you’ve adjusted the same door twice already, a new door built to precise dimensions saves you a third round.
Tdm-thedoormaker’s process starts with the same measurements covered above: height, width, overlay, and hinge cup position, then builds doors sized to those numbers within a tenth-thousandth of an inch. That level of exactness is what separates a door that holds its reveal from one you’ll be adjusting again next season.
Making Small Gaps Look Intentional
Even a well-adjusted door run can have tiny inconsistencies, and a few finishing tricks make them disappear visually.
- Use temporary spacers during installation to hold a consistent reveal while screws go in.
- Touch up raw edges with matching paint where needed.
- Consider a light bevel on the door edge as a design detail.
- Choose paint over stain for cabinets exposed to humidity swings, as paint better hides minor seasonal gap changes.
Pro Tip: Magnetic catches help pull doors fully closed and square, minimizing visual impact of uneven gaps.
An Installer’s Note on Realistic Expectations
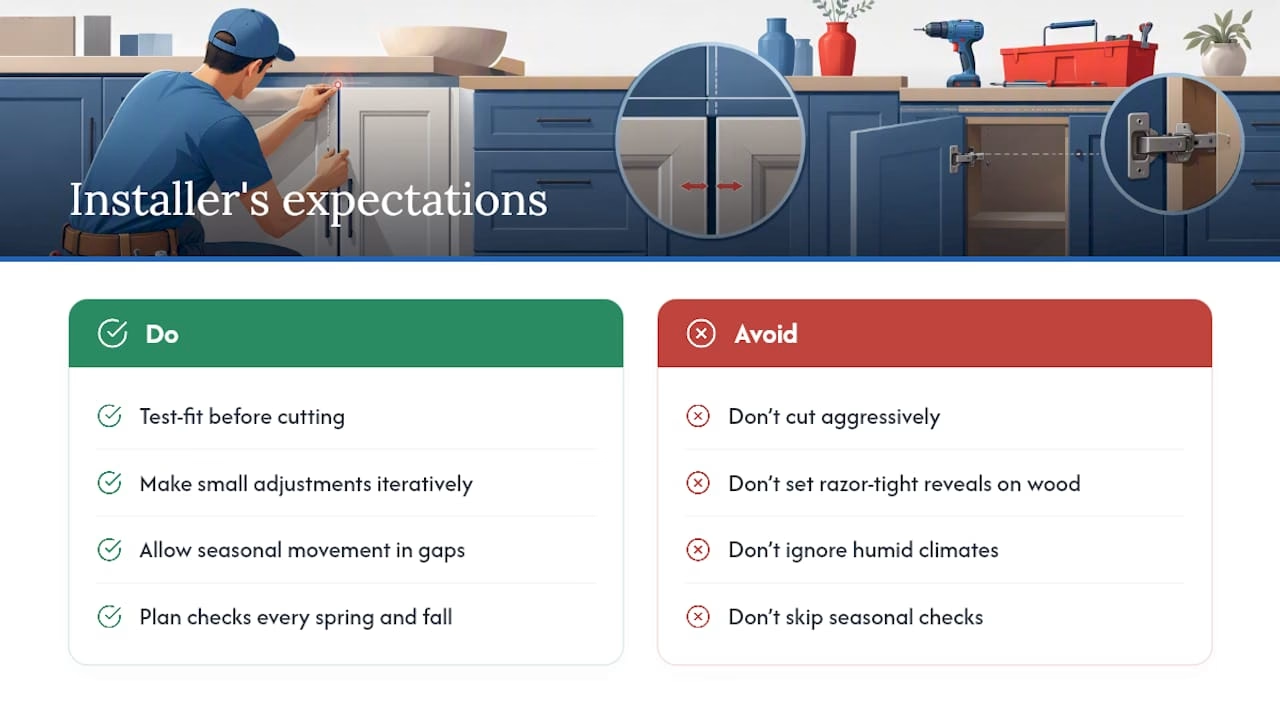
Test-fit before you cut anything. Small adjustments, checked and rechecked, solve far more problems than one aggressive trim ever will. On solid wood, resist the urge to dial in a razor-tight reveal, especially in humid climates. That gap needs room to breathe. Plan a seasonal check every spring and fall, and most doors will hold their fit for years.
Get Cabinet Doors That Hold Their Fit
If you’ve adjusted the hinges twice and the gap still bothers you, that’s usually a sign the doors themselves, not the hardware, are the problem. Tdm-thedoormaker builds custom cabinet doors and drawer fronts sized to your exact measurements, down to a tenth-thousandth of an inch, so the reveal you plan for is the reveal you get.

The ordering process follows the same measure, design, order sequence covered throughout this guide: you submit your height, width, overlay, and hinge cup measurements through the online configurator, choose from more than 30 styles and 130-plus colors and finishes, and place your order with hinge holes pre-drilled if you need them. If you’re not ready to commit to a full run, ordering a single real-size sample door lets you check color, finish, and fit before you buy. When you’re ready, start with the custom cabinet door ordering page and get a quote based on your own measurements.
Sources
Measurement and hinge-adjustment guidance draws on Rockler’s reveal guide, WOODWEB’s hinge clearance discussion, and Wood Magazine’s inset door sizing method. Hinge manufacturer manuals remain the authority on exact travel and clearance specs.
- How Much Gap Should I Leave Around Cabinet Doors?
- 1/16" Versus 1/8" Cabinet Door Reveals
- How to Fix a Cabinet Door Gap: Hinge Adjustment and Alignment Tips