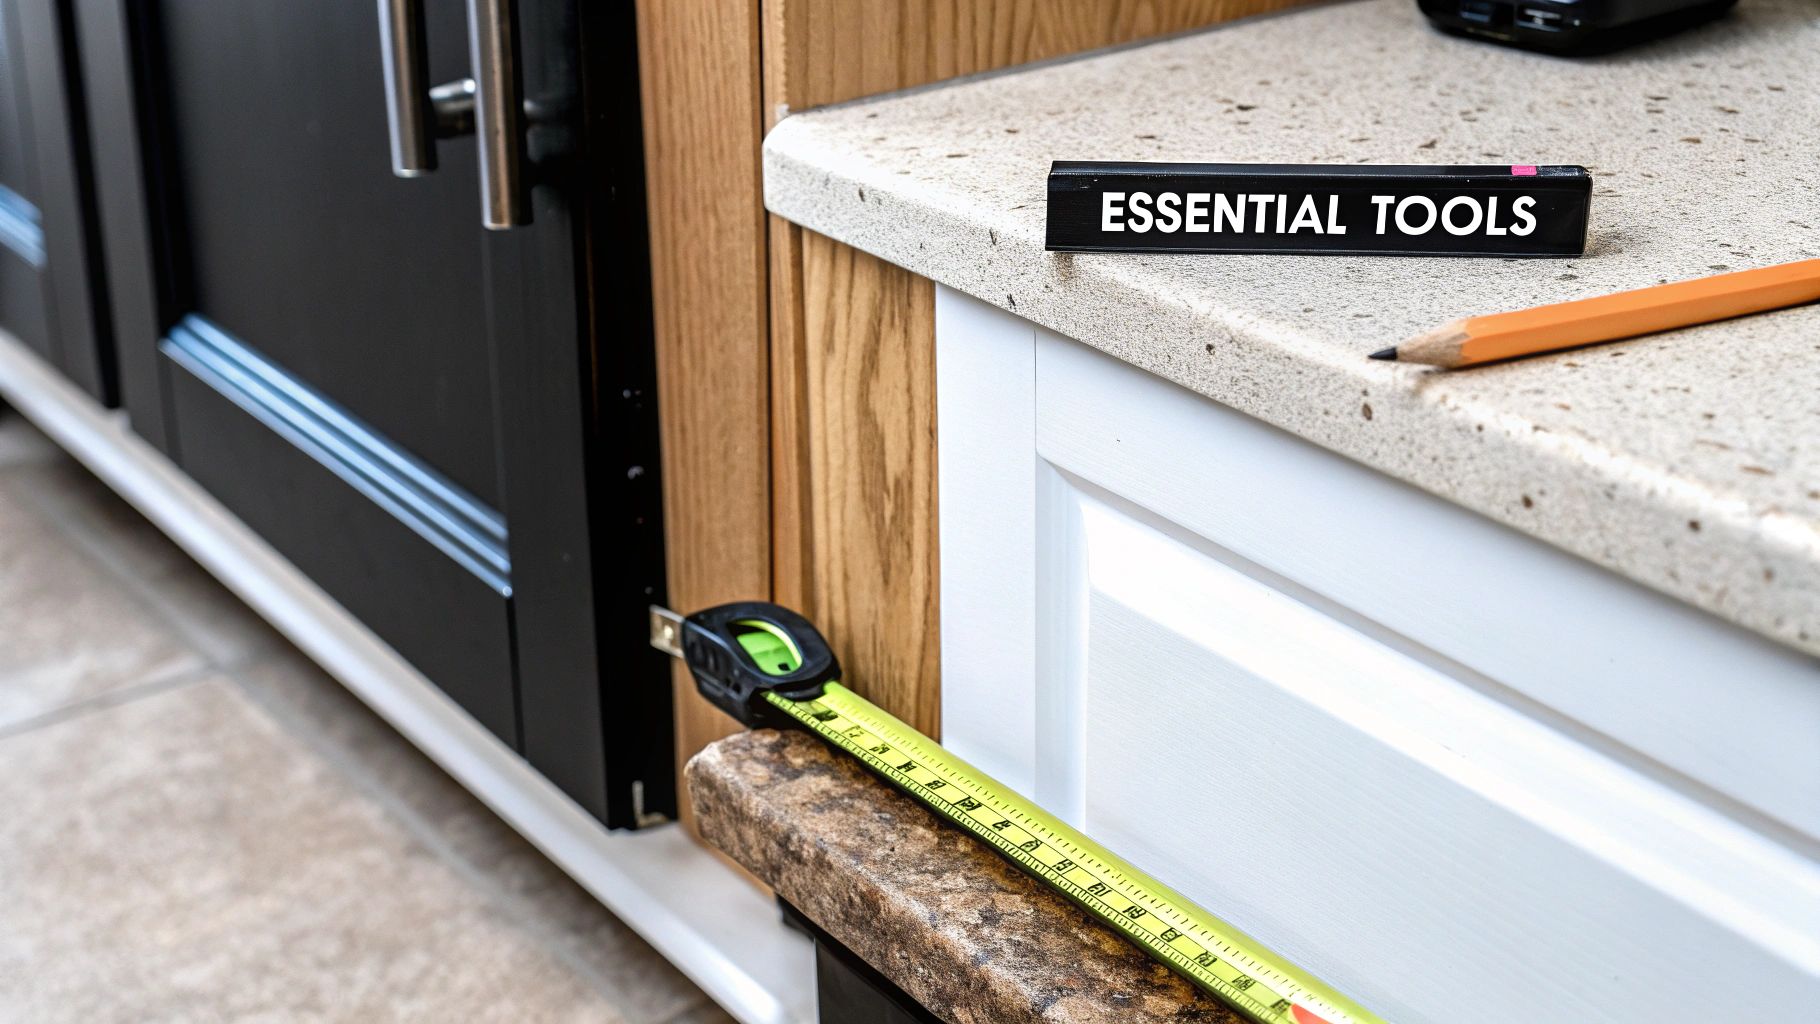
Alright, before you even think about measuring, let's get your gear in order. A little prep work here goes a long way and honestly makes the whole process smoother and more accurate.
Gathering the Right Tools for the Job
A few minutes of organization now will save you from a ton of frustrating do-overs later. You only need a few simple things, but they need to be the right things.
A flimsy, old tape measure just won't cut it. They can sag or even stretch, which is a recipe for disaster when you're ordering custom doors. Your most important tool is a high-quality steel tape measure. It gives you the rigidity you need for a perfectly straight, precise reading, especially when you're measuring a wide opening.
Next, grab a simple notepad and a pencil. It's tempting to just jot numbers down on a scrap of wood or punch them into your phone, but don't. A dedicated notepad keeps your width and height measurements organized and easy to read, which seriously cuts down on the chance of mixing them up. For example, a note like "Upper Cabinet #1: 18" W x 32" H" is much clearer than a random "18×32" in your phone's notes.
Pro Tip: Always double-check if your cabinet frames are square. This is a big one, especially in older homes where things have had time to settle. Just hold a small level against the frame—it'll tell you instantly if it's plumb. This quick check can save you a headache and explain why you might be getting different measurements at the top and bottom of an opening.
Here's a quick rundown of what you'll want on hand:
-
Steel Tape Measure: This is non-negotiable for accurate, consistent readings.
-
Notepad & Pencil: To keep every measurement clear and organized.
-
Straight Edge or Level: Perfect for checking if frames are square and helping you draw straight lines if needed.
I once had a client who used a fabric sewing tape for their measurements. It sounds silly, but it happens. Their numbers were off by nearly a quarter-inch, and that tiny error made their beautiful custom doors completely unusable. Using the right tools is truly the first—and most important—step to getting this project done right.
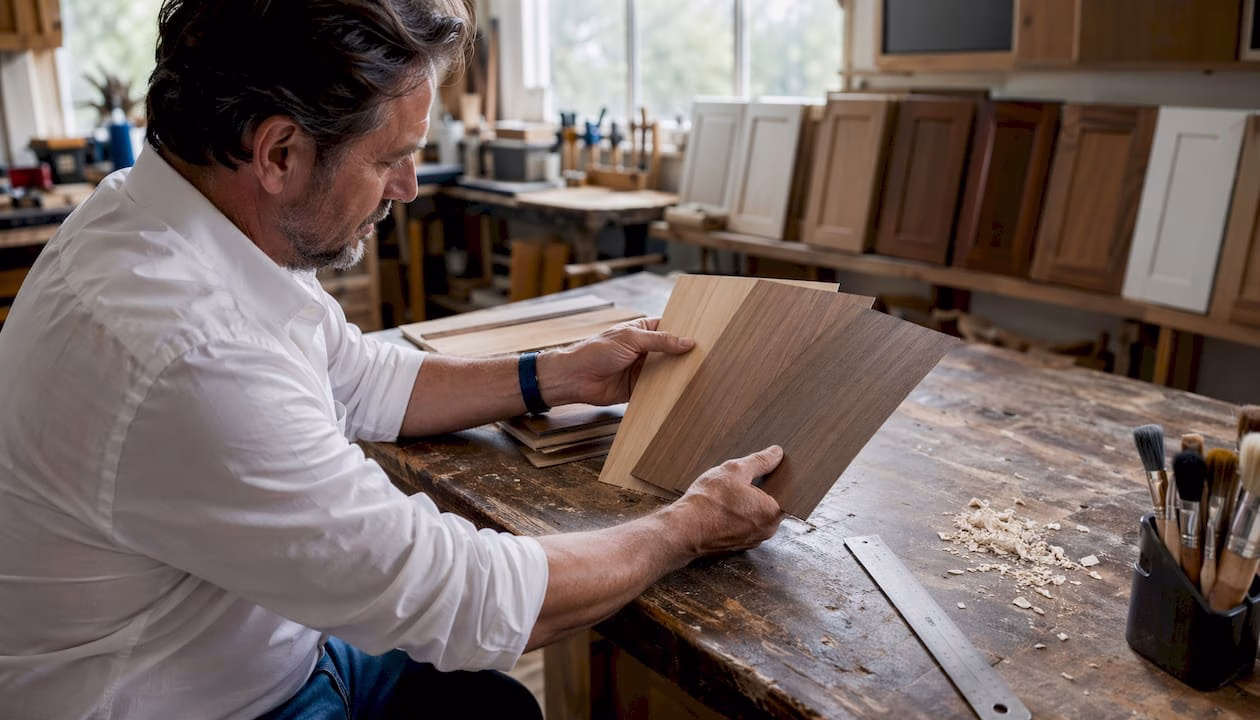
Cracking the Code on Cabinet Overlays
Before you even think about touching a tape measure, you need to understand how your doors sit on the cabinet frame. This is called overlay, and it’s the single biggest factor in getting your door sizes right. A measurement for one style will be completely wrong for another, so this is a critical first step.
Simply put, overlay describes how much of the cabinet face frame the door covers when closed. Getting this right dictates the entire formula for your final door dimensions.
Full Overlay Doors
Just like the name says, full overlay doors cover almost the entire cabinet face frame. This gives you that modern, seamless look with very tight gaps between doors. When you look at the cabinets, you see door, door, door—and very little of the frame behind them.
To measure for a single full overlay door, you’ll take the opening's width and height, then add the overlay amount to each dimension. A very common overlay is 1/2 inch, which means you’d add a total of 1 inch to the final width and height measurements (1/2 inch for the left side, 1/2 inch for the right, and so on).
Here's a real-world example: If your cabinet opening is 16 inches wide by 30 inches high, and you want a standard 1/2 inch overlay:
-
Door Width: 16" + 1" = 17"
-
Door Height: 30" + 1" = 31"
Partial Overlay Doors
Partial overlay is the classic style you’ve probably seen in countless kitchens. Also known as traditional or standard overlay, the door only partially covers the face frame. This design leaves a good portion of the frame—usually 1 to 1.5 inches—exposed around each door.
The measuring process is the same as for full overlay, but you're just adding a smaller amount. For instance, with a 3/8 inch overlay, you'd add a total of 3/4 inch to the opening's width and height.
Practical Example: For that same 16-inch wide by 30-inch high opening, but with a 3/8-inch partial overlay:
-
Door Width: 16" + 3/4" = 16 3/4"
-
Door Height: 30" + 3/4" = 30 3/4"
A small mistake here can throw everything off. You could end up with doors that collide with each other or have sloppy, uneven gaps, completely ruining the professional look you're after. Nail the overlay, and the rest of the job becomes much easier.
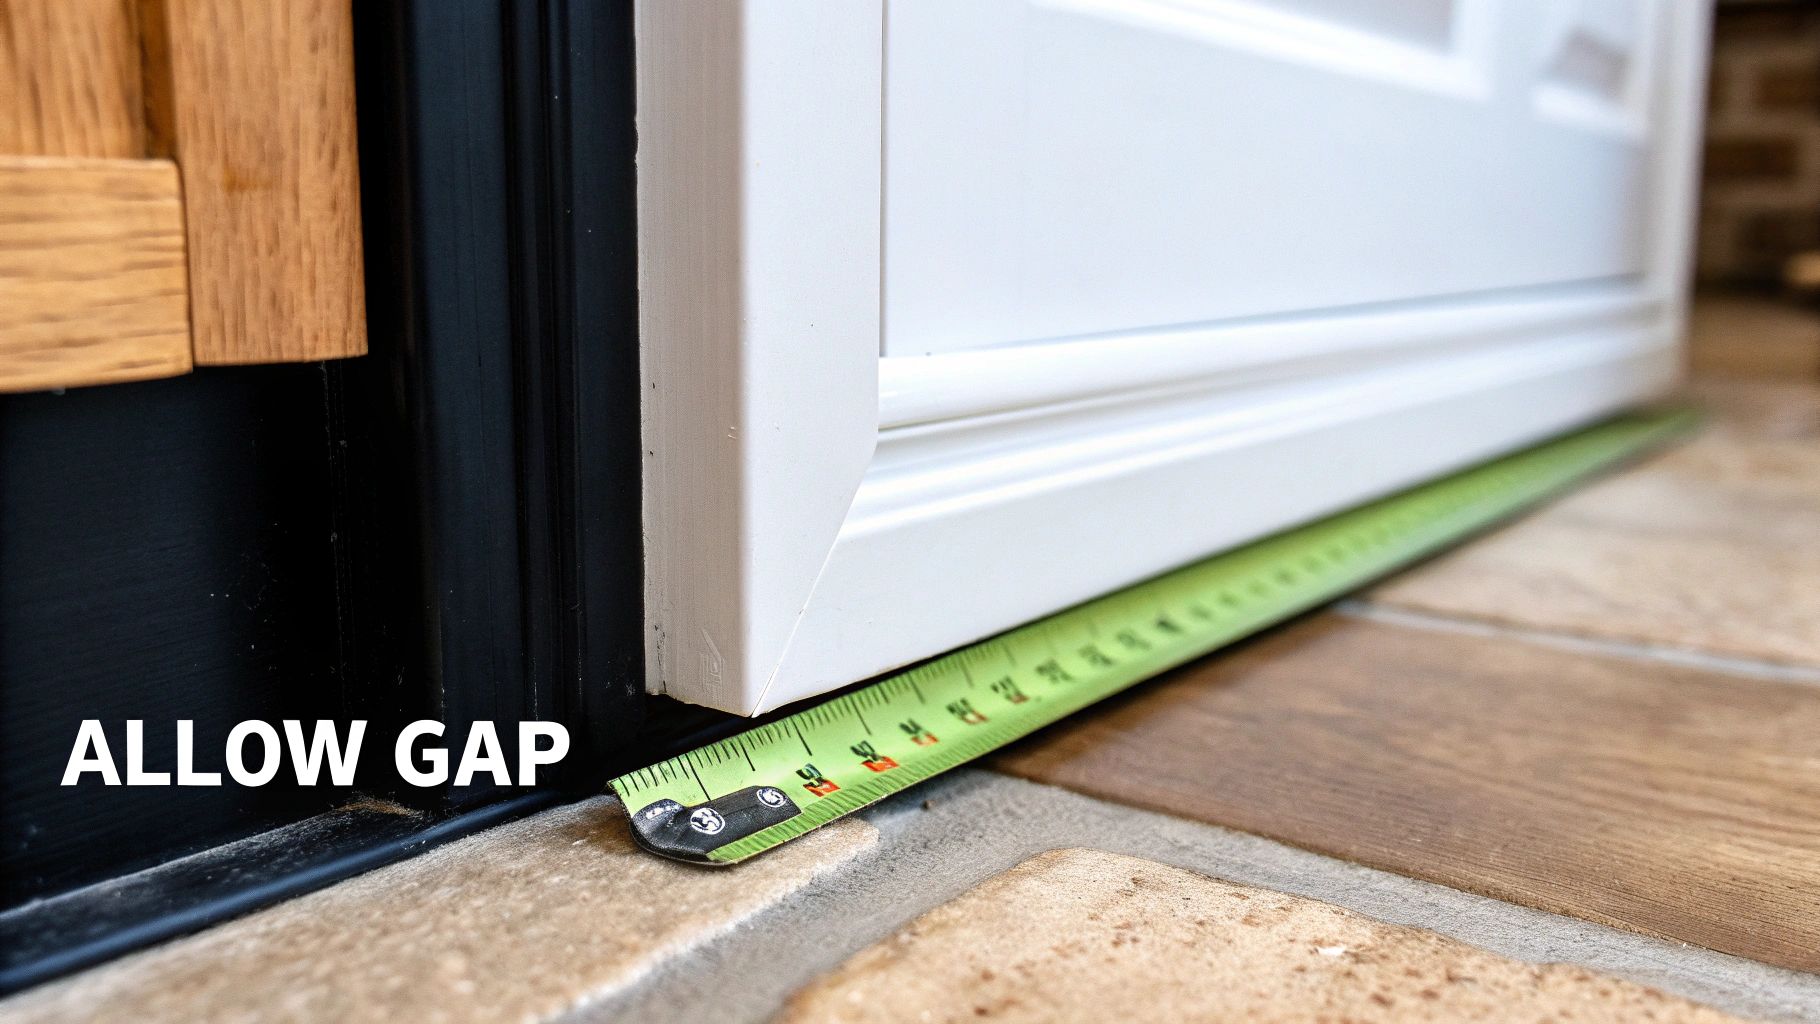
Inset Doors
Inset doors are in a class of their own. They don't sit on top of the frame at all—they sit perfectly flush inside the cabinet opening. The face of the door is level with the cabinet frame, giving it a high-end, custom furniture appearance.
Measuring for inset doors is the opposite of the other styles; you subtract instead of add. You'll measure the opening precisely and then subtract a small amount, typically 1/8 inch total from both the width and height. This creates a tiny, consistent clearance gap so the door doesn't scrape against the frame.
Let's use our example opening: For a 16-inch wide by 30-inch high opening:
-
Door Width: 16" – 1/8" = 15 7/8"
-
Door Height: 30" – 1/8" = 29 7/8"
This kind of precision is more important than ever. The global cabinet market is projected to grow from USD 17.4 billion in 2025 to nearly USD 23.9 billion by 2033, and much of that growth is driven by a demand for accuracy that reduces waste and ensures a perfect fit.
Of course, the way a door fits is also tied directly to its hardware. To learn more about that piece of the puzzle, check out this a comprehensive guide to cabinet door hinge types.
Cabinet Door Overlay Measurement Guide
To make things easier, here’s a quick-reference table that breaks down the math for each style.
|
Door Style |
Measurement Approach |
Example Calculation |
|---|---|---|
|
Full Overlay |
Opening + (Overlay x 2) |
16″ Opening + (1/2″ x 2) = 17″ |
|
Partial Overlay |
Opening + (Overlay x 2) |
16″ Opening + (3/8″ x 2) = 16 3/4″ |
|
Inset |
Opening – Clearance Gap |
16″ Opening – 1/8″ = 15 7/8″ |
Keep this guide handy when you’re taking your measurements. It’s a simple way to double-check your work and ensure you order doors that will fit perfectly.
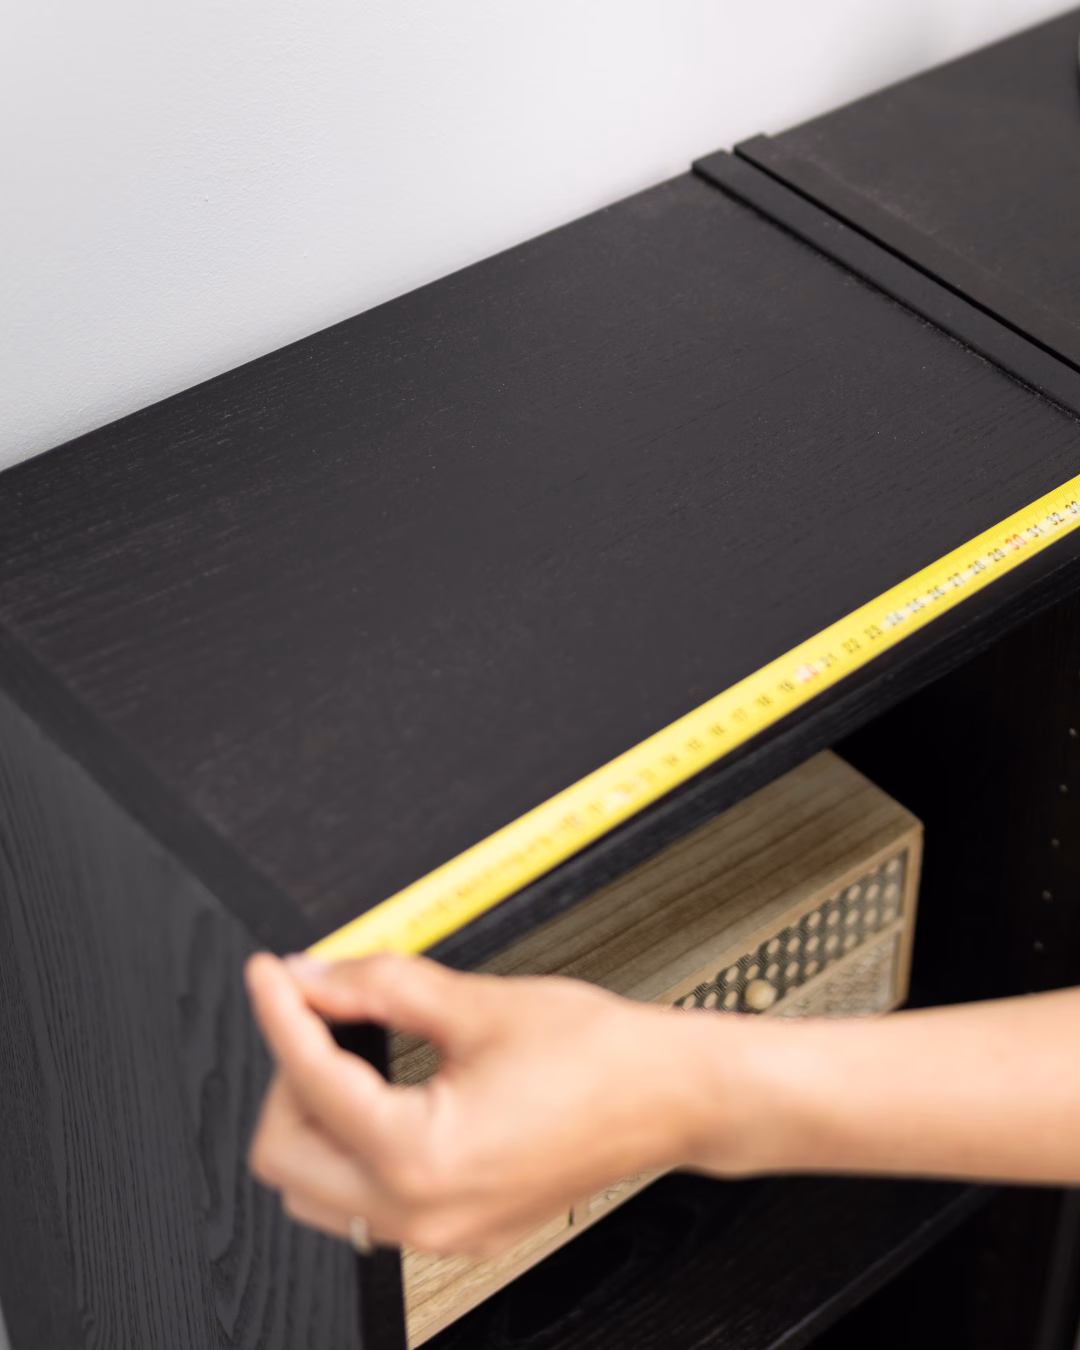
Measuring Cabinet Openings Like a Pro
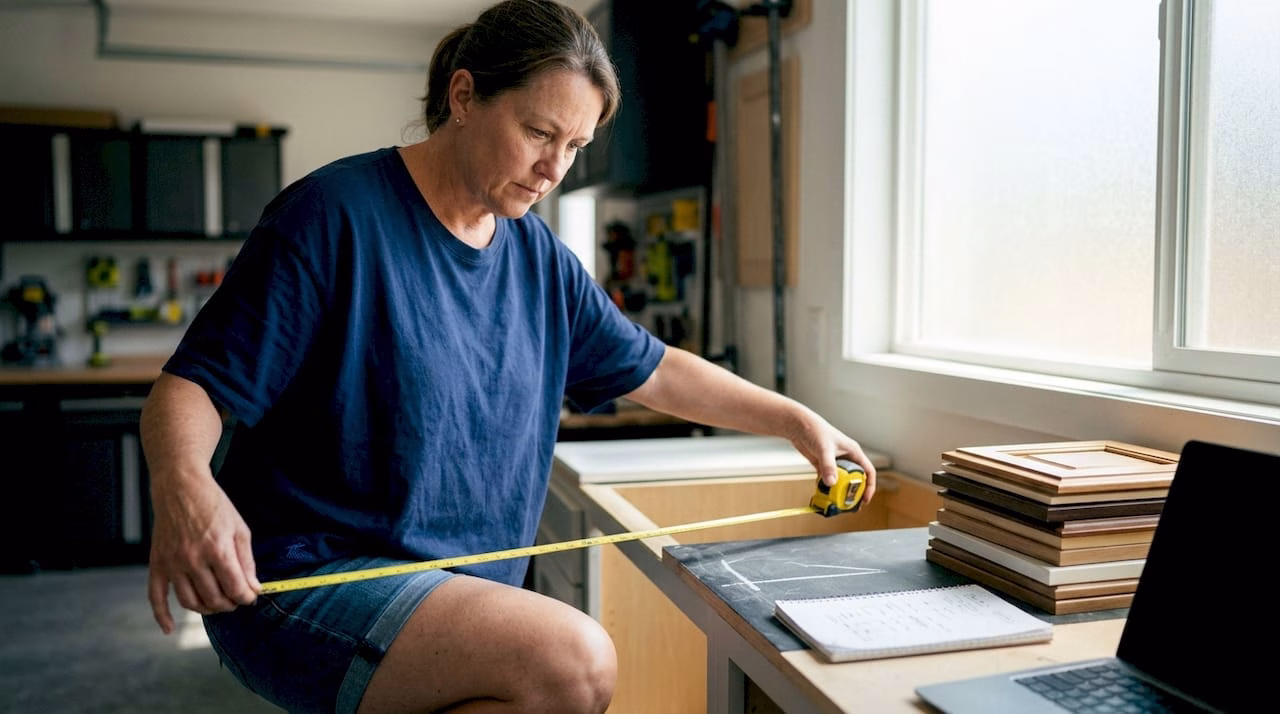
Alright, let's get to the most important part: measuring your cabinet openings. This is where a little bit of precision goes a long way. I’m going to walk you through the same process the pros use to make sure every door hangs perfectly, and it all comes down to what we call the "rule of threes."
One thing you learn quickly is that cabinet frames, especially in older homes, are almost never perfectly square. Houses settle, wood shifts over the years, and things can get a bit skewed. Just measuring in one spot is a classic rookie mistake that leads to doors that scrape, bind, or have weird, uneven gaps.
The Rule of Threes in Practice
To work around any of these imperfections, you need to measure the width at the top, middle, and bottom of the opening. Then, you'll do the same for the height by measuring the left, middle, and right sides. This approach gives you the full story of the opening's actual shape, not just a single snapshot.
Once you have your three width and three height measurements, the rule is simple: always use the smallest measurement of the set. This is your safety net. It guarantees your new door will fit into the tightest point of the opening without any trouble.
Let’s say you measure the width and get these numbers:
-
Top: 15 inches
-
Middle: 15 1/16 inches
-
Bottom: 14 15/16 inches
In this case, you’d lock in 14 15/16 inches as your final width. That's the number you'll use when you calculate the final door size based on your chosen overlay.
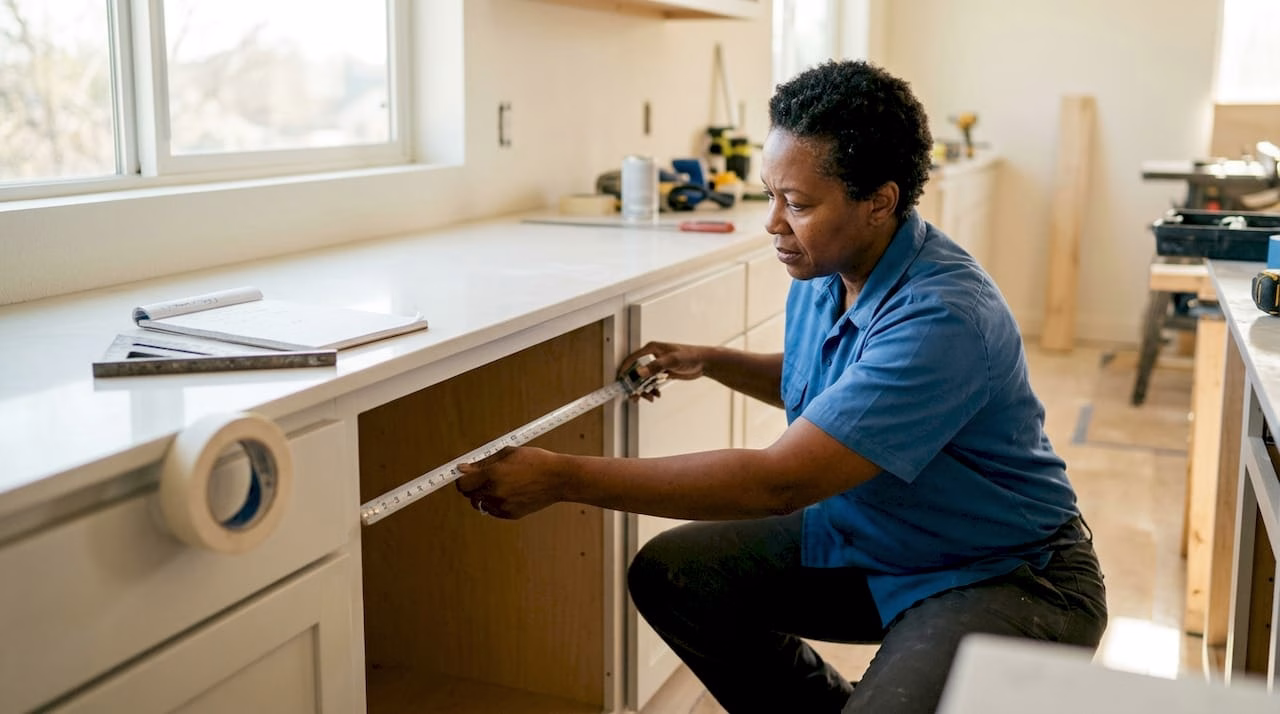
This image really drives home the idea of capturing both the vertical and horizontal dimensions to get that perfect fit.
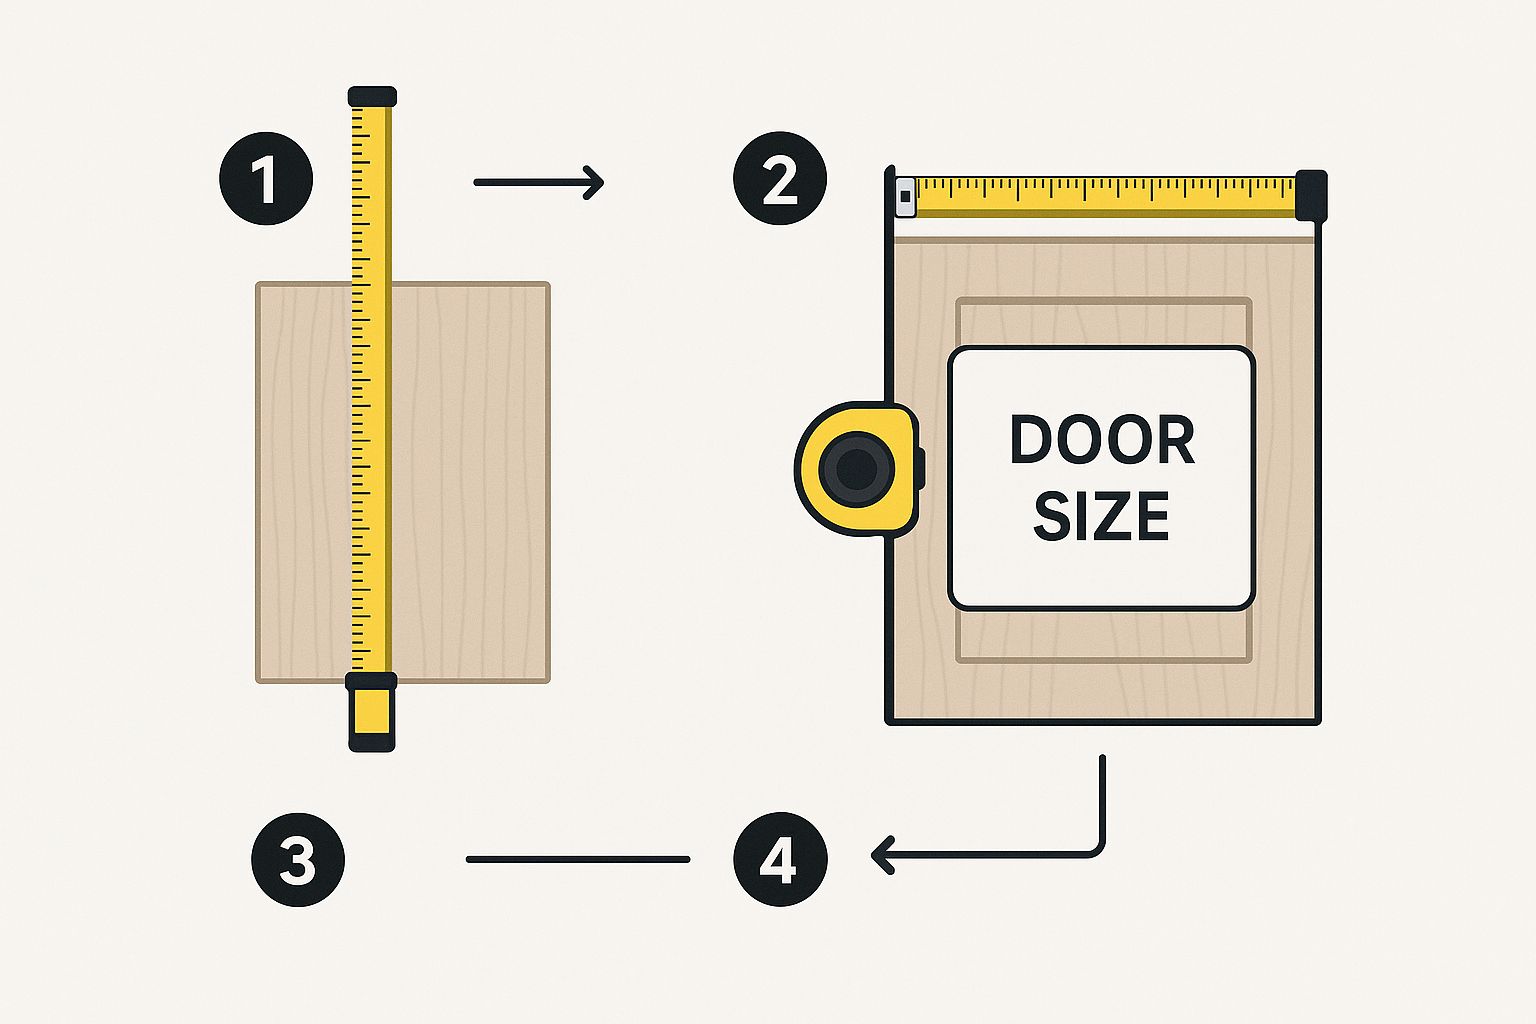
It’s a great visual reminder that both height and width need that same level of careful attention. These two dimensions are the foundation of your whole project.
Measuring for Double Doors
What about those wide openings that need a pair of doors? The process starts the same but has one extra step to make sure they meet perfectly in the center without clashing.
First, measure the opening's width using the rule of threes and take the smallest dimension, just like before. Now, you need to account for a small gap between the two doors so they don't smack into each other. A standard gap is 1/8 inch.
To figure out the width for each individual door, you'll add 1 inch for the overlay (assuming a standard 1/2-inch overlay on both sides), subtract the 1/8-inch gap, and then divide the whole thing by two.
Here's a practical example: Your opening is 30 inches wide.
-
Add Overlay: 30" + 1" = 31"
-
Subtract Gap: 31" – 1/8" = 30 7/8"
-
Divide by Two: 30 7/8" ÷ 2 = 15 7/16"
Each of your two doors should be 15 7/16 inches wide.
For a little more guidance, checking out an expert guide on how to measure kitchen cabinets can give you some extra tips and comprehensive techniques. Nailing these foundational skills is what makes for a flawless installation.
How to Measure Existing Doors for a Perfect Match
If you're already happy with how your current doors fit and you're just looking for a style upgrade, measuring your existing doors is a fantastic shortcut. But there's definitely a right way to do it. The biggest mistake I see people make is trying to measure a door while it's still hanging on the hinges—it’s a surefire way to get inaccurate numbers.
To get a perfect measurement, you have to take the door off first. Lay it down on a flat, stable surface like a workbench or even a clean spot on the floor. This gets rid of any sag from the hinges and guarantees your tape measure lies perfectly straight. Once it's flat, carefully measure the exact height and width down to the nearest 1/16th of an inch.
Don't Forget Hinge Placement
Getting the height and width is only half the battle. The most critical step—and the one people often forget—is to measure for your hinge placements. If you skip this, your new doors won't line up with the existing hinge holes on your cabinet frames, and that's a massive headache you don't want.
You'll need to record the distance from both the top and bottom edge of the door to the center of each hinge cup hole. That's the large, round recess where the hinge itself sits.
For example, if your top hinge cup is 3 inches from the top edge of the door, and the bottom hinge is 3 inches from the bottom edge, you need to write those exact numbers down. This precision is what turns the project into a seamless swap instead of a frustrating struggle.
This step is an essential part of the process when you want to transform your kitchen by replacing cabinet doors without the pain of redrilling your cabinet frames. A few extra moments of careful measuring here will pay off big time.
To make sure you don't miss anything, just follow this simple checklist for each door:
-
Door Width: Measured flat, to the nearest 1/16".
-
Door Height: Measured flat, to the nearest 1/16".
-
Top Hinge: Distance from the top edge to the center of the hinge cup.
-
Bottom Hinge: Distance from the bottom edge to the center of the hinge cup.
Capturing these four key dimensions ensures your new custom doors will be a perfect match, ready to hang on your existing cabinets with zero issues.
Common Measuring Mistakes and How to Avoid Them
Even with the best intentions, a few simple mistakes can derail your entire cabinet door project. We’ve seen it happen. Let’s walk through the common traps people fall into and, more importantly, how you can sidestep them for a flawless result. These small details are often the difference between a professional finish and a frustrating redo.
One of the most frequent slip-ups is just mixing up the width and height measurements on your notepad. It sounds basic, but in the middle of a project, it happens more than you’d think. Always, always label your numbers clearly—something like "15” W x 30” H"—to avoid any confusion when it's time to place your order.
Overlooking the Details
Another classic mistake is forgetting to correctly account for your overlay or necessary clearance gaps. We once had a homeowner who measured perfectly for a set of inset doors but forgot to subtract the crucial 1/8-inch clearance gap on all sides. The result? Beautiful new doors that were just slightly too big and wouldn't close. A real headache.
The old carpenter’s mantra, "Measure twice, cut once," is the golden rule here. Before you finalize anything, do yourself a favor and double-check every single number on your list against the actual cabinet frames. This one final check is your best insurance policy against costly errors.
Getting these measurements right is absolutely vital. The global cabinet door market was valued at around USD 17 billion in 2025, a figure that shows just how massive this industry is. Improper sizing doesn't just affect your project; it contributes to waste and installation issues that have a ripple effect.
Avoiding these common pitfalls is a huge step toward a successful project. For those looking to dive deeper, our guide on refacing kitchen cabinet doors offers even more tips that can help ensure a smooth process from start to finish.
Answering Your Cabinet Measurement Questions
Even with the most detailed guide, there are always a few questions that pop up right when you think you’re done measuring. We’ve been there. To help you get over that final hurdle, we’ve pulled together the most common questions we hear from customers and installers alike.
Key Questions Answered
So, what’s the standard overlay for modern cabinets? While it can definitely vary, 1/2 inch is what you’ll see most often. This just means the door overlaps the cabinet frame by that amount on all four sides. But remember, the real boss here is your hinges—always check their specs before you lock in your final door size.
Another tricky spot we get asked about all the time is corner cabinets, especially those with bi-fold or lazy Susan doors. These can feel a little intimidating. The best way to tackle them is to measure each of the two door panels individually for both its width and height. For a practical example, a Lazy Susan door might consist of two panels, each measuring 10" x 30", hinged together to cover a larger corner opening.
The golden rule through all of this? Consistency. In the U.S., most suppliers, including us, work in inches down to the 1/16th. On the other hand, European-style cabinets are often measured in millimeters. It’s always smart to check with your door supplier to see what unit they prefer so you can avoid any frustrating conversion errors.
Nailing these final details will help you figure out if this is a project you want to tackle yourself or if it’s time to call in a pro. Our guide on choosing between DIY and hiring contractors can help you make that call. For a wider perspective on getting dimensions right, you might find these expert tips on how to measure furniture for a perfect fit helpful, too.
Ready to turn those perfect measurements into the perfect doors? At The Door Maker, our “Build a Door” tool makes it simple to design the exact custom cabinet doors you've been imagining. Start your project today at https://tdm-thedoormaker.com.
Article created using Outrank