
The IKEA Nexus door is a discontinued flat-panel cabinet front from IKEA’s legacy FAKTUM kitchen system, and if you have them in your kitchen today, your best path forward is to measure first, then choose one of four practical routes: track down used originals, substitute with current IKEA SEKTION-compatible fronts, order custom doors sized to your existing boxes, or refinish what you already have.
Here is what that decision looks like in practice:
- Measure your doors and hinge locations before anything else. Width, height, thickness, and hinge-center spacing are the four numbers every sourcing route needs.
- Confirm whether you have FAKTUM or SEKTION boxes. This single check determines which replacement fronts will physically fit without modification.
- Choose your route. Used originals are the cheapest starting point but hard to find in consistent condition. Current IKEA fronts work only if your boxes are SEKTION. Custom doors from a vendor like Tdm-thedoormaker fit any box size and give you full finish control. Refinishing is the lowest-cost option if your fronts are structurally sound.
For most DIY homeowners, measuring accurately and ordering custom fronts sized to your legacy boxes delivers the most reliable long-term result, especially when hinge locations or door sizes don’t align with anything IKEA currently stocks.
Table of Contents
- What the IKEA Nexus door was and which cabinet systems it fits
- Is the Nexus door still sold, and where can you find originals in the U.S.?
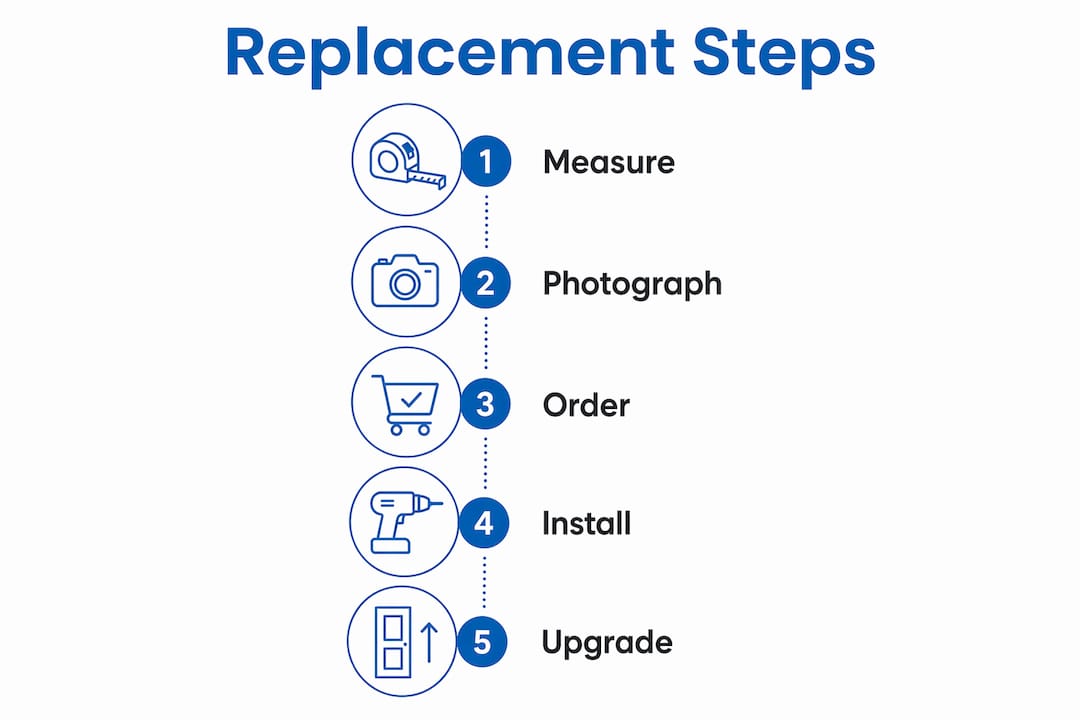
- Your four practical options for replacing or upgrading Nexus fronts
- How to measure your doors and prepare for ordering replacements
- Step-by-step: installing a replacement front on an IKEA-style cabinet box
- Which material and finish should you choose for replacement fronts?
- What replacement fronts cost and how long each route takes
- Key Takeaways
- What experienced installers know about replacing legacy IKEA fronts
- Tdm-thedoormaker makes custom doors for legacy IKEA boxes
- Useful sources and next steps
What the IKEA Nexus door was and which cabinet systems it fits
The IKEA Nexus door was a flat-panel front with a particleboard core, typically wrapped in a veneer or foil surface. Common finishes included brown-black and wood-effect veneers. The construction was straightforward: a thin decorative layer bonded to an engineered wood substrate, which kept costs low but made the surface vulnerable to moisture and edge chipping over time.
Nexus fronts were designed for the FAKTUM cabinet system, IKEA’s kitchen platform sold in the U.S. before SEKTION replaced it around 2015. FAKTUM and SEKTION boxes differ in depth, internal dimensions, and hinge-plate placement, so a Nexus front built for FAKTUM will not automatically align with a SEKTION box. The hinge-cup hole spacing, overlay dimensions, and mounting rail positions are all different enough to matter.
For hinge compatibility, Nexus fronts used standard European 35mm cup hinges, the same basic format still common today. The key detail is the distance from the hinge-cup center to the door edge, typically 22.5mm for FAKTUM-era fronts, and the vertical spacing between hinge centers. Both measurements must match your replacement front exactly, or you will need to drill new holes.
To visually identify a Nexus front, look for a flat, frameless panel with a thin veneer or foil surface, visible edge banding, and IKEA article numbers printed on a label inside the hinge area. International reseller pages list specific Nexus item numbers and dimensions for sizes like 60×90 cm, which can help you cross-reference what you have.
Pro Tip: Photograph the hinge area, the back of the door, and the inside of the cabinet box before you remove anything. These three photos answer almost every question a vendor or hardware supplier will ask.
Is the Nexus door still sold, and where can you find originals in the U.S.?
The IKEA Nexus line is discontinued and is not part of IKEA’s current U.S. catalog. You will not find it on IKEA’s website or in any U.S. store. That said, originals do surface through secondary channels, and knowing where to look saves time.
Where to search for used Nexus fronts:
- eBay and Facebook Marketplace are the most active U.S. sources. Search by finish name (e.g., “IKEA Nexus brown-black”) and filter by condition. Sellers often list partial sets from kitchen renovations.
- International reseller listings occasionally carry specific sizes. German resellers, for example, list Nexus fronts with article numbers and exact dimensions like 60×92 cm, which helps you verify a match before purchasing.
- Architectural salvage yards sometimes hold IKEA kitchen sets pulled from remodels. Availability is unpredictable, but prices are often lower than online listings.
- Niche secondary sellers occasionally list Nexus fronts with condition notes and stock numbers, though inventory is sporadic.
Before you commit to any secondary-market purchase, ask the seller for exact measurements, close-up photos of the hinge holes, the article number from the label, and their return policy.
Always verify dimensions and hinge hole locations before purchasing a used Nexus front. Even a 2mm difference in thickness or a shifted hinge-cup position can make a front unusable on your existing boxes. Request the seller’s measurements in writing, and compare them against your own before paying.
One important caution: searching for “Nexus door” online returns results for commercial aluminum entry doors and other unrelated products that share the name. None of those are IKEA cabinet fronts.
Your four practical options for replacing or upgrading Nexus fronts
Once you confirm that your Nexus fronts are discontinued and unavailable in the size or finish you need, four routes are worth considering. Each has a different cost profile, lead time, and skill requirement.
1. Used Nexus originals
- Pros: Exact finish match if you find the right lot; lowest upfront cost.
- Cons: Availability is unpredictable; condition varies; hinge holes may not align; no warranty.
- Best for: Replacing one or two damaged fronts when the rest of your kitchen is intact and you need a visual match.
2. Current IKEA SEKTION fronts
- Pros: Readily available; consistent quality; easy returns.
- Cons: Only works if you have SEKTION boxes, not FAKTUM. Sizes and hinge patterns differ from Nexus-era fronts, so a direct swap is rarely possible without modification.
- Best for: Homeowners who have already transitioned to SEKTION boxes or are willing to replace boxes along with fronts.
3. Custom replacement doors
- Pros: Sized to your exact measurements; full finish and material choice; hinge holes drilled to your specs; consistent across the whole kitchen.
- Cons: Higher cost than used originals or stock fronts; requires accurate measurements upfront.
- Best for: Any situation where sizes are irregular, hinge locations don’t match current IKEA standards, or you want to upgrade the material and finish at the same time. Tdm-thedoormaker offers custom doors for legacy IKEA cabinets with precision sizing, multiple finishes, and optional hinge drilling.
4. Refinish or repair existing fronts
- Pros: Lowest cost; no sourcing required; preserves original fit.
- Cons: Only viable if the substrate is structurally sound; foil surfaces are difficult to repaint without peeling; results vary by skill level.
- Best for: Fronts with surface wear but no delamination, swelling, or structural damage.
Pro Tip: If even one door size in your kitchen falls outside IKEA’s standard dimensions, custom is almost always the cleaner choice. Mixing custom and stock fronts in the same run creates visible inconsistencies in thickness and edge profile.
When weighing custom doors versus IKEA fronts, the deciding factor is usually whether your box dimensions and hinge locations match what IKEA currently sells. If they don’t, custom is the only route that guarantees a clean result.
How to measure your doors and prepare for ordering replacements
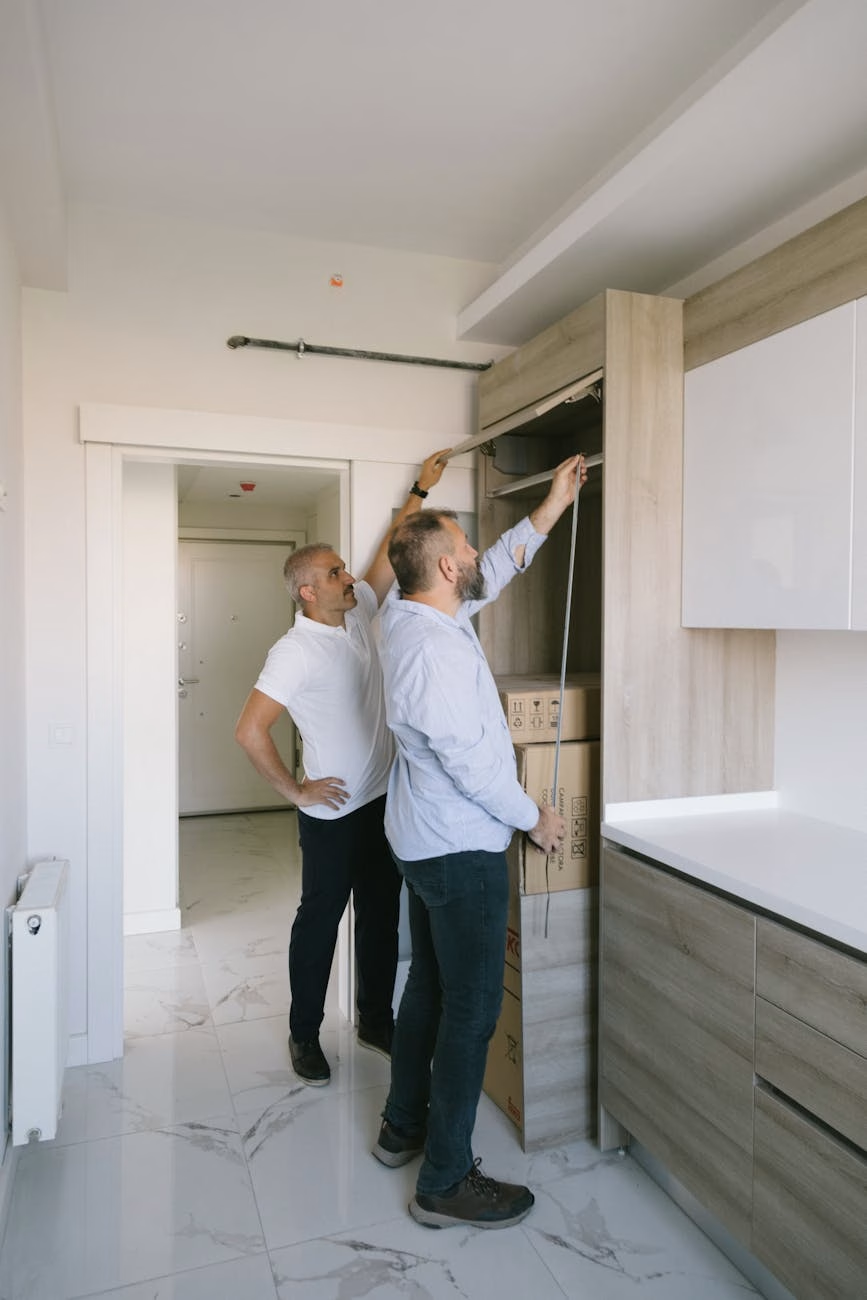
Measure width, height, thickness, and hinge-center spacing before you contact any vendor or place any order. Getting these four numbers right is the single most important step in the entire process.
Tools you need
A steel tape measure, a fine-tip pencil, masking tape for labeling, and a smartphone for photos. A digital caliper helps with thickness and hinge-cup diameter if you want precision beyond what a tape measure gives you.
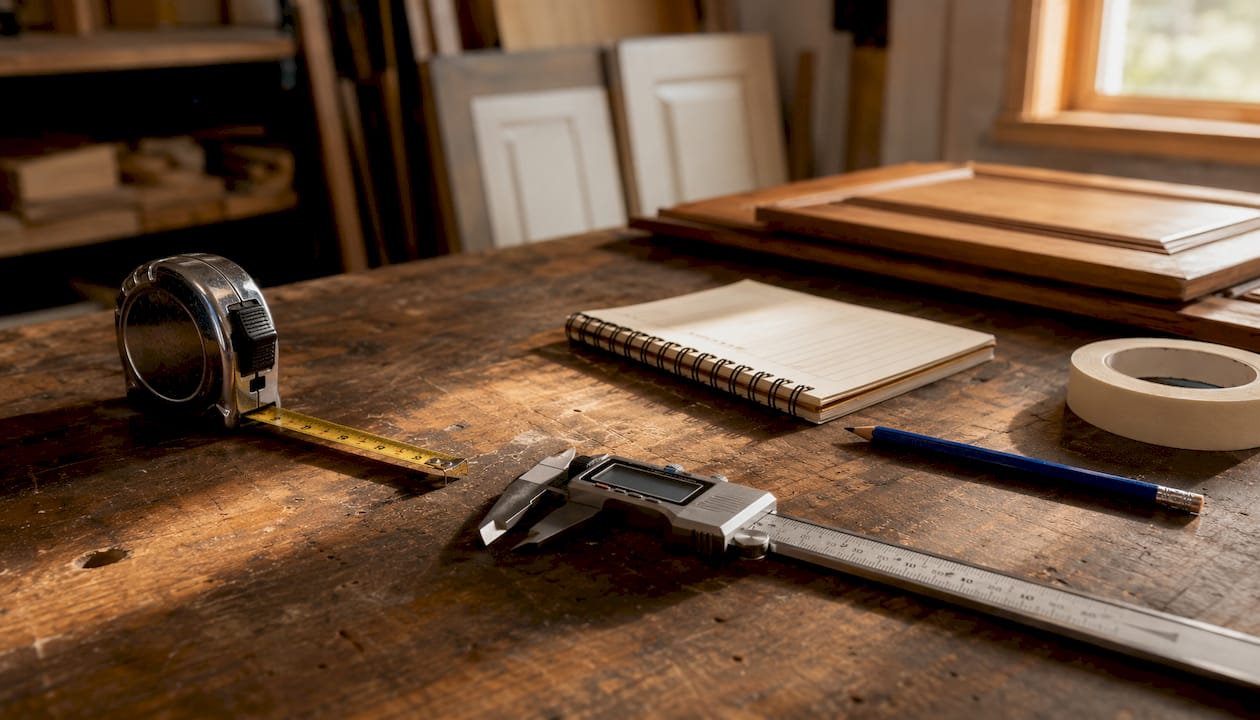
Measuring width and height
Measure the door face from edge to edge in both directions. Take three width readings (top, middle, bottom) and three height readings (left, center, right), then use the smallest measurement in each direction. Cabinet fronts live a hard life, and boxes can rack slightly over time, so the smallest reading protects you from ordering a front that won’t close.
Measuring hinge locations
With the door removed, measure from the top edge of the door to the center of the upper hinge cup, and from the bottom edge to the center of the lower hinge cup. Record both distances. Also measure the distance from the hinge-cup center to the nearest vertical edge of the door. These three numbers define your hinge pattern.
Vendor-ready photo checklist
| Photo | What to capture | Why it matters |
|---|---|---|
| Door face (front) | Full panel, all four edges visible | Confirms size and edge profile |
| Door back | Label with article number | Identifies Nexus model and finish code |
| Hinge area (close-up) | Cup position, edge distance | Lets vendor match or drill new holes |
| Inside cabinet box | Mounting rail and hinge plate | Confirms FAKTUM vs SEKTION box type |
| Door edge (thickness) | Edge banding and core | Confirms thickness for overlay calculation |
Pro Tip: Label each door with a masking-tape tag (e.g., “Upper Left,” “Sink Base Right”) before removal. Photograph the label alongside the hinge area. This takes two minutes and eliminates the most common ordering error: mixing up measurements from different doors.
For a complete measurement walkthrough, Tdm-thedoormaker’s guide on how to measure cabinet doors covers overlay, inset, and hinge-hole positioning in detail.
Step-by-step: installing a replacement front on an IKEA-style cabinet box
You can install a replacement front using standard European 35mm hinge cups if the hole locations align with your existing hinge plates. If they don’t, you’ll need to drill new cup holes or use adapter plates, which is straightforward with a 35mm Forstner bit and a drill press or steady hand.

Tools and supplies: Phillips screwdriver, 35mm Forstner bit (if drilling new holes), drill, level, clamps or a helper to hold the door, and soft-close hinge clips if upgrading.
Installation sequence:
Remove the old front by unscrewing the hinge clips from the mounting plates inside the box. Keep the plates in place unless you’re relocating them. Hold the new front against the box opening and check the overlay on all four sides. Mark the hinge-cup positions on the back of the new front using the existing plate locations as a guide. If the holes align, press the hinge cups in and snap the clips onto the plates. If not, drill new 35mm cup holes at the correct depth (typically 13mm), then attach.
Hang the door and make the three-way hinge adjustment: depth (in/out), lateral (left/right), and height. Most European hinges adjust with a single Phillips screw per axis. Work from the top hinge down, checking the gap on all sides with a consistent reveal before tightening fully. Add bumpers to the inside corners of the door to prevent rattling, and install soft-close clips if your hinges support them.
Troubleshooting common problems: If the gap is uneven, check whether the box itself is out of square before adjusting hinges. A racked box will fight every hinge adjustment you make. If the door binds on closing, the depth screw is usually the culprit. If soft-close isn’t engaging, the clip may not be fully seated on the mounting plate.
A note on hinge manuals: Searching for “Nexus hinge instructions” often surfaces ERA’s Nexus door hinge fitting instructions, which describe a commercial hinge product for exterior doors. Those instructions are not applicable to IKEA cabinet fronts. The drill sizes, screw specs, and adjustment tolerances in that manual refer to a completely different product family. Use your hinge manufacturer’s instructions, not ERA’s.
Wondering whether the full installation is worth tackling yourself? A practical look at how difficult it is to replace interior doors gives useful context on skill level and when calling a pro makes sense.
Which material and finish should you choose for replacement fronts?
Nexus fronts were typically veneer or foil-wrapped over a particleboard core. Modern replacement options span a wider range, and the right choice depends on your kitchen’s humidity level, how much wear the doors take, and how closely you want to match the original look.
Finish options compared:
- Thermofoil (foil-wrapped MDF): Durable, moisture-resistant, and easy to clean. The surface can lift at edges near heat sources over time, but modern thermofoil applied to MDF holds up better than older foil-on-particleboard. Good match for the original Nexus look.
- Painted MDF: Smooth, consistent finish that takes color well. Chips at edges if hit hard, but touch-up paint is easy to apply. Best for kitchens where you want a fresh color rather than a wood-effect finish.
- Veneer: Closest visual match to original Nexus wood-effect fronts. Requires more careful maintenance near moisture. Higher-end custom veneered fronts can be refinished if surface wear develops.
- Solid wood or custom hardwood: The most durable option and the most expensive. Handles humidity better than particleboard-core fronts. Typically available only through custom vendors.
Care tips by material: Wipe thermofoil and painted MDF with a damp cloth and mild detergent. Avoid abrasive cleaners on any surface. Keep steam from dishwashers and kettles away from door edges, where delamination starts. For veneer fronts, use a wood-appropriate cleaner and avoid prolonged moisture contact. You can find a detailed breakdown of kitchen cabinet door materials that covers durability and maintenance for each type.
Upgrading material when you replace fronts is worth considering if your Nexus-era particleboard boxes show swelling or edge damage. A more durable substrate on the new fronts won’t fix a damaged box, but it will extend the life of the replacement significantly.
What replacement fronts cost and how long each route takes
Used Nexus originals are typically the lowest cash outlay, but the total cost in time and risk is higher than it looks. Custom doors cost more upfront and deliver a predictable result. Here is a realistic breakdown for U.S. projects:
- Used originals (eBay, Facebook Marketplace, salvage): $5–$40 per front depending on size and condition. Lead time is however long it takes to find a matching lot, which can range from days to months. Shipping adds cost and risk of damage.
- Current IKEA SEKTION fronts: $20–$150 per front depending on size and style, available immediately at any U.S. IKEA store or online. Only viable if your boxes are SEKTION-compatible.
- Custom doors (vendor-made, sized to your specs): Pricing varies by material, finish, and size. Expect a higher per-door cost than stock options, offset by guaranteed fit and finish consistency. Lead times typically run two to four weeks depending on the vendor and finish complexity.
- Refinish or repaint existing fronts: Materials cost $30–$100 for a typical kitchen (primer, paint, brushes). Labor is your own time, usually a weekend. Results depend heavily on the condition of the existing surface.
Factors that drive custom door cost upward include specialty finishes, precision hinge drilling, non-standard sizes, and expedited production. If you’re also replacing drawer fronts, ordering them in the same run usually reduces per-piece cost and keeps lead times aligned.
Hiring a professional installer adds $50–$150 per hour in most U.S. markets, which can be worthwhile if you have a full kitchen to hang or if your boxes are out of square and need shimming. For a single-wall kitchen with standard-size doors, most DIYers complete the installation in a day.
Key Takeaways
Custom or compatible replacement fronts are the most reliable long-term solution for discontinued IKEA Nexus doors, and accurate measurements taken before ordering are what make any route work.
| Point | Details |
|---|---|
| Nexus is discontinued | IKEA no longer sells Nexus fronts in the U.S.; used originals exist but availability is sporadic and condition varies. |
| FAKTUM vs SEKTION matters | Nexus fronts were built for FAKTUM boxes; current IKEA fronts fit SEKTION, so confirm your box type before ordering anything. |
| Measure four dimensions | Width, height, thickness, and hinge-center spacing are required for any replacement route, custom or stock. |
| Custom fronts solve irregular sizes | When door sizes or hinge locations don’t match IKEA’s current catalog, custom doors are the only route that guarantees fit. |
| Tdm-thedoormaker for custom route | Tdm-thedoormaker offers custom doors sized for legacy IKEA boxes with precision sizing, 130+ finishes, and optional hinge drilling. |
What experienced installers know about replacing legacy IKEA fronts
The most consistent advice from people who replace FAKTUM-era fronts regularly is simple: label everything before you touch it, and test-fit one door before you order the full run.
Nexus-era kitchens present a few specific pitfalls that catch DIYers off guard. Hinge spacing on older FAKTUM boxes is not always consistent from one cabinet to the next, even within the same kitchen. IKEA’s manufacturing tolerances were reasonable, but years of use, humidity cycles, and previous repairs can shift hinge plates by a few millimeters. Measure each door individually rather than assuming they’re all the same.
Particleboard boxes from the FAKTUM era also tend to show wear at the hinge-plate screws. If the screws spin freely when you try to tighten them, the particleboard has stripped. A quick fix is to fill the hole with wood glue and a toothpick, let it cure fully, then re-drive the screw. Skipping this step means your new front will sag within months.
On the question of refinish versus replace: if the foil surface is lifting at the edges or bubbling near the hinges, refinishing is a short-term fix at best. Foil that has started to delaminate will continue to do so regardless of what you apply over it. Replacement is the cleaner call. On the other hand, if the surface is just dull or scratched but otherwise intact, a coat of cabinet-specific primer and paint can add years of life for minimal cost.
The small upgrades that deliver the most perceived value are soft-close hinges and concealed mounting. If your Nexus-era kitchen still has visible hinges, switching to concealed European hinges when you hang new fronts costs very little extra and changes the look of the whole kitchen.
Tdm-thedoormaker makes custom doors for legacy IKEA boxes
If your measurements don’t match anything IKEA currently stocks, or you want a finish upgrade beyond what the secondary market can offer, Tdm-thedoormaker builds custom cabinet doors sized precisely for legacy IKEA boxes, including FAKTUM-era openings.
The process is straightforward: measure your doors using the checklist in this article, choose from over 130 colors and finishes through the online configurator, and place your order with hinge holes drilled to your exact specs. Tdm-thedoormaker cuts to 1/10,000" precision, so the fit is consistent across every door in your kitchen, not just the ones that happen to match a standard size. Order a sample door or finish swatch first if you want to confirm the color before committing to the full run. When you’re ready, order custom cabinet doors online and get a guaranteed-fit replacement without the guesswork of the secondary market.
Useful sources and next steps
These resources cover hinge manuals, reseller listings, measurement guidance, and Tdm-thedoormaker’s product pages. Always verify any secondary-market listing against your own measurements before purchasing.
- IKEA SEKTION Kitchen Cabinet Doors & Drawer Fronts — current U.S. IKEA front catalog; use to check whether any standard size matches your opening.
- ERA Nexus Door Hinge Fitting Instructions — commercial hinge manual; useful to understand what this product is so you know it does not apply to IKEA cabinet fronts.
- International Nexus front listing with item numbers and dimensions — secondary-market reference for identifying Nexus sizes and article numbers.
- German reseller Nexus front listing (60×92 cm) — example of what a verified reseller listing looks like; use as a template for what to request from any seller.
- Custom Doors for IKEA Cabinets | Tdm-thedoormaker — custom front ordering for legacy IKEA boxes, including FAKTUM-era sizes.
- How to Measure Cabinet Doors | Tdm-thedoormaker — step-by-step measurement guide with overlay and hinge-hole positioning.
- How to Upgrade Kitchen Cabinet Fronts | Tdm-thedoormaker — practical walkthrough for replacing and upgrading cabinet fronts on existing boxes.
- Cabinet Refacing vs. Full Remodel | Tdm-thedoormaker — helps you decide whether front replacement alone is enough or whether a larger scope makes more sense.