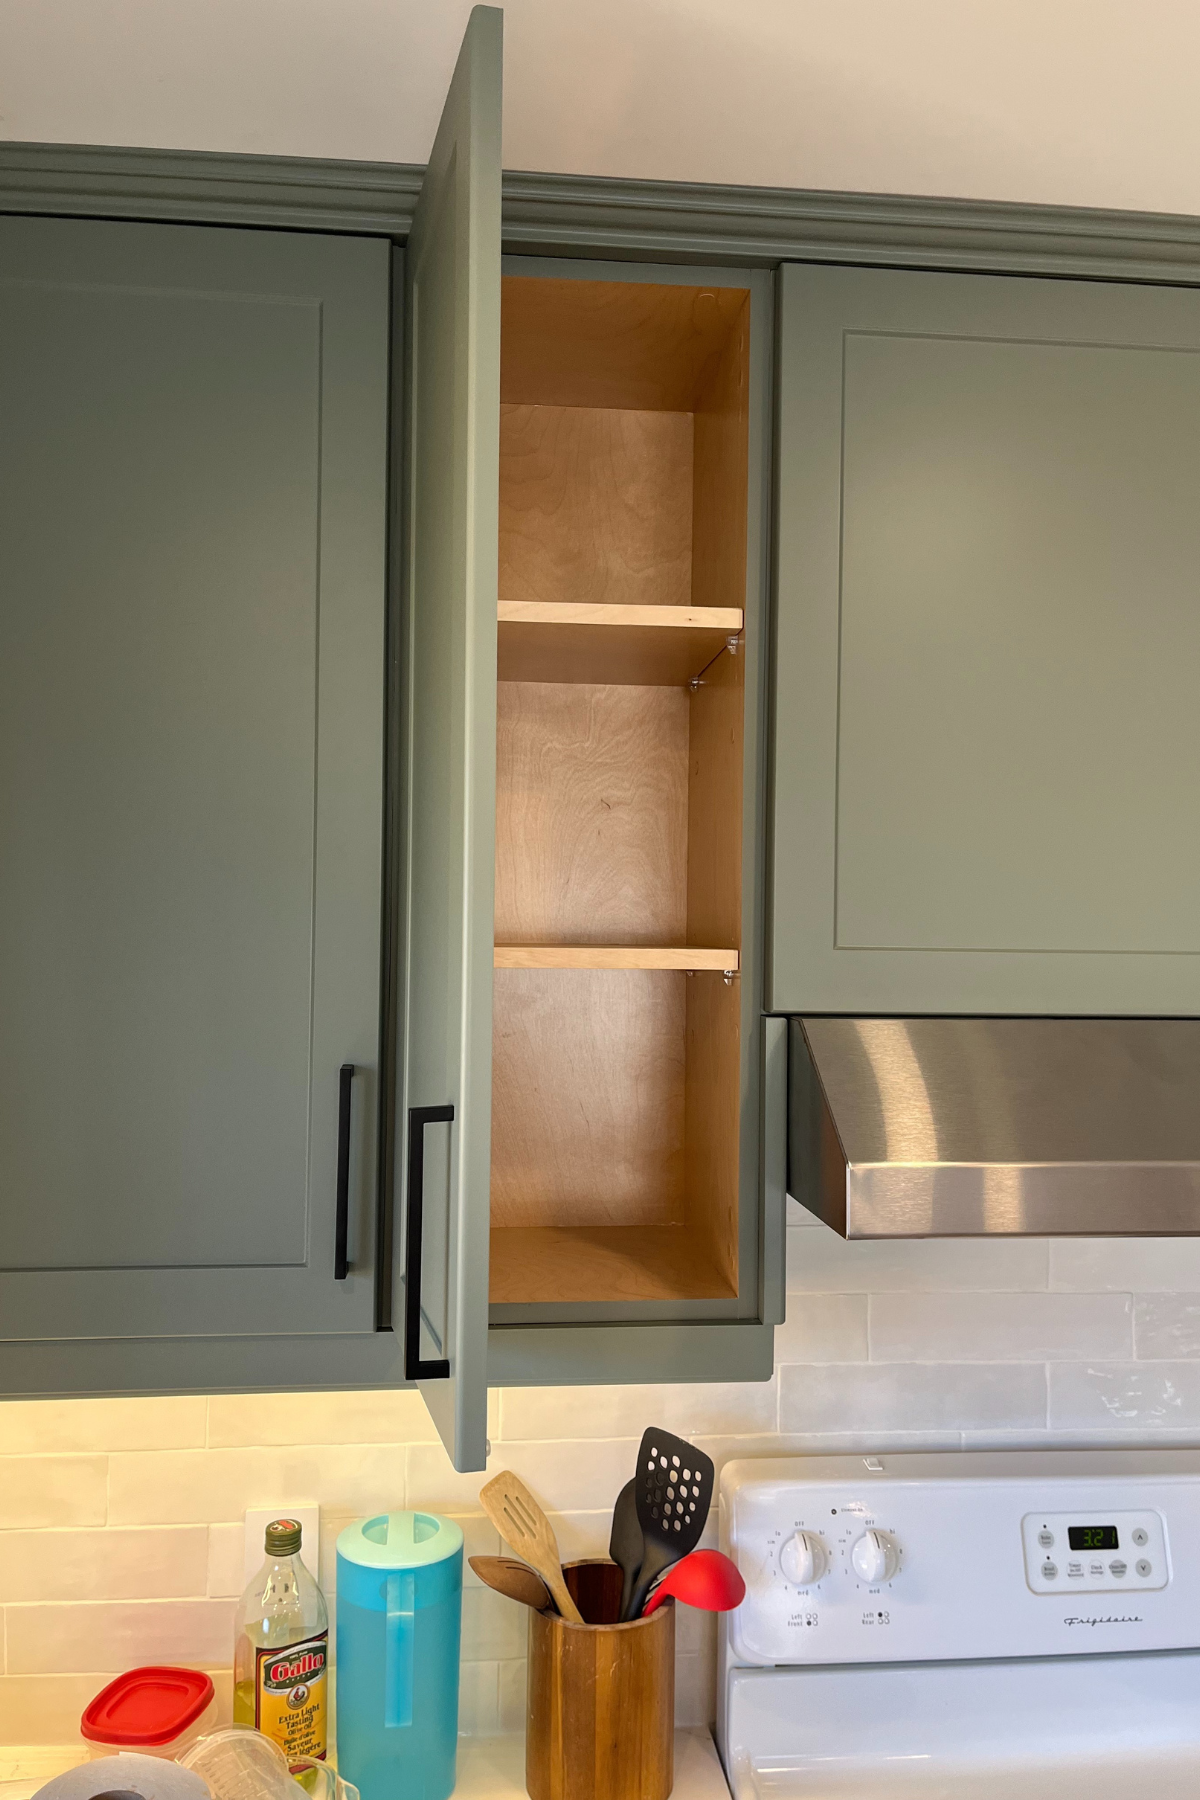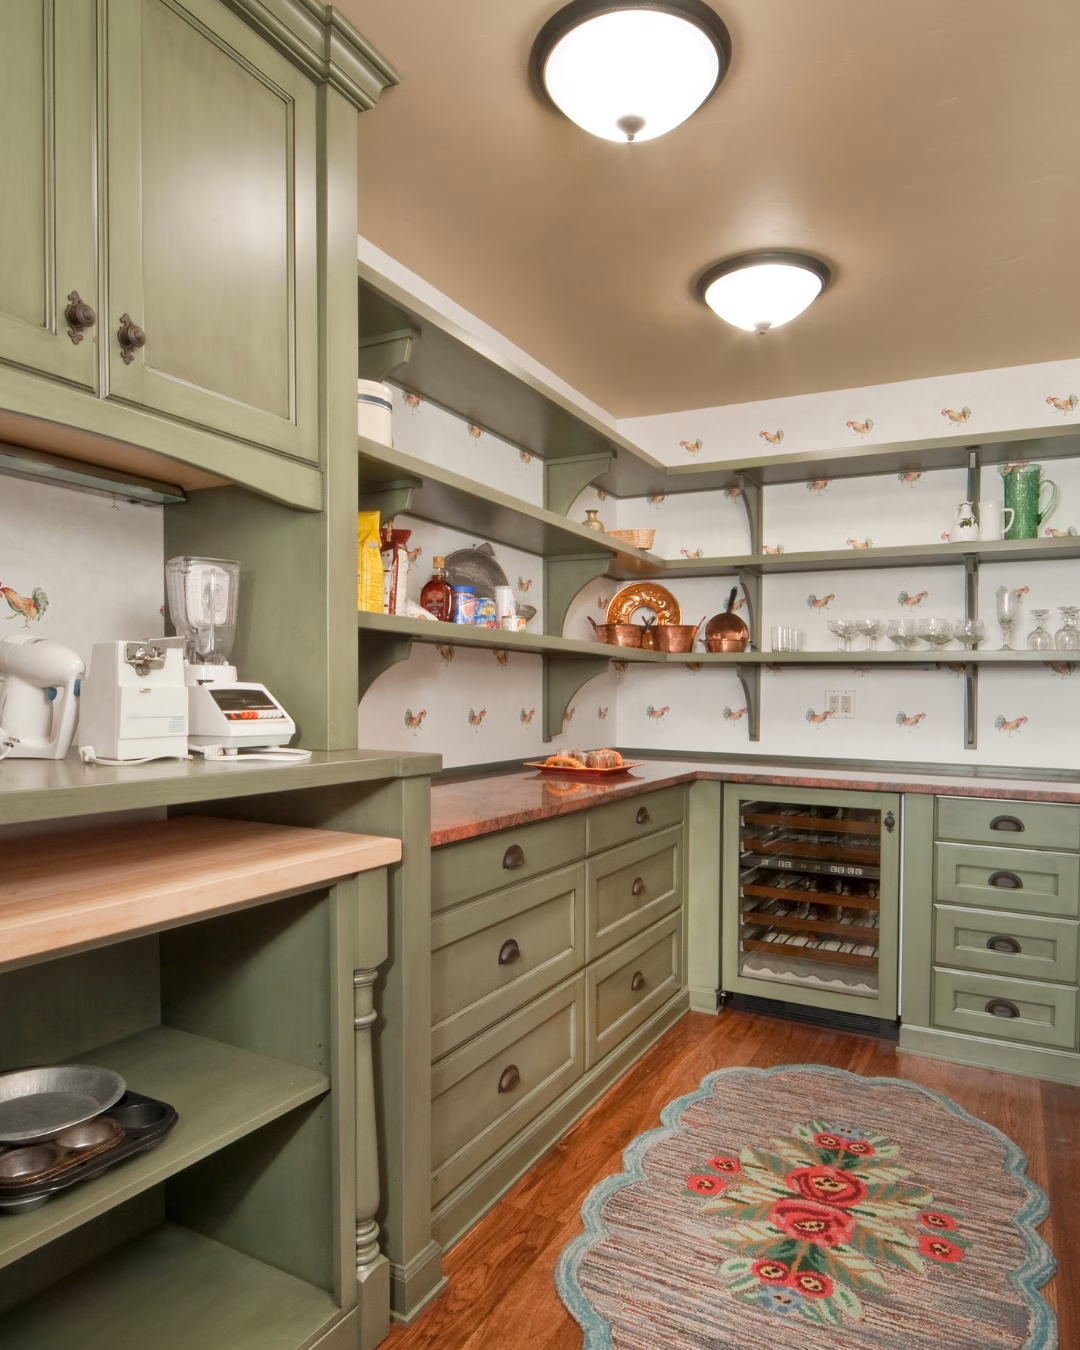

Inset drawer fronts are drawer faces sized to sit recessed inside the cabinet face frame opening, flush with the frame’s surface, producing a clean, furniture-grade look. The practical payoff is real but demanding: tight reveals, commonly a small precise gap per side, require precise measuring and a square carcase before you ever pick up a drill. If you want to build them yourself, this guide walks you through every step. If you’d rather skip the fitting risk, Tdm-thedoormaker offers custom-sized drawer fronts cut to your exact opening dimensions.
Table of Contents
- What inset drawer fronts are and how they work
- Inset vs. overlay vs. inlay: which style fits your project?
- What construction style should you choose for your fronts?
- How to measure for inset drawer fronts: the reveal math
- Which hardware works with inset drawer fronts?
- Step-by-step installation: false-front method with side-mount slides
- Material choices and finishes for stable reveals
- Common problems and how to fix them
- Safety during installation and modification
- Cost considerations: making vs. buying inset drawer fronts
- Key Takeaways
- Why the hardest part of inset work isn’t the joinery
- Tdm-thedoormaker makes precise inset fronts simple to order
- Useful sources and further reading
What inset drawer fronts are and how they work
A standard drawer front is simply the face panel attached to a drawer box. An inset version is sized smaller than the opening so it sits inside the face frame rather than overlapping it. The result is a smooth, flat cabinet surface where the front, frame, and adjacent doors all share the same plane.
That placement changes everything downstream. Hinge and stop choices shift, slide setback becomes critical, and the reveal around all four edges is visible at all times. Compare that to an overlay front, which laps over the frame and hides minor misalignment behind the overlap. Inset fronts forgive nothing, which is exactly why they signal quality craftsmanship when done well.
For a deeper look at how inset cabinetry differs from other construction types, the homeowner’s guide to inset cabinets covers the full picture.
Inset vs. overlay vs. inlay: which style fits your project?
These three terms get mixed up constantly, and the confusion leads to real ordering mistakes.
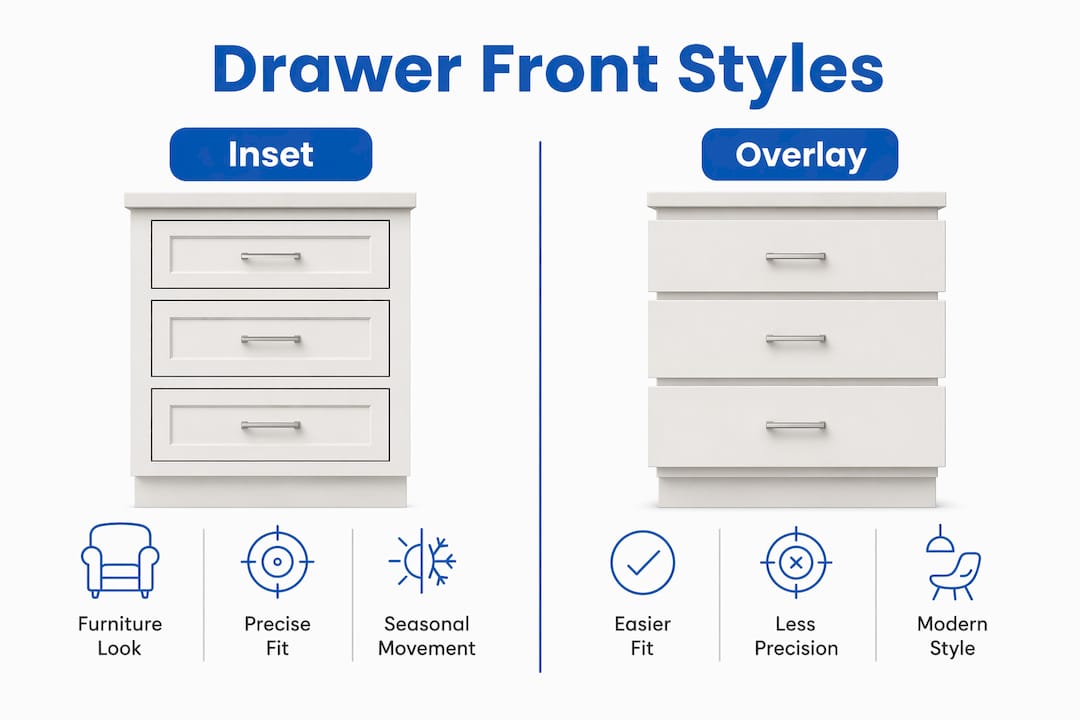
- Inset: The front sits recessed inside the face frame opening. Reveals are tight and visible. Requires precision construction and compatible hardware.
- Partial overlay: The front overlaps the frame by a set amount, typically 3/8"–1/2" per side. Forgiving of minor misalignment. The most common style in production cabinetry.
- Full overlay: The front covers nearly the entire face frame, leaving minimal frame visible. Common in modern frameless cabinet designs.
- Inlay: A decorative woodworking technique where contrasting material is set into a surface for visual effect. Not a placement method at all — do not confuse it with inset placement.
Choose inset when you want a furniture-grade, custom look and you have the tools and patience for precise fitting. Overlay is the smarter call for retrofit or refacing jobs where the carcase may not be perfectly square. Inlay belongs in a different conversation entirely — it is about decoration, not drawer placement.
Skill level and seasonal wood movement should also steer your decision. Inset fronts in solid wood will shift with humidity, so the reveal must account for that. Overlay fronts are far more forgiving of seasonal movement because the overlap absorbs it.
What construction style should you choose for your fronts?
Modern drawer front styles for inset applications fall into a few clear categories, and the choice affects both your tools and your finishing approach.
Slab fronts are a single flat panel with no frame or profile. They suit contemporary and minimalist kitchens, and they are the easiest to make and finish consistently. Shaker fronts use a five-piece frame around a recessed center panel, the most popular style in American cabinetry today. Raised panel fronts add a profiled center panel for a more traditional look but require a router table or shaper to produce cleanly. For smaller drawers, many cabinet lines automatically default to a slab because a five-piece frame does not scale down well below about 6" in height.
Beyond style, you face a structural choice: true inset vs. false front.
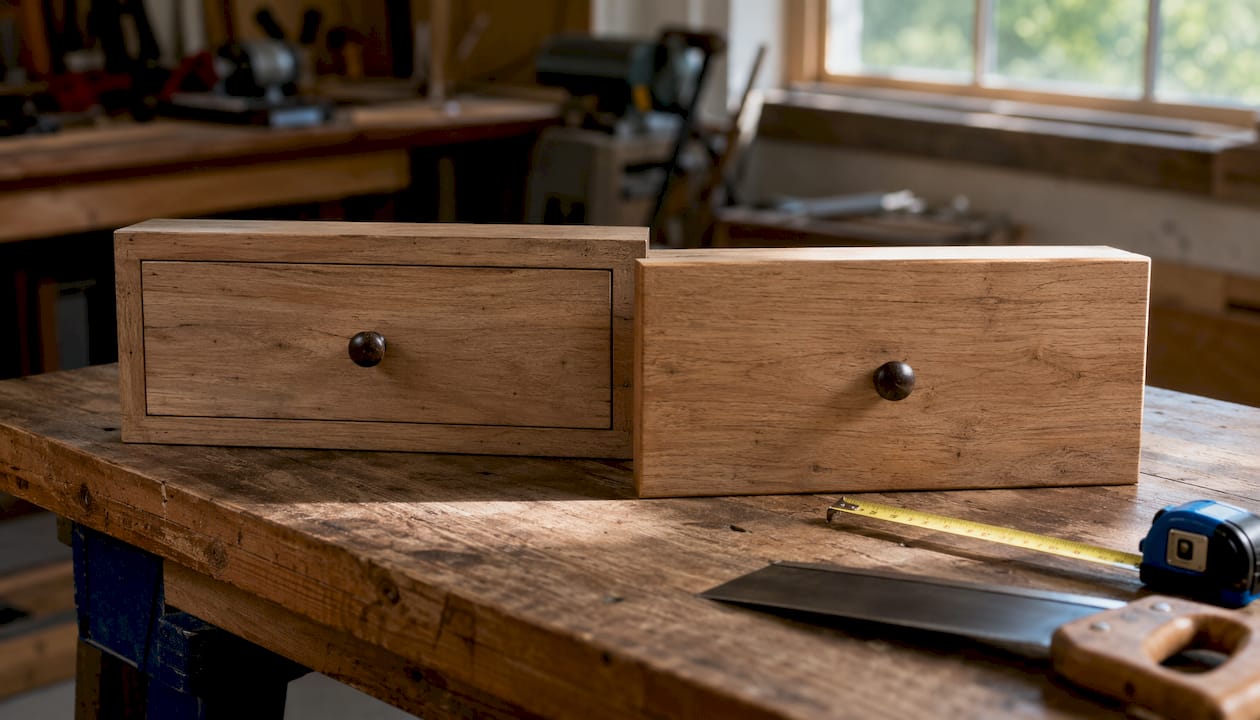
In a true inset build, the drawer front is integral to the drawer box, joined directly to the sides with dovetails or other joinery. The box and front are fitted together as one unit. In a false-front build, you build a basic drawer box, fit it to the opening using adjustable slides, and then attach a separate face panel from the rear with screws. False fronts are the standard approach for most modern shop builds because adjustable slides let you fine-tune position after installation.
Pro Tip: Choose a false-front approach whenever you are using undermount or side-mount slides with adjustment slots. The ability to shift the front up, down, left, or right after installation is worth far more than the slight visual purity of a true inset build, especially on multi-drawer runs.
How to measure for inset drawer fronts: the reveal math
Getting the size right is where most DIYers stumble. The math itself is straightforward once you know the target reveal.
The standard woodworking guideline is a small precise gap per side. That means your front should be correspondingly narrower and shorter than the opening width and height. In humid climates where solid wood moves significantly, FineWoodworking recommends a slightly larger reveal of 1/8" per side to prevent seasonal binding.
| Opening Dimension | Reveal per Side | Front Dimension |
|---|---|---|
| — | 3/32" | — |
| 5" tall | 3/32" | — |
| — (humid climate) | 1/8" | — |
| 7" tall (humid climate) | 1/8" | 6-3/4" tall |
Before you calculate anything, verify the opening is square. Measure both diagonals: if they match, the opening is square. If they differ by more than 1/16", address the carcase before cutting any fronts. WWGOA emphasizes that a square carcase is the non-negotiable starting point, because consistent reveals are mathematically impossible in an out-of-square opening.
Also size your drawer box shorter than the cabinet depth by a small buffer. That buffer keeps the box from bottoming out against the cabinet back, so the slide adjustments and front position control the flush fit, not the box length.
Measurement checklist before cutting:
- Measure opening width and height at top, middle, and bottom
- Compare both diagonals to confirm square
- Confirm consistent depth front to back
- Record the smallest dimension if openings vary
- Calculate front size using your chosen reveal target
For step-by-step measuring guidance, Tdm-thedoormaker’s inset cabinet door measuring guide walks through the same process with photos.
Which hardware works with inset drawer fronts?
Hardware choice directly affects how you mount, adjust, and stop your fronts. The four main slide categories each interact with inset fronts differently.
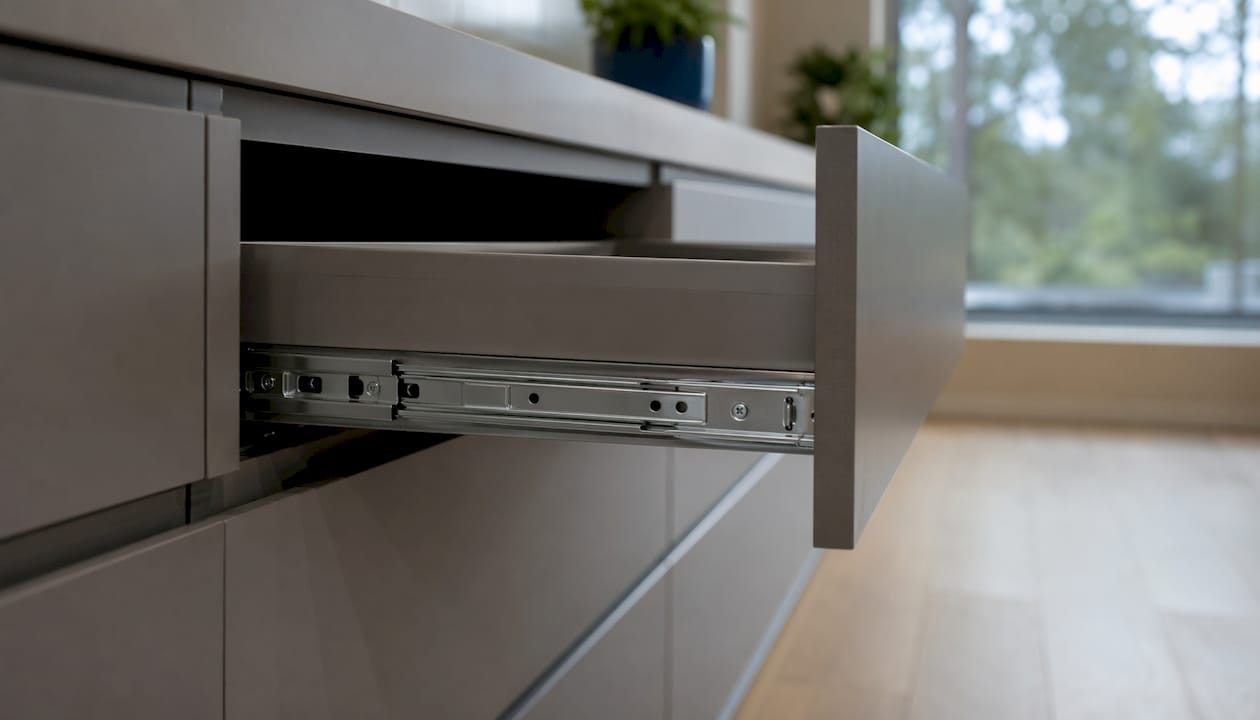
| Slide Type | Setback Required | Adjustment Available | Best Use Case |
|---|---|---|---|
| Side-mount (epoxy-coated) | Front thickness + 1/16" | Vertical via slotted holes | Most DIY inset builds |
| Undermount | Per manufacturer spec | Vertical and lateral | Furniture-grade, hidden hardware |
| Center-mount | Minimal | Limited | Light-duty or period furniture |
| Slideless (hand-fit) | None | None after fitting | Traditional true inset, hand-tool builds |
When mounting side-mount or undermount slides, Wood Magazine recommends using a consistent wooden spacer block during installation. Rest each slide on the same spacer block as you fasten it, and every slide ends up at the same setback from the face frame automatically. This eliminates per-drawer measuring and keeps the whole run aligned.
For stops, FineWoodworking recommends front-mounted drawer stops glued to the rail or frame assembly. A front-mounted stop holds the front at a fixed position regardless of seasonal movement in the box, which makes final leveling and sanding far simpler. Rear stops work too, but they are more sensitive to wood movement over time.
Step-by-step installation: false-front method with side-mount slides
This is the most practical approach for most shop builds and refacing projects.
False-front installation with side-mount slides:
- Build the drawer box slightly shorter than cabinet depth.
- Cut a wooden spacer block equal to the front thickness plus a small extra amount. Rest each slide on this block as you fasten it to the cabinet side.
- Install slides on both sides, using the spacer block for consistent setback.
- Slide the box in and check that it moves freely without bottoming out.
- Cut the drawer front to your calculated size (the opening width and height minus 3/16" for a standard 3/32" reveal per side).
- Apply double-sided foam tape to the back of the front panel.
- Stack playing cards or precision shims around all four edges of the opening to hold the front at the correct reveal while you position it.
- Press the front firmly against the tape with the drawer box pushed to the closed position.
- Open the drawer carefully and drive two screws through the box front into the drawer face as registration points.
- Check the reveal on all four sides, adjust if needed, then drive the remaining screws.
- WWGOA suggests pre-drilling your pull or knob holes before final fastening and using them as registration points to hold the front while you drive screws from behind.
Alternate workflow: true inset (slideless, hand-fit):
- Mill drawer parts from quartersawn or riftsawn stock for stability.
- Join the front to the sides with half-blind dovetails; use through dovetails at the rear.
- Assemble the box and check square by comparing diagonals before glue sets.
- Fit the assembled box to the opening by planing the sides, checking for shiny spots that indicate contact.
- Plane a small chamfer on the top rear corner of each side to prevent binding on entry.
- Plane a slight bevel around the perimeter of the front to create the reveal shadow line.
- Add a front-mounted stop glued to the rail, positioned so the front rests flush when closed.
Tools you will need:
- Table saw or track saw for ripping fronts to width
- Hand plane for final fitting (true inset method)
- Drill and driver with slotted-hole bits
- Double-sided foam tape and playing cards or machined shims
- A 3/4" wooden slug for marking pilot holes consistently
- Clamps for holding fronts during fastening
Reference photos and video walkthroughs are worth consulting before you start, particularly for the spacer and tape steps where visual confirmation makes the process click.
Material choices and finishes for stable reveals
The material you choose for your fronts affects how much the reveal changes with the seasons and how much prep work finishing requires.
| Material | Seasonal Movement | Priming/Prep | Relative Cost | Notes |
|---|---|---|---|---|
| Solid wood (quartersawn) | Low to moderate | Light sanding, seal all faces | Moderate–high | Best for hand-fit true inset |
| MDF core + veneer | Very low | Prime all faces and edges | Moderate | Excellent for painted inset fronts |
| PVC | Negligible | Minimal | Moderate | Moisture-resistant; good for bathrooms |
| Thermofoil over MDF | Negligible | None (factory applied) | Low–moderate | No painting needed; limited repair options |
For painted inset fronts, MDF core is the most stable choice. Seal all six faces and all edges before installation — unprimed edges absorb moisture unevenly and cause the front to cup, which throws off your reveal. Solid wood fronts need the same treatment, plus you should plan your reveal to accommodate seasonal movement. Woodcraft’s guidance on fitting inset drawers recommends quartersawn maple, cherry, or ash for stability and clean planing.
Avoid thick paint builds on inset fronts. Multiple heavy coats can add 5–10 thousandths of an inch per side, which is enough to tighten a 3/32" reveal noticeably. Apply thin coats, sand between them, and test the fit before the final coat.
Common problems and how to fix them
Inset fronts make every alignment error visible, so troubleshooting is part of the process.
Binding on one side: The front is too wide, or the opening is out of square. Check the diagonal measurements first. If the carcase is square, plane or sand the binding edge in small increments, checking fit after each pass.
Uneven reveal: Usually caused by a slide that is not set back consistently, or a front that was taped in position slightly off-center. Remove the front, re-stack your playing-card spacers carefully, and re-tape. Wood Magazine’s spacer technique — using pennies or stacked playing cards for consistent gaps — is the most reliable fix for this.
Seasonal binding in summer: The reveal was too tight for the wood species and climate. Add 1/32" to the reveal by planing the edges, or switch to a front-mounted stop that holds position without relying on the box fit.
Front won’t stay flush: The drawer box is bottoming out against the cabinet back. Pull the box and trim 1/8" from the rear, then recheck.
Pro Tip: Before you drive the final screws into any false front, open and close the drawer five times while checking the reveal each time. A front that looks perfect when static sometimes shifts slightly under the motion of opening. Catching it before final fastening saves you from re-drilling.
A preventive checklist before final fastening: confirm equal gaps on all four sides, verify the slide setback is consistent across the run, confirm the box does not bottom out, and check that the front sits parallel to adjacent doors or drawers.
Safety during installation and modification
Cabinet installation involves sharp tools, heavy panels, and awkward positions inside cabinet boxes. A few precautions prevent the most common injuries.
Always wear safety glasses when drilling into cabinet boxes from the rear — wood chips and screw debris travel toward your face in that position. Use push sticks and featherboards when ripping narrow fronts on a table saw; a front that kicks back at full width can cause serious injury. When fitting a true inset front by hand planing, clamp the work securely rather than holding it freehand. Sharp hand tools require stable workpieces.
When working inside an installed cabinet, watch for sharp edges on slide hardware. Metal slide brackets have stamped edges that cut easily. Gloves help here, though you should remove them when operating power tools. If you are modifying existing cabinetry, check for electrical wiring or plumbing behind the cabinet back before drilling through it.
Cost considerations: making vs. buying inset drawer fronts
DIY costs depend heavily on material choice and whether you already own the tools. Solid wood fronts cut from lumber you mill yourself are the least expensive per front but require a planer, jointer, and table saw at minimum. MDF or PVC sheet goods are less expensive per panel and require fewer machines, but you still need accurate cutting equipment to hold the tolerances inset work demands.
Buying custom-cut fronts shifts the cost from time and tool investment to a per-piece price, but eliminates the risk of a mis-cut front that wastes material. For a kitchen with 10–15 drawer fronts, the cost of one or two mis-cut solid wood panels can equal or exceed the price difference between DIY and ordering custom. Tdm-thedoormaker’s custom drawer fronts are sized to 1/10,000" precision, which means the reveal math you calculate is the reveal you get. For readers weighing the full cost picture, the cabinet refacing vs. full remodel comparison puts the numbers in context.
For a single-drawer project or a shop build where you have the tools, DIY is cost-effective. For a full kitchen refacing where consistent reveals across 12 or more openings matter, ordering custom fronts is often the more economical path when you factor in time, material waste, and finishing labor.
Key Takeaways
Inset drawer fronts demand a square carcase, precise reveal math, and compatible hardware, but reward you with a furniture-grade finish that no overlay style can match.
| Point | Details |
|---|---|
| Reveal math is fixed | Size fronts 3/16" narrower and 3/16" shorter than the opening for a standard 3/32" reveal per side. |
| Carcase squareness is non-negotiable | Measure both diagonals before cutting any fronts; consistent reveals are impossible in an out-of-square opening. |
| False fronts offer more control | Adjustable slides let you fine-tune position after installation, which is critical on multi-drawer runs. |
| Material stability affects reveal | MDF and PVC hold their size year-round; solid wood needs a slightly larger reveal in humid climates. |
| Tdm-thedoormaker for precision ordering | Custom fronts sized to 1/10,000" eliminate mis-cut risk and deliver guaranteed reveals for refacing projects. |
Why the hardest part of inset work isn’t the joinery
Most woodworkers assume the dovetails or the fitting are what make inset drawer fronts difficult. They are not. The real challenge is the carcase, and it is one most builders underestimate until they are standing in front of a cabinet that is 1/8" out of square and wondering why their reveals look wrong on every single drawer.
A square carcase is not just a starting point, it is the entire foundation. Once you accept that, the rest of the process becomes a series of manageable steps: calculate the reveal, build the spacers, tape the front, check the gaps, fasten. The playing-card shim method is almost embarrassingly simple, but it works because it removes guesswork from the most error-prone step.
Where I see homeowners go wrong most often is in trying to compensate for an out-of-square carcase by tweaking individual fronts. You cannot shim your way out of a structural problem. Fix the box first, then fit the fronts.
For readers who decide that ordering custom fronts is the smarter move for their project, that is a completely legitimate call. Precision-cut fronts from a reliable source remove the biggest variable in the whole process. The fitting and installation steps still require care, but you are not also managing the risk of a mis-cut panel.
Tdm-thedoormaker makes precise inset fronts simple to order
Getting the reveal right starts with a front that is cut to the exact size you calculated. Tdm-thedoormaker’s custom drawer fronts are sized to 1/10,000" precision across more than 30 styles and 130+ colors and finishes, which means the 3/32" reveal you planned is the one you install. The online configurator walks you through measuring, style selection, and ordering in three steps, with video tutorials at each stage. Sample doors and color swatches are available before you commit to a full order, so you can confirm the finish in your actual space.

For readers who want to coordinate their drawer fronts with door styles across a broader refacing project, the pantry door selection guide from One Day Doors & Closets is a useful companion resource. When you are ready to order, start with Tdm-thedoormaker’s custom cabinet doors page to configure your fronts, request samples, and get a precise quote.
Useful sources and further reading
These resources are worth bookmarking for photos, video walkthroughs, and deeper technique detail.
- Wood Magazine: Inset Drawers — Best overall reference for the false-front method, spacer technique, and slide setback. Includes clear photos of each step.
- WWGOA: Setting Inset Drawer Fronts — Video-based guide; best for seeing the spacer and registration workflow in motion. Strong on carcase squareness checks.
- Yellow Brick Home: Installing Drawer Fronts on Inset Cabinetry — Practical photo documentation of the slug, tape, and playing-card method. Good for visual learners tackling a first install.
- FineWoodworking: Drawer Fronts That Fit Flush — Best source for front-mounted stop technique and seasonal movement planning. Recommended for furniture-grade builds.
- Woodcraft: Fitting Inset Drawers — Detailed hand-tool fitting guide with dovetail joinery and wood selection advice. Best for traditional true inset builds.
- Instructables: Perfect Inset Drawer Fronts — Quick shop tricks including the playing-card shim method. Best for small shops or single-run projects without precision shims.