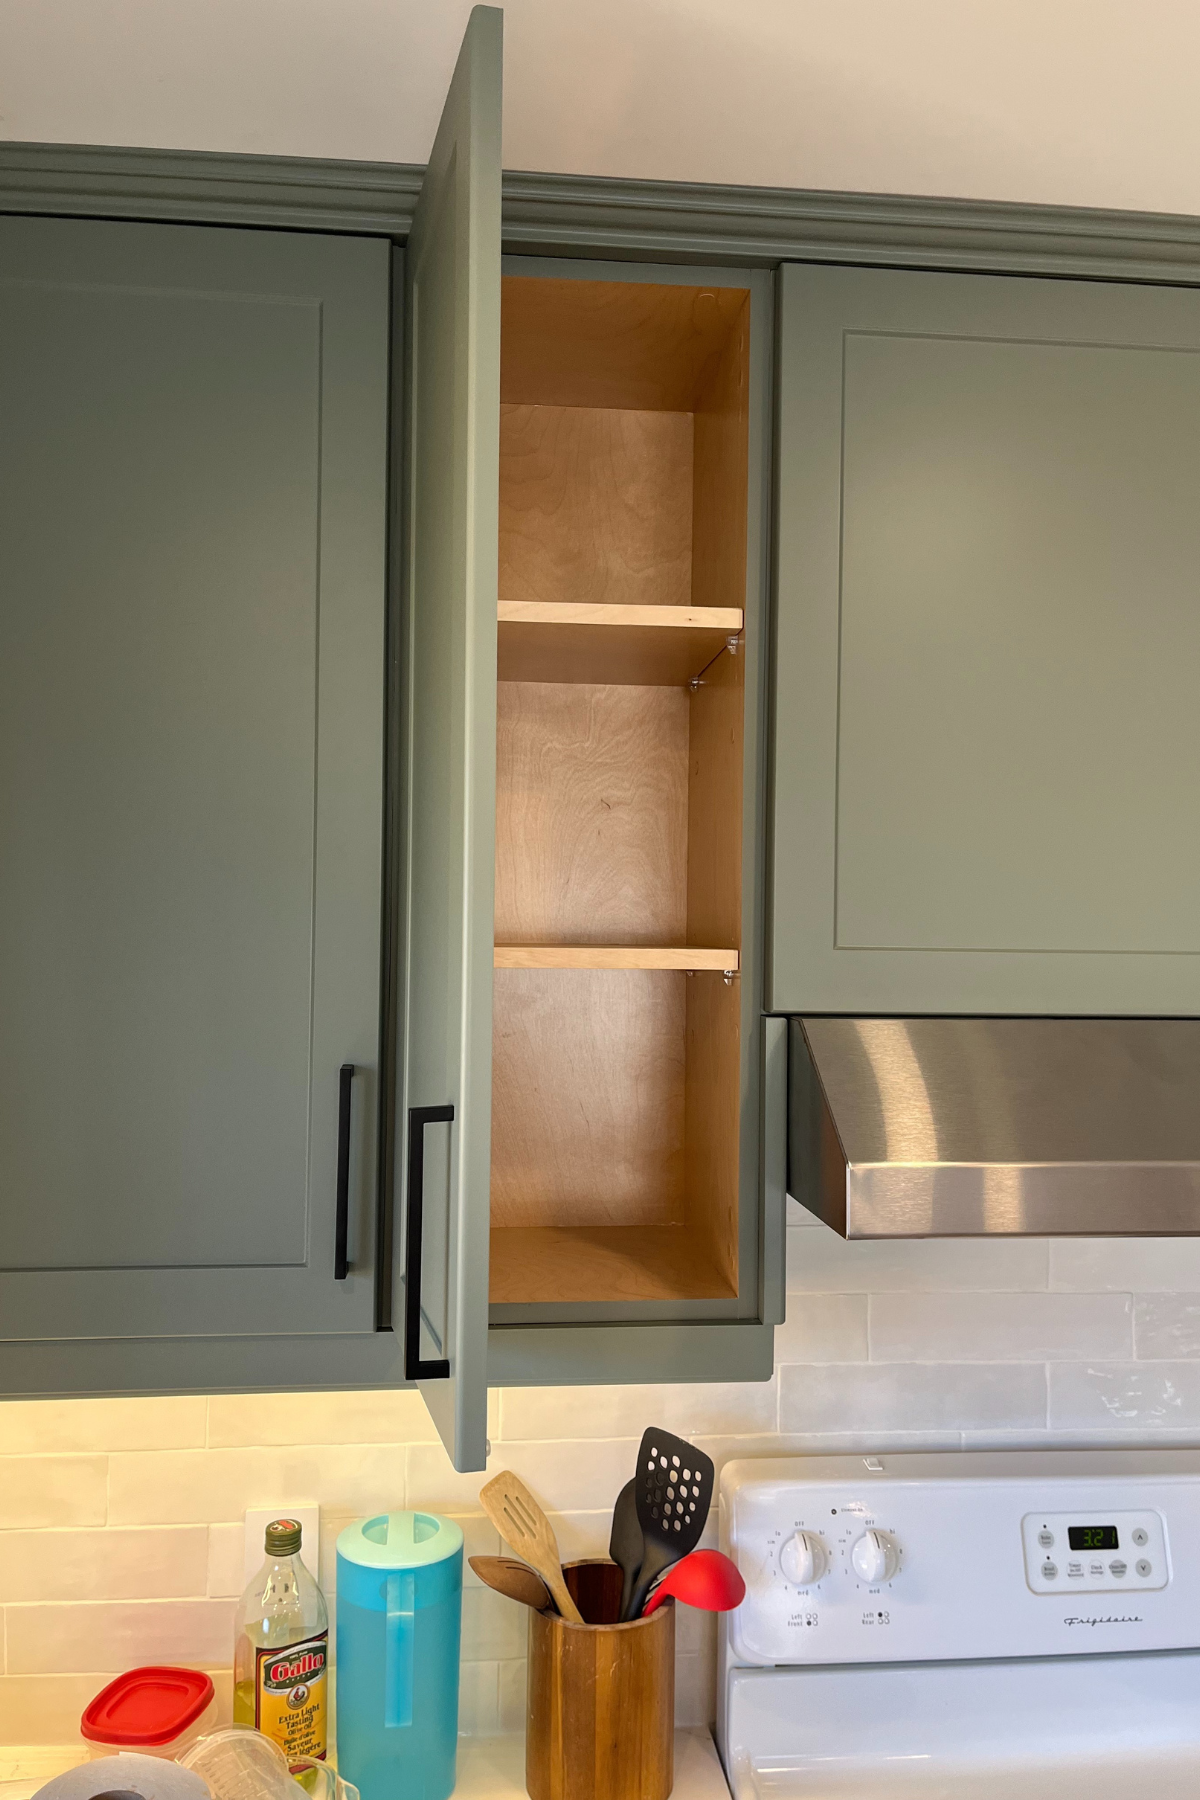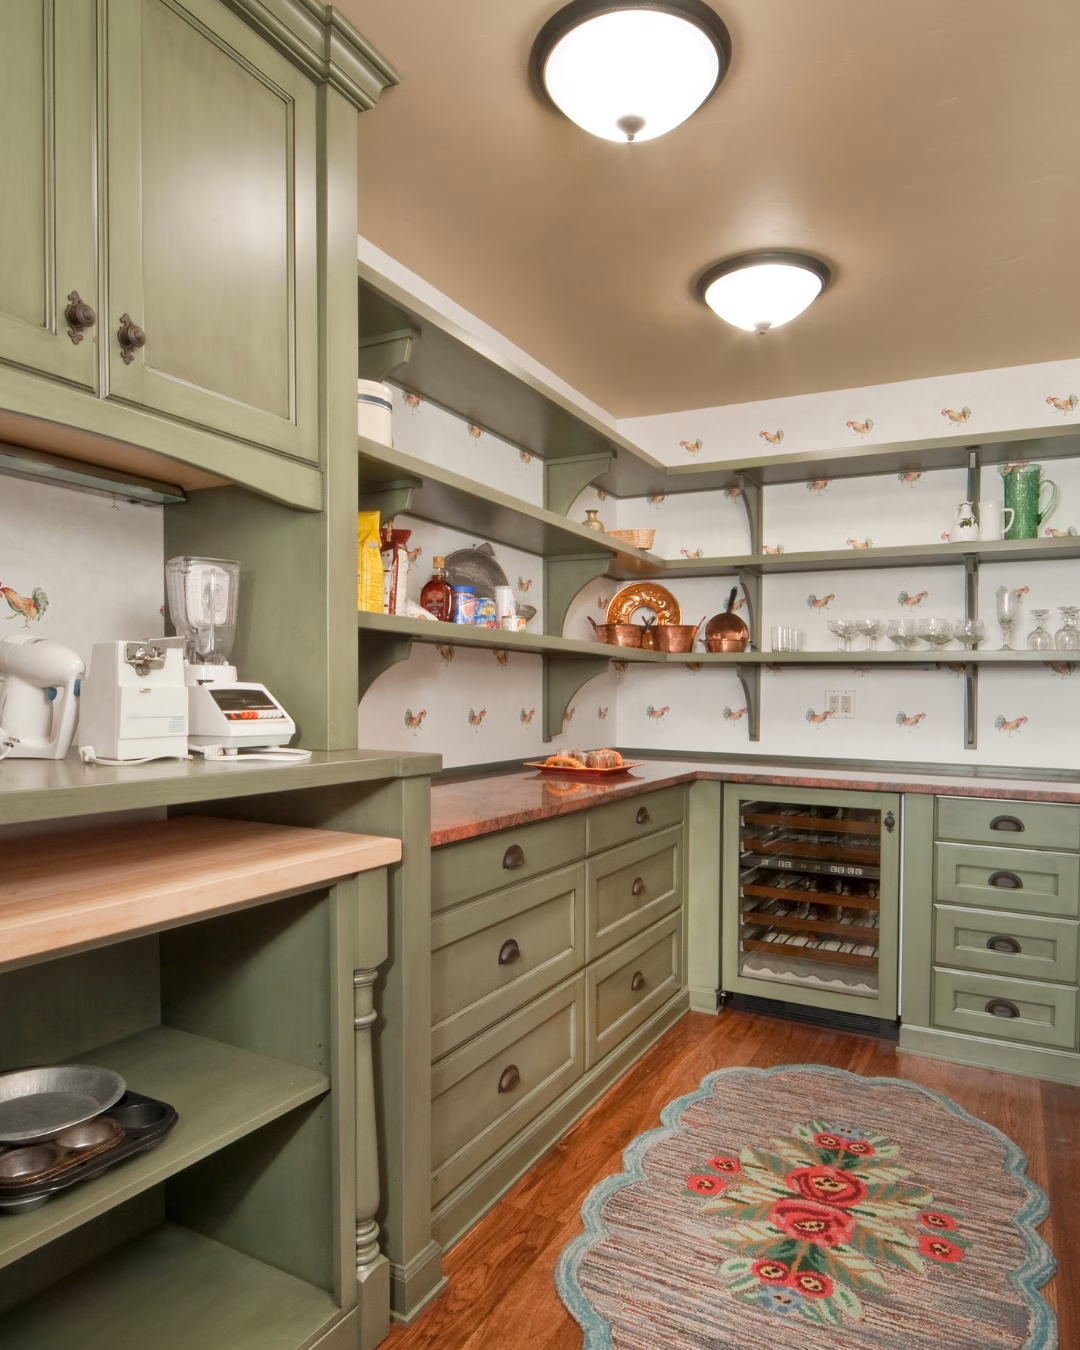
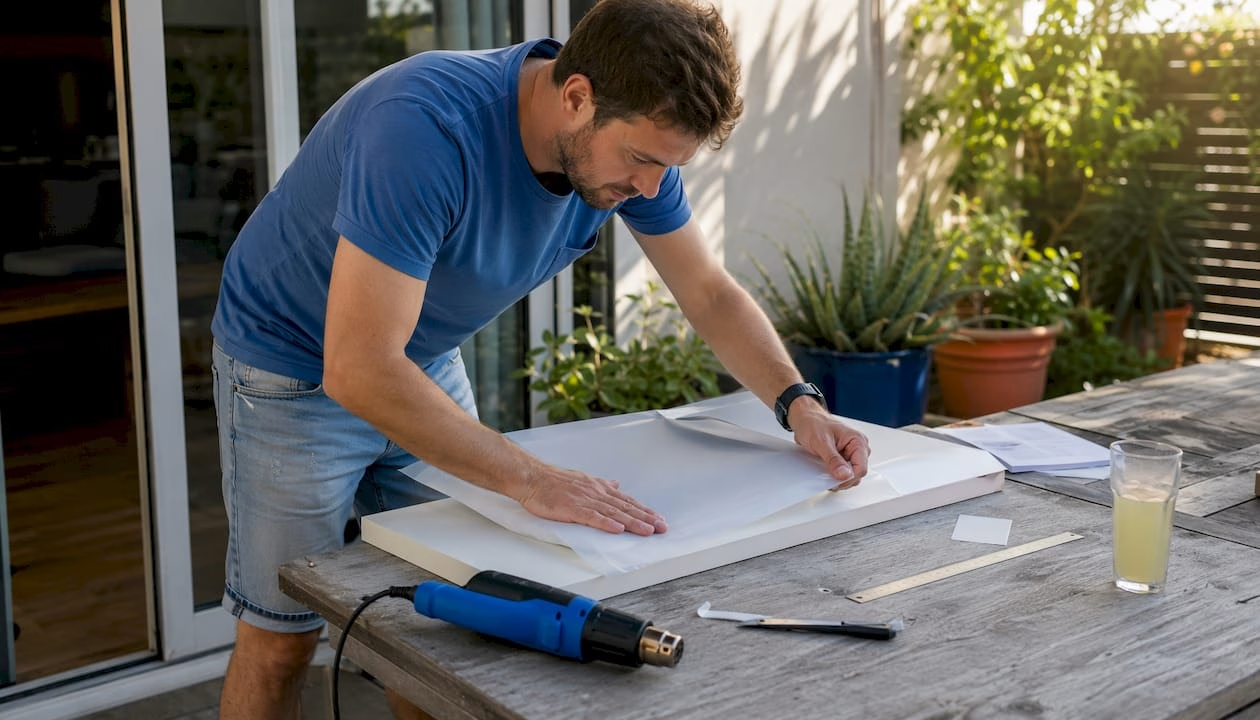
Vinyl wrapped cupboard doors are a legitimate, budget-friendly way to refresh your kitchen or bathroom without touching the cabinet boxes — but they are not the right solution for every homeowner. For a temporary refresh on flat-panel doors, self-adhesive architectural vinyl film (products like 3M cabinet wraps are a common example) delivers a clean result in a weekend and lasts roughly 5–10 years under normal conditions if properly installed and maintained. For a longer-lasting refacing project, custom replacement doors from Tdm-thedoormaker offer superior durability, a wider finish selection, and none of the edge-adhesion risks that come with film.
Three quick takeaways before you read further:
- DIY vinyl wrap fits renters, tight budgets, and flat-panel doors in low-moisture areas.
- Professional vinyl wrapping makes sense when you want a cleaner result than DIY but still prefer a temporary or lower-cost solution.
- Custom doors from Tdm-thedoormaker are the right call when you want a durable, long-term refacing result with a warranty, precise sizing, and a finish that won’t delaminate.
If longevity and appearance quality are your priorities, custom doors are the stronger investment. Vinyl wrap is a valid option — just go in with realistic expectations about lifespan and limitations.
Table of Contents
- What are vinyl wrapped cupboard doors, and how do they differ from other finishes?
- Pros and cons of vinyl wrapped cupboard doors for kitchen and bathroom refacing
- How does DIY vinyl wrapping actually work?
- What does vinyl wrapping cost, and how long does it last?
- How do you choose between vinyl wrap, custom doors, and full replacement?
- How does Tdm-thedoormaker simplify ordering custom cabinet doors?
- How do you care for vinyl wrapped and custom cabinet doors?
- Key Takeaways
- When custom doors make more sense than a weekend wrap
- Tdm-thedoormaker: custom cabinet doors built to last longer than a weekend project
- Useful sources and further reading
What are vinyl wrapped cupboard doors, and how do they differ from other finishes?
Vinyl wrapped cupboard doors are standard cabinet door panels covered with a self-adhesive PVC film, sometimes called architectural vinyl or cabinet wrap film. The film bonds to the door face and edges, changing the color and texture without altering the underlying structure. 3M cabinet wraps are among the most recognized products in this category, available in woodgrain, matte, gloss, and textured finishes.
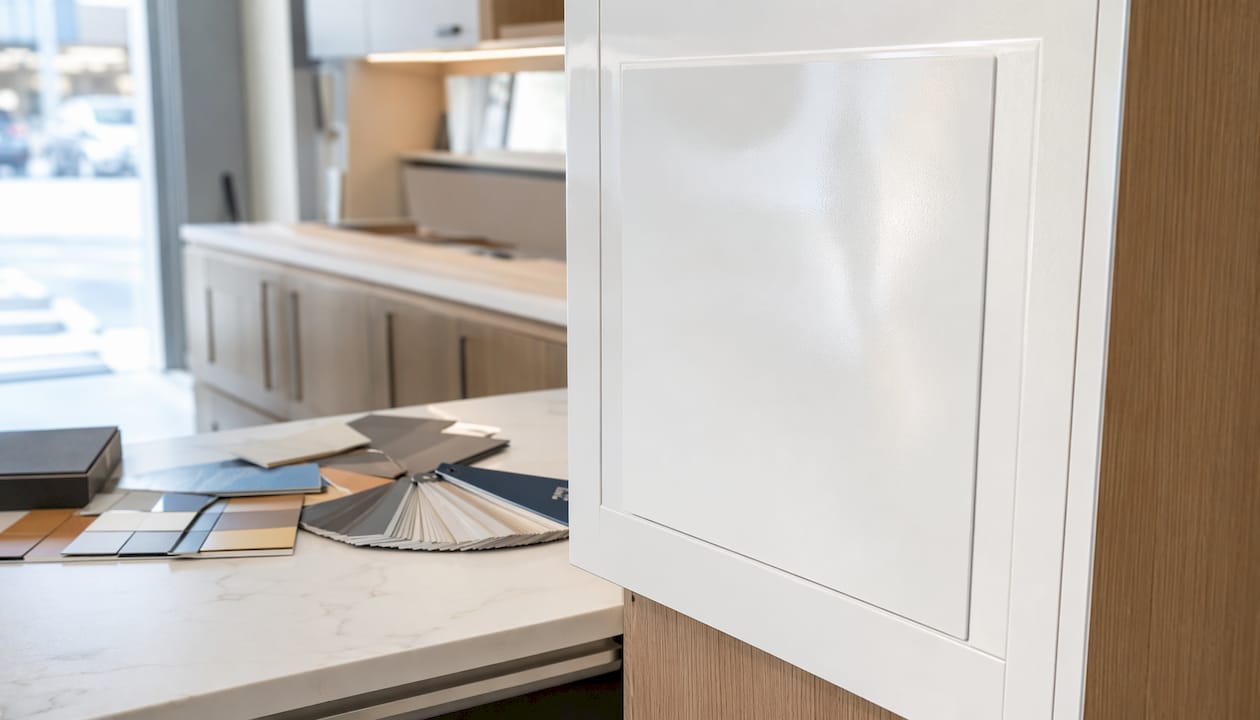
The key difference between vinyl film and other finishes comes down to how the surface is applied and how it holds up over time.
| Finish type | How it’s applied | Edge performance | Durability | Repairability |
|---|---|---|---|---|
| Vinyl film (DIY/pro wrap) | Self-adhesive, applied over existing door | Can lift at edges over time | 5–10 years | Partial re-wrap possible |
| Thermofoil | Heat-bonded PVC molded over MDF in a factory | Seamless profile wrap | 10–15 years | Difficult; full door replacement often needed |
| Laminate | Pressed and glued in factory | Clean, stable edges | 15 years | Not repairable; replace the door |
| Painted finish | Brushed or sprayed, often on solid wood or MDF | Prone to chipping at edges | Varies widely | Touch-up possible |
| Custom solid/PVC doors | Molded or factory-faced substrate | No adhesion risk | 15 years | Replace individual doors |
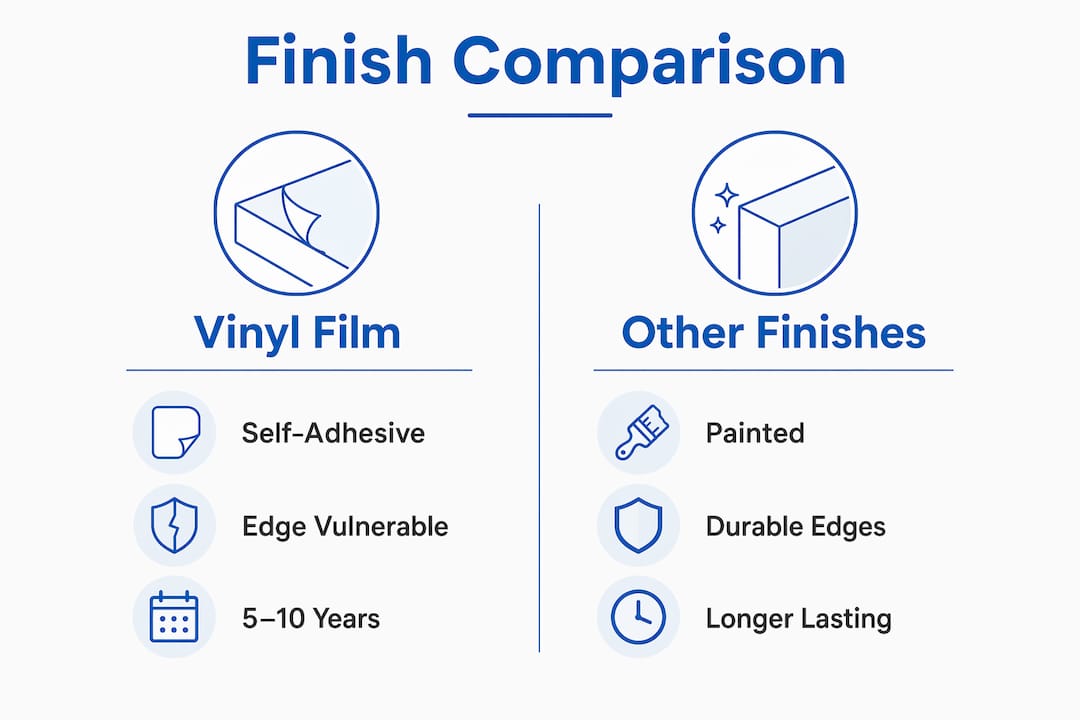
Flat-panel and smooth laminate surfaces take vinyl film reliably. Deeply routed doors, Shaker profiles with sharp internal corners, and heavily textured surfaces are poor candidates because the film cannot maintain contact in recessed details without advanced heat-welding equipment.
Pros and cons of vinyl wrapped cupboard doors for kitchen and bathroom refacing
Vinyl wrap has real advantages, and it has real limits. Understanding both keeps you from a costly mistake.
Advantages:
- Lower upfront cost than full cabinet replacement or custom door orders
- Fast installation — a small kitchen can be wrapped in a single weekend
- Wide finish variety: woodgrain, solid color, matte, gloss, metallic
- Water-resistant surface that wipes clean easily
- Reversible — heat and peel removes the film without damaging the original door
Limitations:
- Expected lifespan of several years, shorter than thermofoil or custom doors
- Edges and corners can lift in high-heat or high-humidity zones (near stoves, above dishwashers, inside bathrooms)
- Not suitable for deeply routed or Shaker-style doors with recessed profiles
- Difficult to repair invisibly — a damaged section usually requires re-wrapping the whole door face
- Film applied over existing doors adds a thin layer that may affect hardware alignment
On the environmental side, PVC film is petroleum-based and not widely recyclable. Custom doors made from MDF or solid wood with durable factory finishes tend to have a longer service life, which reduces replacement frequency and overall material waste over time.
How does DIY vinyl wrapping actually work?
The process is straightforward, but technique matters more than most beginners expect. Surface prep is the single biggest predictor of success — a door that isn’t fully degreased will cause the film to lift within months.
Step-by-step workflow:
- Remove all hardware (handles, hinges) and take doors off their cabinets where possible.
- Degrease every surface thoroughly with a dedicated degreaser or sugar soap; wipe with clean water and let dry completely.
- Measure each door face, adding at least 2 inches on all sides for edge overlap. Buy 10–15% extra material to cover mistakes and pattern matching.
- Cut the vinyl face-down on a protective mat using a metal ruler and sharp craft knife.
- Let the vinyl acclimate to room temperature for about an hour before application.
- Position the cut piece over the door with even overhang on all sides; use a small piece of masking tape to hold it at the top.
- Peel back a few inches of backing paper, anchor the film, then gradually remove the backing while smoothing outward from the center with a felt-edged squeegee.
- Wrap overhanging edges around the door back, using a heat gun or hair dryer to soften the film for tight corners.
- Trim excess with a sharp knife; run heat over all edges one final time to seal the adhesive.
- Reattach hardware once the film has fully set (allow several hours minimum).
Tools you’ll need: measuring tape, degreaser, sharp craft knife, metal ruler, felt-edged squeegee, heat gun or hair dryer, masking tape, protective cutting mat.
For a kitchen with multiple doors, expect to spend a full weekend—a couple of hours per door for a first-time installer.
Pro Tip: When wrapping corners, apply medium heat for just a few seconds, then pull the softened film gradually and evenly around the edge rather than all at once. Rushing this step is the most common cause of bubbling and lifting.
Avoid attempting vinyl wrap on Shaker-style doors with sharp internal recesses or any door with deep routing. Film cannot maintain contact in those profiles without professional heat-welding, and the result will look worse than the original door within a year.
What does vinyl wrapping cost, and how long does it last?
Cost and lifespan vary significantly depending on whether you DIY, hire a professional, or order custom replacement doors.
| Option | Typical material cost | Typical labor cost | Expected lifespan |
|---|---|---|---|
| DIY vinyl wrap | $2–$6 per sq. ft. of film | None (your time) | 5–10 years |
| Professional vinyl wrap | $2–$6 per sq. ft. of film | $50 per door | 5–10 years (better with pro technique) |
| Custom doors (Tdm-thedoormaker) | Higher upfront per door | None (ships ready to install) | Long-lasting |
For a kitchen with multiple doors, DIY material costs alone can vary depending on film quality and door size. Professional wrapping adds labor on top of that. Replacement cabinet doors cost more upfront but spread that investment across a much longer lifespan, often making them the better value per year of use.
Lifespan shortens noticeably in high-heat zones (near the stove or oven) and high-humidity areas (above the dishwasher or inside a bathroom). Poor surface prep is the other major factor — film applied to a greasy or dusty surface can start lifting within weeks.
How do you choose between vinyl wrap, custom doors, and full replacement?
The right choice depends on four things: your budget, how long you plan to stay in the home, your door style, and your tolerance for future maintenance.
Decision checklist:
- Budget under $500 for the whole kitchen? DIY vinyl wrap is your most realistic option.
- Planning to sell within 2–3 years? Vinyl wrap gives you a fresh look without a large investment.
- Staying 5+ years and want a lasting result? Custom doors deliver better long-term value.
- Doors have deep routing or Shaker profiles? Skip vinyl wrap entirely.
- High-moisture zones (bathroom, near dishwasher)? Prefer custom PVC or painted doors with a factory finish.
- Want a warranty and precise sizing? Only custom doors provide that.
| Dimension | DIY vinyl wrap | Professional vinyl wrap | Custom replacement doors |
|---|---|---|---|
| Durability / lifespan | 5–10 years | 5–10 years (upper range) | Long-lasting |
| Appearance / finish options | Wide (film catalog) | Wide (film catalog) | Widest (30+ styles, 130+ colors) |
| Heat & moisture resistance | Moderate | Moderate | High (PVC/factory finish) |
| Installation difficulty | Moderate DIY | Hire a pro | Hang like original doors |
| Cost | Lowest | Mid-range | Higher upfront, lower per year |
| Repairability | Partial re-wrap | Partial re-wrap | Replace individual doors |
| Turnaround time | 1–2 weekends | Days to weeks (scheduling) | Production lead time + shipping |
| Warranty | None (film only) | Varies by installer | Manufacturer warranty |
Full cabinet replacement makes sense only when the cabinet boxes themselves are damaged, structurally unsound, or the layout no longer works. For most refacing projects, the boxes are perfectly serviceable — it’s only the door faces that need updating. You can also explore cabinet upgrades without replacing anything structural for a broader look at your options.
How does Tdm-thedoormaker simplify ordering custom cabinet doors?
Tdm-thedoormaker reduces the ordering process to three steps: measure, design, and order. The online configurator walks you through each stage, and video tutorials cover common measuring questions so you don’t need a contractor to get started.
How to order:
- Measure your existing door openings precisely. Tdm-thedoormaker sizes doors to 1/10,000" accuracy, so your measurements translate directly into doors that fit without shimming or trimming.
- Design using the online configurator — choose from over 30 styles and 130+ colors and finishes. Request sample doors or color swatches before committing to a finish.
- Order with optional add-ons: hinge holes pre-drilled, specific edge profiles, and drawer fronts to match.
Before ordering, have your door dimensions, hinge specifications, and preferred finish ready. Production lead times vary by order complexity, so check current turnaround estimates on the Tdm-thedoormaker website when you’re ready to place your order.
Sample doors let you check the finish, weight, and color in your actual kitchen lighting before the full order ships, which eliminates the most common source of buyer’s remorse in any refacing project.
How do you care for vinyl wrapped and custom cabinet doors?
Both vinyl film and custom painted or PVC doors are low maintenance, but the cleaning rules differ slightly.
For vinyl wrapped doors:
- Wipe weekly with a soft microfiber cloth and a small amount of mild dish soap in warm water.
- Avoid abrasive cleaners, bleach, and scouring pads — they scratch the film surface and fade color over time.
- Wipe pigmented spills (tomato sauce, red wine) immediately; the water-resistant surface makes this easy if you act quickly.
- If an edge starts to lift, apply gentle heat with a hair dryer and press the film back down firmly. A small lifted section caught early can be re-adhered without re-wrapping the whole door.
- If bubbling or delamination spreads across a large area, re-wrapping that door is more cost-effective than patching.
For custom painted or PVC doors:
- Use the same mild detergent and microfiber cloth routine — no abrasives.
- Check hinges and hardware annually; loose hardware puts stress on door edges and can cause finish cracking over time.
- In kitchens, manage steam exposure by running the range hood during cooking. Sustained steam is the fastest way to shorten any door finish’s lifespan, vinyl or otherwise.
For Tdm-thedoormaker products specifically, the care and maintenance guide on their website covers finish-specific recommendations for every door material they offer.
Key Takeaways
Custom replacement doors from Tdm-thedoormaker outlast DIY vinyl wrap, making them the stronger long-term investment for homeowners planning to stay in their homes.
| Point | Details |
|---|---|
| Vinyl wrap lifespan | DIY and professional vinyl wrap typically last 5–10 years; custom doors last much longer. |
| Surface prep is critical | Degreasing thoroughly before application is the single biggest factor in how long vinyl film holds. |
| Door style compatibility | Flat-panel and smooth laminate doors take vinyl film well; deeply routed or Shaker profiles do not. |
| Cost vs. longevity | DIY wrap costs less upfront but costs more per year of use compared to custom replacement doors. |
| Tdm-thedoormaker option | Order custom doors in 30+ styles and 130+ colors with precision sizing; request sample swatches before committing. |
When custom doors make more sense than a weekend wrap
Vinyl wrap gets a lot of credit for being the “easy” option, and it earns that reputation on flat-panel doors in dry areas. But the framing of vinyl wrap as a smart budget move often glosses over the real cost: you’re likely doing this again in 5–10 years, and the second time around, you’re also dealing with adhesive residue, potential surface damage from removal, and the same labor investment all over again.
Custom doors cost more upfront. That’s true. But they install once, they don’t delaminate at the edges, and they don’t require you to become a heat-gun technician to get a clean corner. For homeowners with Shaker-style cabinets, high-humidity bathrooms, or kitchens that see serious daily cooking, vinyl wrap isn’t just a temporary solution — it’s often a frustrating one. The cases where vinyl wrap genuinely wins are narrow: renters who can’t modify the space permanently, homeowners on a strict short-term budget, or anyone refreshing a secondary space like a laundry room or pantry. For the main kitchen or primary bathroom, the math and the quality argument both favor custom doors.
Tdm-thedoormaker: custom cabinet doors built to last longer than a weekend project
Skip the re-wrapping cycle. Tdm-thedoormaker’s custom cabinet doors are precision-cut to 1/10,000", available in over 30 styles and 130+ colors and finishes, and priced to undercut larger retailers by thousands. The online configurator makes it easy to design your doors, request sample swatches, and place your order without a contractor or a showroom visit.

Whether you’re refacing a kitchen, a bathroom, or both, Tdm-thedoormaker ships doors ready to hang — no adhesive, no heat gun, no edge-lifting two years from now. Visit the custom cabinet door configurator to start designing your order, or request a sample door first to see the quality in your own space.
Useful sources and further reading
Before you buy film or place a door order, these resources are worth reviewing:
- 3M Cabinet Wraps via Rvinyl — manufacturer guidance on substrate compatibility, surface prep, and film specifications
- WikiHow: How to Vinyl Wrap Cupboard Doors — beginner-friendly step-by-step workflow with technique tips
- Decorwrap: How to Wrap Kitchen Cupboards Using Vinyl Wrap — detailed application and maintenance guidance
- Tdm-thedoormaker: Care & Maintenance — finish-specific cleaning and upkeep instructions for custom doors
- Tdm-thedoormaker: Custom Cabinet Doors Online — configurator, sizing tools, and sample door requests
- One Day Doors & Closets: How to Select the Right Pantry Door — broader door selection guidance for homeowners planning a kitchen refresh