Updating your kitchen, bathroom, or office doesn’t have to mean tearing out perfectly good cabinetry or blowing your renovation budget. For many Canadian homeowners and DIY enthusiasts, cabinet refacing has become the smart, cost-effective alternative to full cabinet replacement—retaining your existing cabinet boxes while giving your space a dramatic visual upgrade. But how much does cabinet refacing actually cost, and what are the options for saving money without sacrificing style or quality?
This comprehensive guide unpacks the true cost of cabinet refacing, offering seven distinct ways to estimate your project—from national averages and linear foot pricing to per-door calculations and material-specific breakdowns. You’ll find practical examples for every kitchen size, clear explanations of what’s included in professional quotes, and a detailed look at the real factors that drive costs up or down. Whether you’re considering a hands-on DIY approach or weighing the advantages of hiring a pro, you’ll also discover effective strategies for keeping your refacing budget in check, insights on return-on-investment, and important considerations for environmentally responsible disposal.
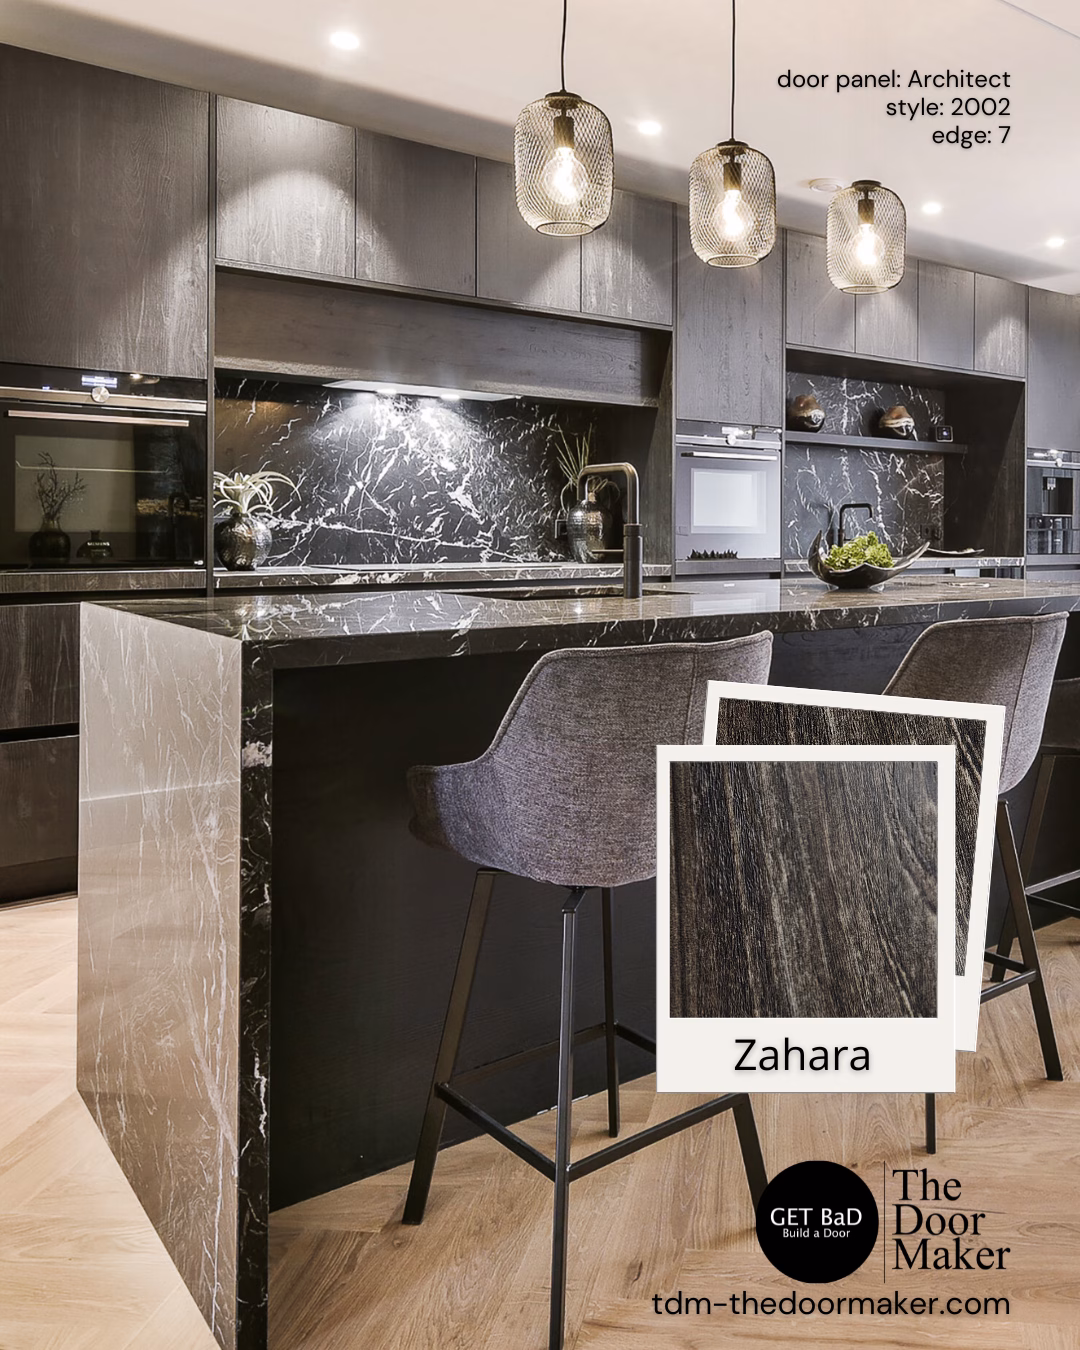
While The Door Maker doesn’t publish set prices online, you can build your own cabinet door design and get a tailored, obligation-free quote in minutes using their online “Build a Door” tool. Use this guide to plan your project with confidence, maximise your savings, and achieve a fresh new look—without the stress or expense of a full-scale renovation.
1. Average National Cost Range for Cabinet Refacing
Across Canada and North America, a full cabinet refacing project generally falls between $4,000 and $9,500. This all-inclusive price reflects the removal of existing doors, application of new veneers or laminates, installation of fresh hardware and the labour required to complete the transformation. While regional labour rates and material choices will cause some fluctuation, this range serves as a reliable benchmark for homeowners planning their renovation budget.
Although The Door Maker doesn’t list fixed prices online, viewing these nationwide averages can help you decide whether to request a no-obligation quote via the “Build a Door” tool. Refacing allows you to keep your existing cabinet boxes intact, reducing waste and often saving both time and money compared to a full cabinet replacement.
What the All-Inclusive Estimate Covers
A typical cabinet refacing quote will include:
- Replacement doors and drawer fronts
- Veneer or laminate applied to existing cabinet boxes
- Basic hinges, glides and pull hardware
- Skilled labour for removal, fitting and final adjustments
- Disposal of old materials and site cleanup
- Project management and quality inspections
2025 Cost Range Overview
According to industry research, homeowners can expect the following figures for a standard kitchen refacing project Source: Modernize:
- Low end: approximately $4,000 for smaller layouts or entry-level materials
- Mid range: around $6,750 for an average 200 sq ft kitchen with mid-grade finishes
- High end: up to $9,500 for larger kitchens, premium veneers or custom details
These benchmarks provide a solid starting point for comparing quotes, setting realistic expectations and planning a smooth, budget-friendly cabinet makeover.
2. Per Linear Foot Pricing
One of the most common ways professionals estimate cabinet refacing costs is by charging per linear foot (LF). Rather than quoting an entire kitchen as a lump sum, they measure the total length of cabinetry runs—essentially the continuous span of cabinets along walls and islands—and multiply it by a fixed rate. This approach makes it easy to tailor the quote to the exact size of your kitchen and simplifies comparisons between materials or installers.
How Linear Foot Pricing Works
A linear foot in the context of cabinet refacing refers to one foot of cabinet frontage, measured horizontally from one end of the run to the other. This includes doors, drawer fronts and any adjoining panels. By using a per-LF rate, contractors can account for:
- Material costs (veneers, laminates and edge banding)
- Labour time (surface preparation, veneer application and fitting)
- Basic hardware (hinges, glides and pulls)
- Disposal and site cleanup
Linear foot pricing streamlines the estimating process: once you know the total LF of your cabinets, you simply multiply by the agreed rate. It also helps homeowners see how choosing different quality levels (entry, mid or premium) affects the final cost.
Example Calculations
Below is a sample cost breakdown using representative rates of $100/LF, $175/LF and $250/LF. Adjust these figures to reflect your installer’s rates or the quality of materials you prefer.
| Linear Feet | Low ($100/LF) | Mid ($175/LF) | High ($250/LF) |
|---|---|---|---|
| 20 LF | $2,000 | $3,500 | $5,000 |
| 30 LF | $3,000 | $5,250 | $7,500 |
| 40 LF | $4,000 | $7,000 | $10,000 |
For example, a 30 LF kitchen refaced at a mid-range rate of $175/LF would cost about $5,250 in total. Knowing these per-LF figures allows you to mix and match material grades, compare quotes more easily and forecast how any design changes—like adding an island or extra wall cabinets—will affect your budget.
3. Per Cabinet Door and Drawer Front Pricing
When you want to drill down even further, some contractors will price refacing on a per-component basis—charging for each door and drawer front rather than per linear foot. This method can be helpful if your kitchen layout has a mix of full-size doors, smaller accessory doors, or extra-wide drawers, since it breaks the budget into bite-sized pieces.
Typical Cost Range per Door/Drawer
Most standard cabinet doors and drawer fronts fall within a similar price band:
- Low end: $100 each
- Mid range: $250 each
- High end: $400 each
These figures reflect the cost of the new door or drawer front (veneers or thermofoil), edge banding and basic hardware. Custom profiles or premium materials (for instance, glass inserts or textured finishes) can push a single door toward the upper end of this range.
Budgeting for a Standard Kitchen
To see how these costs add up, consider an average kitchen with:
- 20 cabinet doors
- 10 drawer fronts
First, calculate the number of components:
20 doors + 10 drawers = 30 pieces
Then multiply by the per-piece rate:
-
At $100 each:
30 x $100 = $3,000 -
At $250 each (mid range):
30 x $250 = $7,500 -
At $400 each:
30 x $400 = $12,000
So, for a standard kitchen configuration, you can expect to spend between $3,000 and $12,000 on door and drawer-front replacements alone. This breakdown makes it easier to swap in a few upgraded doors without reworking your entire linear-foot calculation—and gives you clear control over exactly where your budget goes.
4. By Kitchen Size Category
Kitchen footprint plays a significant role in your cabinet refacing budget. As the room grows, so do the number of doors, drawer fronts and the length of veneer required. Below is an overview of what you might expect to invest in a refacing project based on kitchen size:
Small Kitchen (100 sq ft)
In a compact kitchen—roughly 100 square feet—you typically have 10 to 20 linear feet of cabinets. Even with a modest layout, your refacing project can deliver a fresh appearance without breaking the bank.
- Estimated cost range: $1,000–$5,000
- Factors at this scale include fewer doors/drawers (often under 25 pieces) and minimal surface preparation.
- Entry-level laminate or thermofoil can keep costs near the lower end, while upgrading to mid-range veneers pushes you toward the upper limit.
Mid-Size Kitchen (200 sq ft)
A mid-sized kitchen of about 200 square feet usually contains 20 to 30 linear feet of cabinetry. This size represents the national average and matches the $4,000 to $9,500 bracket we discussed earlier.
- Estimated cost range: $4,000–$9,500
- Typical door/drawer count: 30–40 components.
- Mid-range materials and hardware are most common here, blending affordability with stylish finishes.
- If you add an island or extra pantry doors, expect the estimate to climb proportionally.
Large Kitchen (300 sq ft+)
For spacious kitchens exceeding 300 square feet—with 30+ linear feet of runs including islands and specialty units—you’ll be looking at a premium budget.
- Estimated cost range: $10,000–$15,000+
- High door and drawer counts (40+ pieces) plus potential under-cabinet lighting or crown moulding.
- Upgrading to wood veneer or solid wood can push your investment above the baseline.
- Custom layouts with corner units, built-in features or glass-front doors further influence the final total.
By matching your kitchen’s size category to these ranges, you can set realistic expectations before requesting a quote. Remember that these figures serve as guidelines—your exact cost will depend on material choices, labour rates in your area and any additional custom work you decide to include.
5. Material-Specific Cost Breakdown
Choosing the right material for your cabinet refacing project not only influences the overall price but also affects durability, maintenance and style. Here’s how the most common options stack up in terms of cost and characteristics. Source: Bob Vila
Laminate or Thermofoil
Laminate and thermofoil are the most budget-friendly choices, with projects typically ranging from $1,000 to $3,000 for an average kitchen. These materials consist of a printed or vinyl finish applied over engineered wood, making them resistant to moisture and easy to clean. While they offer a wide variety of colours and patterns, they can be prone to peeling or chipping if exposed to high heat or sharp impacts.
Wood Veneer
For a step up in authenticity and texture, wood veneer provides a real‐wood face bonded to an underlying substrate. Expect refacing costs in the $2,500 to $6,500 bracket. Veneers deliver the warmth and grain of natural wood—often oak, maple or cherry—at a fraction of the price of solid wood. They require slightly more careful maintenance (avoiding excess moisture) but offer a classic look that pairs well with both traditional and modern décor.
Solid Wood or Plywood
Premium refacing with solid wood or high-grade plywood doors and drawer fronts usually starts around $5,000 and can exceed $10,000 for larger layouts or exotic species. This option guarantees maximum longevity, repairability and premium aesthetics, as every panel is genuine wood throughout. Solid wood refacing often comes with custom milling options—raised panels, intricate beading and artisan profiles—that justify the higher investment and deliver a truly bespoke finish.
6. Labour Cost Breakdown
Labour often makes up the largest portion of a cabinet refacing budget, reflecting the skilled work required to remove old components, prepare surfaces, apply new materials and carry out precision installations. Understanding how labour factors into your overall cost can help you spot where efficiencies or savings might be found—and why experienced craftsmen command a significant share of the budget.
Percentage of Project Cost
On average, labour accounts for 50%–70% of the total cabinet refacing price. That means, for a mid-range project of around $6,750, you might see labour fees of anywhere from:
$6,750 × 50% = $3,375
to
$6,750 × 70% = $4,725
Regional wage differences, the installer’s reputation and the complexity of your kitchen layout will determine whether your project falls at the lower or higher end of this range. Custom finishes and intricate cabinet profiles typically push labour percentages upward, while simpler laminate or thermofoil jobs lean toward the lower end.
Breakdown of Tasks and Rates
To give you a clearer picture of where labour dollars go, here’s a breakdown of common refacing tasks and their typical rates:
-
Demolition & disposal:
$10–$20per linear foot
Removing and hauling away old doors, drawer fronts, hinges and any damaged veneer. -
Surface preparation:
$20–$50per linear foot
Cleaning, sanding and priming cabinet boxes to ensure a flawless bond with new veneers or laminates. -
Veneer application:
$30–$60per linear foot
Cutting, fitting and adhering the chosen material—whether wood veneer, laminate or thermofoil—followed by edge-banding and finishing. -
Door & drawer installation:
$20–$40each
Precisely mounting new doors and drawer fronts, adjusting alignment, depth and reveal for a uniform look and smooth operation. -
Hardware fitting:
$20–$30per labour hour, plus$2–$5per piece
Installing hinges, pulls and drawer glides; drilling, measuring and fine-tuning each fitting to factory standards.
Keep in mind these figures are ballpark estimates. If your project calls for higher-end veneers, decorative mouldings or integrated lighting, labour rates may be adjusted accordingly. By comparing detailed task breakdowns from multiple installers, you can zero in on the best balance of cost and craftsmanship for your refacing project.
7. Add-Ons and Upgrades Pricing
Once your cabinet shells and doors have been refaced, a few targeted upgrades can take functionality and style to the next level. These optional extras let you personalise your kitchen to suit your cooking habits and décor preferences—and each comes with its own price tag. Below is a breakdown of some of the most popular add-ons and what you might expect to invest.
Crown Moulding
Adding crown moulding brings a polished, built-in look to refaced cabinets. Installers will measure, cut and finish decorative trim along the top edge of your units, creating a seamless transition to the ceiling.
Cost range: $12–$20 per linear foot.
Factors influencing price include the complexity of the profile (simple ogee vs. layered designs), the wood species or MDF quality, and the number of inside corners that require precision mitre cuts.
Under-Cabinet Lighting
Under-cabinet lights are a game-changer for task visibility and evening ambience. Most setups use low-voltage LED puck lights or slim strip lights, complete with transformers and discrete wiring. Installation involves cutting small holes, securing fixtures, and routing cables to a switch or power outlet.
Cost per fixture: $230–$300.
This typically covers the light fitting itself, transformer, wiring labour and basic dimmer or switch hook-up. Premium options—like tunable white LEDs or touch-sensitive controls—may push you toward the higher end of the spectrum.
Glass Door Inserts
For a taste of showroom flair, swapping out solid door panels for glass inserts instantly brightens cabinet interiors and displays your favourite dishware. Options range from clear or frosted glass to decorative patterns or fluted designs.
Cost per door: $150–$200.
That price includes cutting the glass to size, installing a secure frame or glazing bead, and sealing around the edges. If you combine glass fronts with under-cabinet or interior cabinet lighting, you’ll accentuate this upgrade even more.
In-Cabinet Organisers
Custom organisers—such as pull-out trays, vertical dividers, spice racks and Lazy Susans—maximise storage efficiency and reduce rummaging. Each feature is fitted inside your existing boxes, sliding on metal tracks or rotating on lazy-Susan hardware.
Cost range: $70–$300 each.
Simple pull-outs (for trays or baking sheets) and corner-cabinet carousels sit at the lower end, while full-extension pull-outs, appliance garages or multi-tier spice racks can climb to the top of this range.
8. DIY vs Professional Cost Scenarios
Many homeowners wonder whether to tackle cabinet refacing themselves or bring in a professional. Each route has its own benefits—DIY can reduce upfront costs, while hiring a pro saves time and ensures a flawless finish. Here, we compare the typical expenses, advantages and potential pitfalls of DIY, professional and hybrid approaches so you can decide which suits your budget, skill level and timeline best.
DIY Material-Only Estimate
If you already own basic woodworking gear—a router or table saw, a reliable edge-banding iron and a shop vacuum—a DIY refacing project can cost between $1,000 and $3,000 for materials alone. This covers:
- Replacement doors and drawer fronts (thermofoil or veneer)
- Veneer or laminate sheets plus edge banding and adhesive
- New hinges, pulls and drawer glides
- Sandpaper, primer, brushes and finish
Remember, this figure excludes labour. Without professional experience, you risk problems such as bubbles under veneer, misaligned doors or uneven seams. Allow extra time for practice runs and potential reorders, and ensure you have a well-ventilated workspace to keep dust and fumes under control.
Professional Installation Estimate
Handing the job to a qualified installer brings predictability and speed. A full-service professional refacing project typically ranges from $4,000 to $9,500, covering:
- Detailed site measurement and custom door cutting
- Surface prep, sanding and perfect veneer or laminate application
- Precision hardware fitting and alignment
- Removal, disposal of old materials and thorough cleanup
- Project management, quality checks and often a workmanship warranty
Most pros can complete a standard kitchen in 3–5 days, so disruption is minimal. While the upfront price is higher than DIY, you gain the confidence of a uniform, factory-quality result—and avoid costly do-overs.
Hybrid Approach
A hybrid model combines the cost savings of DIY with the expertise of a professional installer. By handling straightforward tasks yourself—such as accurate measuring or the removal of old doors—you can shave 10% to 20% off a full-service quote. A typical arrangement might look like:
- You use TDM’s “Build a Door” tool to define quantities, styles and materials
- You remove and label existing doors/drawers for the installer
- The professional carries out veneer application, door hanging and final adjustments
This split allows you to control part of the process—and the budget—while ensuring critical steps are managed by someone with the right skills. For a precise hybrid quote, link your DIY measurements and designs directly through The Door Maker’s “Build a Door” platform and speak with an installer about your preferred scope of work.
9. Additional Factors Influencing Cabinet Refacing Costs
Beyond base estimates and material choices, a handful of external variables can push your cabinet refacing budget up or down. Understanding these nuances will help you set realistic expectations and get more accurate quotes.
Regional Variations
Labour and material expenses vary widely across Canada. Contractors in high-cost urban centres—like Vancouver or Toronto—typically charge 10 %–20 % more per hour than those in smaller towns or rural areas. Likewise, shipping specialty veneers or hardware to remote locations can incur extra freight fees. When comparing quotes, be sure to ask whether the installer’s rates reflect local market conditions or if any travel surcharges apply.
Kitchen Layout & Complexity
A straightforward run of cabinets along a single wall is far simpler—and less time-consuming—than a layout with corner units, angled sections or multiple islands. Each inside corner or non-standard run often requires custom trimming, additional edge banding and extra alignment checks. If your kitchen includes built-in features—such as a pantry wall or open shelving niches—plan for 5 %–15 % higher labour costs to cover the bespoke adjustments.
Project Duration & Scheduling
Most professional cabinet refacing jobs wrap up in 3–5 days, but timing can shift based on installer availability and project scope. Busy seasons (spring and early summer) may create scheduling bottlenecks, leading to longer lead times or premium rush fees. For a realistic timeline, review your installer’s calendar and inquire about potential delays. Mont-River recommends booking at least six weeks ahead to secure your preferred start date and to guarantee uninterrupted work.
Lead-Safe Work and Disposal Fees
Homes built before 1990 often contain lead-based paints. If your refacing project disturbs old finishes, local regulations may require a certified lead-safe contractor. These professionals follow strict protocols—containment, wet-sanding and HEPA vacuuming—that add roughly $300–$600 to the total cost. You may also face municipal disposal fees for hazardous waste, which typically range from $50 to $150 per cubic metre of debris. Factor these charges into your budget if you suspect lead-paint disturbance or unusual waste streams.
10. Top Savings Tips to Lower Your Cabinet Refacing Budget
Even a modest cabinet refacing project can add up quickly. By applying a few strategic cost-cutting measures, you can stretch your dollars further without compromising on style or quality. Here are our top recommendations:
Choose Affordable Materials
Opting for laminate or thermofoil veneers instead of solid wood can shave thousands off your overall bill. Low-maintenance foils are available in an ever-growing palette of colours and textures, and they resist moisture better than natural veneer. If you do want a wood look, consider a thin wood veneer over engineered core—it retains real-wood grain at a fraction of the price of solid panels.
Retain Existing Hardware
Before you trash old knobs, pulls and hinges, take stock of what still works. A thorough cleaning or a quick spray of satin-chrome can make well-worn hardware look practically new. If you do decide to switch styles, shop around local hardware stores or online wholesalers—many offer trend-right pieces at lower markup than specialty installers.
Bundle Projects
If you’re planning additional upgrades—like new countertops, backsplash installation or under-cabinet lighting—grouping them with your refacing job can yield volume discounts. Contractors often reward larger work orders with better rates on labour, delivery and waste removal. Even ordering slightly more veneer or doors while you’re at it can net you reduced per-unit costs.
Get Multiple Quotes
Don’t settle for the first number you receive. Aim to gather at least three detailed estimates that break down materials, labour and disposal fees. Comparing line-item pricing reveals where installers are marking up their services or materials, giving you bargaining power to negotiate a fairer deal or spot areas where you can downgrade to hit your budget.
Time Your Project
Scheduling your refacing during the industry’s slow season—typically late fall or mid-winter—can yield discounted labour rates and faster start dates. Keep an eye out for manufacturer promotions or holiday sales on veneers and hardware, and align your project timeline to take advantage of these offers. A little patience can translate into significant savings on both materials and installation.
11. How Cabinet Refacing Can Increase Your Home’s Value
Updating cabinets through refacing not only revitalises your space but can also bolster your home’s resale appeal. Potential buyers often notice freshly refaced cabinetry first, associating modern finishes and cohesive hardware with a well-kept property. Let’s explore how this relatively modest investment can translate into substantial returns when it comes time to sell.
Return on Investment Statistics
According to industry surveys, homeowners recoup roughly 70% to 80% of their refacing outlay in added property value. For example, a $6,000 cabinet refacing project could boost your home’s market price by $4,200 to $4,800. This level of ROI rivals other popular reno tasks—such as bathroom updates—yet costs considerably less than a full cabinet replacement.
Refacing vs Full Replacement ROI Comparison
While replacing kitchen cabinets might seem like the ultimate upgrade, it can carry price tags two to three times higher than refacing—and the ROI doesn’t always justify that expense. Refacing offers a quick refresh for a fraction of the cost, and the visual impact is immediate. In contrast, investing heavily in new custom cabinetry can yield diminishing returns at resale, as buyers are often unwilling to pay a premium for features beyond functional and aesthetic improvements.
Appeal to Potential Buyers
Freshly refaced cabinets give prospective buyers a strong first impression of care and attention to detail. Crisp edges, uniform hardware and on-trend finishes signal that the home has been maintained and updated. That sense of move-in readiness often encourages buyers to make offers more swiftly—and at closer to asking price—than homes with dated or worn cabinetry.
By choosing cabinet refacing, you can achieve a high-impact, wallet-friendly upgrade that resonates with today’s market demands. It’s a small change that can deliver a big boost to your home’s overall value and appeal.
12. Environmentally Responsible Disposal Practices in Canada
Cabinet refacing is already a win for the environment—it repurposes your existing cabinet boxes and significantly cuts down on new material usage. However, you’ll still end up with old doors, drawer fronts, veneers and hardware that need to be disposed of responsibly. In Canada, construction, renovation and demolition (CRD) waste is managed under a mix of federal guidelines and provincial/municipal regulations. By following these disposal best practices, you can minimise landfill contributions and often reduce your overall project costs.
Understanding CRD Waste Regulations
CRD waste encompasses anything removed or discarded during a renovation: wood scraps, MDF panels, metal fittings, laminate off-cuts and more. Although federal bodies like Environment Canada set broad objectives for waste reduction and diversion, each province—and in many cases individual municipalities—maintains its own rules about how this debris must be handled. Generally, you are required to:
- Separate waste streams on-site (e.g., wood, metal, plastics).
- Transport materials to certified transfer stations or recycling depots.
- Secure permits for large-volume or hazardous-waste disposal when necessary.
For an overview of best practices and policy goals around CRD waste in Canada, see Environment Canada’s guide on Reducing Municipal Solid Waste.
Municipal Recycling & Drop-Off Programs
Most Canadian cities provide convenient options for residents to recycle or safely discard renovation debris:
- Wood and untreated lumber: chipped or whole boards often accepted at green depots.
- Metal hardware: hinges, screws and drawer glides can be dropped off with metal recyclers.
- Clean laminate/veneer pieces: some facilities accept small, non-hazardous off-cuts.
To locate the nearest facility and understand any associated fees, check your municipality’s waste-management portal. For example, Vancouver residents rely on the Recycle BC network, while Metro Toronto publishes detailed instructions on its waste collection site. If you’re elsewhere, a quick search for “renovation waste disposal” plus your city or town name will point you to local drop-off centres.
Extended Producer Responsibility (EPR)
Extended Producer Responsibility (EPR) programmes shift the end-of-life management of materials back to manufacturers and suppliers. Several provinces in Canada have active EPR schemes that cover cabinetry and related products:
- British Columbia: Product Care’s Furniture and Carpet stewardship programme accepts laminates and wood-based panels.
- Ontario: The Resource Productivity and Recovery Authority (RPRA) coordinates the collection and processing of wood, MDF and other renovation materials.
- Quebec: Recyc-Québec runs initiatives for construction and demolition waste, including cabinetry components.
When planning your refacing project, ask your supplier if they participate in take-back or buy-back programmes. Many door manufacturers and distributors will coordinate the return of old materials, ensuring they’re repurposed or recycled rather than sent to landfill. Checking your provincial EPR registry can also help you find approved drop-off sites and stewardship organisations dedicated to cabinetry and building-material recycling.
13. Ergonomic and Safety Best Practices for DIY Cabinet Refacing
Refacing your own cabinets can be rewarding, but a lack of preparation or attention to ergonomics and safety can turn a satisfying project into a painful one. Prioritising tool upkeep, managing airborne dust, using the right protective equipment and adopting healthy work habits will help reduce the risk of injury and ensure you finish on time and on budget. Below are four key areas to focus on when tackling a DIY cabinet refacing job.
Tool Inspection & Maintenance
Before each work session, give your power tools and hand tools a thorough once-over. Inspect blades and bits for dullness or damage and replace them if necessary. Check power cords for frays or exposed wires and ensure moving parts on routers, sanders and drills spin freely without wobbling. A well-maintained tool not only cuts cleaner but also minimises kickback and binding—common causes of accidents. For more guidance on safe carpentry practices, see the CCOHS tool maintenance checklist.
Dust Control & Ventilation
Cabinet refacing generates fine wood and veneer particles that can irritate your eyes, lungs and skin. Set up a shop vacuum with a HEPA filter to capture dust at the source—whether it’s coming from a sander or a table saw. Keep windows and doors open to maintain a steady flow of fresh air, and avoid working in confined spaces without an extraction fan. Clearing dust as you go helps protect your respiratory system and prevents slippery floors that can lead to trips or falls.
Personal Protective Equipment (PPE)
Never underestimate basic PPE. At a minimum, equip yourself with:
- Safety glasses or goggles to shield your eyes from flying chips and splinters.
- A respirator or N95 mask when sanding or cutting to trap fine dust and volatile organic compounds from adhesives or finishes.
- Hearing protection—either earmuffs or earplugs—if you’re running loud tools for extended periods.
- Cut-resistant gloves when handling sheet materials or sharp-edged veneers; switch to grip-friendly work gloves for tool operation.
Choosing the appropriate level of protection not only safeguards your health but also boosts confidence and precision during installation.
Safe Work Practices
Staying mindful of your body’s posture and limits can save you from long-term aches. Position workpieces at waist height to avoid bending or overreaching; use adjustable sawhorses or workbenches if necessary. Alternate tasks every hour—switch from sanding to fitting doors, for instance—to engage different muscle groups. Secure loose clothing, remove jewellery that could catch on tools, and keep long hair tied back. Finally, take short breaks to stretch and hydrate, especially during longer sessions. These small habits go a long way in maintaining steady progress and preventing injury.
By incorporating these ergonomic and safety best practices into your DIY cabinet refacing project, you’ll work more efficiently, minimise health risks and achieve professional-looking results—without the common aches, strains or mishaps that cost time and money.
14. Your Next Steps for a Successful Cabinet Refacing Project
You’ve now seen the full spectrum of costs—from national averages and per-linear-foot rates to per-door pricing and DIY scenarios—along with the key factors that influence your budget, the most effective ways to save, and the safety and environmental considerations you’ll want to keep in mind. Armed with this knowledge, you can confidently approach your cabinet refacing project with a clear plan, realistic expectations and an eye for quality.
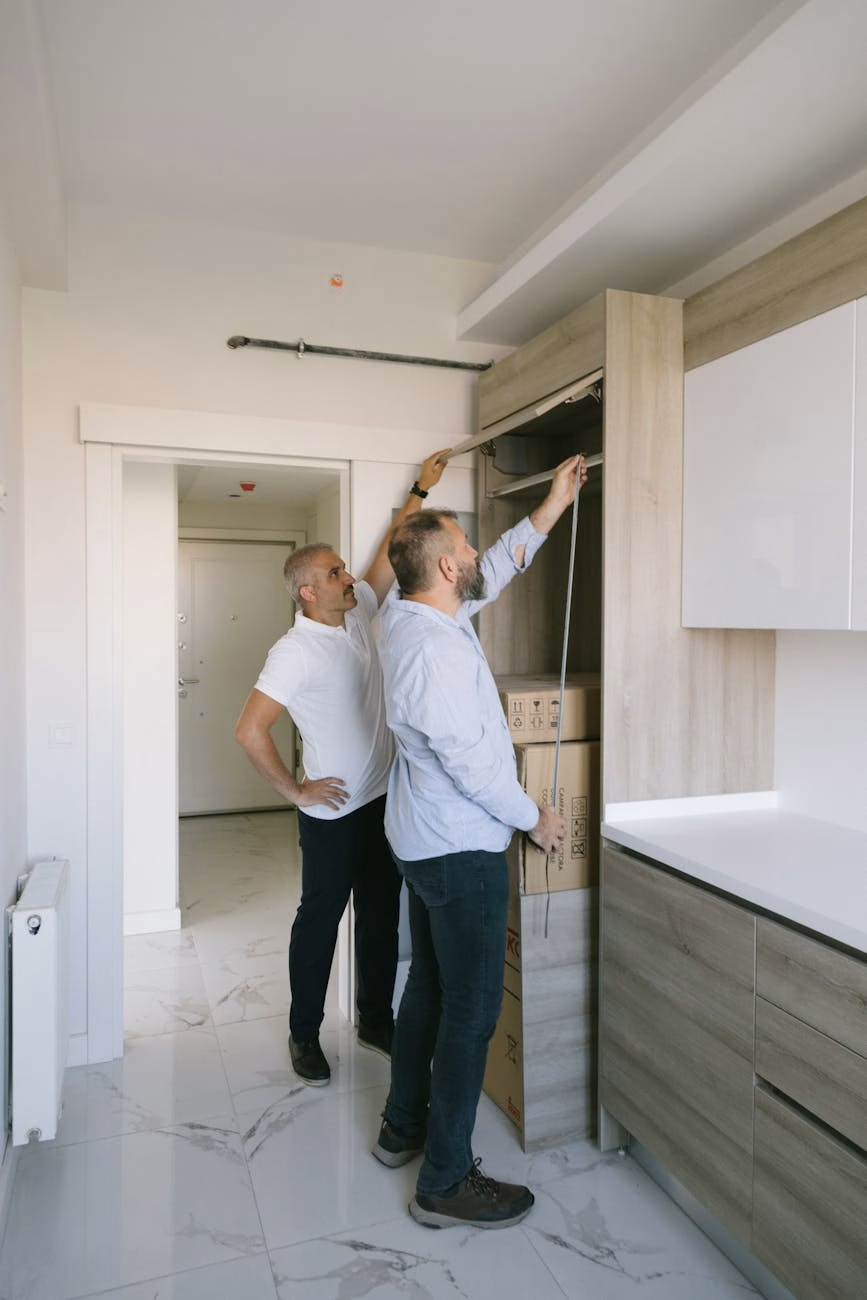
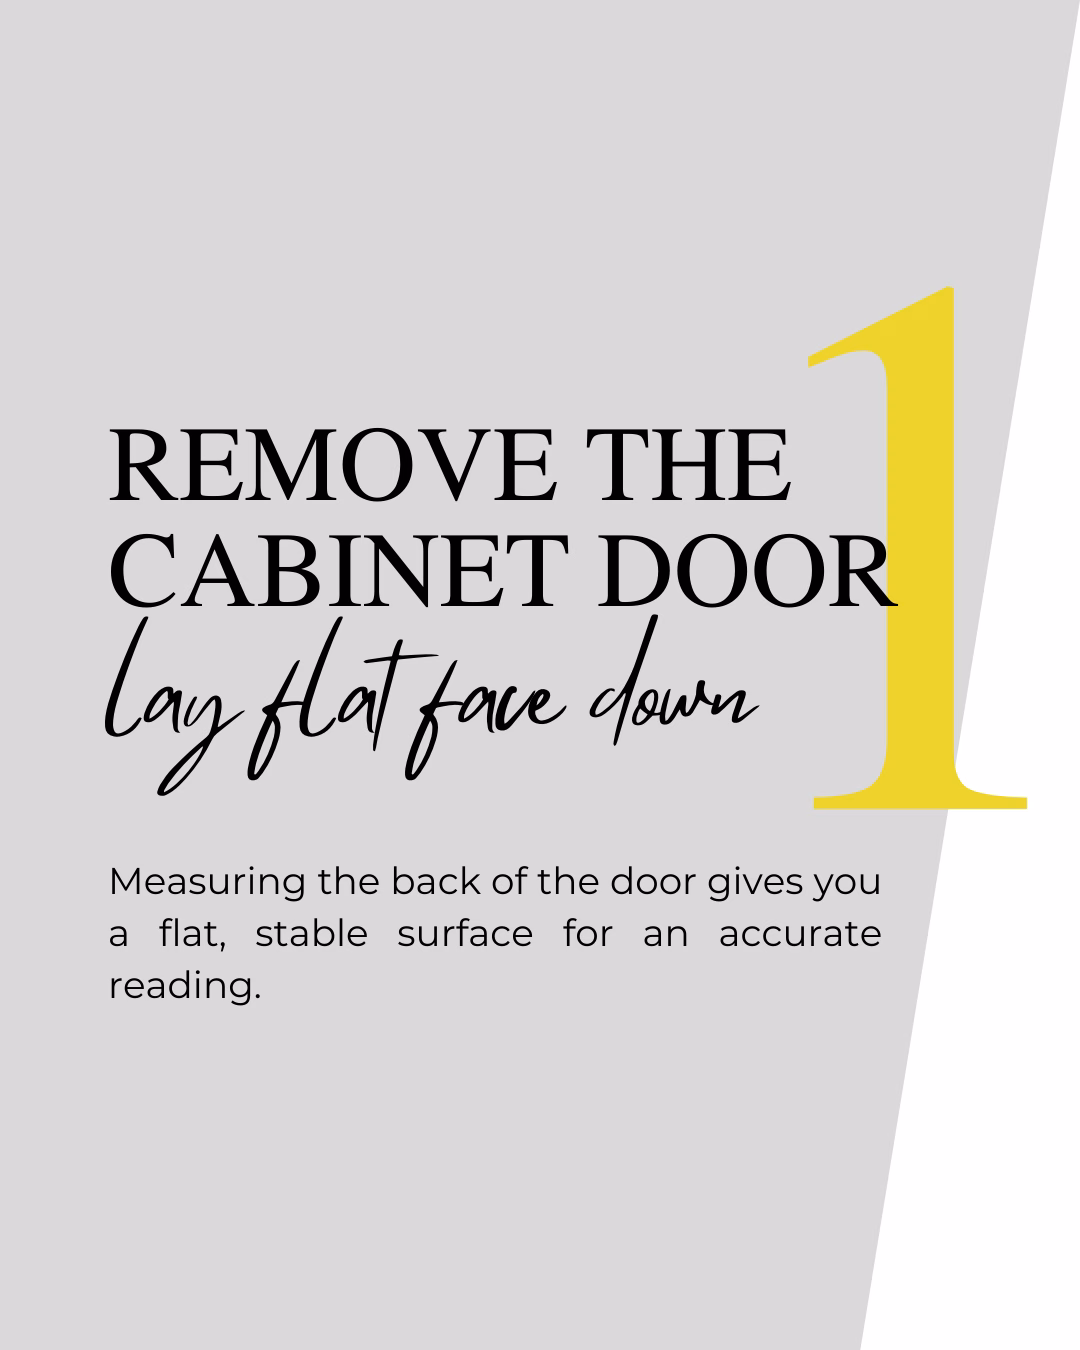
Begin by taking accurate measurements of your existing cabinet runs, doors and drawer fronts. Compare the options covered in this guide—entry-level thermofoil, mid-range veneers or premium solid-wood panels—and decide where to allocate your budget. Factor in any upgrades you’d like, such as crown moulding or under-cabinet lighting, and remember the savings tips: shop affordable materials, reuse existing hardware where possible and collect multiple quotes to ensure you get the best value.
Next, consider your ideal approach:
- If you’re a seasoned DIYer, gather the right tools, protective gear and workspace ventilation for a smooth, safe refacing job.
- If you prefer a hands-off experience, engage a professional installer to handle everything from removal and surface prep to precise veneer application and final hardware fitting.
- Or choose a hybrid route—use our “Build a Door” platform to design your doors and do the removal yourself, then let an expert take over the installation.
Now it’s time to turn your plan into reality. Head over to The Door Maker’s “Build a Door” tool, where you can configure every detail—style, finish, size—and receive a free, custom quote in minutes. Whether you’re refreshing a small pantry or refacing an expansive kitchen, The Door Maker makes it easy to get started and stay on budget. Ready to give your cabinets a fresh new look? Start designing today and take the first step toward a beautiful, budget-friendly renovation.