For most homeowners, a Shaker flat-panel or a painted slab door gives you the best mix of style, durability, and DIY friendliness. Both styles forgive small measurement errors and take PVC coatings well. Whichever style you land on, measure every opening for overlay or inset mounting before you cut a single board or place an order, and The Door Maker can produce that exact design once you know your numbers.
How To:
- Measure cabinet openings three times at different points to ensure accurate sizing, avoiding binding or gaps caused by own imperfect measurements.
- Use solid wood for stained doors where grain matters, but choose plywood or MDF for stable, painted, or moisture-prone environments to prevent warping.
- Select Shaker or slab doors for first-time builders, while saving raised panel or inset styles for more experienced projects due to their higher tolerances and complexity.
- Budget doors based on the number of openings, reserving higher-end styles and finishes for focal areas like islands or glass inserts to manage costs effectively.
- Building doors yourself benefits from precise measurement tools and ordering services that can deliver doors sized to thousandths of an inch for a perfect fit every time.
Table of Contents
- Popular Cabinet Door Styles and When to Choose Each
- Materials and Construction Choices: What to Use and Why
- How Do You Measure Overlay vs. Inset Cabinet Doors?
- Build Overview: Step-by-Step Workflow for a Shaker Flat-Panel Door
- Finishing, Hardware, and Installation Tips
- Design Ideas and Trends That Are Easy to Apply
- Impact of Door Design on Cabinet Functionality and Ergonomics
- How to Incorporate Cabinet Door Design With Overall Kitchen or Room Design Styles
- Maintenance and Durability Considerations for Different Cabinet Door Designs
- Cost Implications and Budgeting Tips for Various Cabinet Door Design Choices
- Why We Recommend Measuring Twice Before You Build or Order
- How The Door Maker Helps You Skip the Guesswork
- Where to Go for More Build Detail
- Sources
Popular Cabinet Door Styles and When to Choose Each
Designing cabinet doors starts with matching a style to your skill level, your finish plans, and how the room actually gets used. The style you pick determines everything downstream: which tools you need, how forgiving your joinery has to be, and whether paint or stain will look right on it.
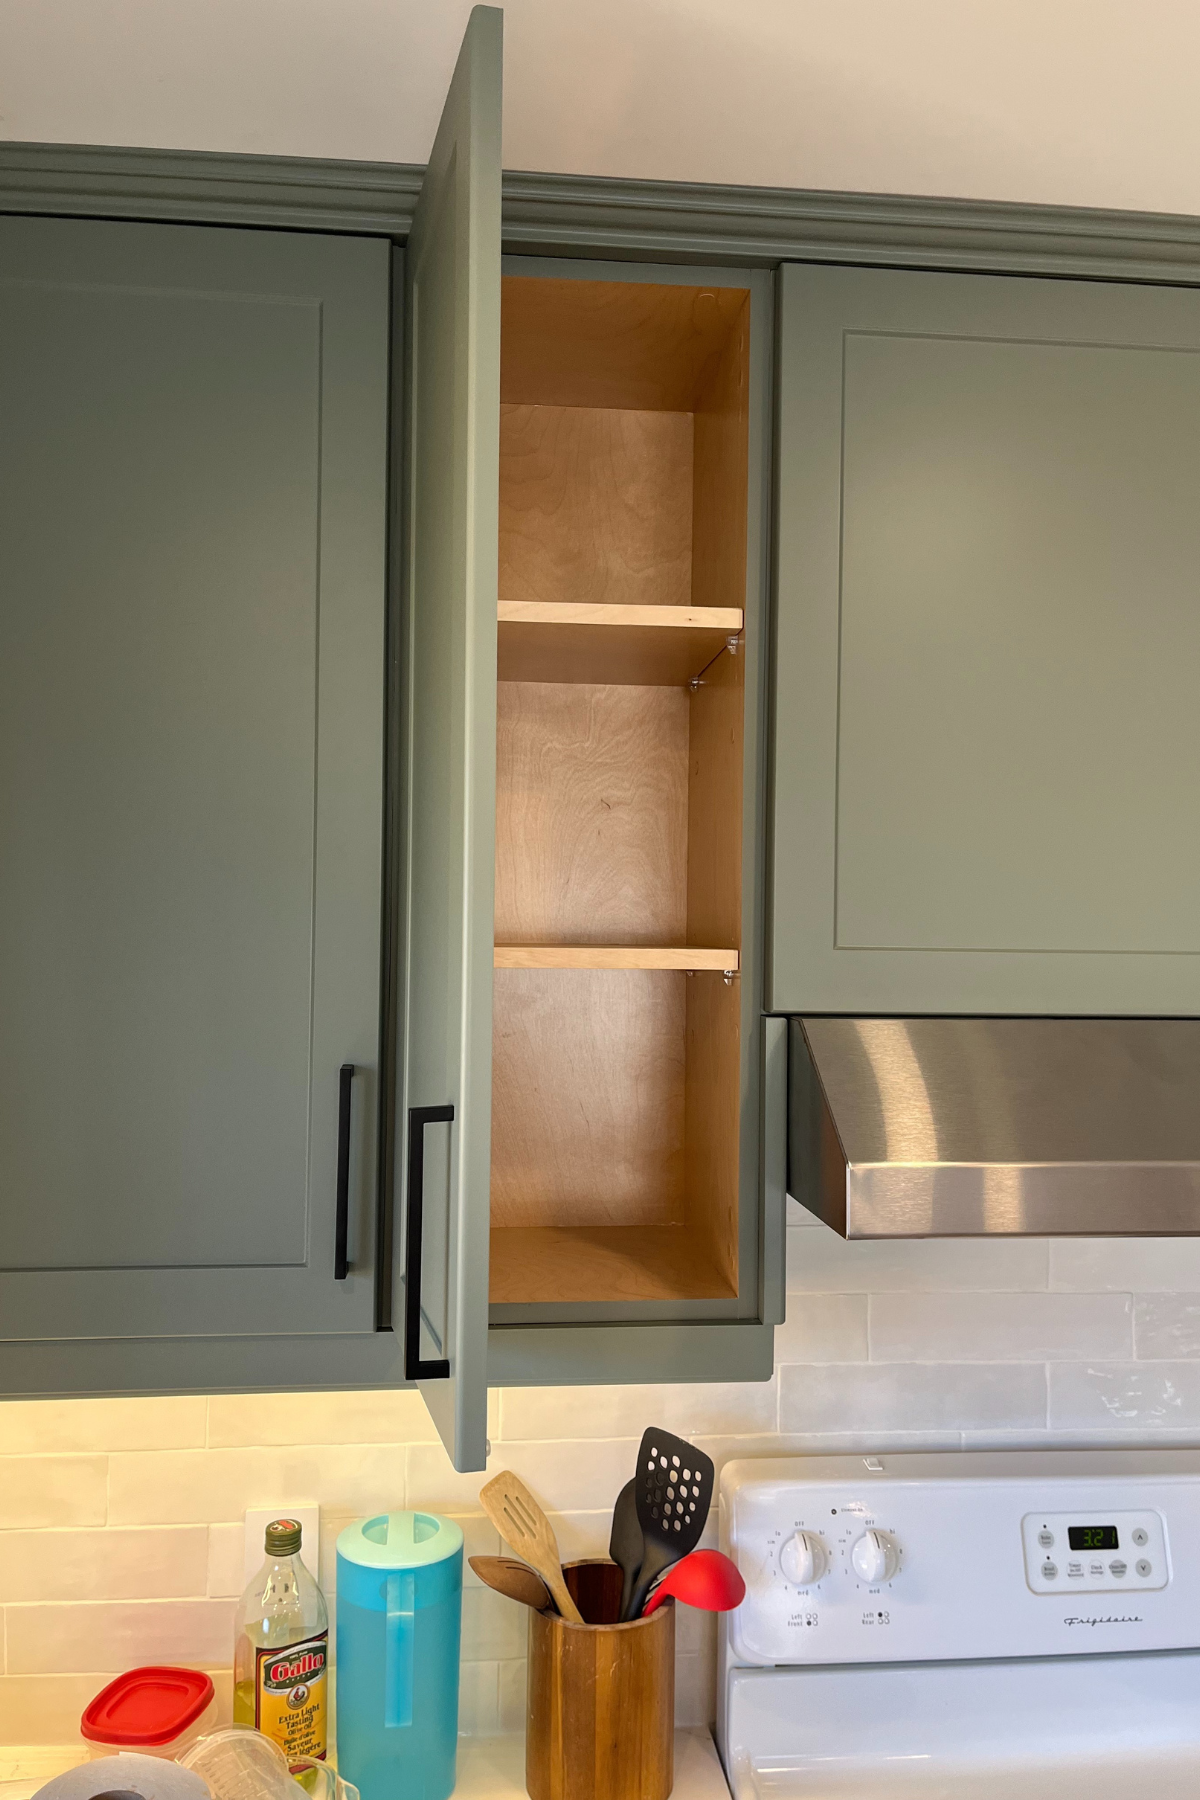
Shaker doors are a popular and practical choice. The frame-and-panel construction is genuinely forgiving for first-time builders, and the flat center panel works well with various finish options.
- Shaker: frame-and-panel with a flat center panel; versatile across kitchen styles, painted or stained.
- Slab/flat-panel: a single flat board or panel with no frame; the easiest style to build and the easiest to wipe clean, which is why it dominates modern kitchens.
- Raised panel: a traditional profile with a beveled, raised center; it needs more router setup time and tooling but delivers a classic, formal look.
- Inset: doors that sit flush inside the frame rather than overlapping it; the payoff is a custom, furniture-grade appearance, but it demands tight tolerances and careful measurement.
- Specialty inserts (glass, cane, mesh, louvered): swap the panel for a different material to add texture, ventilation, or visual break in upper cabinets, pantries, or islands.
Pick Shaker or slab if this is your first build. Save raised panel and inset for a second project, once you understand how your equipment holds a tolerance.
Materials and Construction Choices: What to Use and Why
Material choice affects three things: how the door looks finished, how long it lasts, and how forgiving it is to build. Get this wrong and even a well-designed door will crack, sag, or cup within a season.
- Solid wood (maple, oak, poplar): best for stained doors where grain matters; strong but moves with humidity, so panels must be sized to float.
- Plywood: dimensionally stable, good for slab doors and wide panels where solid wood would cup.
- MDF: the standard choice for painted doors because it has no visible grain and machines cleanly, but it’s heavier and less tolerant of moisture.
- PVC/thermofoil: fully sealed, highly resistant to humidity, common in kitchens and bathrooms where moisture is a constant issue.
Grain direction matters more than most first-time builders expect. Stiles should run with the grain vertical, and any solid panel wider than roughly 24 inches needs stabilization or should be swapped for an engineered panel to avoid seasonal cupping.
Pro Tip: Match your material to your finish before you buy anything. If you want a stained, natural-wood look, buy solid wood and accept the movement it comes with. If you want a smooth painted finish, MDF will save you sanding time and give you a flatter surface.
The most common failure mode isn’t bad wood. It’s a glued panel that had nowhere to expand and eventually split the frame apart.
How Do You Measure Overlay vs. Inset Cabinet Doors?
Overlay doors are sized larger than the cabinet opening so they cover the face frame, while inset doors are sized to fit flush inside the opening with a consistent reveal gap. Get either formula wrong by even a fraction of an inch and the door either binds or leaves an ugly gap.
- Overlay sizing: measure the opening width and height, then add your overlay allowance on each side (commonly 1/2 inch per side for a standard 1-inch total overlay, though full-overlay designs vary). A 12-inch-wide opening with a 1/2-inch overlay per side becomes a 13-inch-wide door.
- Inset sizing: measure the opening exactly, then subtract your reveal gap. Most builders target a reveal of approximately an eighth of an inch on all sides, with some tolerance to avoid binding as humidity shifts the wood.
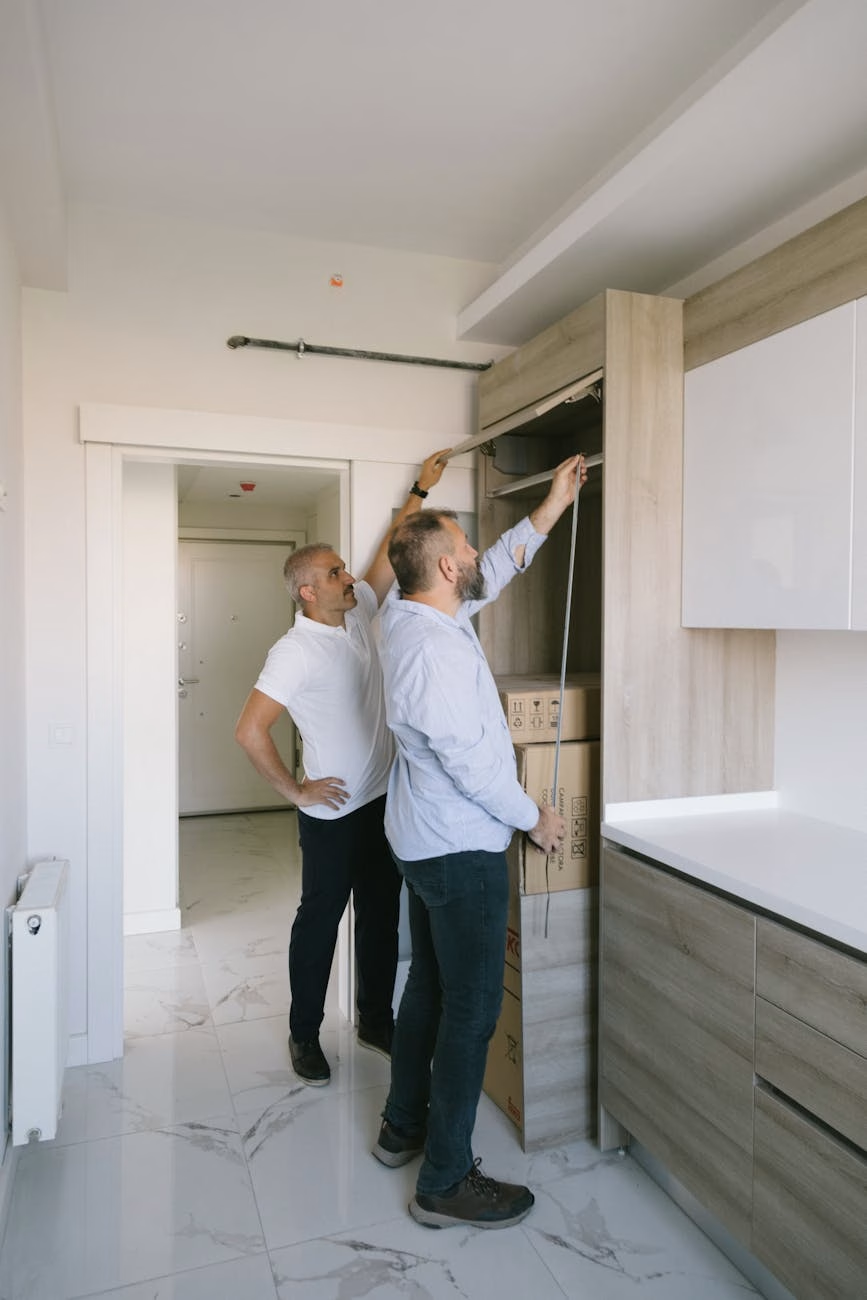
- Measure three times: check width and height at the top, middle, and bottom of every opening, and record the smallest measurement. Cabinet boxes are rarely perfectly square, and building to the largest number guarantees a door that won’t close.
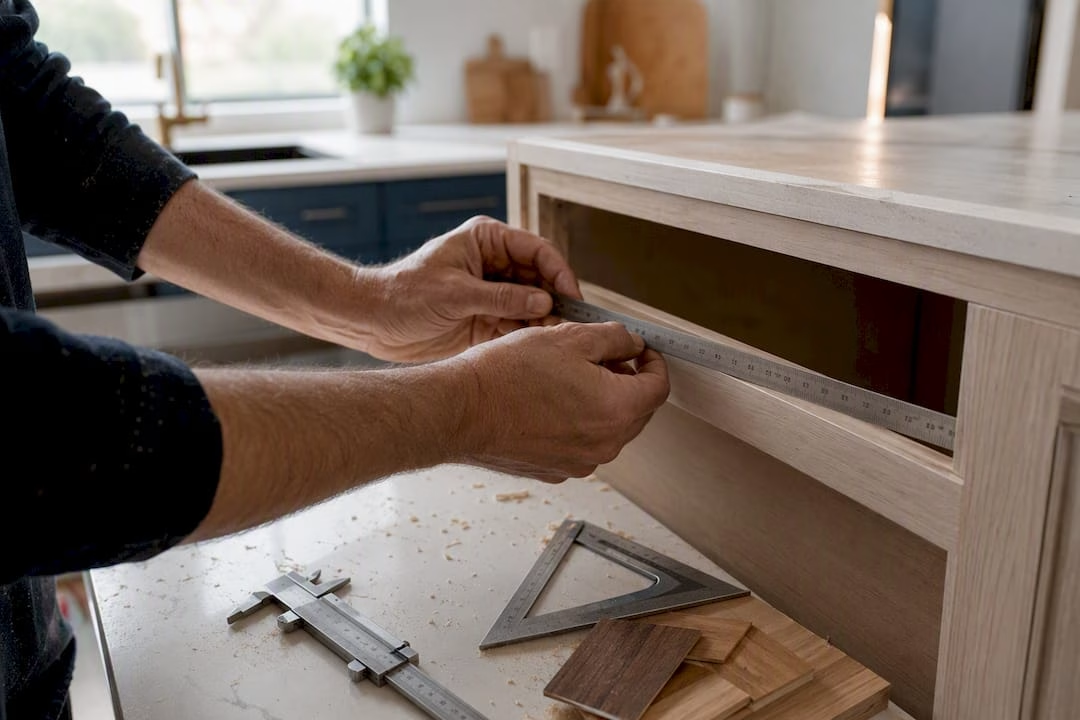
- Use the right tools: a steel tape measure, a combination square, and a notepad. Skip the flexible cloth tape, which stretches and throws off small measurements exactly where precision matters most.
For a full walkthrough with diagrams, The Door Maker’s measurement guide and its companion piece on cabinet door overlay cover both mounting styles in more depth than a formula alone can.
Build Overview: Step-by-Step Workflow for a Shaker Flat-Panel Door
Building a Shaker door is a sequence, and skipping steps or rushing the dry-fit is where most first attempts go wrong. This is the order that professional project plans consistently follow.
- Plan and cut a sheet: calculate rail length using the visible-rail formula (overall door width minus two times the stile width), and write every dimension down before you touch a saw.
- Mill the rails and stiles: bring your stock to final thickness and width, and orient the stiles with the grain running vertically for strength and a cleaner finish.
- Rout the groove: cut a groove into the inside edge of every rail and stile to hold the floating panel, using a consistent setup so all four pieces match.
- Cut the floating panel: size it to leave a clearance of 1/16 to 1/8 inch on all sides inside the groove, so it can expand and contract with humidity.
- Dry-fit before glue: assemble the frame without adhesive and check that the door is square by measuring both diagonals; they should match within a hair.
- Glue up the frame only: apply glue to the rail and stile joints, but never glue the panel itself into the groove. That single rule is the one build guides return to again and again.
- Drill hinge cups: mark hinge cup placement (typically a few inches from the top and bottom edges) and drill to the depth your hinge hardware specifies.
- Finish, then hang: sand, finish, and let it cure fully before mounting.
Choose your joinery based on your tools and patience. Cope-and-stick joints give production-quality results with a router table and matched bit set. Mortise-and-tenon is the strongest option and worth the extra setup time for doors that will see heavy use. Pocket screws are the fastest path to a square, functional door if you’re building your first one and don’t own a router table yet.
Pro Tip: Dry-fit every single door before glue-up, even your tenth one. A five-minute check with a tape measure across both diagonals catches a square problem that’s nearly impossible to fix once the glue sets.
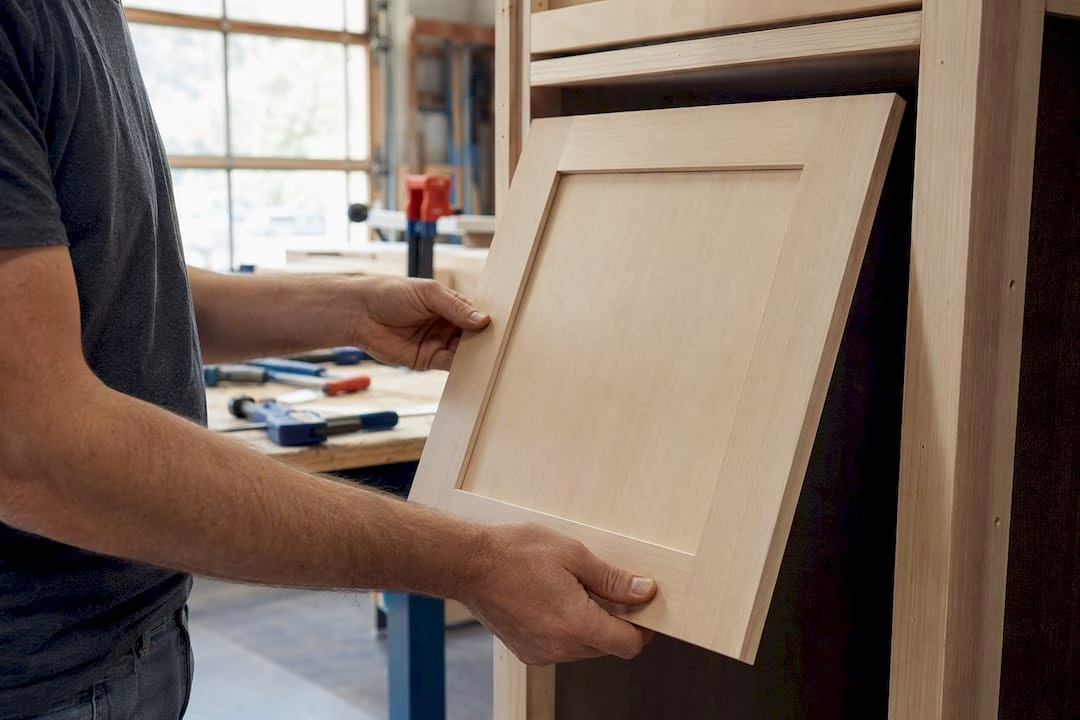
Keep a push stick and eye protection within reach at every stage, and never freehand a narrow stile past a spinning blade. Table saw kickback is the single most common injury in home cabinet shops.
Finishing, Hardware, and Installation Tips
Finish quality and hardware placement are what separate a door that reads “custom” from one that reads “homemade.” Both come down to following a sequence rather than rushing to the last coat.
- Prep and prime: sand to a consistent grit, apply a conditioner on raw wood if staining, and prime MDF or wood before any painted finish.
- Topcoat choice: water-based polyurethane recoats faster than oil-based finishes and won’t yellow painted doors over time.
- Hinge placement: European concealed hinges mount into a drilled cup a few inches from the top and bottom edge, and most models include a three-way adjustment screw for fine-tuning gaps after installation.
- Hardware proportion: pick pulls and knobs sized to the door, and mount them at a consistent height across every door in the run.
- Quick fixes: a door that won’t close flush usually needs a hinge adjustment, not a rebuild; a sticking door often just needs a fresh coat of wax on the hinge pin.
Design Ideas and Trends That Are Easy to Apply
Not every upgrade requires building new doors from scratch. Some of the most effective design updates rely entirely on finish and color contrast rather than structural changes.
- Two-tone doors: paint uppers and lowers different colors, a low-effort change if your doors are already off the hinges.
- Beading or fluting: a router pass adds a subtle raised or grooved detail to an otherwise plain Shaker or slab door.
- Handleless or finger-pull profiles: requires new doors milled with an integrated pull, not something you retrofit onto existing doors.
- Glass or cane inserts: swap a solid panel for glass or woven cane in upper cabinets to break up a wall of matching doors.
- Mesh or wire inserts: common in pantries or laundry rooms where ventilation matters as much as looks.
Two-tone paint and routed details are weekend projects. Handleless profiles and inserts almost always mean ordering new doors, since they change the door’s core construction rather than its surface. For more current combinations, this roundup of interior door trends is worth a look before you commit to a direction.
Impact of Door Design on Cabinet Functionality and Ergonomics
Door style isn’t just a visual decision. It changes how a kitchen actually works day to day. A raised panel door adds visual weight and depth, but that extra material also adds swing clearance requirements, which matters in a tight galley kitchen where two doors can collide if opened at the same time.
Inset doors look sharp, but their tight reveal tolerances mean they’re less forgiving of a house that settles over the years. A quarter-inch of foundation movement that a standard overlay door would absorb without anyone noticing can turn an inset door into one that scrapes or won’t latch.
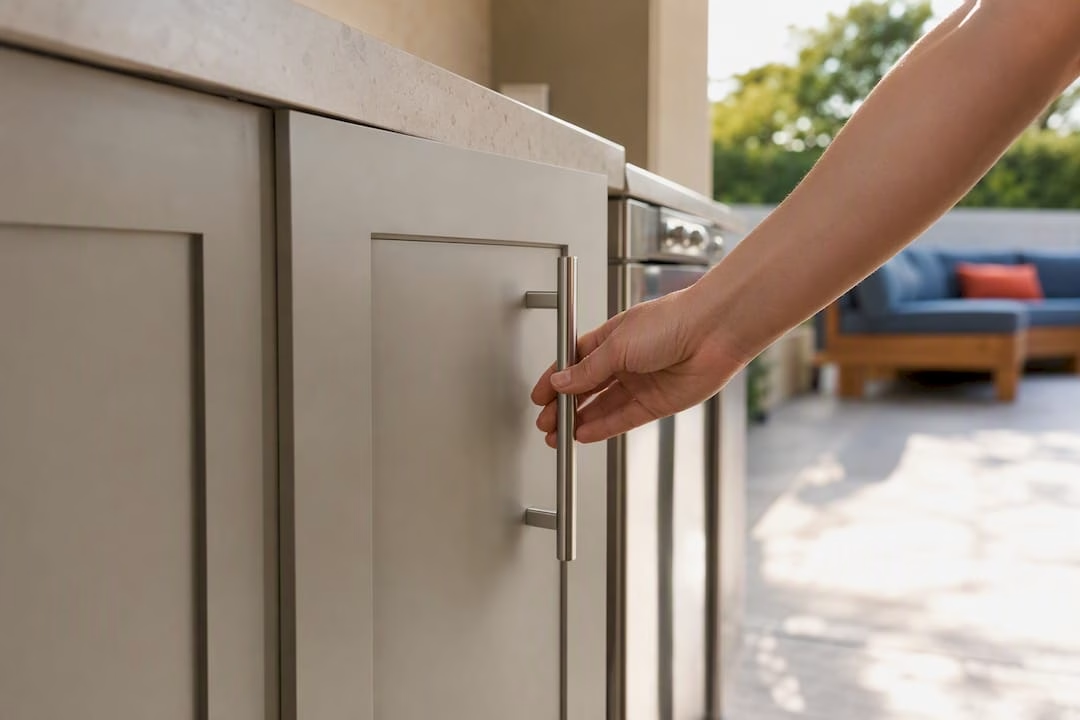
Hardware and pull placement affect ergonomics more than most homeowners expect. Pulls mounted too high or too low force an awkward reach, especially on tall pantry cabinets or low base cabinets accessed while bending. Handleless, finger-pull designs solve some accessibility concerns for households with limited grip strength, but they add a learning curve for guests unfamiliar with the mechanism.
Glass and open-mesh inserts change function too. They demand more visual tidiness inside the cabinet, since the contents are now on display, and they trade a bit of insulation and sound dampening for that visual openness. Louvered doors, meanwhile, solve airflow problems in laundry hampers or pantries but aren’t a fit anywhere moisture or dust control matters. Match the door’s physical behavior to how the cabinet gets used, not just how it looks in a photo.
How to Incorporate Cabinet Door Design With Overall Kitchen or Room Design Styles
Cabinet doors set the tone for a room more than almost any other single element, because they cover the largest continuous surface area in most kitchens. A farmhouse kitchen leans on Shaker doors with a painted finish and simple hardware. A modern kitchen leans on slab doors, often handleless, in a single continuous color or a bold two-tone split between uppers and lowers.
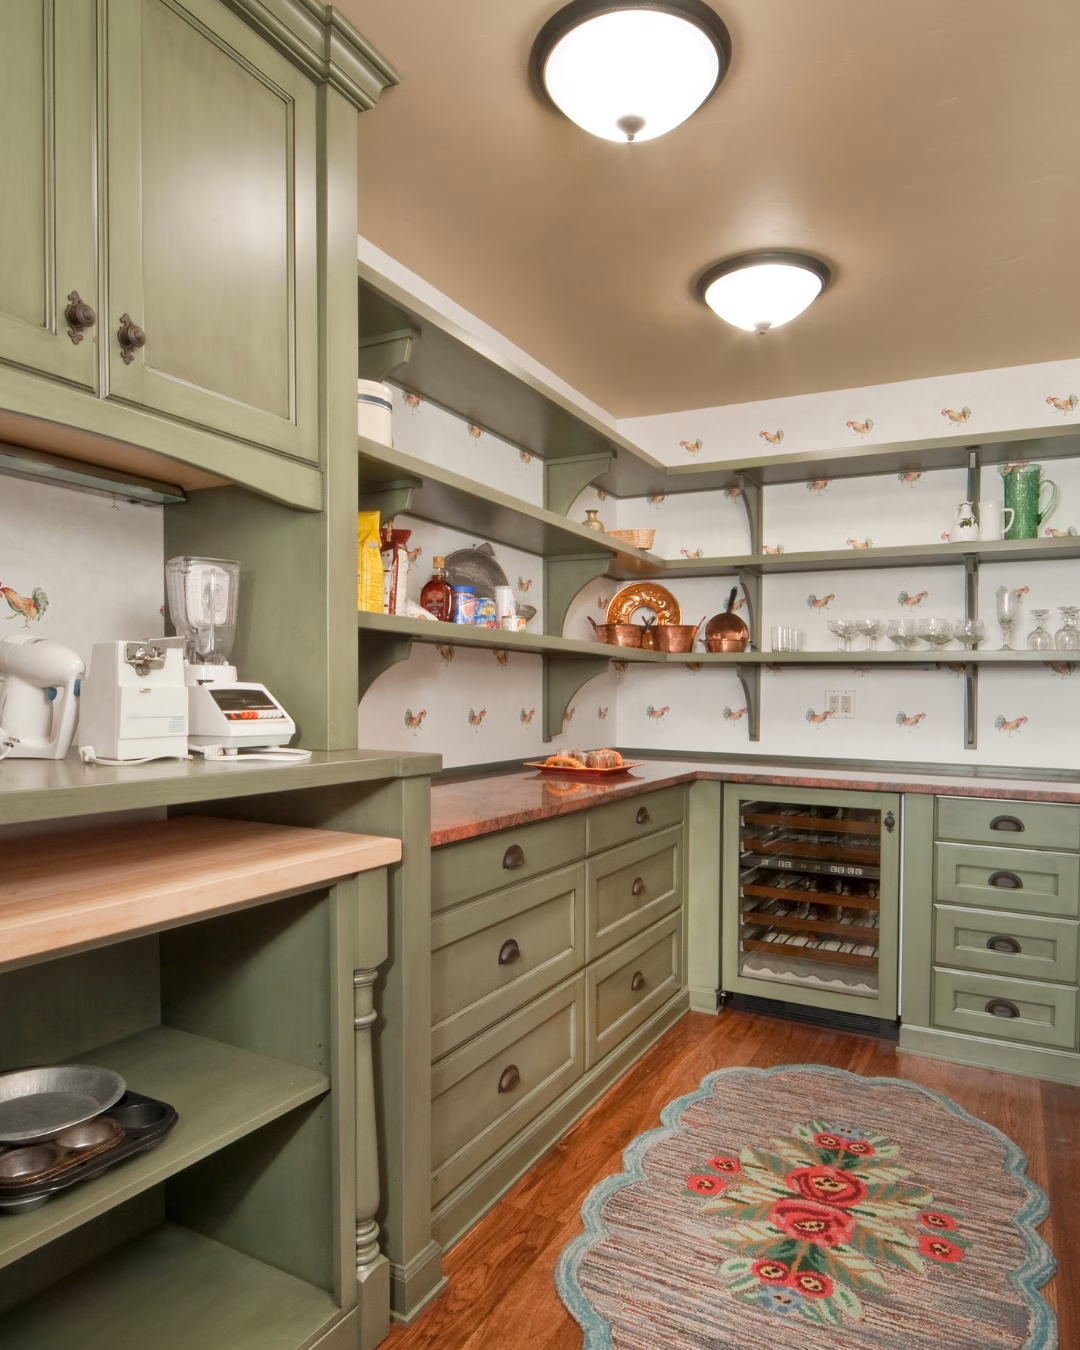
Traditional and formal rooms tend to pair raised panel doors with warmer wood tones and ornate hardware, while transitional kitchens split the difference: Shaker doors, but with a mix of painted and stained finishes across the island and perimeter cabinets to create contrast without going fully modern or fully traditional.
The room’s other fixed elements should drive the decision more than trend charts do. Countertop material, floor tone, and wall color all interact with door finish. A busy stone countertop usually calls for a simpler, single-tone door so the whole kitchen doesn’t compete for attention. A plain quartz or laminate counter can support a bolder two-tone door scheme without feeling busy.
Consistency across the room matters as much as the style itself. Mixing raised panel doors on base cabinets with slab doors on uppers reads as unfinished rather than intentional, unless it’s a deliberate two-tone strategy carried through with matching hardware and a clear color logic tying the two treatments together.
Maintenance and Durability Considerations for Different Cabinet Door Designs
Every cabinet door design ages differently, and the maintenance burden varies more by material and finish than by style alone. Painted MDF doors show wear at touch points first, typically around the pull and along the bottom edge where hands and cleaning cloths make repeated contact. Touch-up paint and a light scuff sand every few years keeps them looking fresh.
Solid wood doors, whether Shaker or raised panel, handle minor dings better than MDF because you can sand and refinish a scratch without it showing through to a substrate. That same wood will expand and contract seasonally, though, so hinges may need periodic adjustment as gaps shift slightly with humidity.
PVC and thermofoil doors resist moisture better than any painted wood or MDF option, making them a strong pick near sinks, dishwashers, and in humid climates. Their weak point is heat: a thermofoil door positioned too close to a wall oven or range without adequate clearance can delaminate at the edges over time.
Glass, cane, and mesh inserts each carry their own upkeep. Glass needs regular cleaning to stay attractive, since fingerprints and grease show immediately. Cane and mesh trap dust in their weave and need more frequent attention than a solid panel ever will. Louvered doors, with their many angled slats, are the highest-maintenance option on this list purely because of surface area and the number of edges collecting dust.
Cost Implications and Budgeting Tips for Various Cabinet Door Design Choices
Door style and material drive cost more than almost any other kitchen decision outside of countertops. Slab doors in MDF are typically the least expensive option to produce, since they require the least machining and material. Shaker doors cost more than slab because of the added frame-and-panel construction, but the increase is usually modest given how much value the style adds.
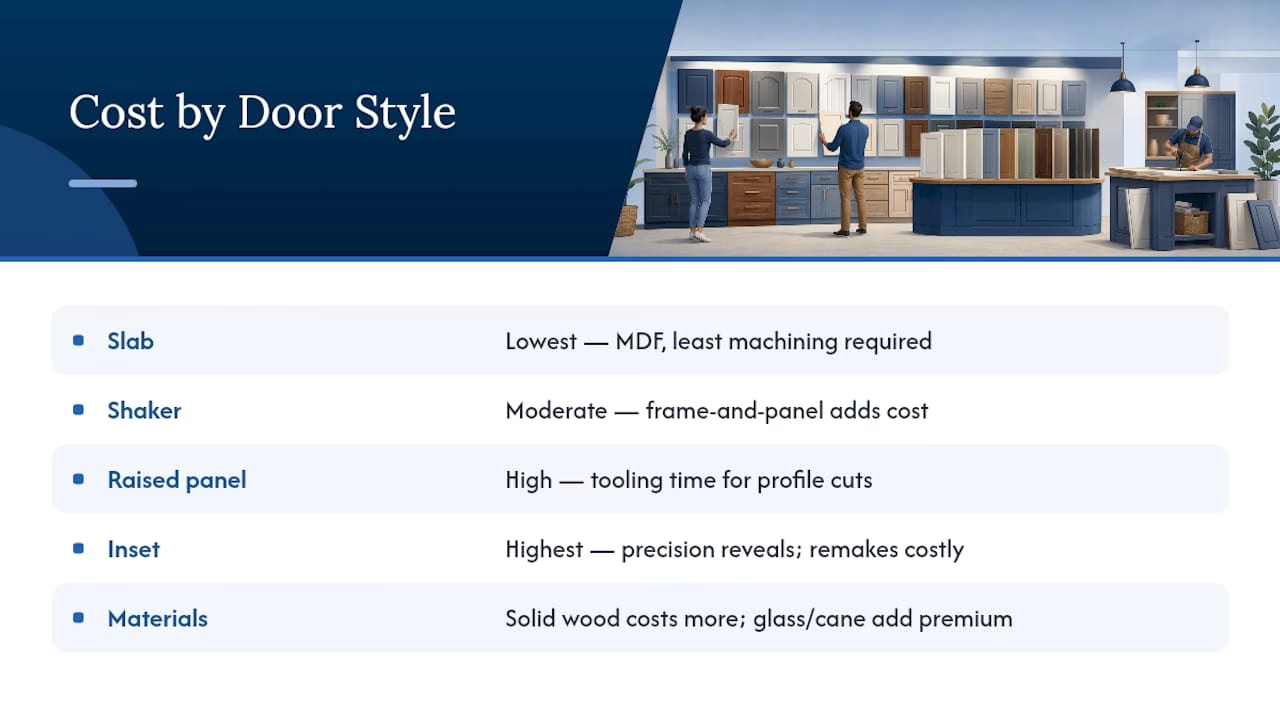
Raised panel and inset doors sit at the higher end of the budget. Raised panel costs more due to the tooling time needed to cut the profile, and inset costs more because of the precision required to hold tight, consistent reveals across every door in a kitchen. A single inset door built out of tolerance can mean remaking it, which adds cost fast if you’re building it yourself.
Material choice compounds the style decision. Solid wood costs more than engineered panels or MDF, and specialty inserts like glass or cane add a per-door premium on top of whatever the base door style costs.
Budget realistically by pricing per opening, not per kitchen. A 15-door kitchen upgrading from slab to Shaker will feel very different in total cost than a 6-door kitchenette making the same jump. If your budget is tight, reserve the higher-cost styles and inserts for visible focal points, like an island or a glass-front upper, and keep the rest of the run in a simpler, more economical style.
Why We Recommend Measuring Twice Before You Build or Order
Most DIY door failures trace back to one bad measurement, not bad woodworking. A door built to the largest of three measurements instead of the smallest almost never closes right, and that mistake is nearly impossible to fix after the glue dries.
The Door Maker exists for the moment when precision measurement matters more than saving a weekend. Its measure, design, and order process, backed by sizing accurate to 1/10,000 of an inch and a wide range of styles and finishes, removes the tolerance risk entirely.
Build it yourself if you enjoy the process and your openings are standard. Order custom if precision, inset tolerances, or your time matter more than the build itself.
— David
How The Door Maker Helps You Skip the Guesswork
Building your own doors is rewarding, but it’s also where small measurement errors turn into wasted material and a second trip to the lumberyard. Tdm-thedoormaker built its measure, design, and order process specifically for the reader who wants the exact style discussed above without the trial-and-error of a first build.
You measure your openings using the same overlay and inset rules covered earlier, choose from more than 30 styles and 130-plus colors and finishes in the online configurator, and order doors sized to 1/10,000 of an inch. If you’re not ready to commit to a full order, request a sample door or color swatch first to check the finish against your kitchen in person. For homeowners weighing a full box replacement against updating just the doors, this comparison of refacing versus replacement lays out the cost difference clearly. When you’re ready to move forward, start your design in The Door Maker’s online configurator and get precise custom doors without picking up a router.
Where to Go for More Build Detail
For deeper build specs beyond what fits here, WoodWiki’s cabinet door guide covers style selection in detail, while SawStop’s project plan walks through exact joinery and hinge specs step by step.
Sources
- Making Cabinet Doors — WoodWiki
- Build a basic cabinet — doors and drawers — SawStop
- Cabinet door design ideas — Timberelle
- Tips for designing custom cabinet doors — ToolsRadar