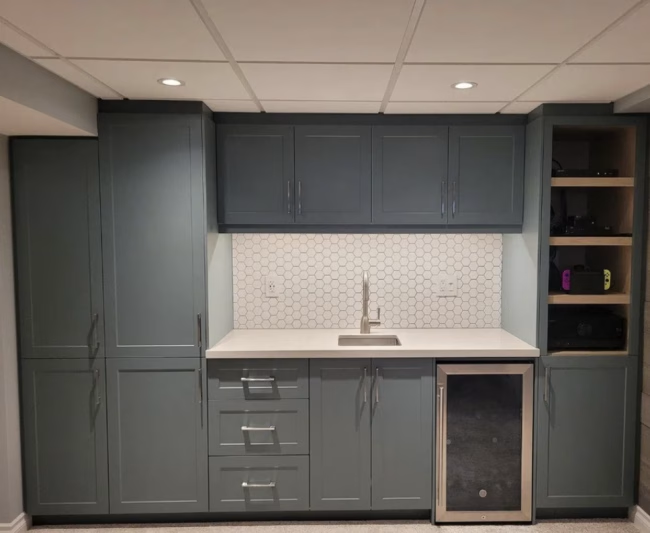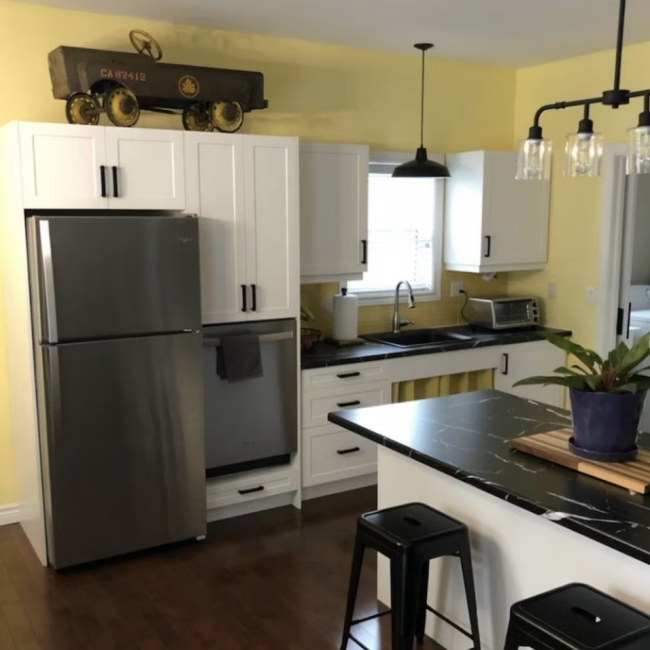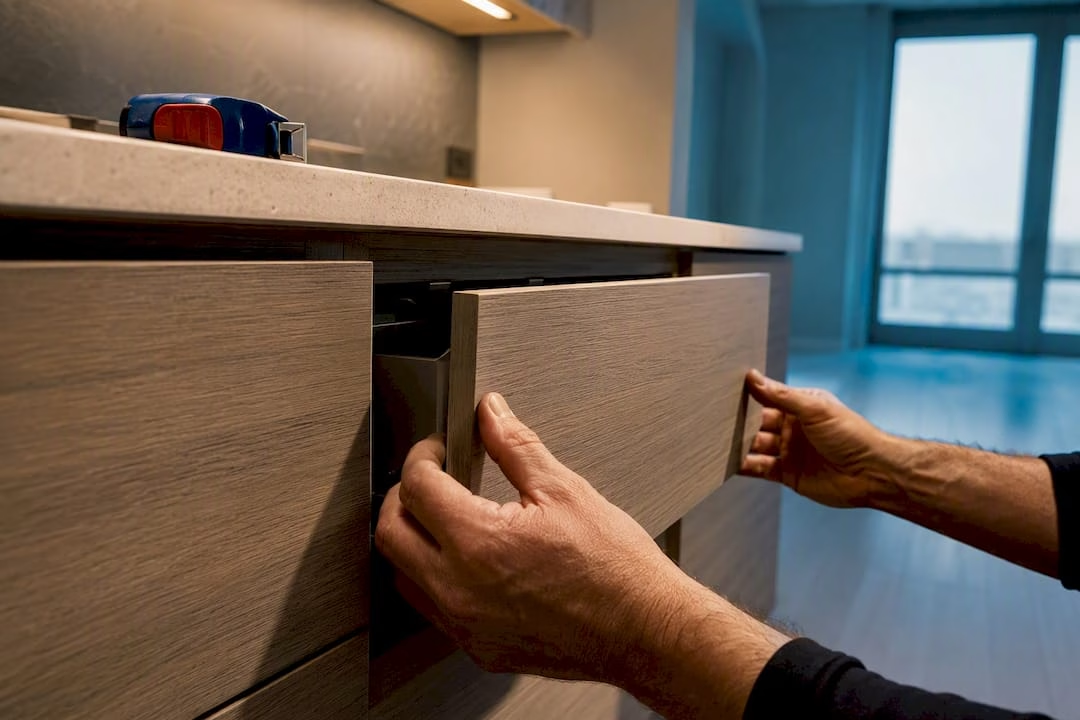
Partial overlay cabinets are doors and drawer fronts that cover most, but not all, of the cabinet’s face frame, leaving a consistent visible strip of wood, usually about half an inch, around each opening. That half-inch reveal is the detail installers and cabinetmakers use to identify the style on sight, and it’s the most common partial-overlay measurement across American kitchens built before the 2000s.
Here’s the quick verdict: if you’re refacing an older home, working with a tighter budget, or want the traditional, layered look of a classic kitchen, partial overlay is usually the right call. It sits between full overlay (nearly no visible frame, a tighter, more modern look) and inset (doors sit flush inside the frame, the most expensive and exacting option). Partial overlay splits the difference on cost, style, and forgiveness during installation.
You’ll likely want partial overlay if:
- Your budget needs to stretch further than full overlay allows, since full overlay doors can run about 16% more due to larger door sizes and material use.
- You’re going for a traditional, farmhouse, or classic kitchen aesthetic where visible face frame is part of the design language.
- You’re retrofitting an older house with walls or cabinet boxes that aren’t perfectly square, since the larger reveal hides minor misalignment far better than a tight full-overlay fit.
Table of Contents
- What Is a Partial Overlay Cabinet, and How Does It Compare?
- How Do You Measure for Partial Overlay Cabinet Doors?
- What Hinges Work Best with Partial Overlay Doors?
- Which Materials and Rooms Suit Partial Overlay Best?
- What Does Partial Overlay Cost, and How Long Does It Last?
- How Do You Choose the Right Overlay for Your Project?
- What Should You Know from The Door Maker’s Measuring Process?
- How The Door Maker Simplifies Partial Overlay Orders
- Sources
What Is a Partial Overlay Cabinet, and How Does It Compare?
The word “overlay” describes how far a door or drawer front extends over the cabinet’s face frame, the wood border around each opening on framed cabinet boxes. Partial overlay covers most of that frame but leaves a visible band around it, while full overlay covers nearly all of it, shrinking the reveal down to about a quarter inch. Inset cabinets go the other direction entirely: the door sits inside the frame opening, flush with the front edge, so the entire frame stays visible.
These aren’t just cosmetic differences. Each style changes how the cabinet opens, how much labor goes into building the box, and how much room you have for error when you measure.
| Feature | Partial Overlay | Full Overlay | Inset |
|---|---|---|---|
| Appearance | Visible frame strip, roughly 1/2" to 1" | Minimal frame, roughly 1/4" reveal | Entire frame visible, door flush with face |
| Opening accessibility | Standard, unobstructed | Slightly larger door swings possible | Can restrict opening if hinges are exposed |
| Structural support | Face frame adds rigidity | Face frame still present, less visible | Face frame doubles as the door stop |
| Cost and material use | Lower, smaller doors | Higher, larger doors and boxes | Highest, precision joinery required |
| Hinge visibility | Semi-concealed hinges common, often visible | Concealed cup hinges, hidden | Surface or butt hinges, often visible |
| Typical reveal measurement | ~1/2" (up to 1" on older builds) | ~1/4" | 0" (flush fit) |
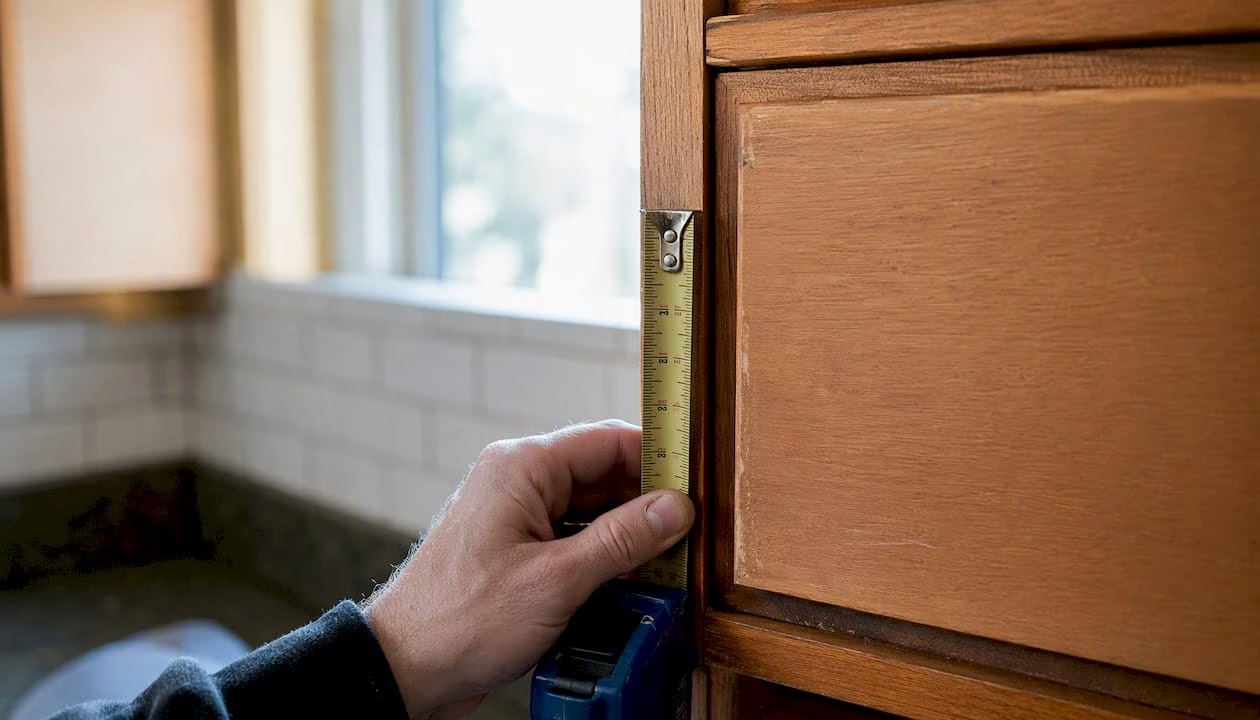
Before you contact a supplier, take three photos: a close-up of the face frame from the front, a shot of the reveal with a tape measure held against it, and a photo of the existing hinge with the door open so the hinge cup and mounting plate are visible. Those three images answer most of the questions a cabinet door overlay specialist would otherwise need to ask you over the phone.
How Do You Measure for Partial Overlay Cabinet Doors?
Measuring wrong is the single most common reason homeowners end up with doors that bind, gap unevenly, or won’t sit flush against neighboring cabinets. Get the numbers right the first time and the rest of the project moves fast.
Tools you’ll need:
- Tape measure (a 25-foot model with a locking blade works best)
- Straightedge or carpenter’s square
- Marker or pencil for marking centerlines
- Camera or smartphone
- Digital caliper (optional, but useful for checking hinge cup depth)
Step-by-step for a single-door opening:
- Measure the width of the cabinet opening (the hole in the face frame), side to side, in three places: top, middle, bottom. Use the smallest number if they differ.
- Measure the height the same way: left side, center, right side.
- Decide your desired reveal. For a standard partial overlay look, use 1/2" on all four sides.
- Add the reveal to each side of the opening: door width = opening width + (2 × reveal). Door height = opening height + (2 × reveal).
- Confirm the hinge side and mark it clearly on your order sheet or diagram, since a mirrored door won’t fit.
Worked example: say your opening measures 14" wide by 24" tall, and you want a standard 1/2" reveal on every edge. Your door width becomes 14" + (0.5" × 2) = 15". Your door height becomes 24" + (0.5" × 2) = 25". That 15" by 25" door, once hung, leaves a clean half-inch strip of frame visible on all four sides.
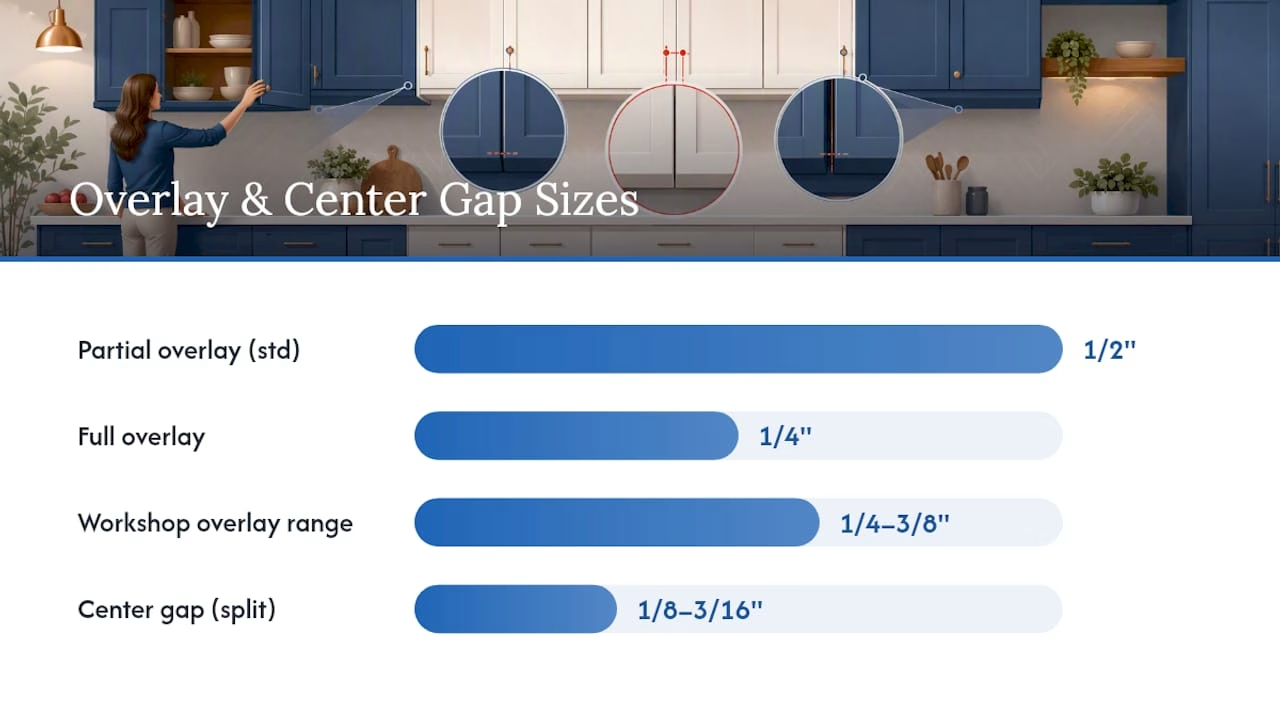
Split-door (twin) openings work the same way but need one more step. Measure the full opening width, then split it in half and subtract for the center gap between the two doors, typically 1/8" to 3/16", so the doors don’t rub when both are closed. Each door then gets its own reveal calculation on the outer edges only, since the inner edges meet at that center gap instead of overlapping frame.
| Detail | Typical Measurement |
|---|---|
| Standard partial overlay reveal | 1/2" (some older cabinets use up to 1") |
| Full overlay reveal for comparison | 1/4" |
| Center gap on split-door openings | 1/8" to 3/16" |
| Workshop-tested overlay range | 1/4" to 3/8" on custom builds |
Watch for these mistakes: measuring to the inside edge of the stile instead of the true opening, forgetting that end cabinets (the ones against a wall) often need an extra reveal allowance on the exposed side, and not accounting for hinge cup depth, which can eat into your reveal if the cup sits too close to the door edge. Workshop demonstrations on building and installing partial-overlay doors show how even a 1/8" miscalculation on the reveal throws off the whole run once you’ve hung four or five doors side by side.
What Hinges Work Best with Partial Overlay Doors?
Hinge choice isn’t an afterthought here. It’s the mechanical piece that decides whether your carefully measured reveal actually shows up once the door is hung.
Semi-concealed hinges are the traditional match for partial overlay, visible from the front but hidden when the door is closed, and they’re built specifically to work with a face frame. Wrap-around hinges serve a similar purpose on frameless boxes retrofitted with a face-frame look. Full-overlay boxes typically use European-style concealed cup hinges instead, since those hinges are engineered for a tighter reveal and a frameless or minimal-frame construction. Semi-concealed hinges are widely recommended for partial overlay specifically because their mounting geometry is designed around a visible frame edge.
Here’s the part that trips people up: hinge cup depth and arm length directly change where the door sits once it’s closed. A hinge with a deeper cup pulls the door closer to the frame, tightening your reveal. A longer arm pushes it further out. If you measure for a 1/2" reveal but the hinge geometry doesn’t match that spec, you’ll end up with a door that’s slightly proud or recessed compared to its neighbors, even though your door dimensions were correct.
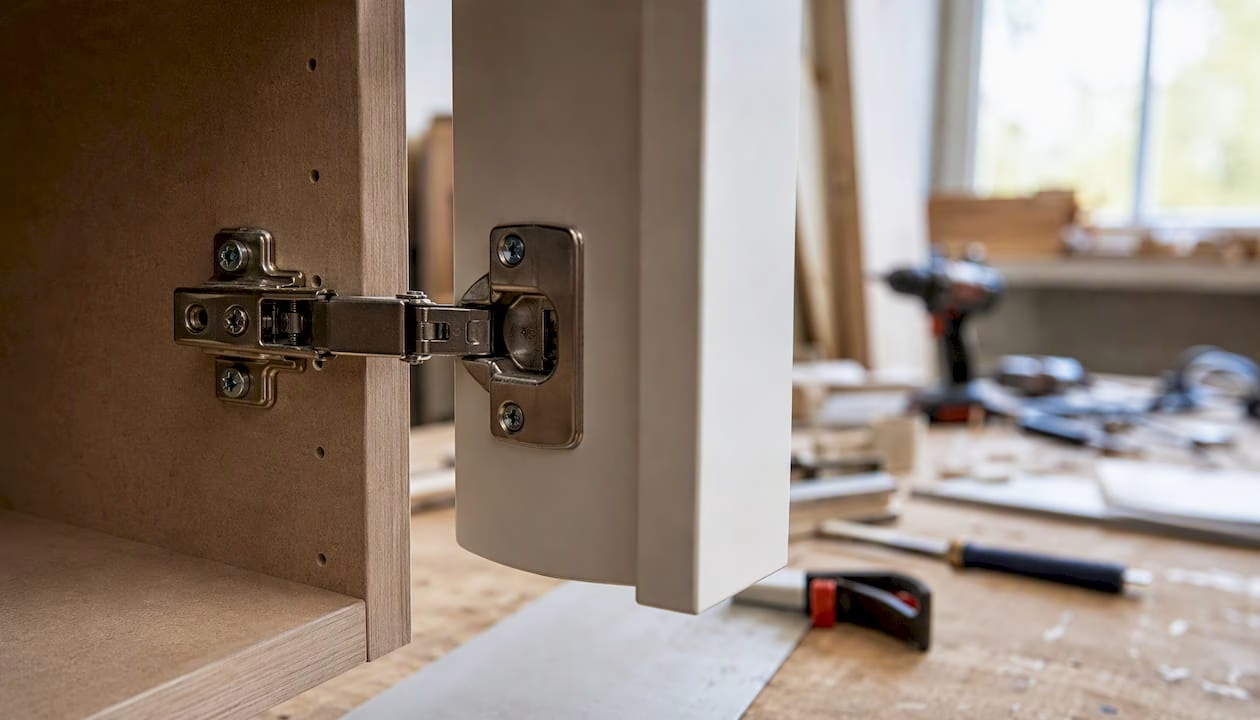
Pro Tip: Always confirm the exact overlay specification your hinge supplier builds around before you cut or order doors. Ask for a hinge template or a hinge-drill option so the cup location matches your calculated reveal exactly, rather than guessing and adjusting after the fact.
For a deeper look at hinge types and mounting options, The Door Maker’s guide to full overlay cabinet hinges breaks down the mechanical differences in more detail, which is useful even if you’re comparing against a partial-overlay setup.
Which Materials and Rooms Suit Partial Overlay Best?
Partial overlay doors show more surface area of both the door and the surrounding frame, so the materials you choose need to hold up under closer inspection.
- MDF takes paint smoothly and resists warping, a solid choice for painted partial-overlay doors in busy kitchens.
- Solid wood brings the traditional grain and depth that partial overlay’s visible frame is built to showcase, though it moves more with humidity than engineered options.
- Thermofoil offers a low-maintenance, moisture-resistant surface that works well in laundry rooms or bathrooms where partial overlay is common.
- Painted veneer balances cost and appearance, giving a furniture-like finish without solid wood pricing.
Partial overlay shows up most often in traditional and farmhouse kitchens, where the visible frame is part of the intended look rather than something to hide. It’s also a practical pick for laundry rooms, mudrooms, and garages, spaces where a forgiving fit matters more than a showroom-tight reveal, and for refacing older framed cabinets that were never built with full-overlay tolerances in mind.
One design detail worth planning around: match your stile and rail widths, and any moulding profile, to the visible reveal. A wide moulding against a narrow half-inch reveal reads as busy and mismatched, while a slimmer profile keeps the whole cabinet run looking intentional. Browsing cabinet door styles built for kitchens before you order can help you see how different profiles behave against a standard reveal.
What Does Partial Overlay Cost, and How Long Does It Last?
Partial overlay tends to cost less than full overlay, largely because the doors themselves are smaller and the boxes don’t need the same precision joinery that full-overlay or inset construction demands. Full overlay can run up to about 16% more than partial overlay on a comparable project, driven mostly by larger door panels, higher material use, and the tighter tolerances required during installation.
Door and hardware choices drive most of that price gap, not the cabinet boxes themselves. Doors sized for full overlay use more material per unit, concealed European hinges cost more than semi-concealed hardware, and the labor to hang a tight-reveal door correctly takes longer than hanging a partial-overlay door with room for adjustment.
There’s a durability upside too. The face frame on partial-overlay cabinets isn’t just decorative, it adds structural rigidity to the box itself, and it takes on some of the wear that would otherwise land directly on the door edges. That’s part of why partial overlay remains the traditional standard in American framed cabinetry even as full-overlay and frameless styles have gained popularity in modern kitchens.
Keep partial overlay looking sharp with a short maintenance routine:
- Check and tighten hinge screws twice a year; loose hinges are the leading cause of doors that drop or drag against the frame.
- Touch up painted or thermofoil edges as soon as chips appear, before moisture gets underneath the finish.
- Watch humidity levels in the kitchen or laundry room, since swings in moisture cause solid wood doors to swell or shrink, which shows up fastest as a changing reveal gap.
How Do You Choose the Right Overlay for Your Project?
Run through this checklist before you request quotes or place an order:
- Confirm the style you want (traditional versus modern) since that decision alone often settles the overlay question.
- Set a realistic budget range and compare it against the roughly 16% cost gap between partial and full overlay.
- Double check your measurements against the formulas above, ideally with a second person confirming the numbers.
- Decide on hinge type before you order doors, not after.
- Request a sample door or mockup if you’re unsure how a finish or profile will look against your reveal.
- Confirm the exact overlay dimension is written on your order drawing, not just implied.
When you’re talking to a supplier, ask these questions directly:
- What overlay dimension does your standard door assume, and can it be customized?
- Do you provide hinge templates or hinge-drilling as an add-on?
- Can I order a single sample door before committing to the full run?
- What’s the lead time, and what’s your policy if a measurement comes back wrong?
Red flags on a quote or drawing include a missing hinge specification, a vague overlay number (something like “standard overlay” with no inches attached), or no sample-door option offered at all. If you want a fast gut check: traditional kitchen, tighter budget, older or slightly uneven walls, that combination points to partial overlay almost every time. Modern kitchen, flexible budget, newer square construction points toward full overlay instead.
What Should You Know from The Door Maker’s Measuring Process?
Handling custom cabinet door orders day in and day out surfaces a few patterns worth passing along. A handful of practical habits consistently separate a smooth order from one that needs a remake.
- Measure every opening on a run individually, even if the cabinets look identical. Older boxes settle unevenly over time.
- Photograph the face frame straight on, with the tape measure visible in frame, rather than at an angle that distorts the reveal.
- Always confirm hinge cup location and depth before finalizing door dimensions, since that geometry determines your actual finished reveal.
- Request hinge-drill options whenever precision matters, rather than drilling on-site and hoping the reveal lands evenly.
- Order a sample door if you’re choosing a new finish or color, since screen colors rarely match painted or stained wood in person.
The Door Maker’s online configurator takes the overlay number you enter and calculates the finished door width and height automatically, factoring in your reveal preference and the opening dimensions you provide, then flags recommended hinge-drill locations based on that same overlay input. It’s built to remove the manual math from the process outlined earlier in this guide, though understanding that math still helps you catch an entry error before it becomes a cutting error. The step-by-step ordering process walks through exactly how measurements, design choices, and final order details connect.
A Practical Take on Partial Overlay
Homeowners often assume full overlay is the “upgrade” and partial overlay is the compromise, but that framing misses what partial overlay actually does well. The visible frame isn’t a limitation, it’s a forgiving design feature that hides the small imperfections every older home has, and it happens to match the traditional kitchen look a lot of buyers still want when they resell. For most kitchen and utility-room projects working with an existing framed cabinet box, partial overlay is the more practical choice, not just the cheaper one.
How The Door Maker Simplifies Partial Overlay Orders
Getting a partial-overlay reveal to look consistent across a whole kitchen comes down to accurate measurements and hardware that matches your spec, and that’s exactly where a lot of DIY orders go sideways. Tdm-thedoormaker built its process around removing that guesswork: enter your opening dimensions and reveal preference into the online configurator, choose from more than 30 door styles and 130-plus finishes, and get doors sized to within 1/10,000 of an inch.

You also get add-on options most big-box retailers don’t offer, hinge-drill selection matched to your existing hardware, sample doors so you can check color and profile in person before committing, and video walkthroughs for every step of the measuring and ordering process. If you’re still deciding whether refacing makes more sense than a full cabinet swap, The Door Maker’s comparison of refacing versus replacement lays out the cost and scope differences plainly. When you’re ready, measure your openings using the steps above, then head to the configurator to enter your dimensions and request a sample door before placing your full order.
Key Takeaways
Partial overlay cabinets balance cost, durability, and forgiving installation by leaving a consistent half-inch frame reveal that hides minor structural imperfections.
| Point | Details |
|---|---|
| Standard reveal size | Plan for a 1/2" reveal on partial overlay; older builds may use up to 1". |
| Cost advantage | Full overlay can run up to 16% more due to larger doors and tighter tolerances. |
| Measure before you order | Use the door width formula (opening width + 2 × reveal) from the measurement section above. |
| Match hinges to your reveal | Confirm hinge cup depth and arm length with your supplier before cutting doors. |
| Order through a configurator | The Door Maker’s configurator converts your overlay input into finished door dimensions and hinge-drill placement. |
Sources
- Full vs. Partial Overlay Cabinets: Which Is Right for You? — Angi
- What is Partial Overlay? | Kitchen Cabinet Kings
- How To Make and Install Partial-Overlay Cabinet Doors — WOOD Magazine
- What is Cabinet Door Overlay? — Woodworker Express
- Full Overlay Cabinets vs Partial Overlay: Which One is Better? — Five Cabinetry