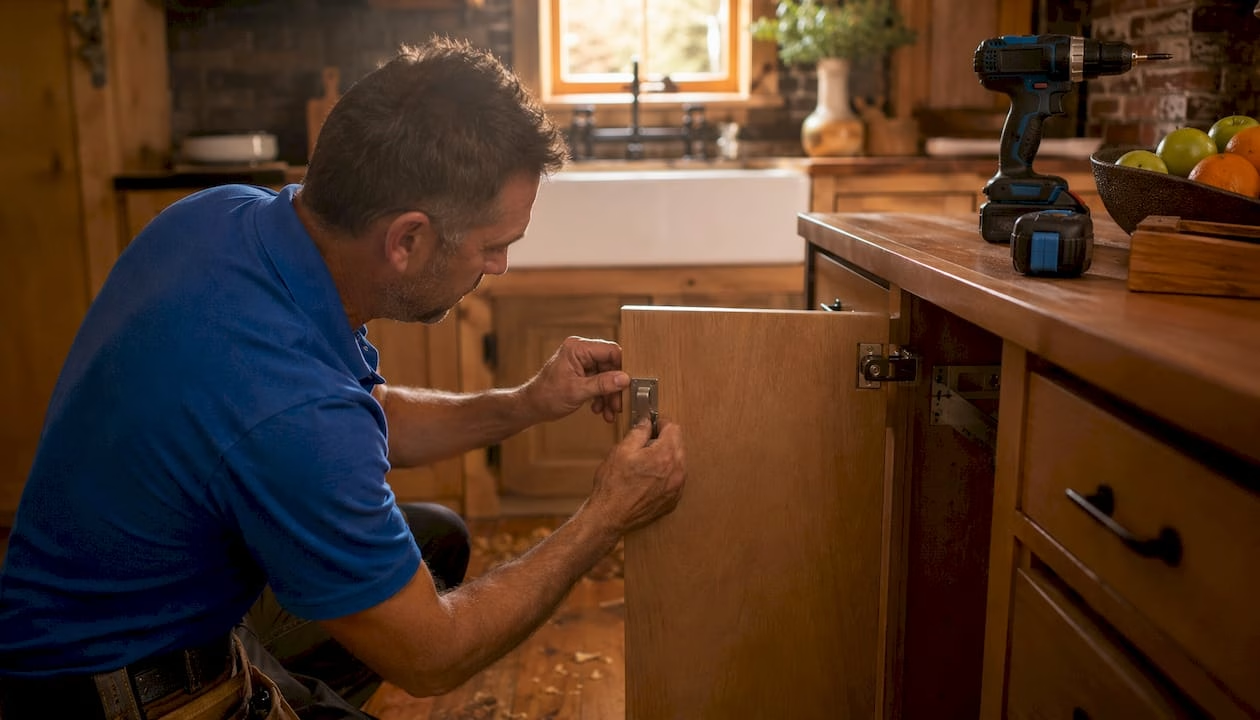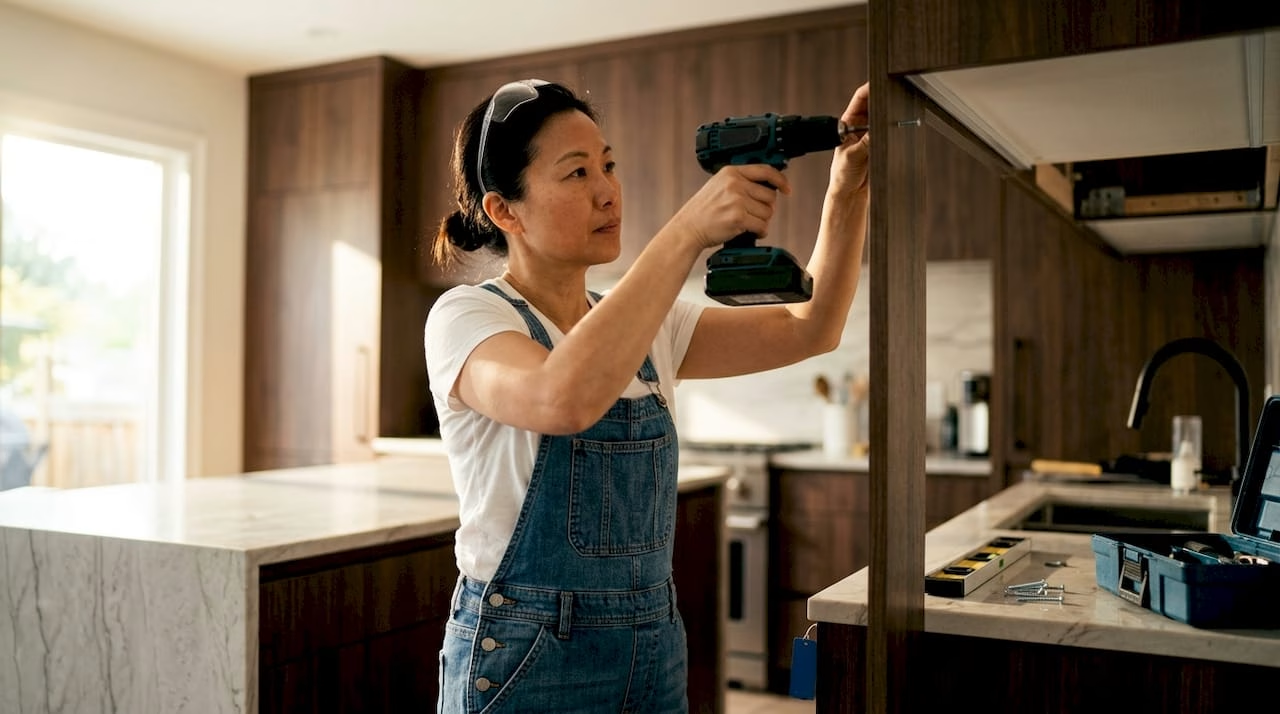
A cabinet side panel is a full-height, depth-matching finishing panel that covers the exposed edge of a kitchen cabinet, creating a clean and polished look where cabinet ends meet open space. Without these panels, you see raw particleboard or plywood edges, which look unfinished and collect grease and moisture over time. Side panels work across base, wall, and tall cabinet configurations, and they come in materials ranging from MDF to solid wood veneer. Choosing the right panel and installing it correctly makes the difference between a kitchen that looks custom-built and one that looks assembled.
What are cabinet side panels and how do they differ from fillers?
A cabinet side panel is a full-sized finishing piece that matches the height and depth of the cabinet it covers. Filler panels differ significantly: fillers are narrow strips, typically 5–15 cm wide, used to close gaps between cabinets and walls so drawers can open freely. Side panels, by contrast, span the full cabinet face and depth. Beginners frequently confuse the two, which leads to ordering the wrong product and wasting money.
The industry term for these pieces is “end panels” or “cabinet end panels,” and you will see that language used by cabinet manufacturers and millwork suppliers. The phrase “side panel” is the common homeowner term, and both refer to the same product. Knowing both terms helps when you are shopping or asking a supplier for help.
Side panels serve two purposes: aesthetics and protection. They give exposed cabinet edges a finished appearance that matches your doors and drawer fronts. They also protect the cabinet substrate from moisture, impact, and everyday wear.
Standard sizes for kitchen cabinet side panels
Cabinet end panels follow standard dimensions tied to the three main cabinet types found in most American kitchens. Base cabinet panels run approximately 34.5 inches high. Wall cabinet panels range from 30 to 36 inches high depending on ceiling height and layout. Tall and pantry cabinet panels reach 84 to 96 inches high.
| Cabinet Type | Panel Height | Typical Depth |
|---|---|---|
| Base cabinet | ~34.5 inches | 24 inches |
| Wall cabinet | 30–36 inches | 12 inches |
| Tall/pantry cabinet | 84–96 inches | 24 inches |
These dimensions are starting points, not guarantees. You still need to measure your specific cabinets before ordering. Account for countertop overhang on base cabinets and door overlay on all cabinet types. A panel cut too short leaves a gap at the top; one cut too narrow exposes the cabinet edge.
Modular systems add another layer of complexity. IKEA METOD side panels are typically 62 cm deep, which differs from standard American cabinet depths. If you are working with a modular system, always verify the manufacturer’s panel specifications rather than assuming standard sizing applies.
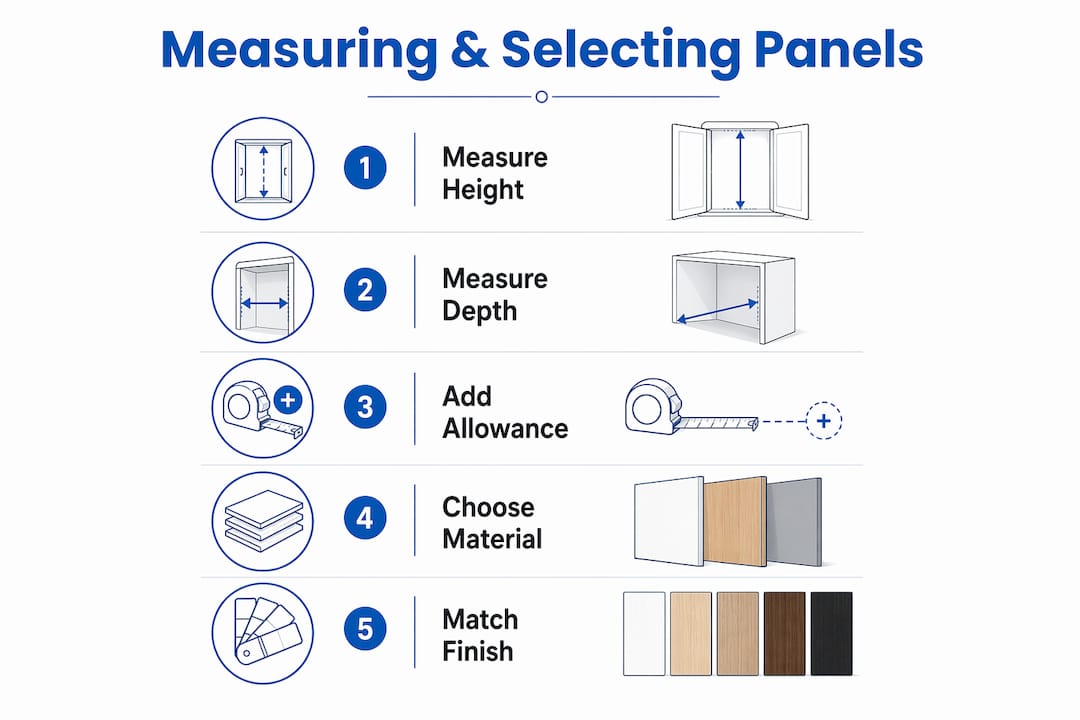
Pro Tip: Add 1/4 inch to your measured height and depth when ordering. This small allowance gives you room to scribe and trim the panel for a perfect fit without leaving it short.
What materials and finishes work best for side panels?
The substrate you choose determines how the panel performs over time. Plywood and moisture-resistant particleboard resist warping better than standard particleboard in high-humidity kitchen environments. Standard particleboard absorbs moisture and swells, which causes the finish to bubble and peel within a few years near a sink or dishwasher.
MDF is the most common substrate for painted panels. It takes paint well, holds a smooth finish, and costs less than plywood. The tradeoff is weight and moisture sensitivity at the edges. Solid wood veneer panels offer a premium look and accept stain naturally, but they cost more and require careful finishing.
Your finish options break down into four main categories:
- Prefinished panels: Factory-applied finish, consistent color, ready to install. Best for homeowners who want a fast result with no painting required.
- Raw MDF or oak panels: Cost-effective and refinishable, these give you full control over color and sheen. Ideal for DIY finishing.
- Thermofoil panels: A vinyl film heat-pressed over MDF. Durable, easy to clean, and moisture-resistant. Common in contemporary kitchens.
- Paintable panels: Primed MDF or wood, ready for your chosen paint color. Useful when you want a custom color that matches your doors exactly.
Matching your panel and door styles is the single most important design decision you will make. Mixing a flat-panel door with a raised-panel side piece creates visual clutter that no amount of good paint can fix. When you choose cabinet door materials, apply the same logic to your side panels.
Pro Tip: Order a sample of your chosen panel finish before committing to a full order. Lighting in a kitchen changes how colors read, and a sample lets you confirm the match before you cut anything.
How to measure and install cabinet side panels
Accurate measurement is the foundation of a clean installation. Measure the height, width, and depth of the exposed cabinet side. Add 1/4 inch to height and depth for scribing allowance. Secure panels using screws or construction adhesive, depending on your cabinet material and access.
Follow these steps for a reliable DIY installation:
- Measure twice. Record height, width, and depth with a tape measure. Note any obstructions like toe kicks or crown molding.
- Cut the panel to size. Use a circular saw with a fine-tooth blade to minimize tear-out on prefinished surfaces.
- Dry-fit the panel. Hold it in place without adhesive or screws to confirm the fit before committing.
- Apply adhesive or pre-drill screw holes. Construction adhesive works well when screw access is limited. Screws give a stronger mechanical hold.
- Set the panel flush with the cabinet face frame. Use a level to confirm the panel is plumb before the adhesive sets.
- Secure and finish. Drive screws through the interior of the cabinet into the panel, or clamp the adhesive joint until cured. Fill any visible fastener holes with color-matched filler.
Avoid drilling through areas where shelf pin holes are located. Hitting a shelf pin hole with a screw weakens the panel and leaves an ugly gap. Also avoid visible fasteners on the exterior face. If you cannot hide screws, use adhesive only on the outer face and screws on the interior.
Pro Tip: Dry-fit every panel before final fastening. A panel that looks right in your hand can reveal a gap or misalignment once held against the cabinet. Catching this before adhesive sets saves you significant rework.
Customizing and refinishing side panels on a budget
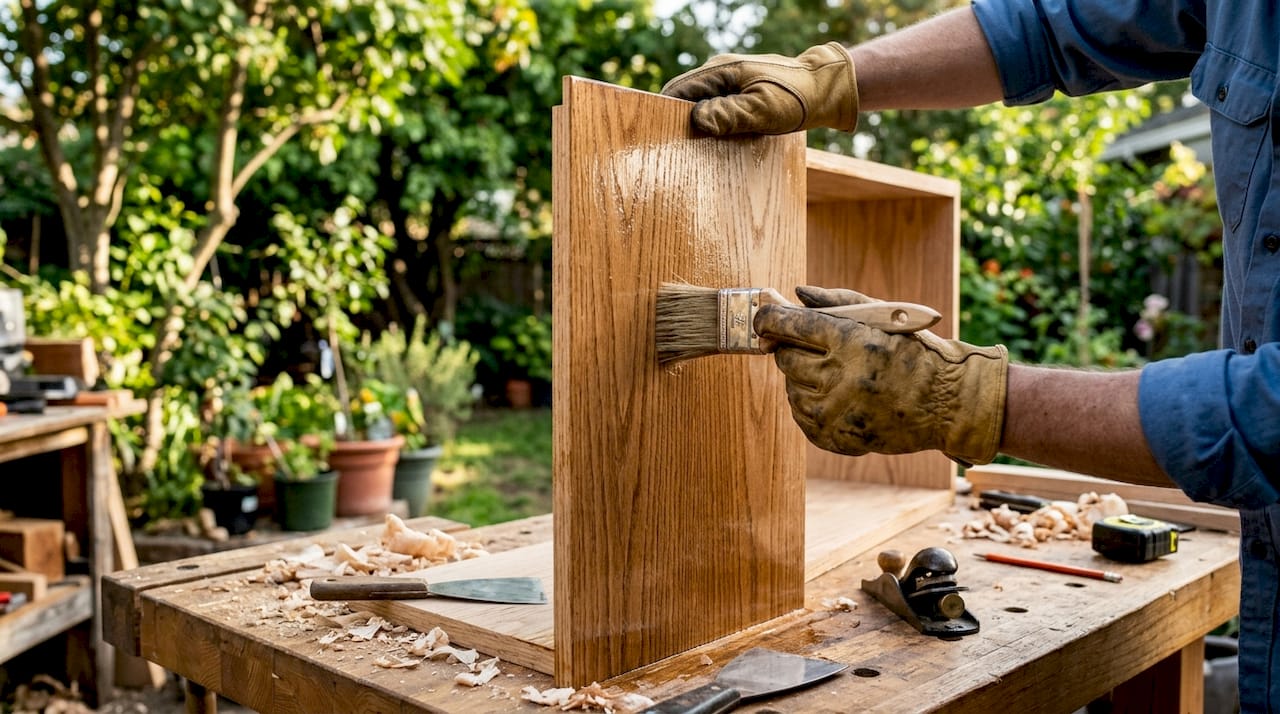
Unfinished panels are the most budget-friendly starting point for a custom look. Raw MDF costs less than prefinished stock, and you control the final color and sheen. The refinishing process follows a straightforward sequence:
- Sand the panel surface with 120-grit sandpaper, then finish with 220-grit for a smooth base.
- Apply a water-based primer formulated for MDF. Oil-based primers also work but take longer to dry.
- Paint with a water-based alkyd or acrylic enamel. These paints cure hard and resist kitchen grease and moisture better than standard latex wall paint.
- Apply two coats minimum, sanding lightly between coats with 320-grit paper.
Island cabinets require special consideration. When a cabinet is visible from multiple sides, a standard single-sided prefinished panel looks unfinished from the back. Two-sided lacquer panels solve this problem. They cost more, but the finished appearance from every angle justifies the expense for a kitchen island that sits in open space.
Contrasting colors on island panels are a popular design choice in 2026. Painting the island panels a different color from the perimeter cabinets adds visual interest without requiring new cabinet boxes. This works best when the door style on the island matches the perimeter cabinets, keeping the overall design cohesive. You can find color guidance through Tdm-thedoormaker’s cabinet color selection resources.
Common mistakes that ruin cabinet side panel installations
The most frequent mistake is confusing filler panels with side panels and ordering the wrong product. Mixing incompatible cabinet brands is the second most costly error. Panel dimensions, finish colors, and door overlay tolerances vary between manufacturers. A panel from one brand rarely fits flush against cabinets from another.
| Mistake | What goes wrong | Corrective action |
|---|---|---|
| Ordering filler instead of side panel | Panel too narrow, edge exposed | Verify full cabinet height and depth before ordering |
| Mixing cabinet brands | Visible seams, color mismatch | Order panels from the same manufacturer as your cabinets |
| Ignoring moisture conditions | Panel warps or finish bubbles | Use plywood or moisture-resistant particleboard near sinks |
| Visible exterior fasteners | Screw heads show on finished face | Use adhesive on outer face, screws through cabinet interior |
| Skipping the dry-fit | Gaps or misalignment after adhesive sets | Always dry-fit before committing to adhesive or screws |
Edge banding is another detail that homeowners overlook. When you cut a prefinished panel, the raw edge is exposed. Iron-on edge banding in a matching finish covers the cut edge cleanly. Skipping this step leaves a raw MDF or particleboard edge that absorbs moisture and looks unfinished.
Key Takeaways
The right cabinet side panel, properly measured, matched to your cabinet system, and installed with a dry-fit first, delivers a finished kitchen look without the cost of full cabinet replacement.
| Point | Details |
|---|---|
| Know the difference | Side panels are full-sized; filler panels are narrow gap covers. Order the correct product. |
| Match your system | Always source panels from the same manufacturer as your cabinets to avoid fit and finish mismatches. |
| Choose substrate wisely | Use plywood or moisture-resistant particleboard near sinks and dishwashers to prevent warping. |
| Dry-fit before fastening | Test the panel position without adhesive or screws to catch alignment issues before they are permanent. |
| Island panels need two sides | Cabinets visible from multiple angles require two-sided finished panels for a complete look. |
What I have learned from watching homeowners tackle this project
The homeowners who get the best results share one habit: they treat measurement as the most important step, not an afterthought. I have seen beautifully chosen panels arrive at a kitchen and end up looking wrong because the buyer measured the cabinet box but forgot to account for the door overlay or the countertop lip. Those small details add up to gaps that no caulk can fix gracefully.
The other thing I keep coming back to is material choice. Most people focus entirely on the finish color and ignore the substrate. A thermofoil panel in the right color looks great on day one. But if it is standard particleboard and it sits next to a dishwasher, you are looking at a bubbling, peeling surface within two or three years. Spending a little more on a moisture-resistant substrate is one of the most practical decisions you can make in a kitchen remodel.
My honest recommendation for anyone unsure about refinishing or custom fabrication: get a sample first, and do not skip the dry-fit. These two steps alone prevent the majority of costly mistakes I see homeowners make. If the project feels beyond your comfort level, consulting a professional for the installation while handling the design and ordering yourself is a perfectly reasonable approach. You still save money, and you get a result you are proud of.
— David
How Tdm-thedoormaker can help with your cabinet upgrade
Updating your kitchen cabinet sides is one part of a larger refacing project that can completely change how your kitchen looks without the cost of a full remodel.
Tdm-thedoormaker specializes in custom cabinet doors and refacing solutions built for homeowners who want a high-end result at a fraction of replacement cost. The process is straightforward: measure, design, and order. You get custom sizing, a wide selection of styles and finishes, and craftsmanship that matches what you would expect from a professional kitchen installer. If you are ready to take the next step, the DIY cabinet refacing guide at Tdm-thedoormaker walks you through the full process with practical detail. For homeowners weighing their options, the cabinet refacing vs. replacement page lays out the cost and effort comparison clearly.
FAQ
What is a cabinet side panel used for?
A cabinet side panel covers the exposed edge of a kitchen cabinet, giving it a finished appearance that matches the cabinet doors and drawer fronts. It also protects the cabinet substrate from moisture and impact.
What is the standard size for a base cabinet side panel?
Base cabinet panels are typically 34.5 inches high and 24 inches deep, matching standard base cabinet dimensions. Always measure your specific cabinets and add 1/4 inch for scribing allowance.
What is the difference between a side panel and a filler panel?
A side panel is a full-height, full-depth finishing piece that covers an exposed cabinet edge. A filler panel is a narrow strip, typically 5–15 cm wide, used to close gaps between cabinets and walls.
Can I paint an unfinished cabinet side panel?
Yes. Raw MDF or wood panels accept primer and paint well. Use a water-based alkyd or acrylic enamel for durability, and apply at least two coats with light sanding between them.
Do island cabinets need special side panels?
Island cabinets visible from multiple sides require two-sided finished panels so every visible face looks complete. Standard single-sided prefinished panels leave the back face unfinished and raw-looking.