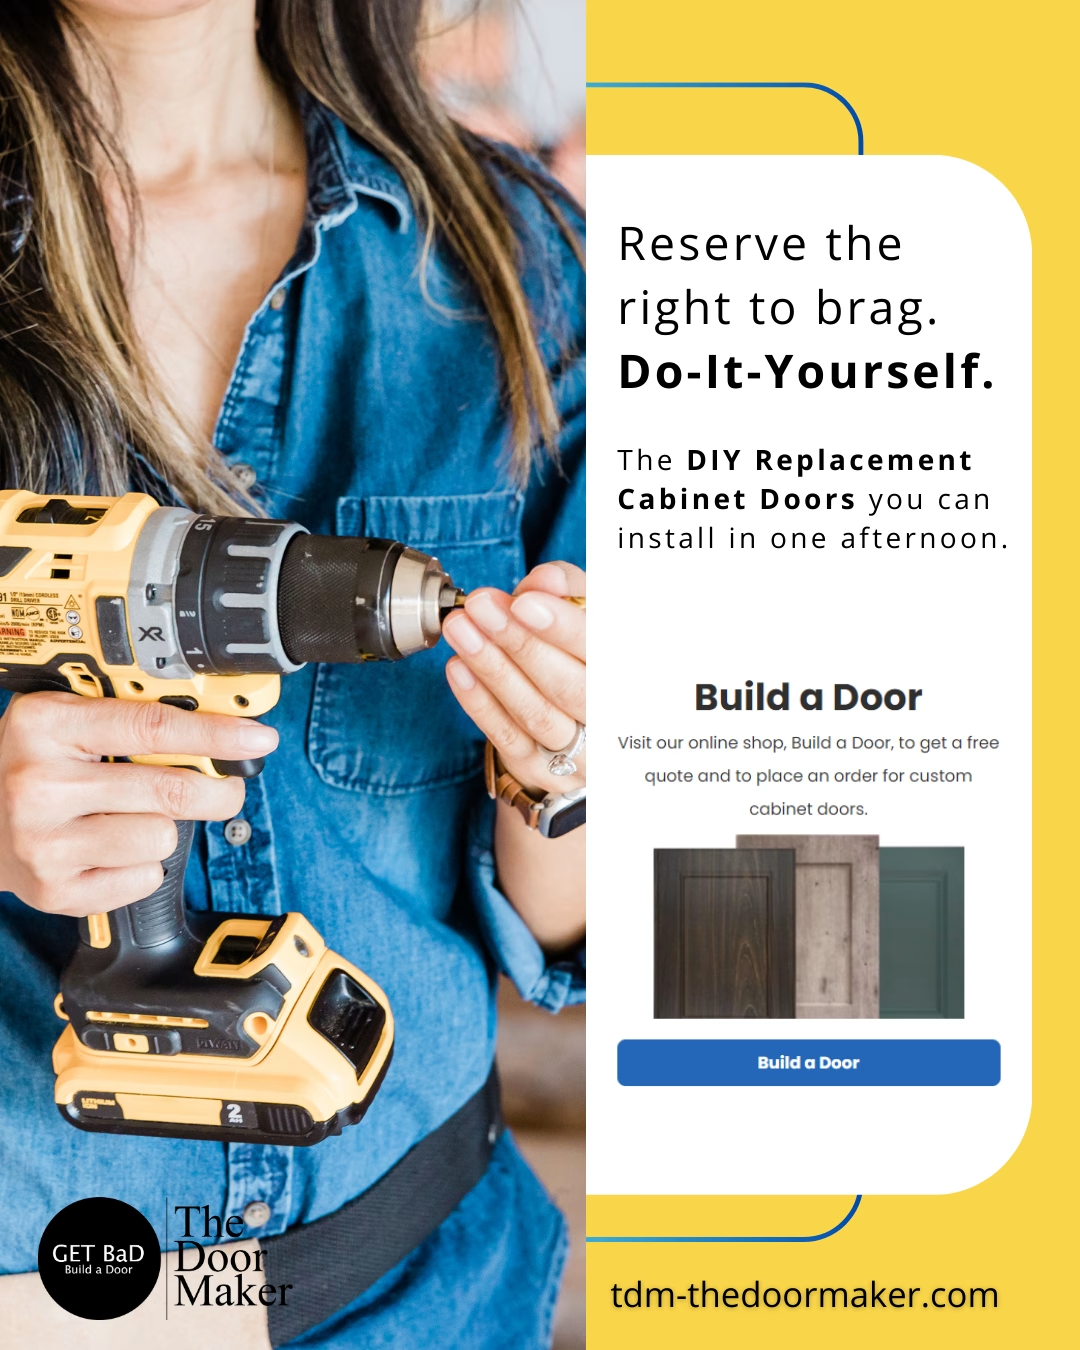
If your cabinet boxes are solid but the room still looks tired, you do not need to start over. Learning how to reface cabinets yourself is one of the smartest ways to change the look of a kitchen, bathroom, office, or built-in storage without paying for a full tear-out. The key is knowing where precision matters, where you can save money, and where a rushed shortcut will show up every time you walk into the room.
What cabinet refacing actually changes
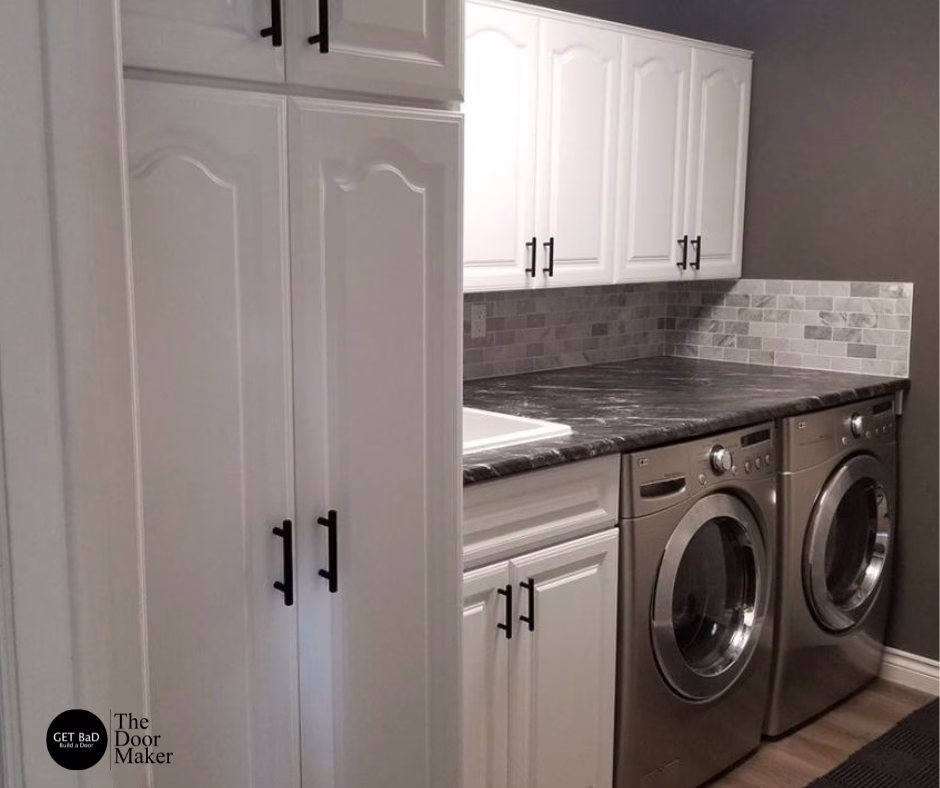
Refacing keeps the existing cabinet boxes and updates the parts you see. That usually means replacing the cabinet doors and drawer fronts, covering exposed cabinet face frames or side panels with matching material, and installing new hinges, pulls, or other finishing details.
This approach works best when the cabinet layout still functions well and the boxes are structurally sound. If your cabinets are water-damaged, badly out of square, or poorly installed to begin with, refacing can only do so much. But if the bones are good, refacing delivers a major visual upgrade for a fraction of full replacement.
Is DIY cabinet refacing the right project for you?
Before you commit, be honest about the condition of your cabinets and your comfort with measuring carefully. Cabinet refacing is very DIY-friendly, but it is not a casual weekend paint project. Success comes down to clean measurements, patient prep, and accurate installation.
If your goal is to improve style, update color, replace dated doors, and get a more custom look, this project makes a lot of sense. If you want to move appliances, change the footprint, or add a large number of new cabinets, you may be looking at a broader remodel instead.
How to reface cabinets yourself step by step
The process is straightforward, but each stage matters.
1. Inspect the cabinet boxes
Open every door and drawer. Look for loose joints, sagging shelves, swollen particleboard, water damage under sinks, and any areas where the cabinet is pulling away from the wall. Refacing is only worth doing if the boxes are worth keeping.
Also check whether your cabinet doors are full overlay, partial overlay, or inset. That will influence the look of the finished project and the hardware you choose.
2. Measure with care, not guesswork
This is the part that makes or breaks the project. Measure each door opening and each drawer front individually. Do not assume matching cabinets are truly identical, especially in older homes. A difference of even an eighth of an inch can affect reveals and alignment.
Write everything down clearly and label each cabinet location. It helps to sketch the room and assign every opening a code. For example, upper left of sink wall can be U1, next to it U2, and so on. That way, when your new parts arrive, installation stays organized.
If you are ordering custom doors, this is where a made-to-order approach really pays off. A custom-sized door is often the difference between a refacing project that looks professional and one that still feels pieced together.
3. Choose door style and finish based on the room
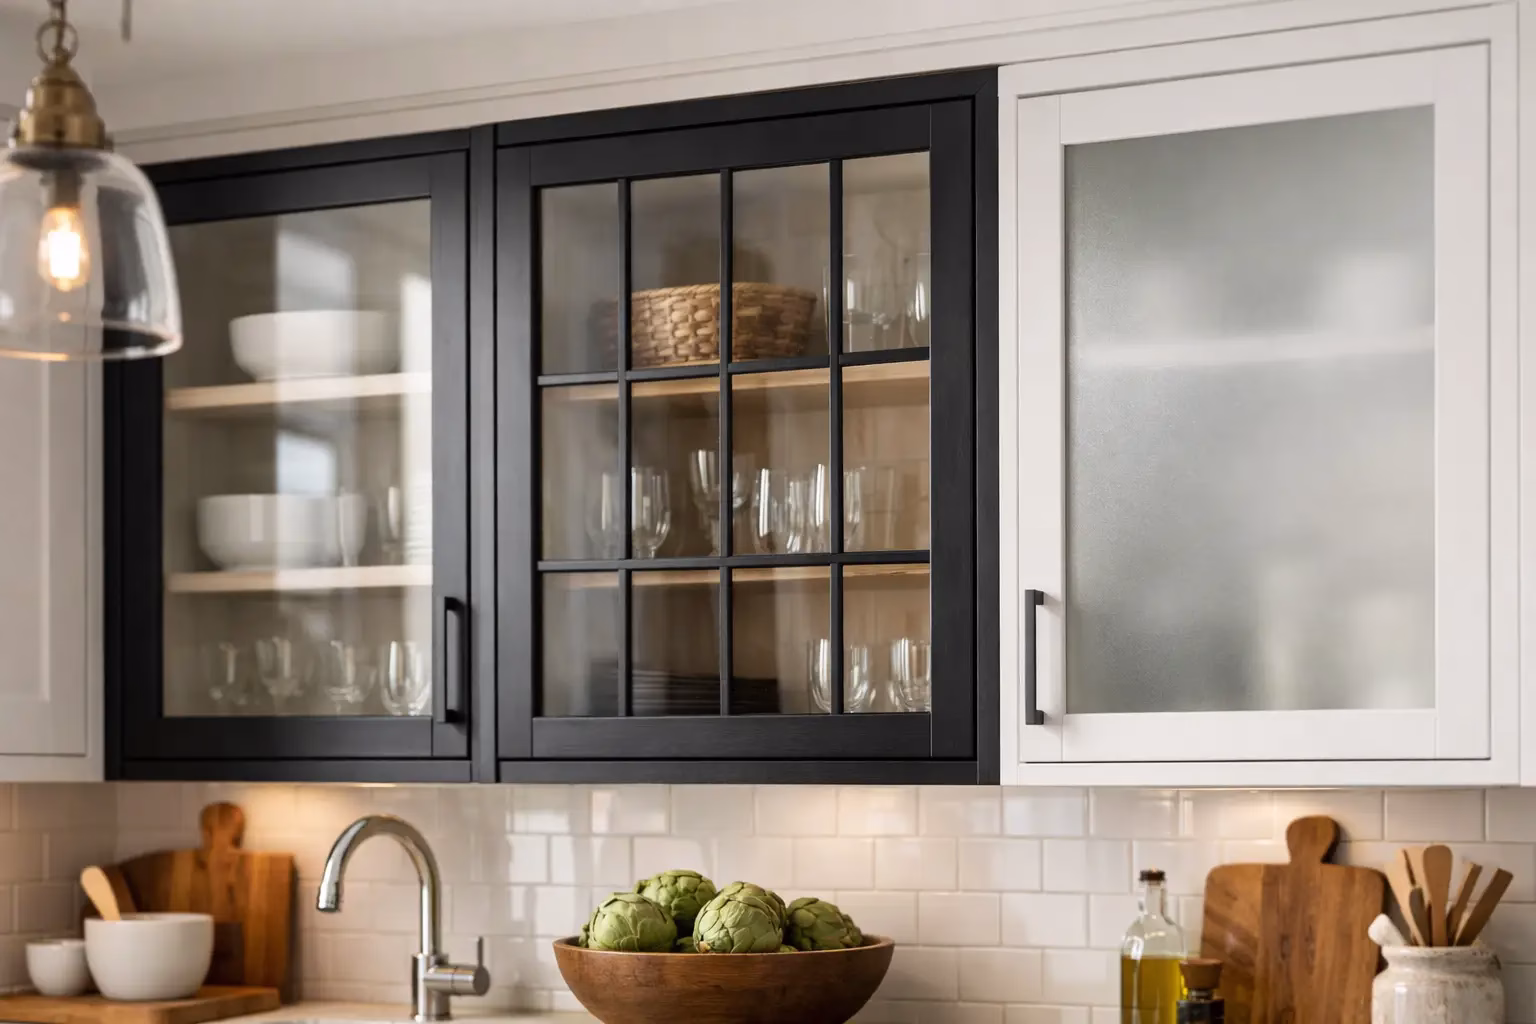
Flat-panel slab doors create a clean modern look. Shaker doors are flexible and work in almost any home style. Raised-panel options feel more traditional. Color matters just as much as door style. A bright white kitchen can feel crisp and open, while a warm wood tone or deeper painted finish can add contrast and character.
This is also where practicality comes in. High-gloss finishes show fingerprints more easily. Very detailed profiles can collect more dust and grease in busy kitchens. The right choice is not only about trend – it is about how you use the space.
4. Remove old doors, drawer fronts, and hardware
Take off one section at a time if you want to keep the workspace manageable. Remove all hinges, knobs, pulls, catches, and bumpers. If drawer boxes are in good shape, you may only need to replace the drawer fronts rather than rebuild the drawers themselves.
Once everything is off, clean the cabinet boxes thoroughly. Grease, wax, and cooking residue can interfere with adhesives and finish materials. Use a degreaser that is safe for cabinetry and make sure surfaces are completely dry before moving on.
5. Repair and prep the surface
Fill dents, old hardware holes, and minor chips where needed. Sand rough areas smooth, but do not overdo it. The goal is to create a stable, clean substrate for veneer, laminate, or finished end panels.
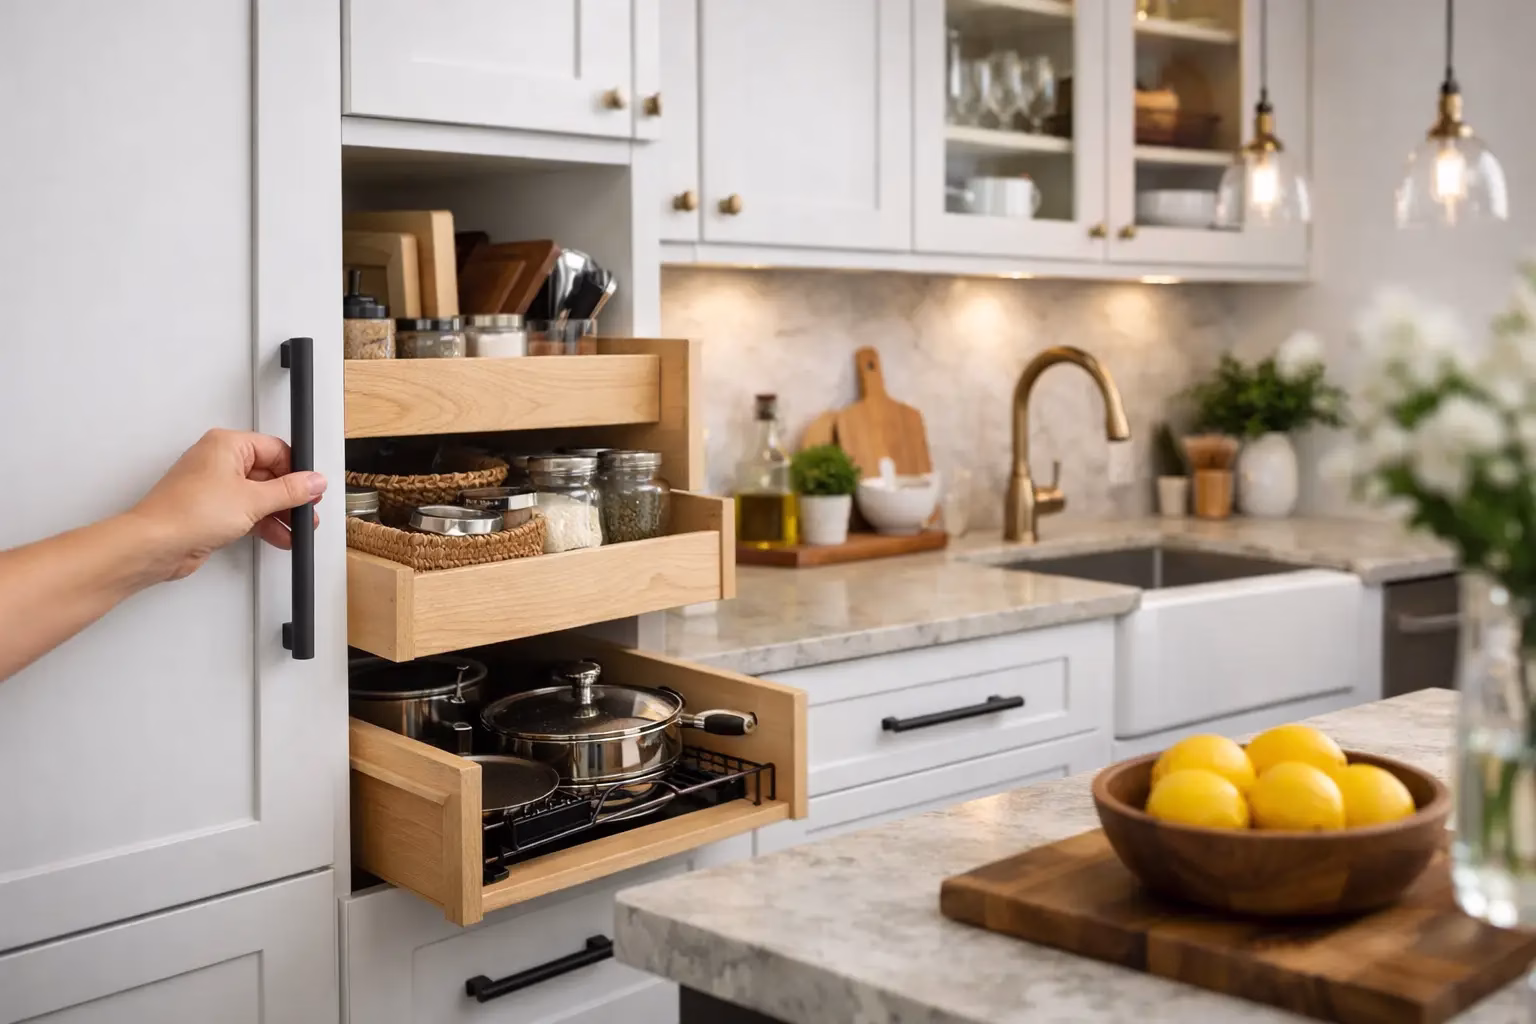
This is also the time to decide how you will finish the exposed cabinet boxes. Some DIYers use wood veneer, some use rigid end panels, and some paint visible face frames to coordinate with the new doors. The right option depends on your cabinet construction, your desired look, and how closely you want the boxes to match the doors.
6. Apply veneer or cover exposed framework
If you are using peel-and-stick veneer, start with the most visible vertical sections and work slowly. Align carefully before pressing it down. A veneer roller helps improve adhesion and reduce bubbles. Trim edges cleanly with a sharp utility knife.
If you are using finished panels or other coverings, dry-fit them first before attaching anything permanently. Corners, end panels, and exposed sides deserve extra attention because those are the areas people notice first.
7. Install the new drawer fronts and doors
Drawer fronts typically go on before doors so you can establish a clean visual line. Use temporary spacers or shims to keep reveals consistent. Then move on to the doors, installing hinges according to the hinge type and cabinet style.
Adjustability matters here. European-style concealed hinges make fine-tuning easier, especially for overlay doors. You may need a few rounds of adjustment to align gaps and get doors to close evenly. That is normal. Good installation often looks effortless only after careful tweaking.
8. Add hardware and finishing touches
Once the doors are aligned, install knobs or pulls. A template helps keep placement consistent across all doors and drawer fronts. Add soft-close hardware if your hinge system supports it, and replace any worn shelf pins or interior accessories while the cabinets are empty.
Then step back and inspect the room in natural and artificial light. Small adjustments to door alignment, hardware placement, or trim details can make the finished space feel much more polished.
The tools and materials that matter most
You do not need a full cabinet shop to do this well, but you do need the right basics. A tape measure, level, drill, screwdriver, clamps, utility knife, square, and good marking tools are essential. If you are trimming panels or cutting filler pieces, a saw with a clean, accurate cut matters too.
Just as important are the materials you choose. Better doors, properly sized drawer fronts, and dependable hinges save time and frustration. Cheap parts often cost more in rework because they are harder to align and less forgiving once installed.
Common mistakes when you reface cabinets yourself
The most common problem is poor measuring. The second is rushing surface prep. The third is expecting old cabinet boxes to behave like perfectly square new construction. In many homes, they do not.
Another mistake is choosing replacement parts based only on price. If doors are not built accurately or the finish is inconsistent, the room will never look quite right. Refacing is a project where visible quality matters. You are investing in the surfaces everyone sees every day.
It is also easy to underestimate hardware placement. Crooked pulls and uneven reveals draw attention fast. Use templates, measure twice, and install once.
Budget, value, and where DIY really saves money
DIY refacing usually saves money because you keep the existing cabinet boxes and handle labor yourself. That said, there is a range. If you choose fully custom doors, upgraded finishes, premium hinges, decorative moldings, and new end panels, your cost will be higher than a basic refresh. But even then, it is often far less than replacing everything.
The value is not only in upfront savings. You also avoid the disruption of a full cabinet removal, possible countertop complications, and the waste that comes with sending usable cabinet boxes to the landfill.
For homeowners comparing big-box options against custom-sized components, the biggest difference is often fit. Stock sizes can work in some projects, but custom sizing gives you more control and usually a more finished result, especially in older homes or non-standard cabinet layouts.
When custom doors make the biggest difference
If your current cabinetry has unusual openings, older dimensions, or a layout that standard replacement parts do not match well, custom doors are worth serious consideration. They simplify the process because you are not forcing a stock solution onto cabinets that were never built to stock dimensions.
That is where companies like TDM – The Door Maker fit naturally into a DIY project. The goal is not to make the job more complicated. It is to give you doors and drawer fronts built to your measurements so the finished room looks intentional, clean, and worth the effort.
Refacing your cabinets yourself is not about cutting corners. It is about putting your budget into the parts that transform the room, keeping what still works, and taking the time to do it right. If your cabinet boxes are solid and your measurements are accurate, you can create a custom-looking upgrade that feels like a full renovation every time you open the door.