What reborn cabinet refacing means and when it fits your kitchen
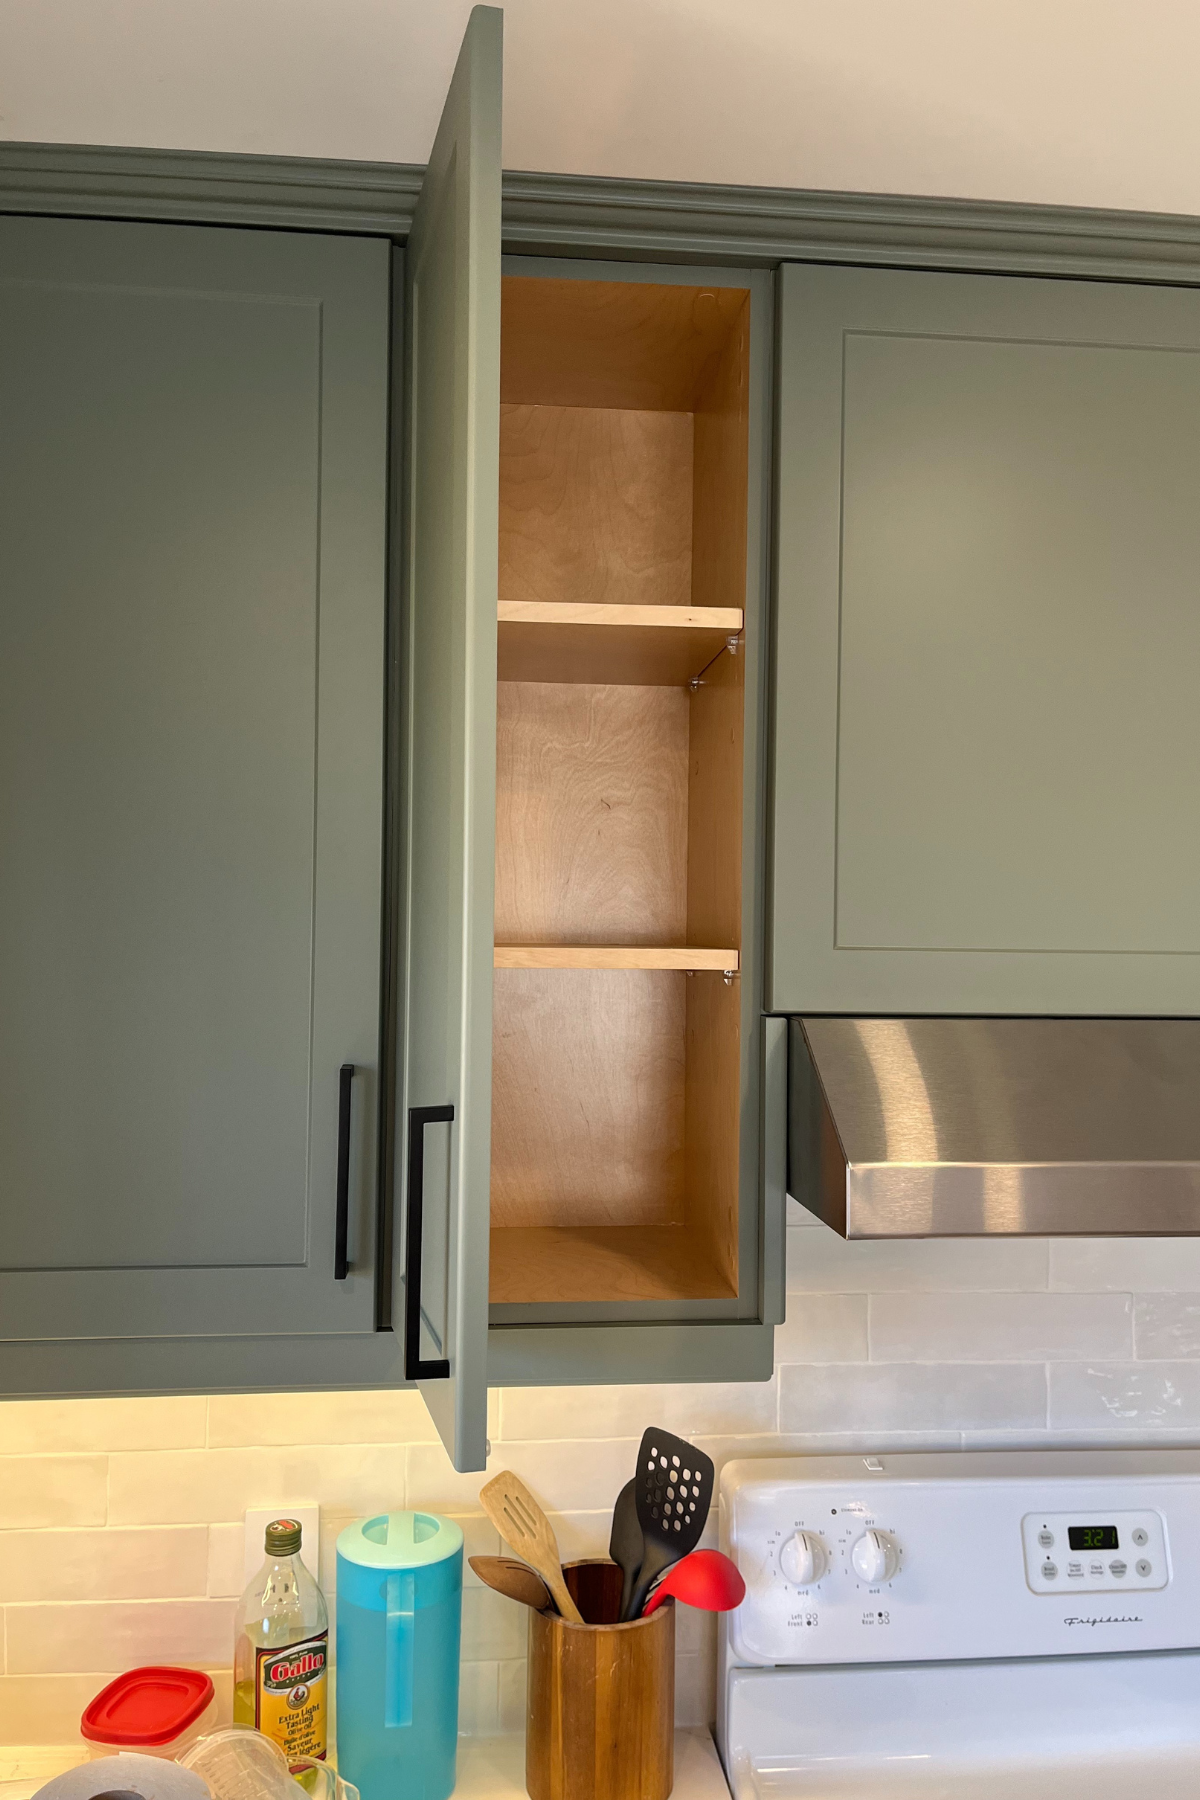
Cabinet refacing, sometimes called “reborn cabinet refacing” in the remodeling world, means replacing your cabinet doors and drawer fronts while keeping the existing cabinet boxes in place. True refacing also includes applying a matching veneer to the exposed cabinet frames, giving everything a unified look. Simply swapping doors without veneering the frames is technically called re-dooring, and it often results in a mismatched finish that undermines the whole project.
The cost difference between refacing and full replacement is significant. Professional cabinet refacing runs $4,000 to $9,500 for a typical kitchen, which is substantially less expensive than a full cabinet replacement. That gap explains why so many homeowners choose refacing when their kitchen layout is working fine and the cabinet boxes are still solid. Refacing is also faster: a professional job takes 3 to 5 days versus 2 to 4 weeks for full replacement.
Refacing is a cosmetic upgrade, not a structural fix. If your cabinet boxes have water damage or compromised particle board, new doors will not solve the underlying problem. Experts consistently warn that installing new doors on damaged boxes is one of the most expensive mistakes a homeowner can make.
Refacing is a good fit when:
- Cabinet boxes are structurally sound, plumb, and free of water damage
- You are satisfied with the current kitchen layout
- You want a visual refresh without a full renovation
- You need the kitchen back in use quickly
- Hardware upgrades like soft-close hinges are part of the plan
Skip refacing and replace instead when boxes are warped, when you want to move cabinets or add an island, or when the existing boxes are older particle board showing signs of wear. There are also 6 strong reasons to reface that go beyond cost alone, including the ability to order custom sizing that stock replacement cabinets cannot match.
Table of Contents
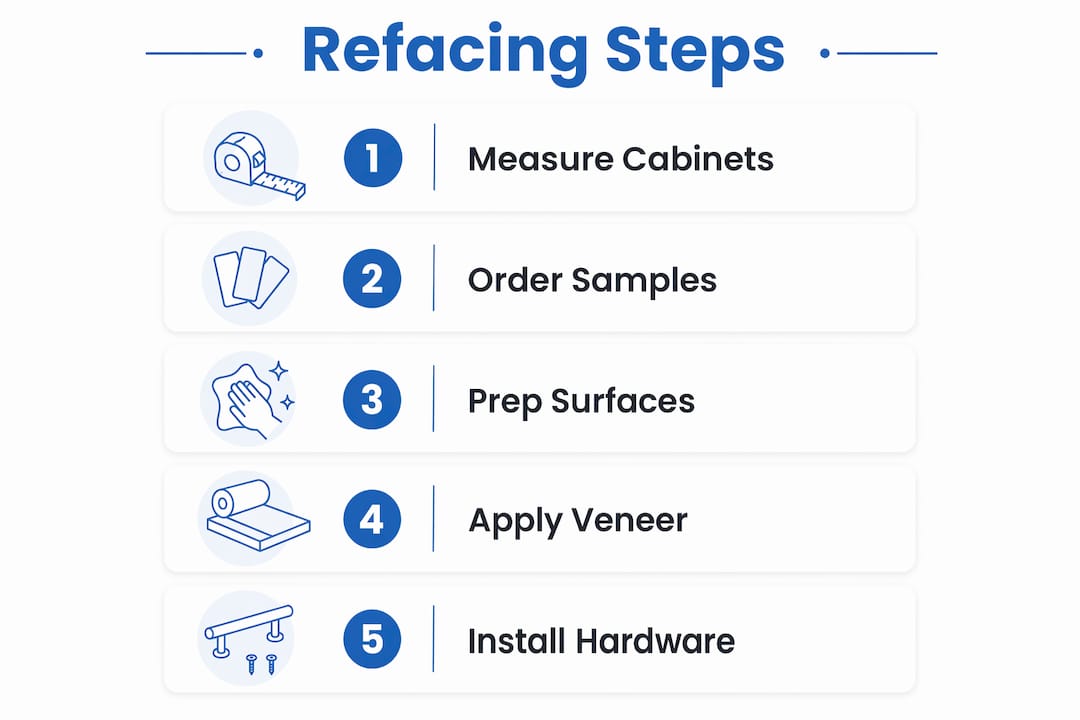
- How to measure your cabinets accurately for a custom online order
- Choosing styles, finishes, and hardware that work together
- DIY installation tips that give you a professional result
- How to keep your refaced cabinets looking good for years
- How to budget realistically for a cabinet refacing project
- Tdm-thedoormaker makes custom cabinet refacing straightforward
- Key Takeaways
How to measure your cabinets accurately for a custom online order
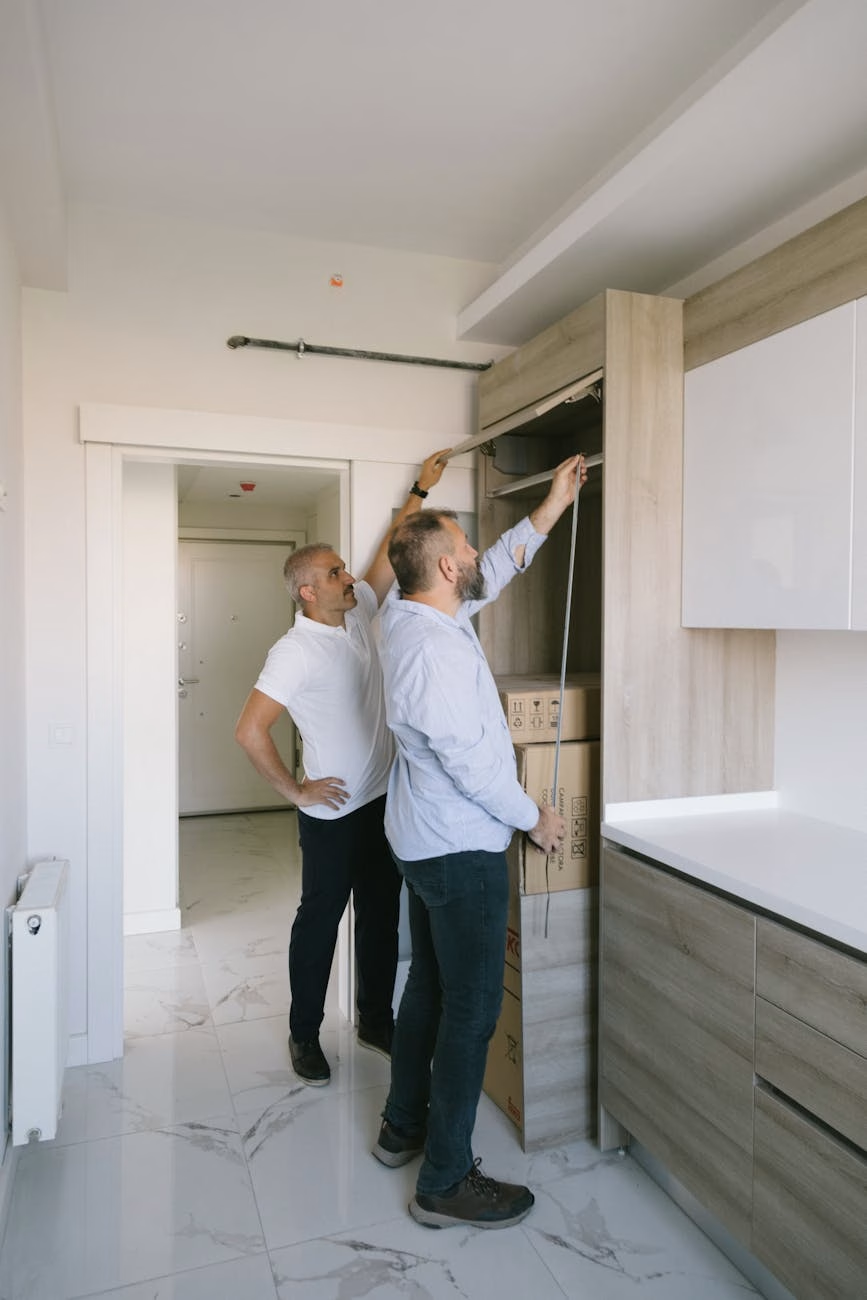
Getting the measurements right is the single most important step in a DIY refacing project. A door that is off by even a quarter inch looks wrong immediately, and custom orders are cut to your specs, so there are no returns for measurement errors.
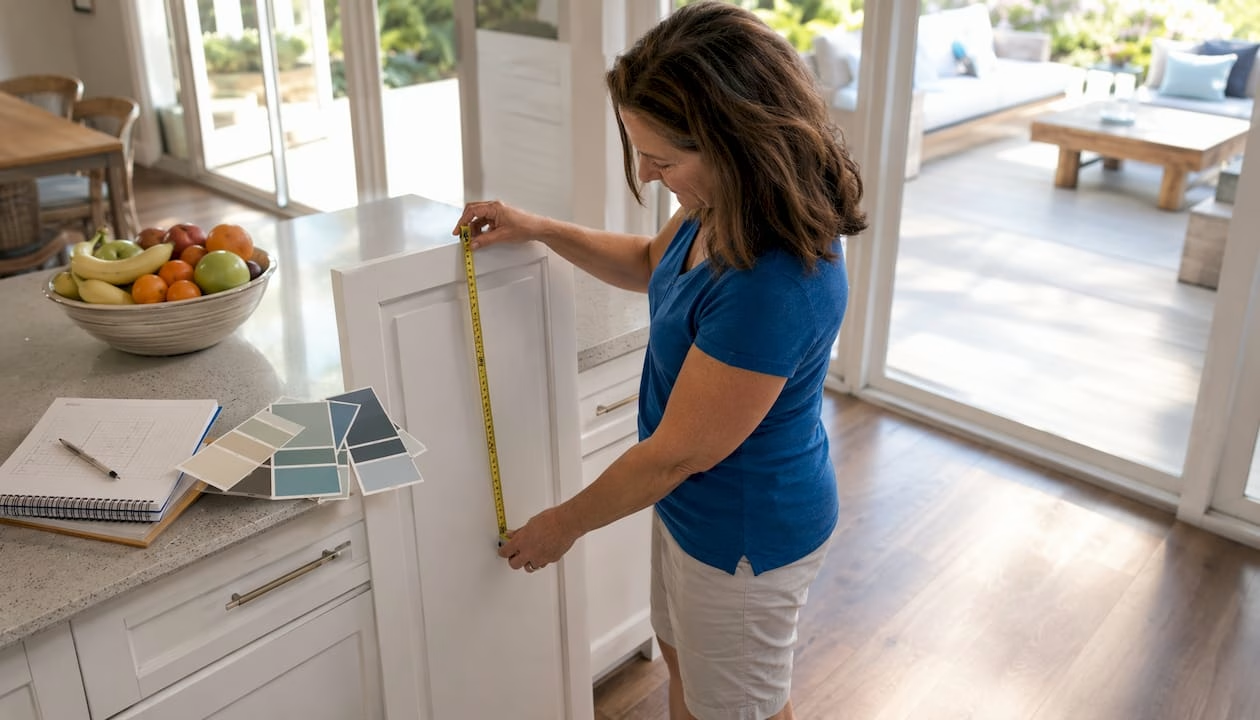
Measure each cabinet opening individually. Cabinet openings vary, especially in homes built before the 1990s, and assuming they are all the same width is a common and costly mistake. Use a steel tape measure rather than a fabric one, which can stretch and introduce error.
- Remove existing doors and drawer fronts before measuring, so you are working from the actual opening or the existing door face, depending on your overlay style.
- Measure the width and height of each opening to the nearest 1/16 inch, recording each one separately on a labeled diagram.
- Add your overlay allowance. For a standard full overlay, add roughly 1 inch to both width and height so the door covers the face frame adequately.
- Account for clearance between adjacent doors. A 1/8 inch gap between neighboring doors prevents them from rubbing.
- Measure drawer fronts separately. Drawer front dimensions are independent of the drawer box itself; measure the space you want the front to cover, then subtract your preferred reveal.
- Double-check every measurement before submitting your order. Measure twice, order once.
Pro Tip: Order a sample door or color swatch before placing your full order. Seeing the finish and material in your actual kitchen lighting catches color mismatches that photos on a screen never reveal.
Tdm-thedoormaker’s online configurator walks you through this process step by step, with video tutorials that show exactly how to handle tricky situations like corner cabinets or uneven face frames.
Choosing styles, finishes, and hardware that work together
The style and material you choose set the tone for the entire kitchen. The most popular door profiles for kitchen cabinet refacing are slab (flat front), shaker (recessed center panel), and raised panel. Shaker is the most versatile because it works with both traditional and contemporary kitchens, while slab suits modern, minimal spaces.
For finish materials, you have four main options:
- Thermofoil (RTF): Vinyl wrapped over MDF, budget-friendly, and easy to clean. It can peel near heat sources over time, so avoid placing it directly above a range.
- Laminate: Durable, available in many colors and patterns, and very low maintenance. A practical choice for busy kitchens.
- Wood veneer: Real wood appearance with the ability to stain or refinish. More premium than laminate, and it pairs well with solid wood veneer on the cabinet frames.
- Solid wood: The highest quality option, easiest to repair, and the closest look to brand-new cabinetry. Also the most expensive.
Hardware is where many homeowners underinvest. Soft-close hinges and drawer slides dramatically change how cabinets feel to use every day, preventing slamming and reducing wear on both the door and the box. Upgrading to soft-close hardware during a refacing project costs relatively little compared to doing it as a separate job later.
Pro Tip: Match your pull finish to your faucet and light fixtures rather than trying to coordinate with the door color. That one consistent metal tone ties the whole kitchen together without requiring you to replace anything else.
Tdm-thedoormaker offers over 30 door styles and 130+ colors and finishes, so finding a combination that fits your kitchen and budget is straightforward. You can also explore kitchen cabinet door materials in depth before committing to a finish.
DIY installation tips that give you a professional result
Preparation is what separates a clean DIY refacing job from one that looks amateur. Before a single new door goes up, the cabinet boxes need to be clean, dry, and free of grease. Wipe every surface with a degreaser, let it dry completely, and sand lightly if you plan to apply veneer to the face frames.
Tools you will need:
- Steel tape measure and a sharp pencil
- Cordless drill with a Phillips bit
- Level (at least 24 inches long)
- Clamps for holding doors during adjustment
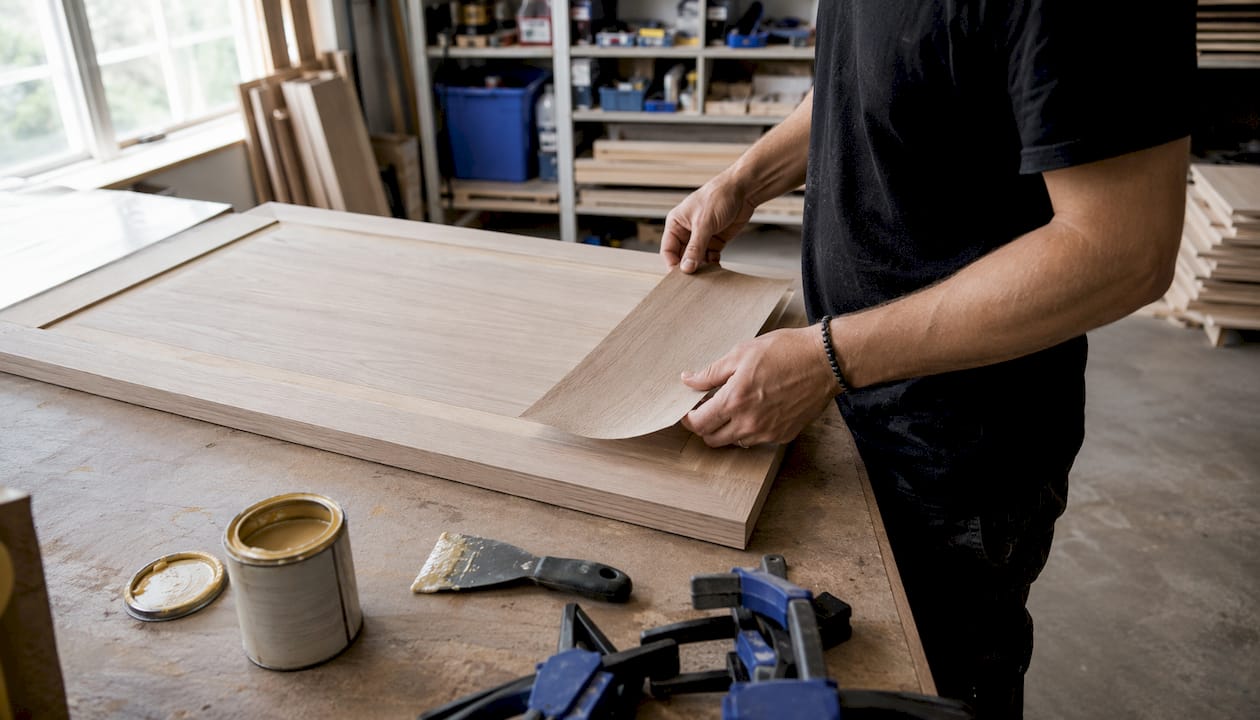
- Contact cement and a J-roller for veneer application
- Utility knife and straight edge for trimming veneer
Veneer application is the most technically demanding part of true refacing. Contact cement bonds on contact, so alignment must be exact before the surfaces touch. Bubbles and misalignment are difficult to reverse once the cement sets. If you are not confident with this step, consider hiring a professional for the veneer work while handling the door and drawer front installation yourself.
For door hanging, start with the upper cabinets and work down. Mount hinges to the door first, then hold the door in position and mark the hinge plate locations on the face frame before drilling. A self-centering drill bit keeps hinge screws perfectly placed and prevents the wood from splitting.
Pro Tip: Watch Tdm-thedoormaker’s video tutorials before you start. Seeing the hinge adjustment process on screen takes five minutes and prevents the most common alignment mistakes that cause doors to sit crooked or swing unevenly.
Uneven walls or slightly out-of-square boxes are common in older homes. Adjustable European-style hinges let you move doors up, down, left, and right after installation, which is how you compensate for those small imperfections without shimming or re-drilling. For a deeper walkthrough, the guide on how to reface cabinets yourself covers each stage in detail.
How to keep your refaced cabinets looking good for years
Cabinet fronts live a hard life. They handle grease, steam, fingerprints, and daily impacts, so the right maintenance habits extend their life considerably.
Daily and weekly care:
- Wipe surfaces with a soft, damp cloth and a mild dish soap solution. Avoid abrasive scrubbers that scratch thermofoil or laminate.
- Dry surfaces immediately after wiping. Standing moisture is the fastest way to damage MDF-based doors at the edges.
- Never use bleach-based cleaners on wood veneer or painted finishes.
Monthly and seasonal checks:
- Open and close every door and drawer to check for hinge looseness or drawer slide resistance. Tighten any loose screws before they strip the hole.
- Apply a small amount of silicone-based lubricant to soft-close hinges and drawer slides once or twice a year to keep them operating smoothly.
- In humid climates, check the area under the sink cabinet each season. Even a slow drip can swell particle board boxes from the inside without visible signs on the exterior.
Minor veneer lifting at edges can often be re-glued with contact cement before it spreads. Catch it early and the repair is invisible. Left too long, the veneer tears and the repair becomes obvious. For painted MDF doors, small chips can be touched up with a matching paint pen, which most door suppliers can provide.
When to call a professional: if a door has warped significantly, if hinges are pulling out of the box (a sign of compromised particle board), or if veneer is peeling across a large area, professional refinishing or box replacement is the more cost-effective path.
How to budget realistically for a cabinet refacing project
The average cost of cabinet refacing runs $4,000 to $9,500 for a professionally installed kitchen, with a national average around $6,750. On a per-linear-foot basis, expect $100 to $250 depending on material choice and regional labor rates. A DIY approach, where you order the doors and drawer fronts yourself and handle installation, brings the total down considerably, though the exact savings depend on your kitchen size and the materials you select.
Material choice is the biggest lever on cost. Laminate doors sit at the lower end, while solid wood doors push the budget toward the higher range. Hardware is a separate line item: reusing existing pulls saves money, while upgrading to a premium soft-close package adds to the total. Under-cabinet lighting and crown molding are optional upgrades that can lift the finished look but should be budgeted separately.
A useful way to approach the budget is to compare refacing cost versus replacing before committing. Refacing recovers a substantial portion of its cost at resale, making it a worthwhile investment for many homeowners. If your boxes are in good shape and the layout works, refacing is almost always the better financial decision. For budget-conscious homeowners, there are also affordable kitchen transformation ideas that pair well with a refacing project to maximize the visual impact of your spend.
Tdm-thedoormaker makes custom cabinet refacing straightforward
Ordering custom cabinet doors online used to mean navigating confusing catalogs and hoping the dimensions were right. Tdm-thedoormaker built a different experience: a three-step online configurator where you measure, design, and order without needing a contractor or a showroom visit.

The selection covers over 30 door styles, 130+ colors and finishes, and sizing accurate to 1/10,000 of an inch, so every door fits the opening it was made for. Add-ons like hinge holes, sample doors, and color swatches let you confirm the details before the full order ships. Homeowners who have completed their projects consistently highlight the quality of the finished doors and the accuracy of the custom sizing as the two factors that made their DIY refacing look professional.
If you are ready to start, browse custom cabinet doors online and use the configurator to build your order at your own pace.
Key Takeaways
Cabinet refacing delivers a like-new kitchen look at a fraction of replacement cost, provided the existing cabinet boxes are structurally sound and the layout stays the same.
| Point | Details |
|---|---|
| Refacing vs. replacement cost | Professional cabinet refacing runs $4,000 to $9,500; full replacement can cost $12,000 to $30,000 or more. |
| Box condition is critical | Water-damaged or warped boxes will not hold hinges reliably; assess them before ordering anything. |
| Measure each opening individually | Cabinet openings vary, especially in older homes; never assume uniform dimensions across a run. |
| Hardware upgrades matter | Soft-close hinges and drawer slides improve daily usability and reduce long-term wear on doors and boxes. |
| Tdm-thedoormaker for DIY orders | Custom doors in 30+ styles and 130+ finishes, sized to 1/10,000", ordered through a step-by-step online configurator. |