That one worn drawer front in the middle of your kitchen usually starts the whole project. Maybe the finish is peeling, the profile looks dated, or the size never matched quite right after years of use. If you’re figuring out how to choose replacement drawer fronts, the goal is not just to buy something new. It’s to get a clean, custom-looking result that fits your cabinet boxes, your style, and your budget.
Replacement drawer fronts can completely change the look of a kitchen, bathroom, laundry room, or built-in office without the cost and disruption of tearing everything out. But the best results come from making a few smart decisions before you order. Size matters, of course, but so do overlay, style, material, finish, and how the new fronts will work with your existing cabinet doors.
How to Choose Replacement Drawer Fronts for the Right Fit
The first thing to understand is that drawer fronts are visible finish pieces, not the drawer box itself. That sounds obvious, but it changes how you measure and how you shop. You’re choosing a front that needs to look right on the outside and mount correctly to the drawer box behind it.
Start by determining whether you want to match what you already have or improve it. If your current layout works well and the gaps around each drawer look even, matching the existing dimensions is usually the safest route. If the reveals are inconsistent, the fronts are crooked, or the old sizes were never ideal, this is your chance to correct that.
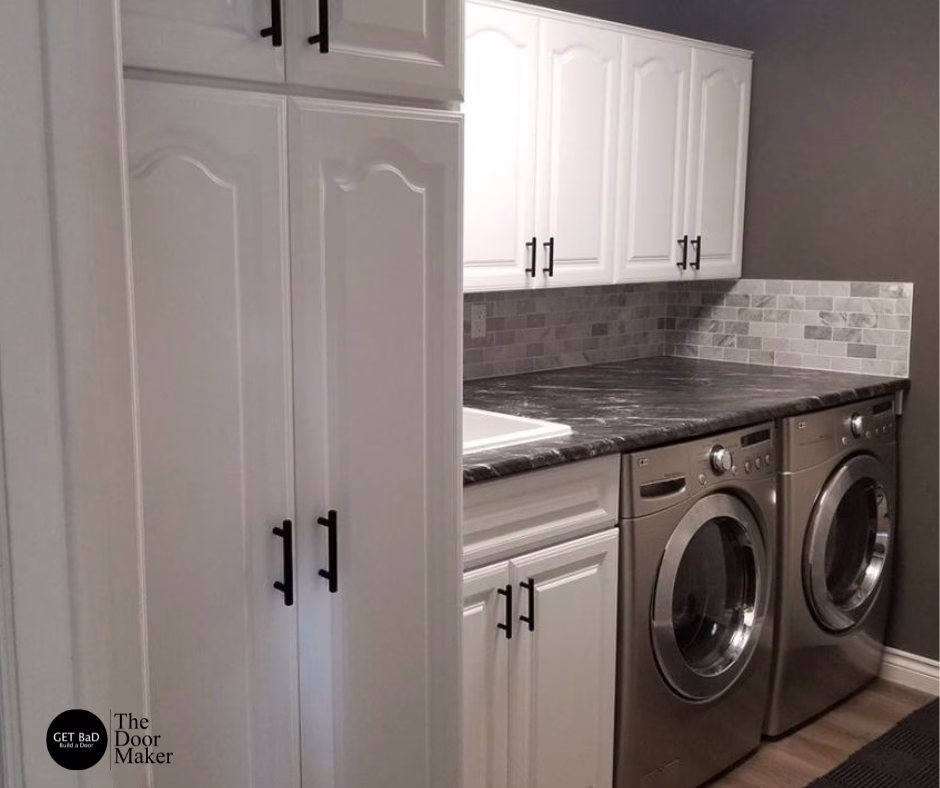
Overlay is one of the biggest factors. A full overlay drawer front covers more of the cabinet face frame or cabinet box, creating a more updated look with tighter visible gaps. A standard overlay leaves more of the frame exposed and often suits more traditional cabinetry. Neither is automatically better. It depends on the style of your cabinets and whether you’re replacing just the drawer fronts or doing a broader reface.
Before ordering, measure each drawer opening or existing front carefully and write everything down clearly. Do not assume every drawer in a bank is identical. Older homes, hand-built cabinets, and previous repairs can create small variations that matter. A difference of even 1/16 inch can affect the finished look.
Measure With Precision, Not Guesswork
A good-looking cabinet reface is built on accurate measurements. If you’re replacing existing drawer fronts, remove one and measure the width and height of the front itself, not the drawer box behind it. If you’re changing the overlay or starting from exposed openings, measure the opening and then calculate the front size based on the overlay you want.
This is where many DIY projects go sideways. People measure the opening, order the same size, and end up with fronts that are too small. Or they round up and create uneven spacing. Clean reveals are what make custom cabinetry look custom, so exact dimensions matter.
If you have face-frame cabinets, you’ll usually want to account for how much of the frame the drawer front will cover on all sides. If you have frameless cabinets, the calculation may be different because the drawer front relates directly to adjacent doors and drawer fronts. It depends on your cabinet construction, and that is worth sorting out before you choose a style or finish.
When in doubt, slow down and measure twice. A custom product is only as accurate as the information used to build it.
Match the Drawer Front Style to the Doors
If you’re replacing drawer fronts as part of a larger cabinet refresh, the easiest way to get a polished result is to coordinate them with your cabinet doors. That usually means matching the style family, wood species or material, edge profile, and finish.
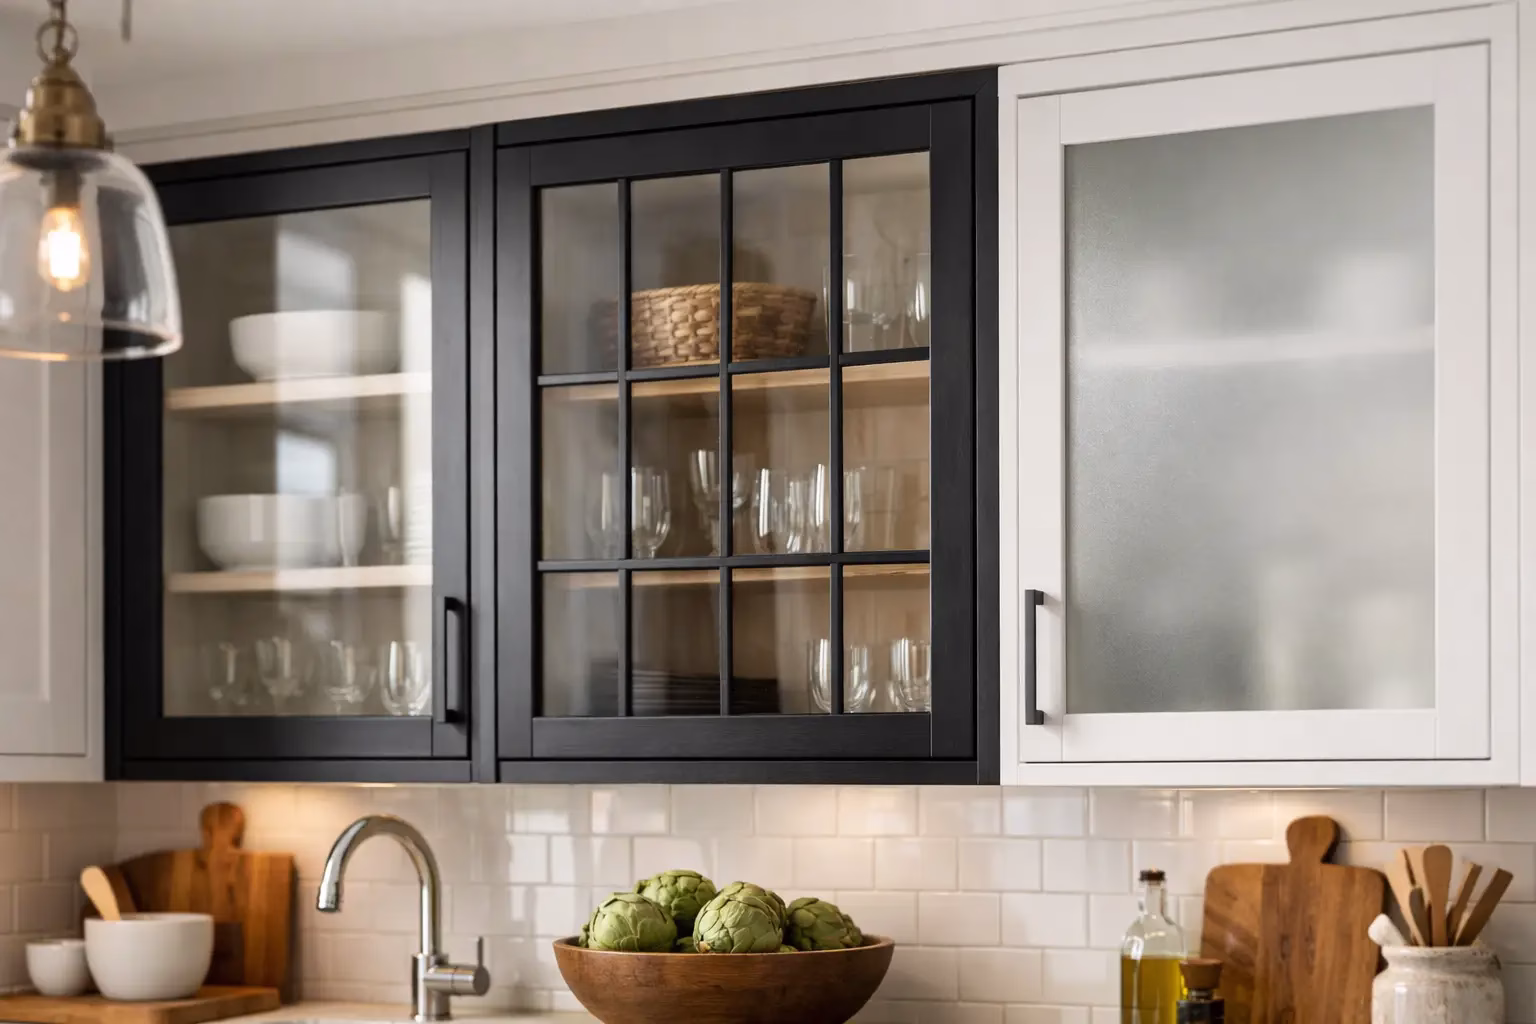
For example, a shaker drawer front pairs naturally with shaker cabinet doors because both share the same clean, framed look. A slab drawer front works best in modern or contemporary spaces where flat surfaces and simple lines carry the design. Raised panel styles tend to fit more traditional kitchens and formal spaces. Beaded details can add cottage or transitional character.
This is one area where personal taste and home style should meet in the middle. A sleek slab front may look beautiful on its own, but if the rest of the kitchen has detailed raised panel doors and classic crown molding, it can feel disconnected. On the other hand, if you’re updating the whole room’s look and replacing doors at the same time, a simpler drawer front can help modernize the space quickly.
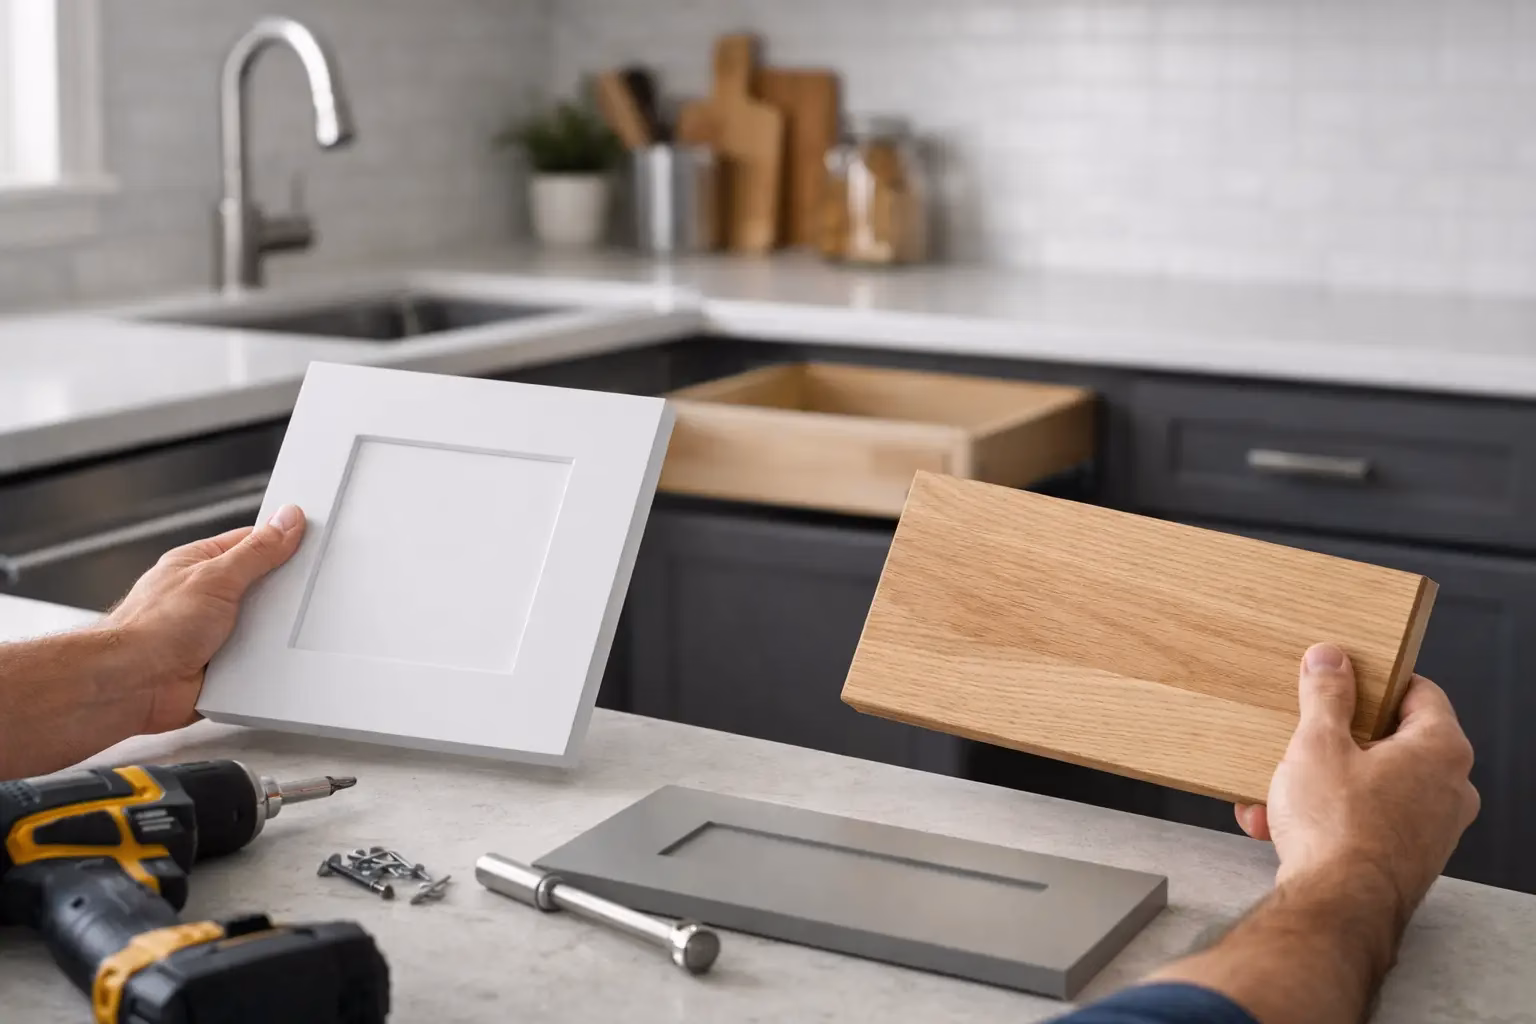
Material Choice Affects Cost, Durability, and Finish
Not every replacement drawer front is made the same way, and material choice will affect both appearance and long-term performance. Solid wood is a popular option for stained finishes because it brings natural grain and warmth. MDF is often a strong choice for painted drawer fronts because it provides a smooth surface and resists the grain pattern telegraphing through paint.
If your project includes a moisture-prone bathroom or laundry room, think carefully about how the material will perform in that environment. If you’re matching existing stained cabinets, species selection matters because different woods absorb stain differently. Maple, oak, cherry, and other woods each have their own character.
There is also a practical trade-off here. A premium wood species can elevate the look, but it may cost more than you need if you’re planning a solid paint finish. Choosing the right material is less about buying the most expensive option and more about matching the material to the finish and the room.
How to Choose Replacement Drawer Fronts by Finish and Color
Once the size and style are settled, finish becomes the decision everyone sees first. Painted drawer fronts can brighten a dated kitchen, create contrast on an island, or deliver a crisp, tailored look in a bathroom vanity. Stained finishes show the natural beauty of wood and often suit homes where warmth and texture matter more than a stark, modern feel.
Color also affects how forgiving the final look will be. White and light painted finishes can make a small space feel larger, but they may show grime and wear more quickly around high-touch areas. Dark stains and darker painted colors can feel rich and dramatic, though they may make tight spaces feel smaller if the room lacks natural light.
If you’re only replacing drawer fronts and not the doors, matching the finish exactly can be the hardest part of the project. Age, sunlight, and wear can shift the color of existing cabinetry over time. In that situation, a close match may still look off once installed. Sometimes the better choice is to refresh all visible fronts together so the finish reads as intentional rather than almost matched.
Don’t Overlook Hardware Placement
A new drawer front may need new hardware placement, and that affects both function and appearance. If you’re reusing existing pulls, make sure the hole spacing works with the new front dimensions and style. If you’re changing hardware, consider how the pull size relates to the width of the drawer front.
Wide drawers usually look better with larger pulls or two knobs, while smaller drawers often need more restraint. Hardware should feel centered and consistent across the cabinet run. If you’re ordering unfinished fronts, plan your drilling layout before finishing. If you’re ordering finished fronts, be especially careful about hardware measurements to avoid costly mistakes.
Think About the Whole Room, Not Just One Drawer
It is easy to focus on the damaged drawer you’re replacing, but the best choice usually comes from looking at the full cabinet system. Ask yourself whether the drawer fronts should blend in quietly or help define a new style direction. Consider the cabinet doors, end panels, moldings, countertop, backsplash, and flooring.
A replacement that looks perfect as a standalone sample can feel wrong once installed beside older details. That does not mean every element has to match exactly. It means the pieces should belong together. Good cabinet design is often about consistency in proportions, profiles, and finish tones.
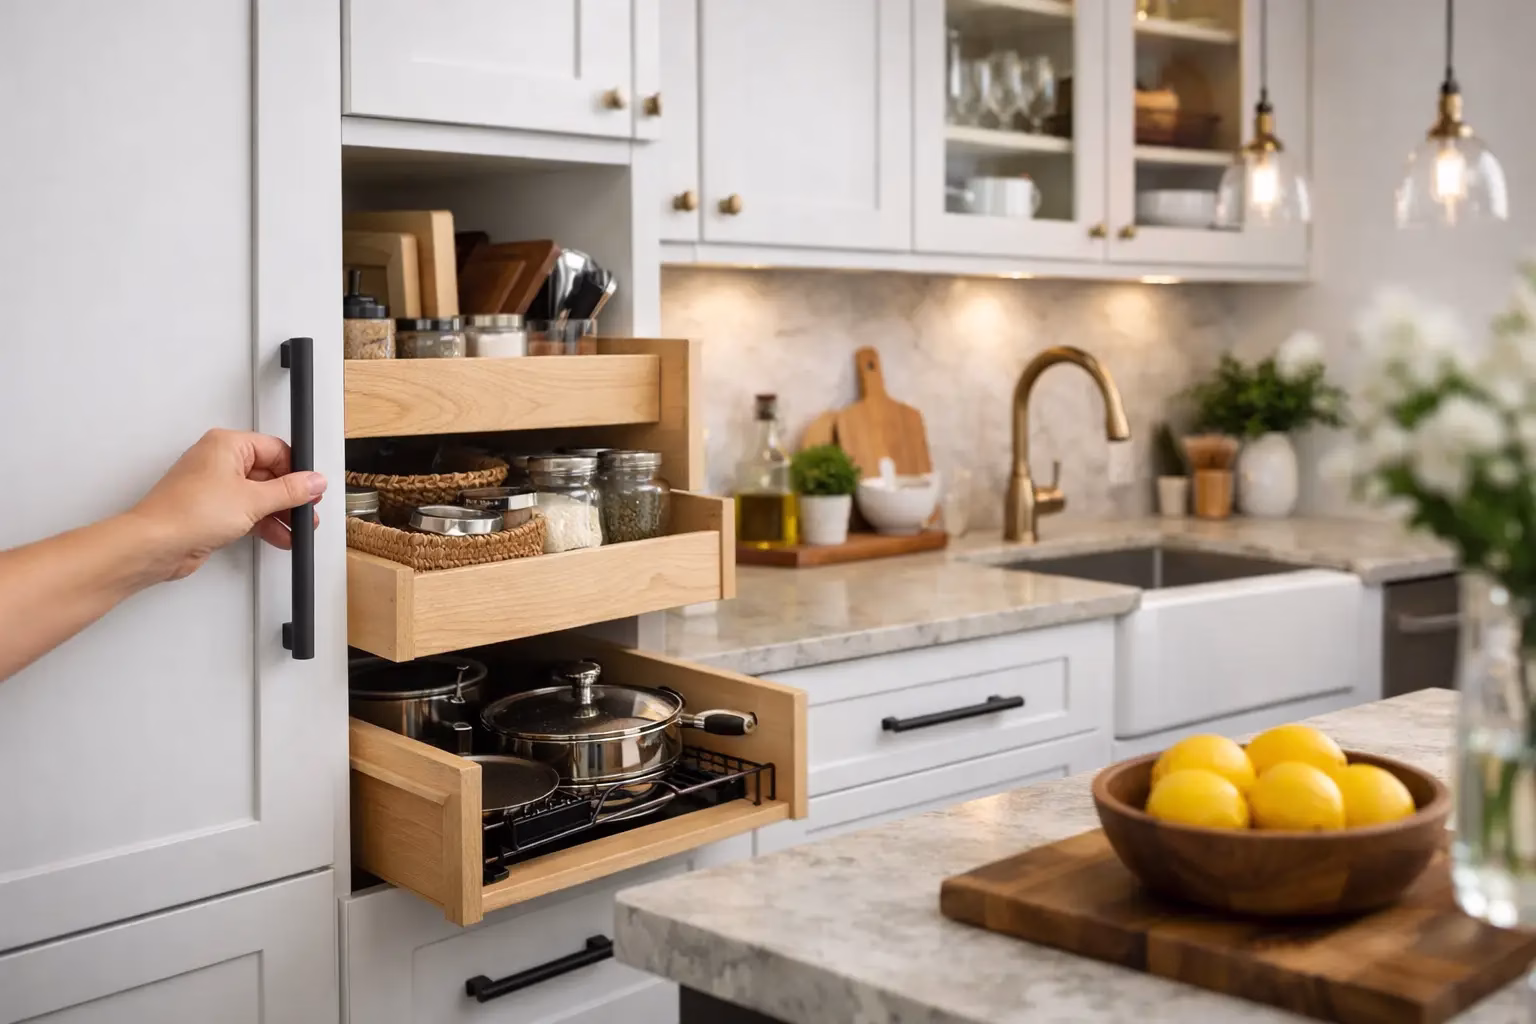
This is also where custom sizing makes a real difference. Stock options can work for some projects, but they often fall short in older homes or on cabinets with non-standard dimensions. A made-to-order front gives you the chance to solve fit issues instead of working around them.
Order With Confidence
The most successful DIY cabinet updates usually come from a simple process: measure carefully, choose a style that fits the room, pick a material that suits the finish, and confirm every dimension before ordering. That may not sound glamorous, but precision is what creates that high-end finished look.
If you’re comparing options, remember that the lowest upfront price is not always the best value. A poorly sized drawer front, a mismatched finish, or a style that fights the rest of the cabinetry can cost more in time, frustration, and replacement orders. Quality craftsmanship and accurate customization matter.
For homeowners taking on a cabinet refresh themselves, that’s the real advantage of a custom approach. You’re not settling for the closest fit on the shelf. You’re choosing drawer fronts built for your space, your measurements, and your design goals.
When you take the time to choose well, replacement drawer fronts do more than cover wear. They make the whole room feel more intentional, more finished, and a lot closer to the kitchen or bath you wanted in the first place.