The fastest reliable way to install cabinet doors is to confirm your hinge type and overlay, measure each opening at multiple heights, bore the 35 mm cup holes (or order doors pre-bored), mount the hinge plates to the cabinet, hang the door top hinge first, then use the hinge’s three-axis adjustments to dial in even gaps. According to The Spruce, a straightforward overlay door swap takes about 20–30 minutes per door for an experienced DIYer when no trimming or cup drilling is required. First-timers should budget 30–90 minutes per door, especially when cup drilling or trimming is involved.
Before you pick up a drill, do two things: measure every opening individually (cabinets are rarely perfectly square), and confirm whether you need inset, partial-overlay, or full-overlay hinges. Those two decisions shape everything that follows.
Key Takeaways
Successful cabinet door installation comes down to measuring each opening individually, choosing the correct hinge and overlay type, and using hinge adjustments to dial in even gaps after hanging.
| Point | Details |
|---|---|
| Measure every opening separately | Width and height can vary across a run; record the smallest dimension at three points each. |
| Match hinge to overlay type | Inset, partial-overlay, and full-overlay doors each require a different hinge arm and mounting plate. |
| Pre-bored doors skip the riskiest step | Ordering doors with 35 mm cups already bored eliminates tear-out risk and speeds installation significantly. |
| Hang top hinge first, adjust last | Attach the top hinge to bear weight, verify gaps before tightening, then use three-axis adjustments to square the door. |
| Tdm-thedoormaker for custom sizing | Pre-bored, precision-cut doors in 30+ styles remove on-site cup drilling from the process entirely. |
Table of Contents
- What tools do you need to install cabinet doors?
- How do you identify door overlay type and choose the right hinge?
- How do you measure each opening and mark hinge locations?
- How do you drill 35 mm hinge cup holes cleanly?
- How do you fasten hinges to the door correctly?
- How do you transfer hinge positions to the cabinet and install mounting plates?
- What is the right sequence for hanging the door?
- How do you adjust hinges and fix common alignment problems?
- How do you install pulls and knobs and complete the final checks?
- When does ordering custom or pre-bored doors make more sense?
- How do you maintain cabinet doors after installation?
- What first-time installers often get wrong
- Tdm-thedoormaker makes the hardest step optional
- Sources
What tools do you need to install cabinet doors?
Gathering the right tools before you start prevents mid-project trips to the hardware store and keeps the work moving.
Essential tools:
- Tape measure, pencil, and speed square
- Cordless drill/driver with a Phillips bit
- 35 mm (1-3/8") Forstner bit for hinge cup holes
- Drill press or a handheld drill with a depth-stop collar
- Self-centering bit (Vix bit) for pilot holes
- Chisel and mallet for minor adjustments
- Block plane or random-orbit sander for trimming
- Clamps and shims
- Level
Hinge hardware:
- Concealed European-style 35 mm cup hinges (Blum or Hettich are widely available)
- Face-frame or frameless mounting plates to match your cabinet construction
- Soft-close hinges if you want dampened closing action
- Kreg hinge placement jig for repeatable hole placement across multiple doors
Materials and consumables:
- Cabinet screws sized for your box material (typically #6 x 5/8" for mounting plates)
- Masking tape or a scrap backer board to prevent tear-out when drilling
- Wood filler and sandpaper for any surface prep
- Touch-up paint or finish pen
Safety gear: safety glasses, hearing protection, and a dust mask when drilling or sanding.
Pro Tip: Place a scrap piece of MDF or plywood directly behind the drill-out point when boring cup holes. It backs the veneer or laminate surface and prevents the Forstner bit from blowing out the face as it exits. If you have more than six doors to do and no drill press, seriously consider ordering pre-bored doors instead — the time savings and cleaner results are worth it.
How do you identify door overlay type and choose the right hinge?
Getting the hinge wrong is the most common and most expensive mistake in a cabinet door installation. The overlay type determines which hinge you need before you buy a single piece of hardware.
Inset doors sit flush inside the cabinet opening. They require tight tolerances (typically 1/16" gap on all sides) and hinges designed for zero or minimal overlay. These are the hardest to fit because any out-of-square opening shows immediately.
Partial-overlay doors cover part of the face frame, leaving the frame visible between adjacent doors. A 1/2" overlay is the most common standard in American kitchens.
Full-overlay doors cover nearly the entire face frame. They are standard on frameless (European-style) cabinets and require a different mounting plate than face-frame cabinets.
Concealed European cup hinges are the preferred choice across all three door types because their built-in three-axis adjustability lets you correct alignment after the door is already hung. That adjustability is why professionals favor them for consistent gaps and easy tuning. The cup diameter is always 35 mm; what changes is the mounting plate and the arm angle (typically 95°–110° for standard doors, 165°+ for corner applications).
| Door Type | Hinge Style | Mounting Plate | Typical Overlay |
|---|---|---|---|
| Inset | Concealed cup, inset arm | Face-frame or frameless | 0" (flush) |
| Partial overlay | Concealed cup, standard arm | Face-frame clip plate | 1/2" |
| Full overlay | Concealed cup, full-overlay arm | Frameless or long clip plate | 1-1/4"–1-3/8" |
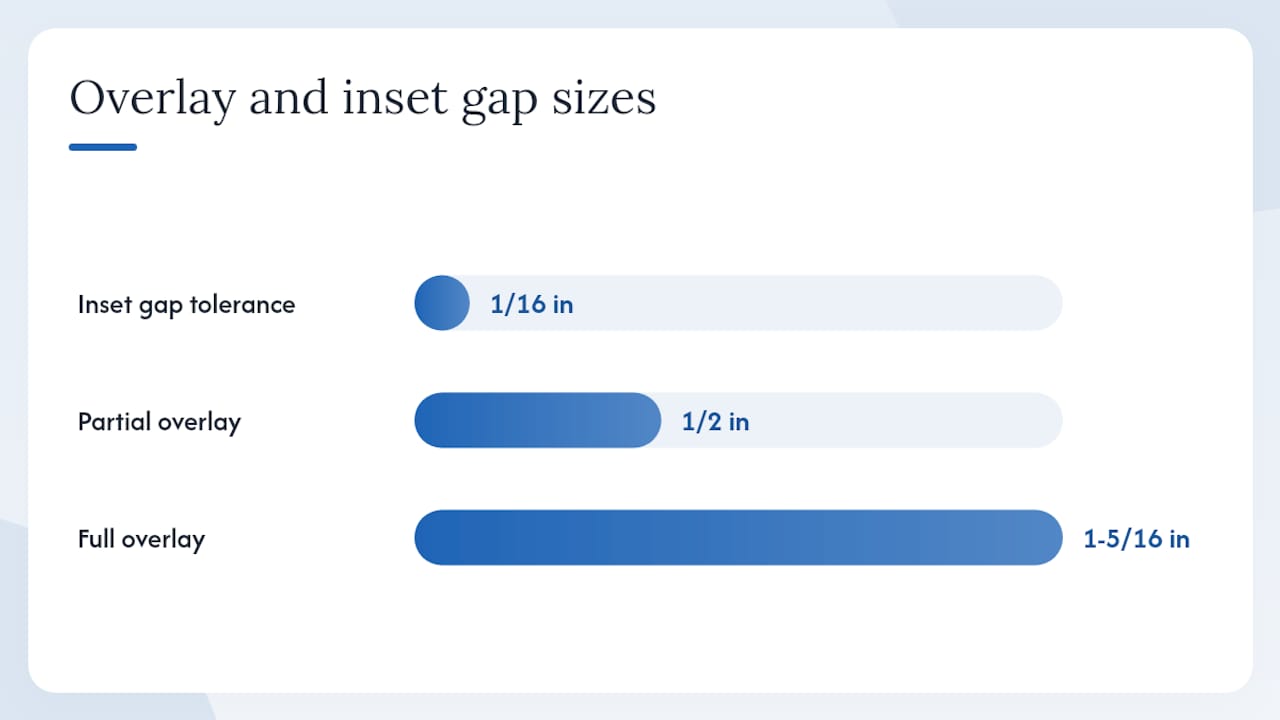
For full-overlay hinge selection and installation specifics, the overlay amount and your cabinet’s face-frame construction are the two measurements that determine which plate you order. Soft-close versions of all three types are available and add only a small cost premium.
How do you measure each opening and mark hinge locations?
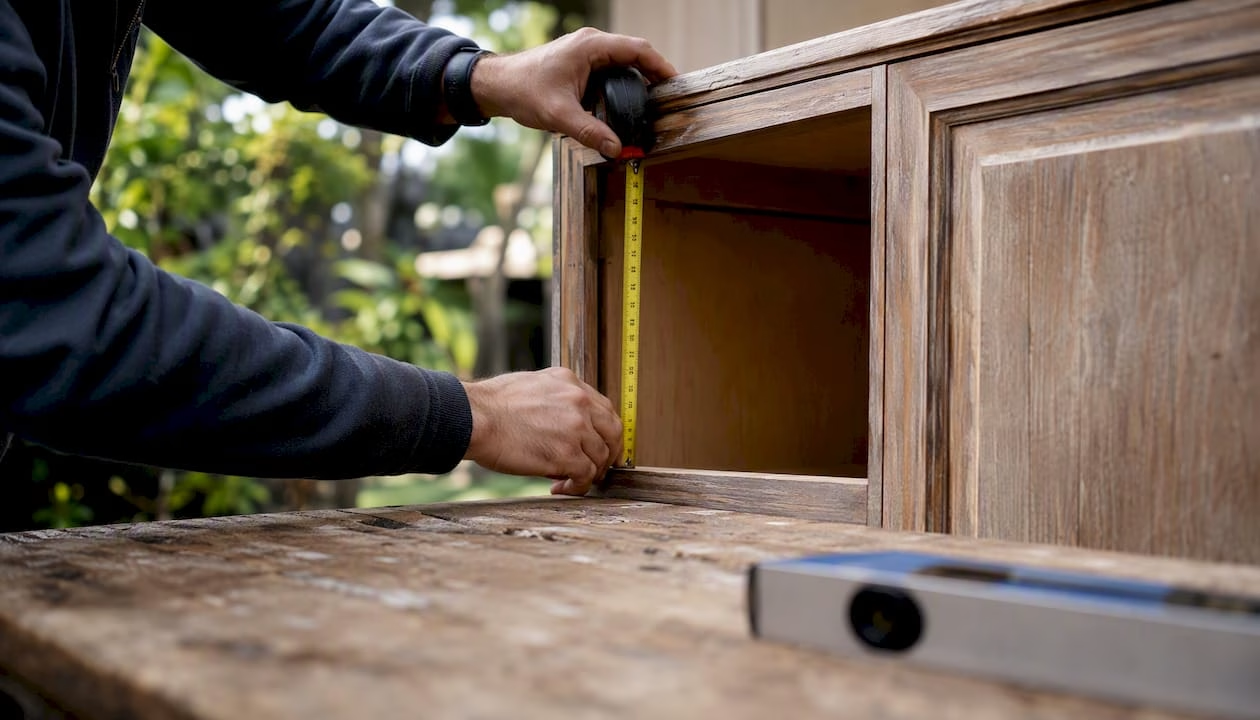
Measure every opening individually. Cabinets shift, settle, and are rarely perfectly square, so a width measured at the top can differ from the width at the bottom by 1/8" or more. This Old House recommends measuring each opening separately rather than assuming uniform sizes across a run of cabinets.
Measurement sequence:
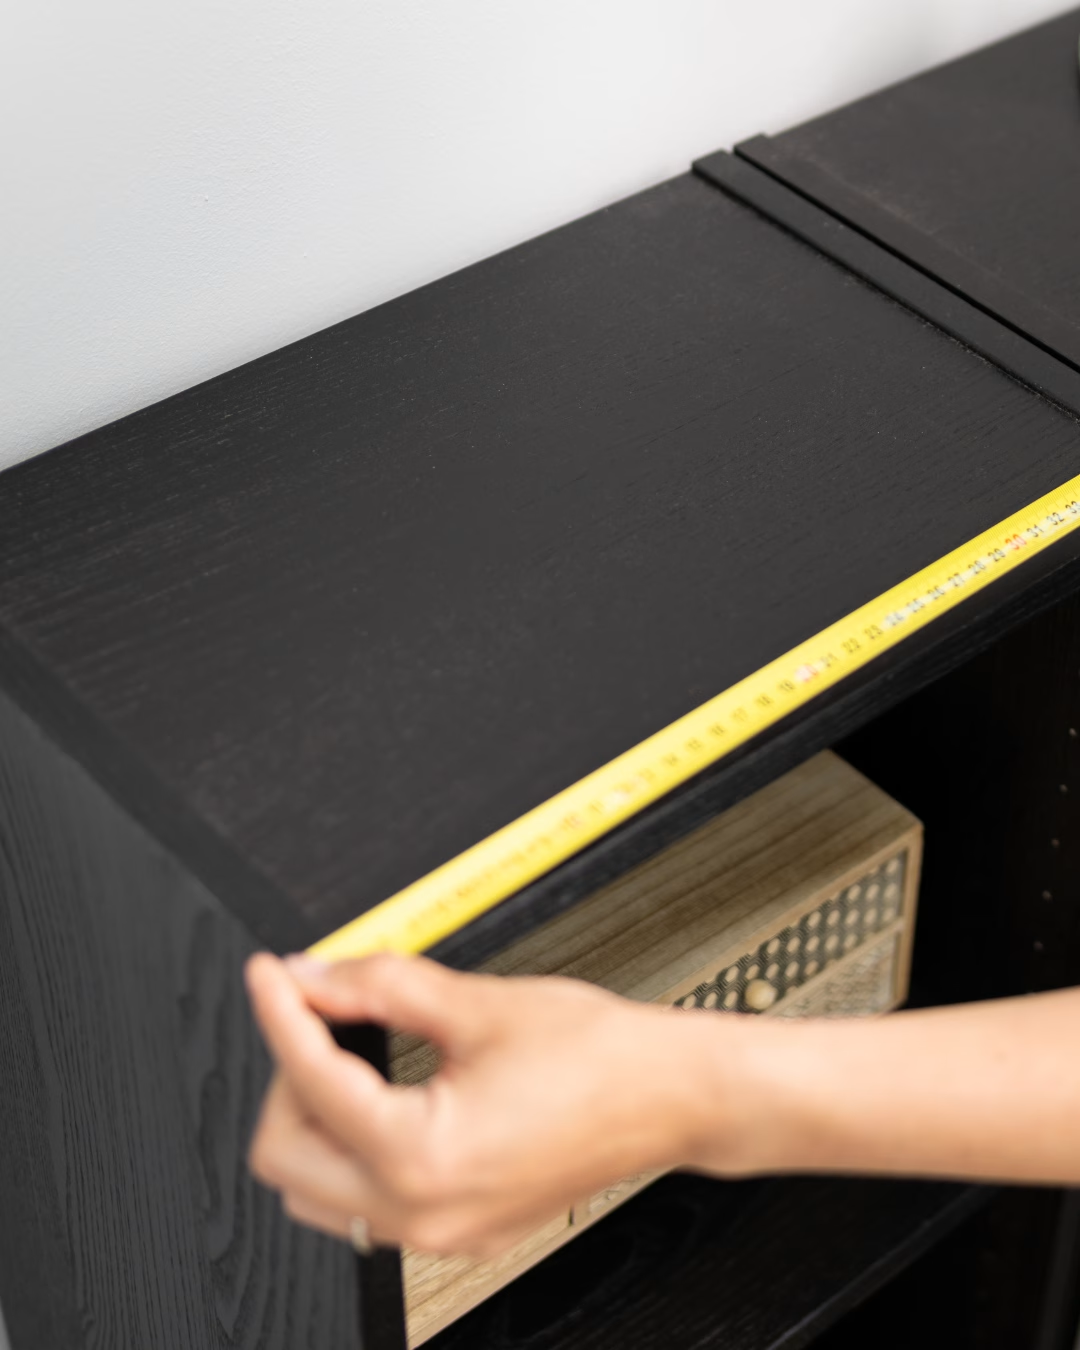
- Measure width at the top, middle, and bottom of the opening; record the smallest value.
- Measure height at the left, center, and right; record the smallest value.
- Add your overlay amount to each dimension (e.g., 1/2" per side = 1" total width addition for partial overlay).
- Note whether the opening is square by measuring both diagonals; if they differ by more than 1/8", plan to shim or trim.
For inset doors, tolerances tighten considerably. Measure to the nearest 1/32" and account for a consistent 1/16" reveal on all four sides. A detailed inset door measuring guide walks through the shimming strategies that keep gaps uniform even in out-of-square openings.
Marking hinge locations:
A reliable starting point is placing hinge cup centers approximately 4" down from the top edge and 4" up from the bottom edge, as shown in Wood Magazine’s cabinet door video. For doors taller than 40", add a third hinge at the midpoint. Mark the centerline of each cup location with a pencil, then mark the screw hole positions using a hinge as a template or a dedicated jig.
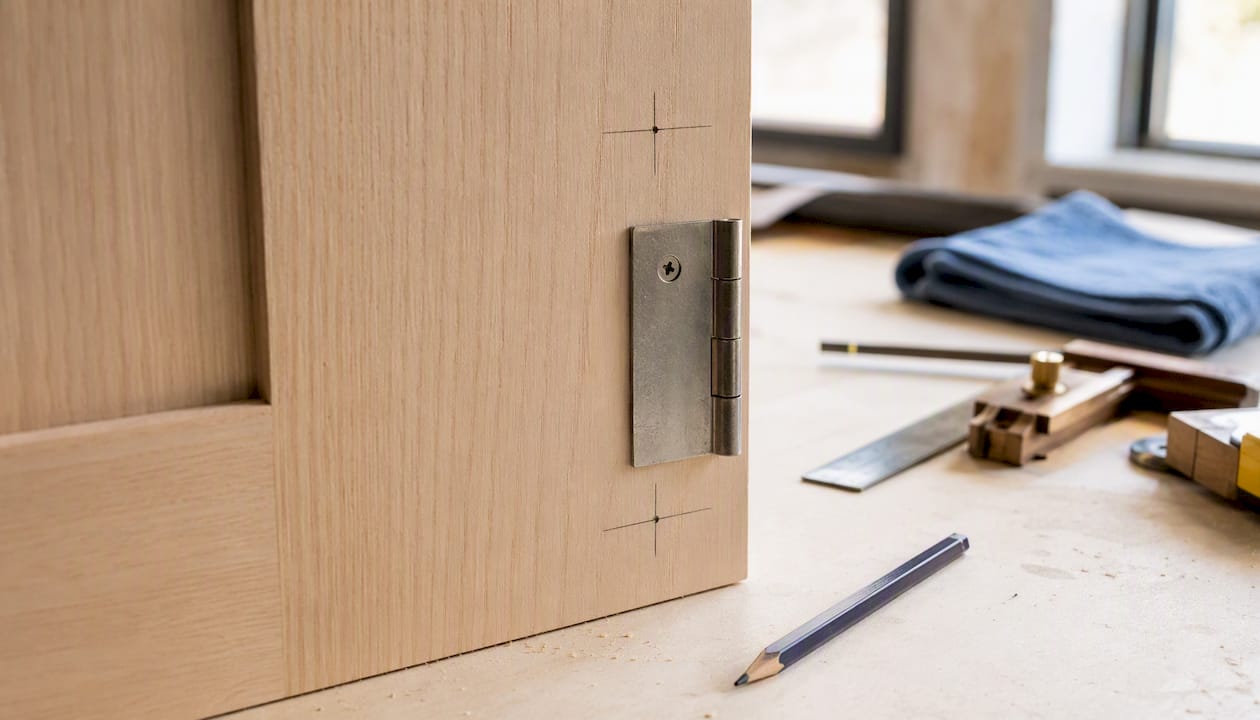
Pro Tip: Cut a simple plywood drilling template the same width as your door stile and mark the cup center and screw holes once. Clamp it to each door in turn and you get identical placement every time. The Kreg hinge placement jig does the same thing with adjustable stops, which is especially useful when you’re hanging a full kitchen’s worth of doors.
How do you drill 35 mm hinge cup holes cleanly?
Cup drilling is the step where most beginners make irreversible mistakes, so take it slowly.
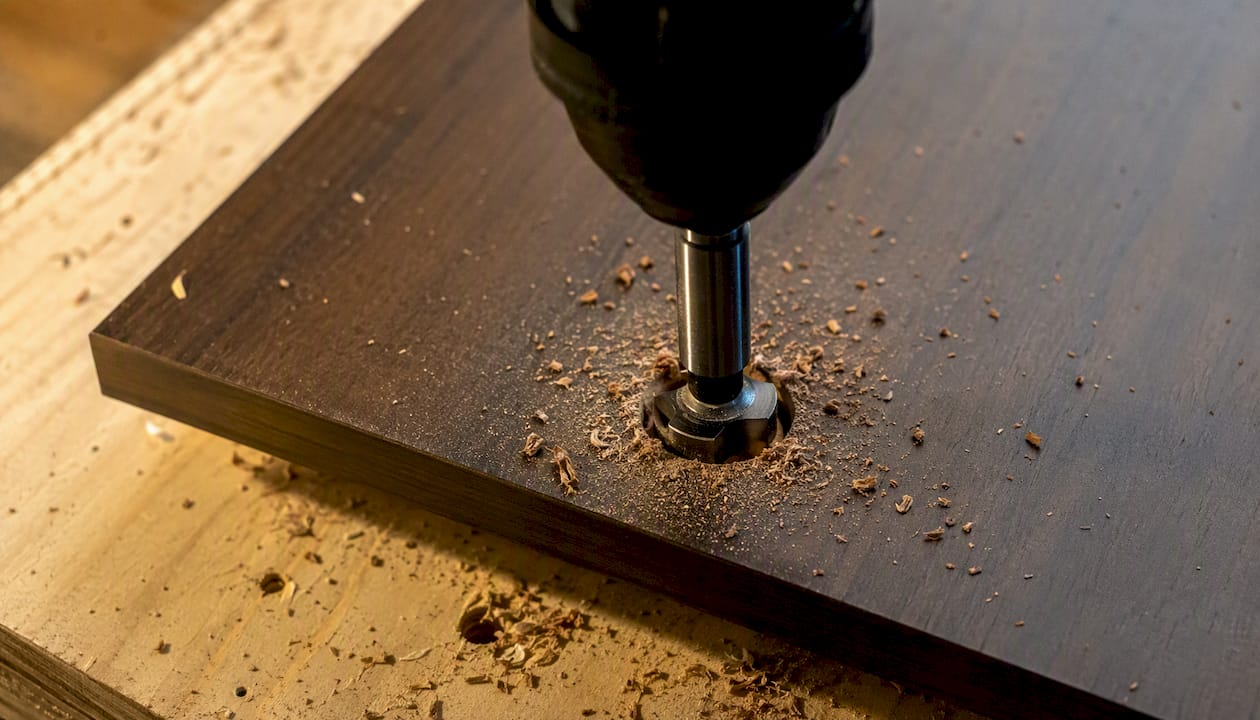
When to drill yourself vs. order pre-bored:
If you have a drill press, a 35 mm Forstner bit, and a depth-stop collar, drilling your own cups is straightforward. If you’re working with a handheld drill only, or if you’re replacing more than eight doors, ordering pre-bored doors removes the riskiest step entirely and speeds the whole project.
Step-by-step cup drilling:
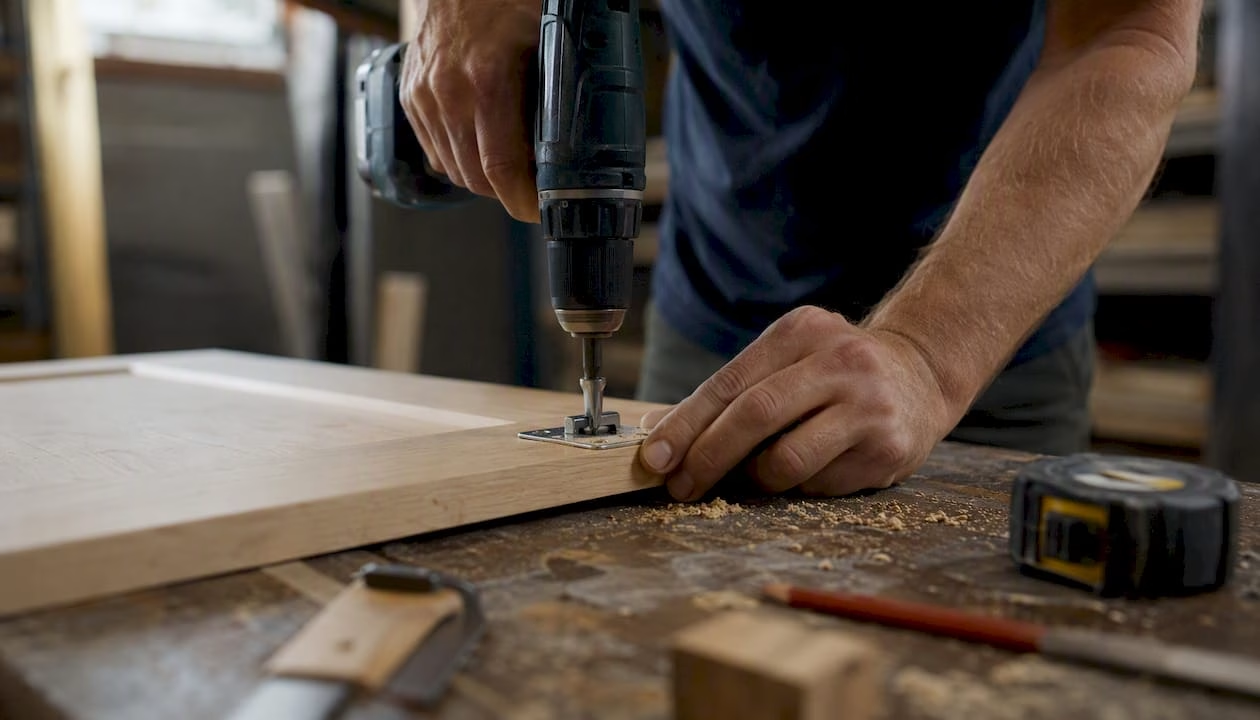
- Clamp the door face-down on a sacrificial board. The backer board prevents tear-out on veneered or laminate surfaces.
- Transfer your hinge locations from the template. Mark the cup center clearly with a punch or awl.
- Set the depth stop on your Forstner bit. Standard concealed hinges require a cup depth of 13 mm (about 1/2"). Check your specific hinge spec sheet.
- Drill at low speed (400–600 RPM) with steady, even feed pressure. High speed causes burning and tear-out.
- Clear chips between passes and check depth with a small ruler before removing the door from the clamp.
- Test-fit the hinge cup in the hole before moving to the next location.
Wood Magazine’s installation guide places cup centers approximately 4" from top and bottom as a reliable professional starting point, with the cup edge set back from the stile edge to match the overlay. A depth stop is non-negotiable: drilling even 2 mm too deep can break through the door face on thinner stock.
Safety note: Forstner bits grab aggressively. Always clamp the workpiece securely and keep fingers well clear of the bit path. Use eye protection; chips fly at speed.
How do you fasten hinges to the door correctly?
Mounting hinges to the door first is the recommended sequence. It lets you verify cup fit and hinge swing before the door is anywhere near the cabinet.
Attachment checklist:
- Seat the hinge cup fully in the drilled hole. The cup flange should sit flush against the door face with no rocking.
- Pre-drill pilot holes for the cup screws using a self-centering (Vix) bit. This is especially important near the stile edge on solid wood doors, where screws can split the grain.
- Drive cup screws to snug. Use low torque on your driver; over-tightening strips the holes in MDF or particleboard, and those holes are hard to repair cleanly.
- Check that the hinge arm runs parallel to the door stile when the hinge is open. If it angles, the cup is not fully seated.
- Test the hinge swing through its full range before moving on.
For the mounting plate screws, use the length specified by the hinge manufacturer. Longer screws give better pull-out resistance in particleboard cabinet boxes, which is the most common material in American kitchen cabinets.
How do you transfer hinge positions to the cabinet and install mounting plates?
With hinges attached to the door, you now need to transfer those positions to the cabinet box or face frame accurately.
Transfer method:
- Hold the door against the opening using shims to maintain the correct overlay and gap. A temporary ledger board screwed lightly across the bottom of the opening gives you a consistent shelf to rest the door on while marking.
- Mark through the mounting plate screw holes onto the cabinet with a pencil or awl.
- Remove the door and pre-drill pilot holes at each mark. Use a bit slightly smaller than the screw shank.
Face-frame vs. frameless differences:
On face-frame cabinets, the mounting plate screws into the face frame itself. The plate’s position relative to the frame edge determines the overlay, so measure twice before drilling. On frameless (European-style) cabinets, the plate screws directly into the cabinet side panel, typically 37 mm from the front edge for standard hinges.
Rockler’s hanging guide recommends using a chalk line or temporary ledger to keep overlay consistent across a run of doors, which is particularly helpful when you’re mounting plates for an entire kitchen at once.
Pro Tip: Install the top mounting plate first and leave its screws one turn loose. Hang the door, check the overlay and gap, then tighten. It’s much easier to nudge a plate slightly before it’s fully seated than to back out screws and re-drill.
What is the right sequence for hanging the door?
Physical hanging is where the project either comes together or gets frustrating. A clear sequence prevents dropped doors and stripped screws.
Hanging sequence:
- Attach the top hinge to its mounting plate first. The top hinge bears the door’s weight during the initial hang, so securing it first gives you control.
- Hold the door at the correct height using shims under the bottom edge or a temporary ledger. For heavy doors, a second person holding the door makes this step much safer.
- Snap or screw the bottom hinge onto its plate. For snap-in concealed hinges (common on Blum systems), press the hinge arm onto the plate until you hear a click. For screw-on systems, drive screws finger-tight only at this stage.
- For three-hinge doors, attach the middle hinge last.
- Verify gaps and overlay before fully tightening any screws.
Eagle Woodworking’s hinge guide emphasizes low torque on the driver throughout this stage. Stripped mounting plate screws in particleboard are a common and avoidable problem. If a screw feels like it’s spinning without biting, stop, remove it, and use a slightly longer screw or a toothpick-and-glue fill before re-driving.
Quick pre-tighten checklist:
- Gap is consistent on all four sides of the door.
- Door aligns with adjacent doors at the same height.
- Door clears drawer slides and neighboring drawers when opened.
- Soft-close mechanism engages smoothly if present.
How do you adjust hinges and fix common alignment problems?
Concealed cup hinges have three independent adjustments, and knowing which screw does what saves a lot of trial and error.
The three adjustments:
- Side-to-side (lateral): The slotted screw on the mounting plate moves the door left or right. Use this to equalize the gap between adjacent doors.
- In/out (depth): The screw that moves the hinge arm forward or back adjusts how far the door sits from the cabinet face. Use this when the door sticks out or sits recessed relative to its neighbors.
- Up/down (vertical): On clip-style plates, loosening the plate screw and sliding the plate up or down moves the door vertically. Some hinge arms also have a cam screw for small vertical corrections.
Troubleshooting common problems:
- Door rubs on the frame: Adjust depth (in/out) to pull the door slightly away from the frame, then check side-to-side.
- Uneven gap at top vs. bottom: The top and bottom hinges need different lateral adjustments. Move them in opposite directions by small increments.
- Door sags over time: Tighten the mounting plate screws. If the holes are stripped, fill with a wooden toothpick and wood glue, let dry, and re-drive.
- Door catches on drawer slide: Adjust depth inward or check whether the door needs a small trim at the bottom corner.
When to trim vs. adjust: hinge adjustments typically cover up to 2 mm of correction in any direction. Beyond that, light planing or sanding is the right fix. A block plane removes thin shavings cleanly from solid wood edges; a random-orbit sander works better on MDF or veneered doors. Always remove material gradually and test the fit frequently.
Pro Tip: Fold a business card in half and use it as a gap gauge. A standard business card is about 0.010" thick; two layers give you roughly 1/32". Consistent gaps across all doors is the mark of a well-hung set. Make one small hinge adjustment at a time, close the door, and check before turning any screw again.
For a broader list of pitfalls to avoid during door replacement, the cabinet refacing mistakes guide covers the most common errors homeowners make during full-kitchen door swaps.
How do you install pulls and knobs and complete the final checks?
Hardware goes on last, after all hinge adjustments are final. Installing pulls before the door is perfectly aligned means drilling holes in the wrong position.
Installation sequence:
- Use a hardware placement jig (available at most hardware stores) to mark consistent hole positions across all doors and drawer fronts. Consistent placement matters more than the exact measurement you choose.
- Mark hole centers with a punch or awl to prevent the drill bit from wandering.
- Drill pilot holes from the door face through to the back. Place a backer board behind the door to prevent tear-out on the exit side.
- Fit the pull or knob, thread the machine screw from the back, and tighten finger-tight first to confirm alignment before final torque.
- For pre-drilled hardware holes, Tdm-thedoormaker’s hardware hole drilling guide explains standard hole spacing and bit sizes for common pull styles.
Final quality checklist:
- Gap widths are consistent on all four sides of every door.
- All doors sit square in their openings and align at the same height across a run.
- Soft-close mechanisms engage on every door without slamming.
- No drawer is obstructed when any adjacent door is opened.
- All screw heads are flush or countersunk; touch up exposed heads with a finish pen if needed.
When does ordering custom or pre-bored doors make more sense?
DIY cup drilling is satisfying when it goes well, but it is not always the right call. Popular Science’s hanging guide notes that a single door can take anywhere from under an hour to several hours depending on trimming and alignment needs. That range widens considerably when you add cup drilling to the equation.
Circumstances where pre-bored or custom doors make sense:
- You’re replacing more than eight doors and don’t own a drill press.
- Your openings are non-standard sizes (common in older homes or after remodels).
- You want inset doors, where tolerances are tightest and errors are most visible.
- You’re working with an unfamiliar door material (thermofoil, high-gloss acrylic) where drilling mistakes are hard to fix.
- You want a guaranteed fit without iterative trimming.
Cost and time tradeoff: The tools for cup drilling (Forstner bit, depth stop, drill press or guide) add up quickly for a one-time project. For a full kitchen of 20+ doors, ordering pre-bored doors from a custom supplier often costs less in total time than drilling each one yourself, even accounting for the door price premium. A useful DIY measurement guide walks through how to calculate exact door dimensions from your opening measurements before placing an order.
Practical approach: Order a single pre-bored sample door first. Hang it, adjust it, and confirm the fit before committing to a full set. Most custom door suppliers, including Tdm-thedoormaker, offer sample doors for exactly this reason.
How do you maintain cabinet doors after installation?
A well-hung door lasts for years with minimal attention, but a few habits keep hinges and surfaces in good condition.
Clean cabinet door surfaces regularly with a damp cloth and a mild dish soap solution. Avoid abrasive cleaners on painted MDF or thermofoil doors; they dull the finish and can lift edges over time. Wipe dry immediately after cleaning to prevent moisture from working into seams.
Check hinge screws every six to twelve months, particularly on heavy doors. Particleboard and MDF compress slightly under load, and screws that were snug at installation can loosen after a year of use. A quick tighten with a Phillips driver takes thirty seconds and prevents the gradual sag that throws off your gap alignment.
Lubricate hinge pivot points annually with a small amount of dry PTFE spray or a drop of 3-in-1 oil. Soft-close mechanisms benefit from occasional cleaning; debris in the damper channel can cause sluggish or uneven closing. If a soft-close hinge stops dampening properly, most Blum and Hettich models allow you to replace just the damper cartridge without removing the entire hinge.
For painted doors, keep a small container of touch-up paint. High-traffic doors accumulate nicks at the bottom corners and around pulls. A quick touch-up every year or two keeps the finish looking fresh without a full repaint.
What first-time installers often get wrong
Most first-time cabinet door installs go smoothly once the measuring is done carefully. The frustration usually comes from one of three places: assuming all openings are the same size, skipping pilot holes near door edges, or making large hinge adjustments instead of small ones.
The measuring step deserves more time than most beginners give it. Spending an extra fifteen minutes recording width and height at three points per opening, and checking diagonals for square, prevents the kind of rework that turns a two-hour project into a full weekend. Measure each opening individually, as This Old House advises, and record every number before ordering or cutting anything.
The other thing worth saying plainly: your first door will take longer than your second, and your second will take longer than your fifth. The sequence becomes muscle memory quickly. Start with one door, get it right, and use it as your reference for the rest of the set. If you’re doing a full kitchen, resist the urge to hang all the doors before adjusting any of them. Adjust each door fully before moving to the next, and you’ll avoid chasing cumulative errors across the whole run.
Stop before final finishing and verify every gap with a consistent gauge. A business card, a folded piece of cardstock, or a set of feeler gauges all work. Consistent gaps matter more than perfect gaps.
Tdm-thedoormaker makes the hardest step optional
Cup drilling is the step that stops most DIYers cold, and it’s the one you can skip entirely. Tdm-thedoormaker supplies custom cabinet doors precision-cut to 1/10,000" with hinge holes pre-bored to your spec, so you go straight from unpacking to mounting plates. No Forstner bit, no depth stop, no tear-out risk.

The selection covers 30+ door styles and 130+ colors and finishes, including options for inset, partial-overlay, and full-overlay configurations. If your openings are non-standard or you’re working with a mix of sizes across a kitchen, the online configurator sizes each door individually. Order a single sample door first, hang it, confirm the fit, then place the full order. Use the cabinet door measurement guide to get your numbers right before you order.
Sources
These resources expand on the key techniques covered above, from cup drilling to ordering pre-bored doors.
- Concealed cabinet hinges specification guide
- How to hang cabinet doors yourself | Popular Science
- How To Make and Install Cabinet Doors
- Replacement Cabinet Doors for Your Kitchen – This Old House
- Replacing cabinet doors (The Spruce)
- Video: How to Install Cabinet Doors and Drawers | Kreg Tool
- Best Way to Hang Cabinet Doors
- How to Install Cabinet Hinges in 4 Easy Steps