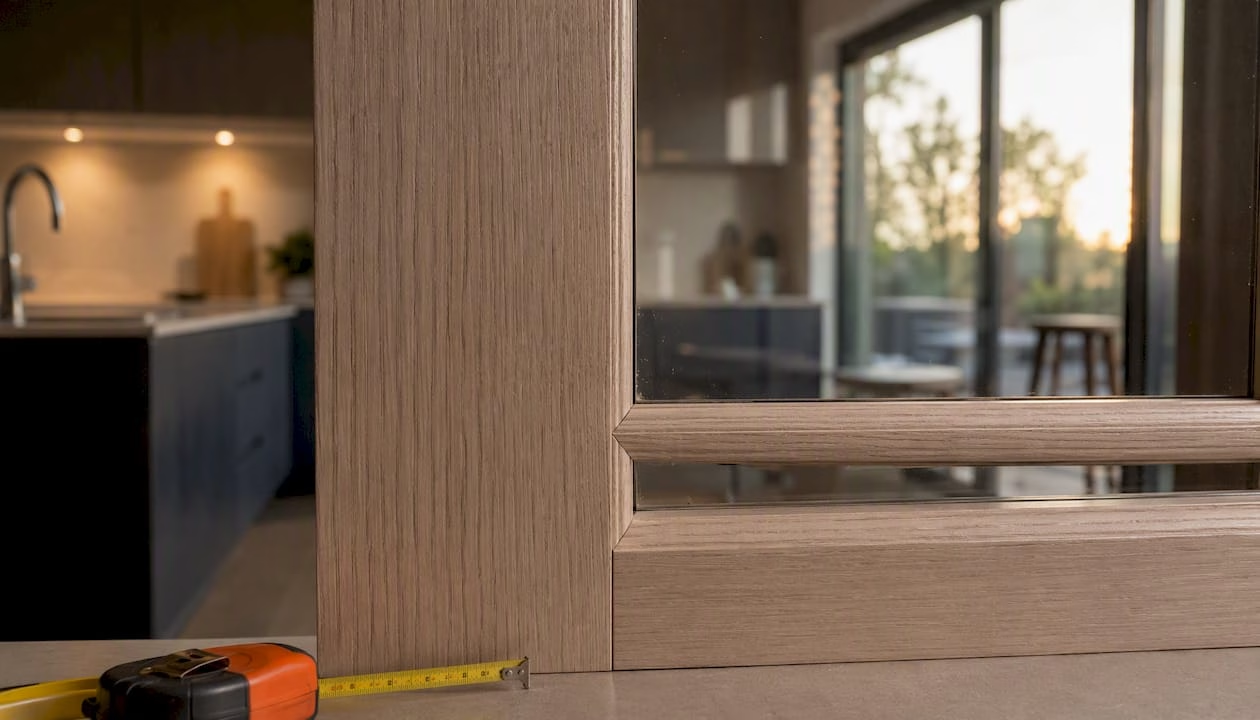
There is no universal standard size for cabinet doors. Every opening is different, so the finished door size you order depends entirely on your opening measurements plus your chosen mounting style. The core formulas are straightforward: for a single overlay door, Door Width (DW) = Opening Width (OW) + 2 × Overlay per side (OL), and Door Height (DH) = Opening Height (OH) + 2 × OL. For a single inset or frameless door, DW = OW − 2 × Reveal per side (RV), and DH = OH − 2 × RV. For double overlay doors, each door’s width = (OW + 2 × OL − Center Gap G) / 2, with the same height formula.
Two quick examples to anchor the math:
- Single overlay, example opening, with typical overlay per side: Door width equals the opening width plus twice the overlay; door height equals the opening height plus twice the overlay. Finished door dimensions result from applying this formula. (https://www.fastkitchendesign.com/tools/cabinet-door-size-calculator/).
- Double overlay, example opening, with typical overlay and center gap: Each door width equals the opening width plus twice the overlay minus the center gap, divided by two; door height is the opening height plus twice the overlay. Finished door dimensions follow this calculation.
TL;DR ordering checklist:
- Measure OW and OH at three points each (top, middle, bottom for width; left, center, right for height)
- Choose overlay or inset style and confirm the overlay/reveal value from your hinge spec
- Apply the matching formula; round to the nearest 1/16"
- Subtract the center gap before splitting width for double doors
- Enter finished DW and DH (not opening dimensions) when placing your order
Table of Contents
- How do you measure cabinet openings correctly?
- What are the standard overlay, reveal, and center-gap values?
- When should you use one door instead of two?
- How do you enter sizes when placing a custom door order?
- Key Takeaways
- Why getting the size right matters more than most people expect
- Tdm-thedoormaker makes custom sizing straightforward
- Useful resources for verifying specs and calculations
How do you measure cabinet openings correctly?
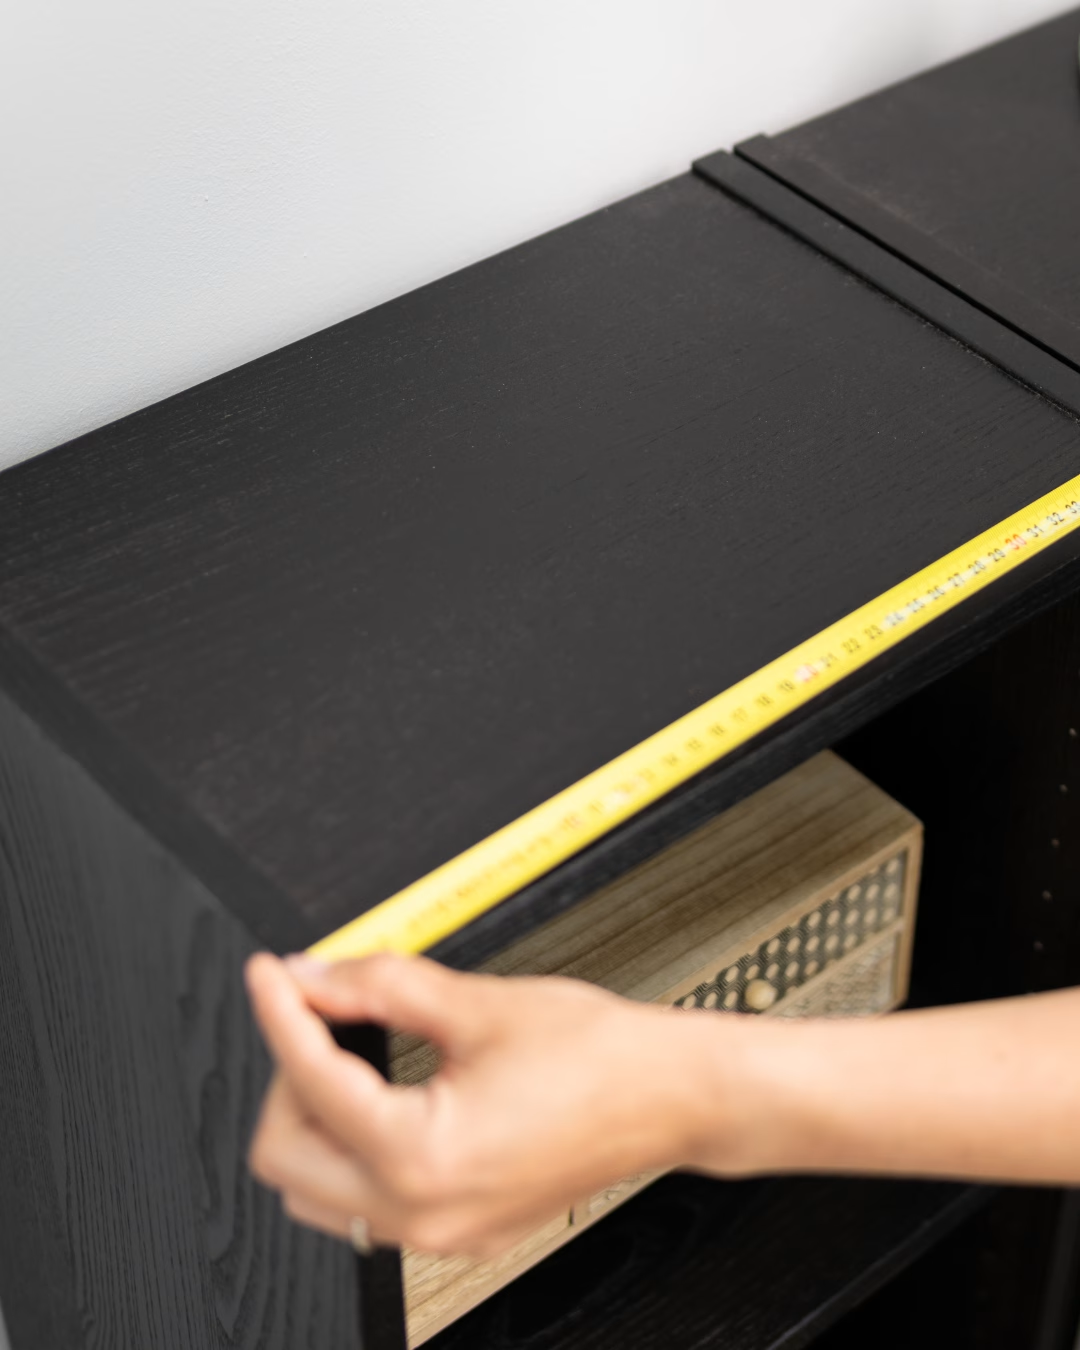
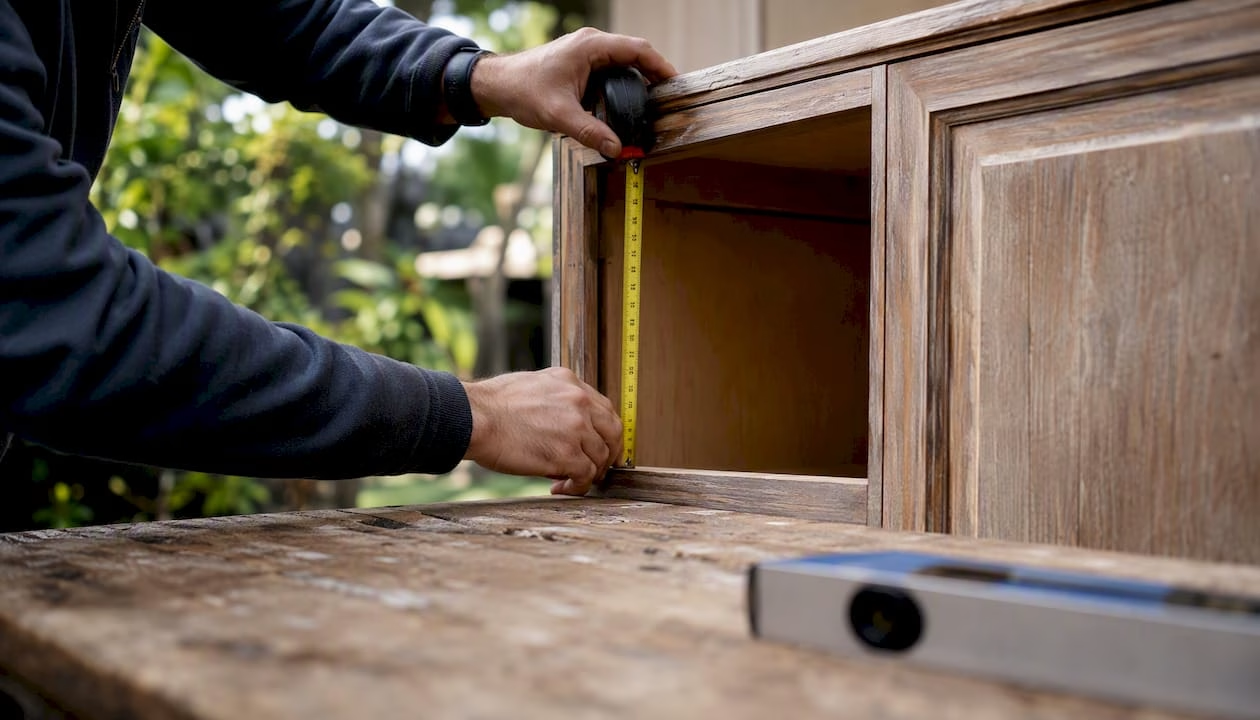
Accurate measurements are the foundation of every well-fitting door. A steel tape measure is your primary tool; a combination square or digital caliper helps verify that corners are truly square. Keep a pencil and notepad handy, and photograph each opening and its hinge locations before you start.
Step-by-step measurement checklist:
- Measure OW at the top, middle, and bottom of the opening; record the smallest value
- Measure OH on the left side, center, and right side; record the smallest value
- For replacement projects,
(width first, then height) if you plan to reuse the same hinges
- Note the hinge type, hinge overlay or reveal, and whether the box is face-frame or frameless
- Photograph the hinge cup locations and any existing boring patterns
For face-frame cabinets, OW and OH are the clear opening inside the frame. For frameless (European-style) boxes, the opening is the full interior width and height of the box, and your reveal is typically smaller.
| Measurement | What to record | Why it matters |
|---|---|---|
| OW (opening width) | Smallest of three readings | Prevents a door that is too wide to close |
| OH (opening height) | Smallest of three readings | Prevents a door that binds at top or bottom |
| Existing door size | Width × height from back of door | Baseline for replacement without recalculating |
| Hinge type / overlay | Hinge model or overlay value | Drives OL in the formula |
| Preferred overlay or reveal | Your chosen OL or RV per side | Entered directly into the size formula |
Pro Tip: In older homes, face frames are sometimes twisted or bowed. If your three width readings vary by more than 1/8", measure at the narrowest point and note the discrepancy in your order. A door sized to the widest reading will bind; sized to the narrowest, it will have a slight gap on one side that you can address with the overlay.
For a detailed walkthrough, Tdm-thedoormaker’s step-by-step measurement guide covers how to collect OW and OH and photograph hinge locations before you calculate anything.
Overlay doors
Single door: DW = OW + 2 × OL; DH = OH + 2 × OL
Double doors: DW per door = (OW + 2 × OL − G) / 2; DH = OH + 2 × OL
Inset and frameless doors
Single door: DW = OW − 2 × RV; DH = OH − 2 × RV
Double doors: DW per door = (OW − 2 × RV − G) / 2; DH = OH − 2 × RV
The overlay and inset formulas follow the same logic in both cases: overlay adds material, inset subtracts it. Round every result to the nearest 1/16" before entering it. To convert a decimal to a fraction, multiply the decimal portion by 16 and round to the nearest whole number (e.g., 0.4375 × 16 = 7, so 0.4375" = 7/16").
Three worked examples:
| Scenario | OW | OH | OL / RV | G | DW | DH |
|---|---|---|---|---|---|---|
| Single overlay (1/2" OL) | 16" | 30" | OL = 1/2" | — | — | — |
| Double overlay (1/2" OL, 1/8" G) | 16" | 30" | OL = 1/2" | 1/8" | 8-7/16" each | — |
| Single inset (1/8" RV) | 16" | 30" | RV = 1/8" | — | 15" | 29" |
For the double-overlay example: (16 + 1 − 0.125) / 2 = 8.4375" = 8-7/16". Rounding to the nearest 1/16" keeps the center gap consistent and prevents the doors from touching or binding at the center.
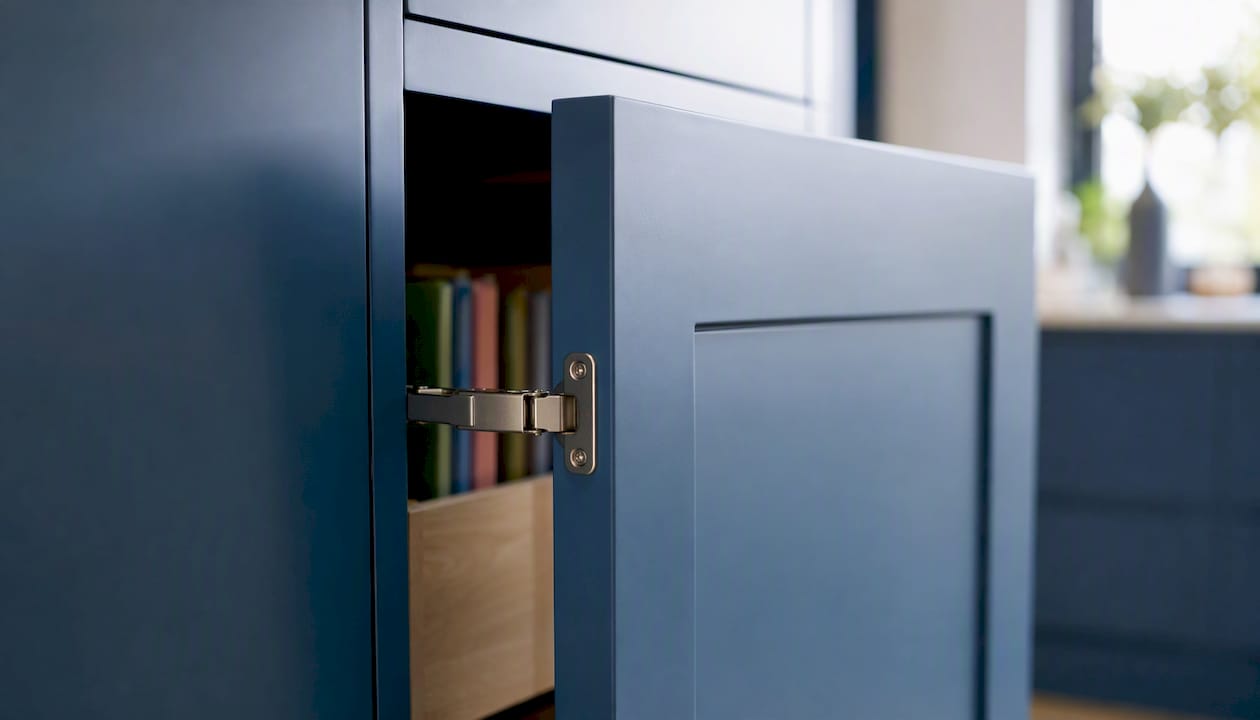
Confirm your hinge’s overlay spec before finalizing OL. Hinge manufacturers publish the exact overlay their cup accommodates; using a mismatched value produces a door that sits crooked or stresses the hinge arm. Tdm-thedoormaker’s full overlay hinge guide explains how to read those specs and match them to your door size.
For inset doors specifically, the reveal choice also depends on material. Solid-wood doors need a slightly larger reveal (around 1/8") to allow for seasonal movement, while thermofoil or MDF faces move very little and can use a tighter 1/16" reveal. You can find more detail on inset-specific reveal recommendations in Tdm-thedoormaker’s inset door measuring guide.
What are the standard overlay, reveal, and center-gap values?
Most cabinet projects use a small set of default values, and knowing them saves time when you are ordering multiple doors at once.
Overlay per side (OL) — common values:
- 1-1/4" full overlay: — covers nearly all of the face frame; gives a cleaner, more modern look
Reveal per side (RV) — inset and frameless:
Center gap (G) — double doors:
When to change these defaults: a very wide door may need a larger center gap to clear soft-close hardware; solid-wood panels in humid climates benefit from a 1/8" reveal rather than 1/16"; decorative alignment across a bank of doors sometimes calls for a consistent overlay that differs from the hinge’s default.
Pro Tip: Always pull the hinge manufacturer’s spec sheet before locking in your OL value. The overlay number printed on the hinge packaging overrides any generic default, and a 1/16" mismatch there can cause the door to sit proud of the frame or bind on closing.
When should you use one door instead of two?
Single doors are suitable within a moderate width range; beyond that, weight and usability concerns often recommend using multiple doors instead. Two doors are the practical answer for openings wider than 24", and they are standard for most base cabinets wider than that threshold.
Hardware and size considerations:
- Minimum door width is typically around 5"–6" for most manufacturers; narrower than that and hinge boring becomes structurally unreliable
- Maximum single-door height varies by manufacturer but commonly caps around 96"; taller doors need additional hinges or reinforced stiles
- Soft-close hinges require a minimum door thickness (usually 5/8"–3/4") and enough stile width to accommodate the cup bore (typically 35mm)
- Wide doors in solid wood may need a center rail or edge reinforcement to resist warping
For a wider opening with typical overlay and center gap, the width is adjusted by adding overlay and subtracting the gap before dividing evenly for two doors, ensuring each door fits correctly. Subtracting the center gap before dividing is the step most people skip, and it is exactly what causes two doors to press against each other at the center. Pantry-style tall doors follow the same logic; One Day Doors & Closets offers useful context on pantry door selection for readers working with taller openings.
How do you enter sizes when placing a custom door order?
Getting the math right is only half the job. Entering the information correctly in the order form is where many projects go sideways.
Ordering checklist (numbered for the configurator flow):
- Confirm you are entering finished door dimensions (DW and DH), not opening dimensions
- Use inches, expressed as a decimal or fraction to the nearest 1/16"
- State overlay or reveal per side clearly, not the total
- List door count per opening and whether it is a single or double pair
- Include the center gap value for any double-door pair
- Specify hinge boring requirements: yes/no, hinge model if known, cup diameter (usually 35mm), and distance from door edge to cup center
- Note door thickness and edge profile if your cabinet box requires a specific fit
Questions to ask your vendor before finalizing:
- Do they drill hinge holes, or do you supply a boring template?
- What thickness options are available, and does the edge profile affect the finished width?
- What are their accepted tolerances (typically ±1/16")?
- What is the lead time, and can you order a single sample door first?
Ordering a sample door before committing to a full production run is one of the most cost-effective steps you can take, especially for nonstandard sizes or unfamiliar finishes. Tdm-thedoormaker’s ordering guide walks through each field in the configurator so you know exactly what to enter. For drawer fronts, the sizing logic is the same; Tdm-thedoormaker’s drawer front guide covers the parallel steps.
Bespoke manufacturers build to the dimensions you supply, so accuracy at this stage determines fit. Include a short note with each line item: the opening’s OW and OH, the hinge model if you are reusing existing hardware, and whether the door is a replacement or for a new build.
Key Takeaways
Finished door size is always calculated from the opening measurement plus or minus your overlay or reveal; entering opening dimensions directly into an order form is the single most common and costly mistake in custom cabinet door sizing.
| Point | Details |
|---|---|
| Measure at three points | Record the smallest OW and OH reading to avoid a door that binds. |
| Apply the correct formula | Add 2 × OL for overlay; subtract 2 × RV for inset; always subtract G before splitting doubles. |
| Confirm hinge overlay spec | The hinge manufacturer’s overlay value sets your OL; never assume a generic default. |
| Order a sample first | A single sample door validates fit, finish, and hinge boring before full production. |
| Tdm-thedoormaker configurator | Tdm-thedoormaker’s online configurator accepts precise custom sizes and offers hinge drilling and sample doors as add-ons. |
Why getting the size right matters more than most people expect
The formulas in this guide are not complicated, but the consequences of skipping steps are real. A door that is 1/4" too wide on a double pair means both doors bind at the center every single time they close. Over months, that stress works the hinge screws loose. A door sized 1/2" too short on an overlay application leaves a visible gap at the top of the frame that no amount of adjustment fixes after the fact.
What surprises most homeowners is how often the problem traces back not to the formula but to a single measurement taken at only one point, or to an overlay value assumed rather than confirmed from the hinge spec. The math is forgiving if the inputs are right. The inputs are only right if you measure carefully and cross-check the hinge catalog before you calculate.
The other thing worth saying plainly: ordering a sample door is not a luxury step. For any nonstandard size, unfamiliar finish, or first-time order with a new vendor, a sample door costs a fraction of a full set and tells you everything you need to know about fit, color accuracy, and hinge-boring placement before you commit. Tdm-thedoormaker’s measure-design-order workflow is built around exactly this kind of deliberate sequencing, and their cabinet door sizing guide walks through each stage with video tutorials if you want to see the process in action.
Tdm-thedoormaker makes custom sizing straightforward
Calculating the right door size is the hard part. Ordering it should not be. Tdm-thedoormaker’s online configurator lets you enter your finished DW and DH directly, choose from over 30 styles and 130+ colors, and add hinge-hole drilling to your order without a separate call or email. Sizing is accepted to 1/10,000" precision, so the number you calculate is the number that gets built.

For homeowners comparing cabinet refacing versus a full remodel, custom doors through Tdm-thedoormaker typically cost a fraction of full replacement while delivering the same visual result. Sample doors and color swatches are available before you commit to a full production run, and the customer support team can confirm hinge specs and drilling locations if you are unsure. Start your order or request a sample at tdm-thedoormaker.com.
Useful resources for verifying specs and calculations
These resources help you confirm hinge specs, run calculations, and check vendor requirements before you place an order.
Calculators and formula references:
- How to determine cabinet door size
- Cabinet Door Calculator | Overlay & Inset Size – Calculator Academy
- Free Cabinet Door Size Calculator | Overlay & Inset | FKD
-
- Replacement Cupboard Doors | Made to Measure
- Made To Measure Cupboard Doors – Probox
Hinge specs and vendor measurement guides:
- Woodshop Diaries: how to determine cabinet door size: clear explanation of overlay math, center-gap subtraction, and why no single standard size exists
-
: video walkthrough of the back-of-door measurement technique for replacement projects
| Resource | Best for |
|---|---|
| Calculator Academy | Quick overlay/inset math with adjustable inputs |
| FKD Calculator | Worked examples and fraction rounding reference |
| Tdm-thedoormaker sizing guide | Formula walkthrough matched to the online configurator |
| Woodshop Diaries | Overlay logic and double-door center-gap guidance |
| YouTube measurement video | Replacement door technique and hinge reuse decisions |