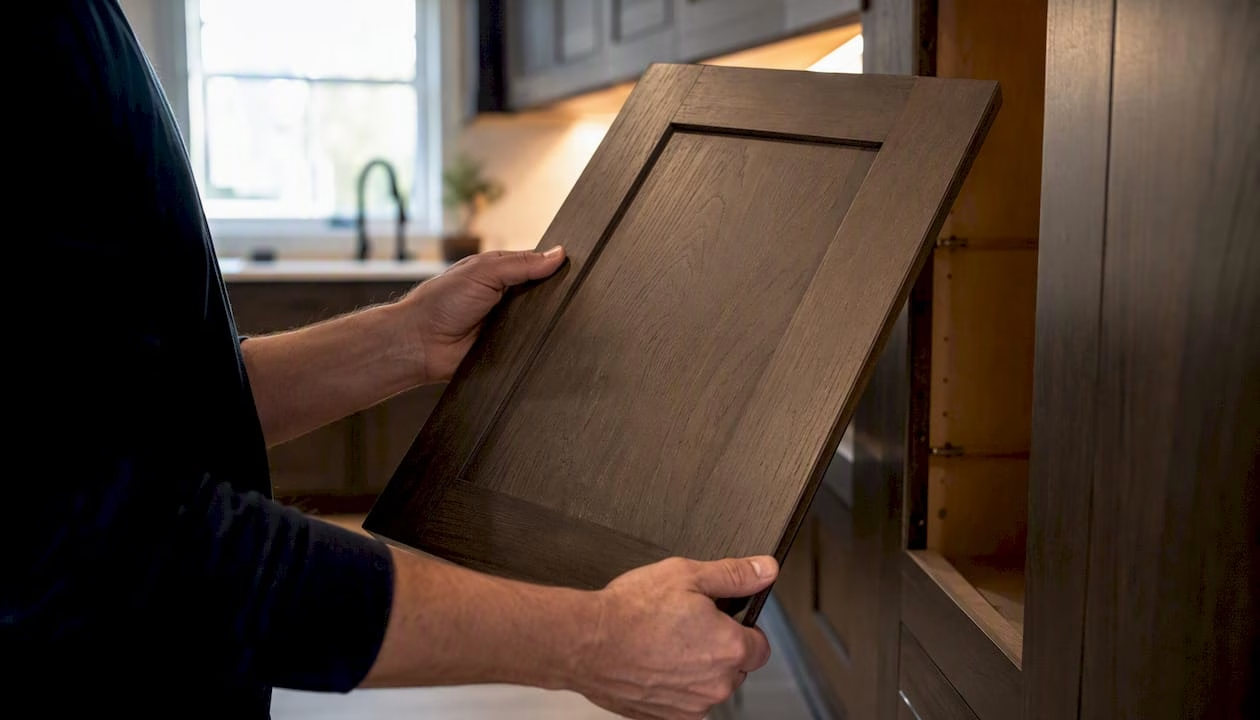
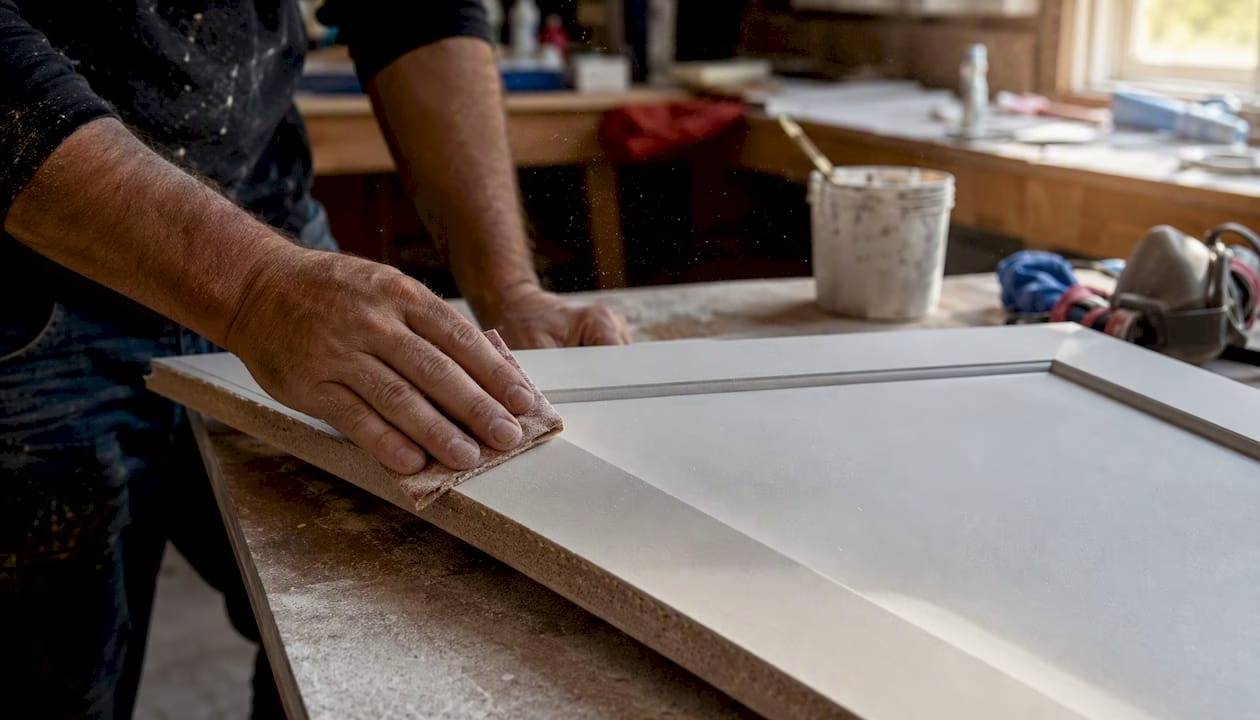
Seal the edges, prime with a shellac or solvent-based product, and apply multiple thin coats. That is the short version of MDF door paint prep, and every step that follows exists to protect those three principles. Skip the edge sealing and you will have fuzzy, swollen borders no amount of topcoat can hide. Reach for a water-based primer on raw edges and you will raise fibers before the first coat dries. Rush the coats and you will trap solvent, get brush marks, and wonder where you went wrong. Done right, a single door takes several days from bare panel to rehang, including dry windows.
Here is a quick checklist to orient the project before you read the detail:
- Protect your workspace and put on PPE (N95 respirator, safety glasses)
- Inspect the door: face, edges, routed profiles, and any prior finish
- Seal and fill edges with thinned drywall compound, Zinsser BIN shellac, or a PVA glue-size
- Sand faces at 220 grit, edges at 150 then 220 grit; vacuum and tack-cloth thoroughly
- Prime with a shellac-based or solvent-based primer (two coats minimum)
- Apply two or more thin topcoats, sanding lightly at 320 grit between them
- Finish with a durable sealer on high-traffic doors; allow 30 days for full cure before heavy cleaning
Pro Tip: Before committing to a full set of doors, run the entire process on a scrap piece of MDF cut from the same sheet. You will catch edge-sealing gaps and primer incompatibilities before they cost you a door.
Key Takeaways
Sealing edges before any water-based product touches them is the single most important step in MDF door paint prep, and skipping it causes most of the finish failures DIYers encounter.
| Point | Details |
|---|---|
| Seal edges first | Use Zinsser BIN shellac or thinned joint compound before any primer or paint touches raw edges. |
| Use the right primer | Shellac-based (BIN) or solvent-based (KILZ) primers prevent fiber raising on raw MDF; avoid latex as the first coat. |
| Apply multiple thin coats | Two primer coats and two topcoats minimum; thin coats with inter-coat sanding outperform heavy single coats. |
| Sand between every coat | 220 grit between primer coats; 320 grit between topcoats; always tack-cloth before the next coat. |
| Allow full cure time | Paint feels dry in hours but needs 30 days to fully harden before heavy cleaning in high-use areas. |
| Tdm-thedoormaker option | Pre-finished custom doors skip the prep entirely and arrive sized to 1/10,000" with a factory-applied finish. |
Table of Contents
- What does MDF door paint prep actually involve?
- Protect your workspace, your lungs, and gather your tools
- Inspect the MDF door before you touch a sander
- How to seal porous edges and fill damage before priming
- Sanding grits and dust removal: what to use and when
- Which primer works on MDF and how to apply it correctly
- How to apply paint: brush, roll, or spray for a smooth result
- Choosing a durable topcoat or sealer for door surfaces
- Step-by-step workflow and realistic timeline for one door
- Common finish failures and how to fix them
- Products and tools available to Canadian DIYers
- When DIY prep is worth it and when it is not
- Pre-finished custom doors: a practical alternative to DIY painting
- Sources
What does MDF door paint prep actually involve?
MDF (medium-density fiberboard) is a manufactured panel made from wood fibers, wax, and resin pressed under heat. The face is factory-sanded to roughly 150 grit and relatively smooth. The edges are a different story: they are porous, thirsty, and will swell or fuzz if you apply any water-based product without sealing them first. General Finishes confirms that edges need to be sanded around 150 grit and sealed with filler or joint compound before any primer goes on, while the face needs only a light scuff and priming.
The face and the edge behave like two different materials. Treat them that way and the rest of the process falls into place.
Protect your workspace, your lungs, and gather your tools
MDF dust is not ordinary sawdust. The resin binders that hold the fibers together produce fine, sticky particles that stay airborne longer than wood dust and irritate the respiratory tract. An N95 or P2 respirator is the minimum; a half-face respirator with P100 cartridges is better for extended sanding sessions. Add safety glasses or goggles, and disposable coveralls if you are working indoors.

Lowe’s how-to guidance puts protecting the work area and wearing a mask and eye protection as the first step in the sequence, before any sanding or priming begins. That sequencing is deliberate: once dust is in the air, it settles on every surface you are about to prime.
Workspace setup:
- Lay drop cloths under and around the door
- Tape off any adjacent surfaces or hardware you are not removing
- Use a vacuum with a HEPA or fine-dust filter bag; a shop vac with a standard filter recirculates MDF particles
- Keep a tack cloth and a clean lint-free rag within reach at all times
Tool checklist:
- N95 or P100 respirator, safety glasses, disposable gloves
- Random-orbit sander (use on a low setting; aggressive sanding raises fibers)
- Sanding blocks and a sanding sponge for profiles and edges
- 120, 150, 220, and 320 grit sandpaper
- Foam roller (short nap, 4-inch for doors), angled brush for profiles
- Putty knife and mixing cup for filler
- Tack cloths (several)
- HVLP sprayer if available (rental is a practical option for a full kitchen set)
Inspect the MDF door before you touch a sander
Not all MDF is equal. Higher-density panels machine more cleanly and need less remedial prep. Lower-density boards show fiber tear-out at routed profiles, rough edges, and sometimes pitting across the face. WoodWeb’s knowledge base notes that machining quality and panel density directly affect how much prep work a door needs before it will hold a smooth finish.
Run your hand across the face and edges before you do anything else. You are looking for:
- Face: pitting, machine marks, fiber fuzz, or any prior finish (paint, oil, wax)
- Routed profiles: tear-out, chipped corners, or rough transitions where the router bit exited
- Edges and ends: porosity level, any delamination, chips, or swelling from prior moisture
- Center panel (if raised): gaps at the glue line, pitting, or uneven surface
Remove hardware and take the door off its hinges for bench work whenever possible. Working flat gives you better control over filler and primer application, and gravity keeps wet product from running into profiles.
Pro Tip: If the edges show significant delamination, deep chips, or the face has extensive pitting across a large portion of its area, factor in the repair time honestly. A door in that condition can take significantly longer to prep than a clean one. At that point, ordering a custom pre-finished door is often faster and cheaper than the labor of restoration.
How to seal porous edges and fill damage before priming
Edges are where MDF paint prep either succeeds or fails. The end-grain structure of the compressed fibers absorbs liquid like a sponge, which means a water-based primer applied directly to a raw edge will raise fibers, cause swelling, and leave a texture that no amount of sanding fully corrects. Seal first, always.
CompositePaint’s MDF guide ranks the edge-finishing options this way:
- Thinned drywall joint compound (best fill, slowest): thin to a creamy consistency and apply two passes with a putty knife, letting each pass dry fully. It fills well and sands to a feathered profile, but adds time.
- Zinsser BIN shellac-based primer (fast, sands well): brush or roll directly onto raw edges. It penetrates and locks fibers quickly, dries in 45 minutes, and sands cleanly. This is the go-to when time matters.
- PVA glue-size (cheap, effective for small jobs): mix PVA (white glue) with water at roughly 10:1 and brush onto edges. It seals adequately on a budget but does not fill chips or pitting.
For chips, dents, and pitting, Timbermate water-based wood filler is a trusted choice among cabinet painters. It sands cleanly, accepts primer well, and does not shrink significantly on thin applications. For deeper defects, a lightweight spackle works on the face; Bondo (auto-body filler) is an option for structural chips on edges where you need a fast, hard fill.
Application sequence for edges:
- Apply your chosen sealer or filler in two thin passes rather than one thick one
- Let the first pass dry completely before the second (check the product’s recoat window)
- Sand edges at 150 grit after the first pass to knock down any raised fibers, then 220 grit after the second
- Feather the filler into the surrounding surface so there is no visible ridge at the transition
Pro Tip: Seal both faces of the door, not just the visible side. CompositePaint confirms that sealing both sides reduces moisture migration and the risk of cupping or warping over time, especially in kitchens and bathrooms where humidity fluctuates.
Sanding grits and dust removal: what to use and when
| Surface | First Pass | Second Pass | Between Finish Coats |
|---|---|---|---|
| Face | 220 grit (scuff only) | 220 grit after primer | 320 grit |
| Edges | 150 grit | 220 grit | 320 grit |
| Routed profiles | Sanding sponge 220 | Sanding sponge 220 | 320 sponge |
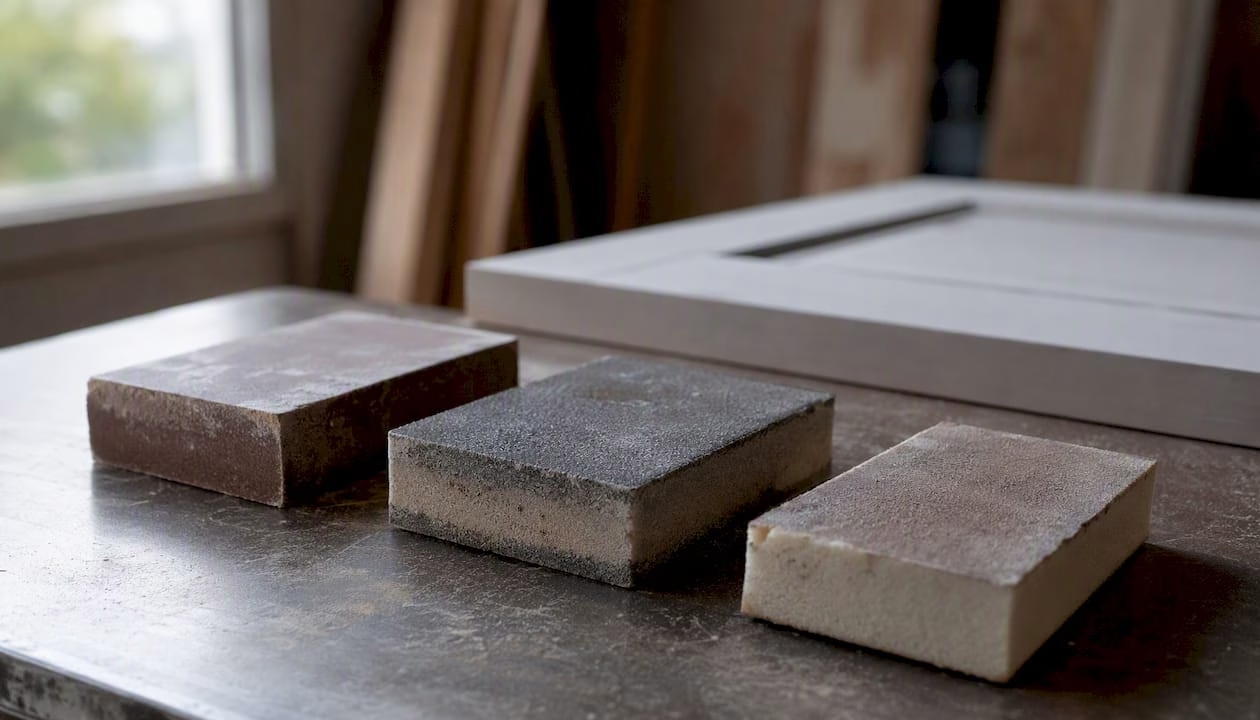
Never use coarser than 220 grit on the face. WoodWeb’s forum contributors are consistent on this: coarser grits pull the resin-bonded fibers and create pinholes that show through the topcoat. The face only needs a light scuff to give the primer something to grip. Edges need more aggressive prep because the fiber structure is more open, but you still finish at 220 before priming.
The technique matters as much as the grit. On the face, use a sanding block and move with the grain direction of the surface veneer, applying light, even pressure. On edges, a sanding block keeps the surface flat; a sanding sponge handles profiles without digging in.
Dust removal sequence:
- Vacuum the entire door with a brush attachment, including profiles and corners
- Follow immediately with a tack cloth, wiping in one direction rather than back-and-forth
- Use compressed air (if available) to blow out deep profile grooves before vacuuming
- Repeat the tack-cloth pass right before priming, even if the door looks clean
MDF dust is fine and sticky. It clings to surfaces and will show as texture under primer if you skip the tack-cloth step. Wear your respirator during sanding and for at least 10 minutes after, while airborne particles settle.
Which primer works on MDF and how to apply it correctly
The primer decision is the most consequential choice in the whole process. Water-based latex primers applied directly to raw MDF edges raise fibers and cause swelling. Bob Vila’s MDF painting guide is direct: prime raw MDF with a solvent-based primer such as Zinsser BIN or KILZ, and avoid water-based primers for the initial seal.
Primary primer options:
- Zinsser BIN (shellac-based): the standard recommendation for locking MDF edges. It penetrates fast, dries in 45 minutes, and sands to a smooth surface. The shellac base does not raise fibers. Downside: strong odor, requires denatured alcohol for cleanup.
- KILZ Original (oil/solvent-based): excellent stain-blocking and adhesion on raw MDF. Slower dry time than BIN (1 hour), but easier cleanup with mineral spirits and slightly less odor.
- General Finishes White Undercoat: a trusted option among professional cabinet painters for countering MDF’s natural brown tone when painting whites or light colors. It builds well and sands cleanly between coats.
- INSL-X Stix (waterborne bonding primer): a high-adhesion waterborne option that some pros use after an initial shellac seal coat on edges. Not a substitute for the first seal, but a solid second-coat choice.
Pro Tip: If you are painting a white or off-white topcoat over MDF, the panel’s brown tone will bleed through a standard gray or white primer in thin coats. General Finishes White Undercoat or a tinted BIN (tinted to near-white at the paint counter) gives you a neutral base that requires fewer topcoats to achieve full opacity.
How to apply primer:
- Apply two coats minimum; CompositePaint’s two-coat rule is the baseline for MDF
- Use thin, even coats rather than one heavy build coat; flooding edges causes runs and uneven sealing
- For the first coat, a foam roller covers the face efficiently; use a brush for profiles and edges
- Allow full dry time between coats (check the product data sheet, not just the label)
- Sand lightly at 220 grit between primer coats to knock down any raised texture, then tack-cloth before the next coat
Common primer mistakes:
- Applying latex primer directly to raw edges (raises fibers immediately)
- Flooding edges with too much product in one pass (causes runs and uneven sealing)
- Skipping the inter-coat sand (leaves texture that telegraphs through the topcoat)
- Using only one primer coat on MDF (never enough coverage or sealing)
How to apply paint: brush, roll, or spray for a smooth result
The application method shapes the final finish more than the paint brand does. For cabinet-door quality results, spraying with an HVLP or airless sprayer produces the smoothest surface. Rolling with a short-nap foam roller is the practical choice for most DIYers and gives a near-spray finish if you back-brush lightly to level the stipple. Brushing alone, without rolling, leaves brush marks that are difficult to sand out on a flat panel.
Stepwise application:
- Confirm the primed surface is clean, dust-free, and lightly scuffed at 220 grit
- Apply the first topcoat as a thin, even film; do not try to achieve full coverage in one pass
- Allow the full recoat window (waterborne alkyds typically 2–4 hours; check your product’s data sheet)
- Sand lightly at 320 grit, then tack-cloth before the second coat
- Apply the second topcoat; for most doors, two coats of a quality paint over two primer coats is sufficient
- For a truly factory-level finish, a third thin coat sanded at 400 grit before the final pass eliminates any remaining texture
Topcoat choices:
- Waterborne alkyd enamels (Benjamin Moore Advance, Sherwin-Williams Emerald Urethane): level exceptionally well, dry hard, and are the current professional standard for painted cabinet doors
- High-quality acrylic enamels: a solid choice; look for products with a high solids content (above 35%) for better build and durability
- Avoid flat or matte sheens on doors; semi-gloss or satin are the practical range for painted doors, balancing durability with a forgiving surface
Pro Tip: Professional forum contributors describe the mindset as “surrendering” to thin coats. The instinct to load more paint to cover a defect always backfires on MDF. Thin coats, patience, and inter-coat sanding are what separate a durable finish from one that peels within a year.
Allow 30 days for full cure before aggressive cleaning in high-use areas. The paint may feel dry to the touch in hours, but the film continues to harden for weeks.
Choosing a durable topcoat or sealer for door surfaces
Not every painted door needs a separate protective topcoat, but high-traffic doors benefit from one. Kitchen cabinet doors, bathroom vanity doors, and any door that gets touched with wet or greasy hands will outlast an unprotected paint film by years when a sealer is added.
Topcoat options:
- Water-based polyurethane: the most accessible option for DIYers; applies over cured acrylic or alkyd paint; adds a hard, cleanable surface. Look for a product rated for cabinetry or floors rather than a general-purpose poly.
- Conversion varnish: the professional cabinet shop standard; extremely hard and chemical-resistant, but requires spray application and careful mixing. Not practical for most DIY setups.
- Lacquer (waterborne): fast-drying and sandable; used in shop workflows for speed. Requires good ventilation and ideally a spray setup.
- Wax: not appropriate for doors. Wax softens with heat and cannot be cleaned with detergents without stripping the finish.
Compatibility check before you apply:
- Confirm the sealer is compatible with your paint’s resin chemistry (oil-based sealer over waterborne paint can cause adhesion failure)
- Read the product’s technical data sheet (TDS) for the recommended intercoat window and surface prep
- Test on a scrap piece painted with the same system before applying to the door
Pro Tip: For color guidance before you commit to a sheen or topcoat, this resource on interior door color is worth a quick read. Sheen and color interact: a high-gloss sealer amplifies surface imperfections, while satin hides minor texture variations.
Decorative trim and low-traffic doors generally do not need a separate topcoat if the paint system is a quality alkyd enamel. Save the extra step for where it earns its keep.
Step-by-step workflow and realistic timeline for one door
Day 1 (2–3 hours active work):
- Remove hardware; take the door off hinges and lay it flat on sawhorses
- Inspect face, edges, profiles, and ends; note repairs needed
- Sand edges at 150 grit; sand face at 220 grit (scuff only)
- Apply edge sealer (Zinsser BIN or thinned joint compound); let dry per product instructions
- Fill chips and pitting with Timbermate or lightweight spackle; let dry
- Sand filled areas smooth (150 then 220 on edges; 220 on face); vacuum and tack-cloth
- Apply first primer coat; let dry fully (45 minutes for BIN; 1 hour for KILZ)
Day 2 (1.5–2 hours active work):
- Lightly sand primed surface at 220 grit; vacuum and tack-cloth
- Apply second primer coat; let dry fully
- Inspect for any remaining texture or pitting; spot-fill if needed
- Apply first topcoat; let dry to recoat window (2–4 hours for waterborne alkyd)
- Sand lightly at 320 grit; tack-cloth
Day 3 (1–1.5 hours active work):
- Apply second topcoat; let dry overnight
- Apply sealer if required (high-traffic doors); let cure per TDS
- Rehang door and reinstall hardware after 24–48 hours dry time; do not slam or stress the finish
- Wait 30 days before cleaning with anything stronger than a damp cloth
Quick single-door checklist:
- Remove hardware and door
- Inspect and plan repairs
- Seal edges; fill defects
- Sand, vacuum, tack-cloth
- Two primer coats with inter-coat sand
- Two topcoats with inter-coat sand
- Sealer (if needed)
- Rehang after 24–48 hours
Common finish failures and how to fix them
Fuzzy edges: caused by water-based primer on unsealed raw edges. Fix: sand back to bare MDF at the edge (150 grit), re-seal with Zinsser BIN, let cure, then re-prime.
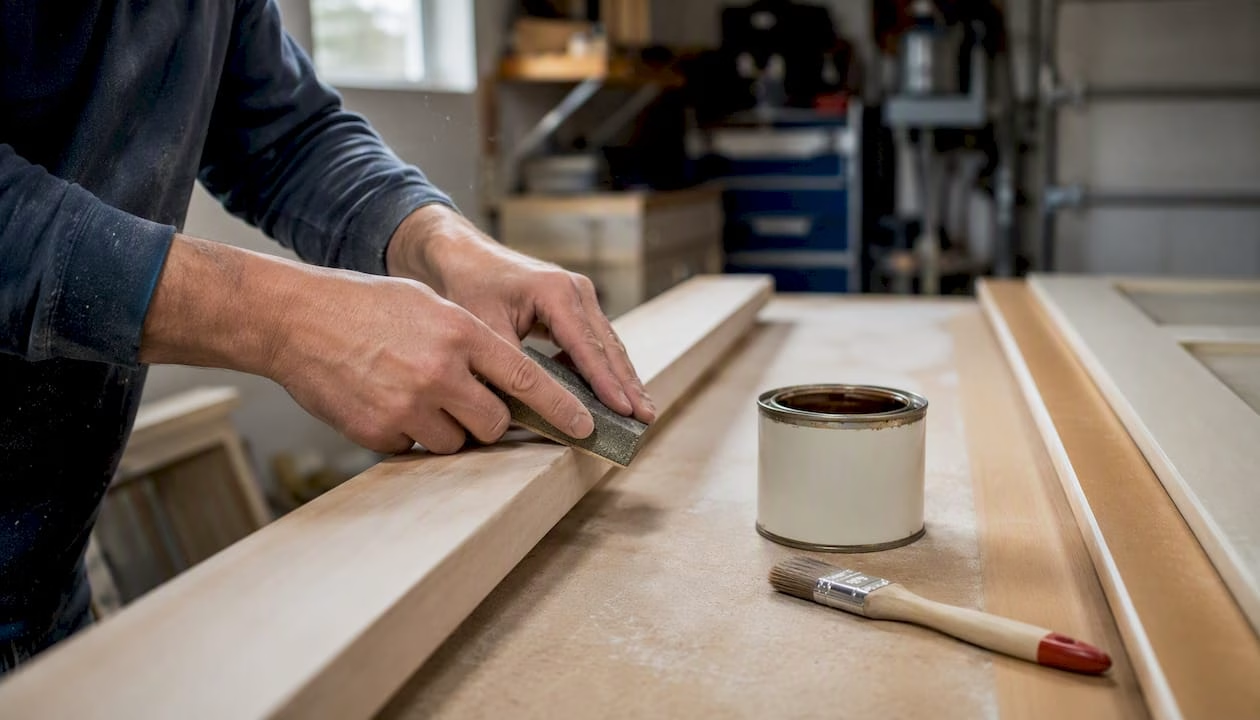
Pinholing on the face: caused by sanding with too coarse a grit (below 220) or by applying primer too heavily over a dusty surface. Fix: sand the affected area at 220 grit, tack-cloth, and apply a thin primer coat. If pinholes are deep, skim with Timbermate, sand, and re-prime.
Brush or roller marks in the topcoat: caused by overworking wet paint or using a roller with too long a nap. Fix: sand at 320 grit once fully dry, tack-cloth, and apply a thin leveling coat. Switch to a short-nap foam roller or an HVLP sprayer.
Poor adhesion (peeling or flaking): usually caused by skipping primer, using an incompatible primer/paint combination, or painting over a contaminated surface. Fix: strip the affected area back to bare MDF or primer, degrease with a mild detergent solution (warm water and a small amount of dish soap works; The Spruce recommends warm water and mild detergent for cleaning painted cabinet surfaces), let dry completely, and re-prime correctly.
Swelling at edges: caused by moisture penetration before sealing. If the swelling is minor, sand back aggressively, re-seal, and re-prime. If the edge has delaminated or the panel has cupped, the door is past practical repair.
Pro Tip: When a door has multiple compounding problems (swelling plus delamination plus pitting), the honest calculation is time versus replacement cost. A single custom door from a supplier like Tdm-thedoormaker, sized to your exact opening, often costs less than the hours of remedial work on a badly damaged panel.
Products and tools available to Canadian DIYers
Canadian DIYers have solid access to the key products this process calls for, mostly through Home Depot Canada, Rona, and independent paint stores.
Primers and sealers:
- Zinsser BIN shellac-based primer: available at Home Depot Canada and most paint stores; sold in quarts and gallons. The go-to for edge sealing.
- KILZ Original (oil-based): available at Home Depot Canada; the solvent-based option for stain blocking and strong adhesion on raw MDF.
- General Finishes White Undercoat: available through specialty paint retailers and online; worth sourcing for white or light-color topcoat projects.
Fillers:
- Timbermate water-based wood filler: available at Rona, Lee Valley, and some Home Depot locations; comes in several tones including a neutral that accepts paint well.
Sandpaper:
- 3M Pro Grade Precision and Norton ProSand are widely available in the grits you need (120, 150, 220, 320); sold in multi-packs at most big-box stores.
Rollers and brushes:
- Purdy and Wooster foam rollers (4-inch, short nap) are the standard choice for door panels; available at most paint counters.
Pro Tip: Before buying a full gallon of any primer or topcoat, ask the paint counter for a quart or check whether the product is available in a sample size. Run your test piece with the exact products you plan to use on the full set. Recoat windows and dry times on the product’s technical data sheet (TDS) are more reliable than the label, and the TDS is usually downloadable from the manufacturer’s website.
HVLP sprayers are available for rent at most Home Depot Canada locations. For a full kitchen set of doors, a one-day rental is worth it. For one or two doors, a quality foam roller produces a finish close enough to spray that the rental cost rarely pays off.
When DIY prep is worth it and when it is not
There is a version of this project that goes beautifully: you take your time, seal the edges properly, use the right primer, apply thin coats, and end up with doors that look like they came from a factory. That outcome is genuinely achievable for a patient DIYer with the right products.
But there is another version that most guides do not mention. MDF is unforgiving of shortcuts in a way that solid wood is not. A missed edge, a single water-based primer coat on a raw end, or one coat applied too thick can set off a chain of repairs that doubles the project timeline. The material’s density and machining quality affect how much prep it needs, and you often do not know which category your doors fall into until you are already mid-project.
The DIY route makes the most sense when you have a small number of doors, you enjoy the process, and you have the time to do it across several days without rushing dry windows. It makes less sense when you are working with a full kitchen set, the doors have significant edge damage, or your timeline is tight.
Tdm-thedoormaker’s measure-design-order workflow exists precisely for that second scenario. The advantages of MDF as a cabinet door material are real, but they show up most reliably when the finishing is done under controlled shop conditions, not in a garage in February. A pre-finished door arrives ready to hang, sized to 1/10,000", with a factory finish that no brush or roller will replicate at home.
Pre-finished custom doors: a practical alternative to DIY painting
If the prep process described here sounds like more time than your project allows, Tdm-thedoormaker offers a direct alternative. Custom cabinet doors are available in over 30 styles and 130+ colors and finishes, sized precisely to your measurements through an online configurator that walks you through measure, design, and order in three steps.

The tradeoff is straightforward: a pre-finished door costs more upfront than a sheet of raw MDF and a can of primer. What you get in return is a factory-applied finish that skips three days of prep, eliminates the risk of edge swelling or primer failure, and arrives ready to hang. For a full kitchen set, the time saved typically outweighs the price difference. Sample doors and color swatches are available so you can confirm the finish before committing to the full order. Visit Tdm-thedoormaker to configure your doors and request samples.
Sources
The following sources were used to build this guide. Each is worth bookmarking for product-specific details and deeper technical background.
- Painting MDF Cabinet Doors
- How Do I Prep MDF Before Painting?
- How to Paint MDF (and Stop the Edges from Swelling) — CompositePaint
Always download the technical data sheet (TDS) for any primer, paint, or sealer you use. The TDS gives you the actual recoat windows, dry times, and surface prep requirements that the label summarizes. Manufacturer websites publish these for free, and they are the most reliable reference for timing your project correctly.