Two tone cabinets work well for most kitchens, and the lowest-risk way to get the look is to keep your upper cabinets in a neutral white or off-white and use a bolder color or wood tone on the lowers or island. You don’t need a full remodel. According to reports, two-tone kitchen cabinets remain a popular strategy in U.S. residential renovations, with a significant share of homeowners choosing white for uppers and bolder tones below. The fastest path to the look: choose your layout, pick one neutral plus one accent, then decide whether to paint, reface, or replace. Refacing with custom doors through Tdm-thedoormaker typically costs a fraction of full replacement and can be completed without gutting your kitchen.
Quick action steps:
- Choose your layout: island accent, upper/lower split, or perimeter plus pantry wall
- Pick one neutral and one accent color that share an undertone
- Decide your method: paint (lowest cost, shortest life), refacing (best value), or full replacement (highest cost)
- Order sample doors or paint chips before committing
- Confirm hardware finish across both tones before ordering
Table of Contents
- What are the most popular two-tone color pairings right now?
- Why does two-tone work? The visual rules behind the look
- How do you pick two colors that actually work together?
- Paint, refacing, or full replacement: which method fits your project?
- Where should you put the second color in your kitchen layout?
- What are the most common two-tone cabinet mistakes homeowners regret?
- How does refacing with Tdm-thedoormaker deliver a two-tone result?
- How do painted and refaced cabinets differ in durability and maintenance?
- How does lighting affect two-tone cabinets and how should you plan for it?
- Key Takeaways
- The case for starting smaller than you think
- Tdm-thedoormaker makes two-tone refacing practical for real kitchens
- Sources and further reading
What are the most popular two-tone color pairings right now?
The combinations that hold up best over time share one quality: one tone is clearly the supporting player. Designers consistently recommend pairing one neutral with one accent, and earth-based greens, terracottas, and warm browns are among the most liveable accents heading into 2026.
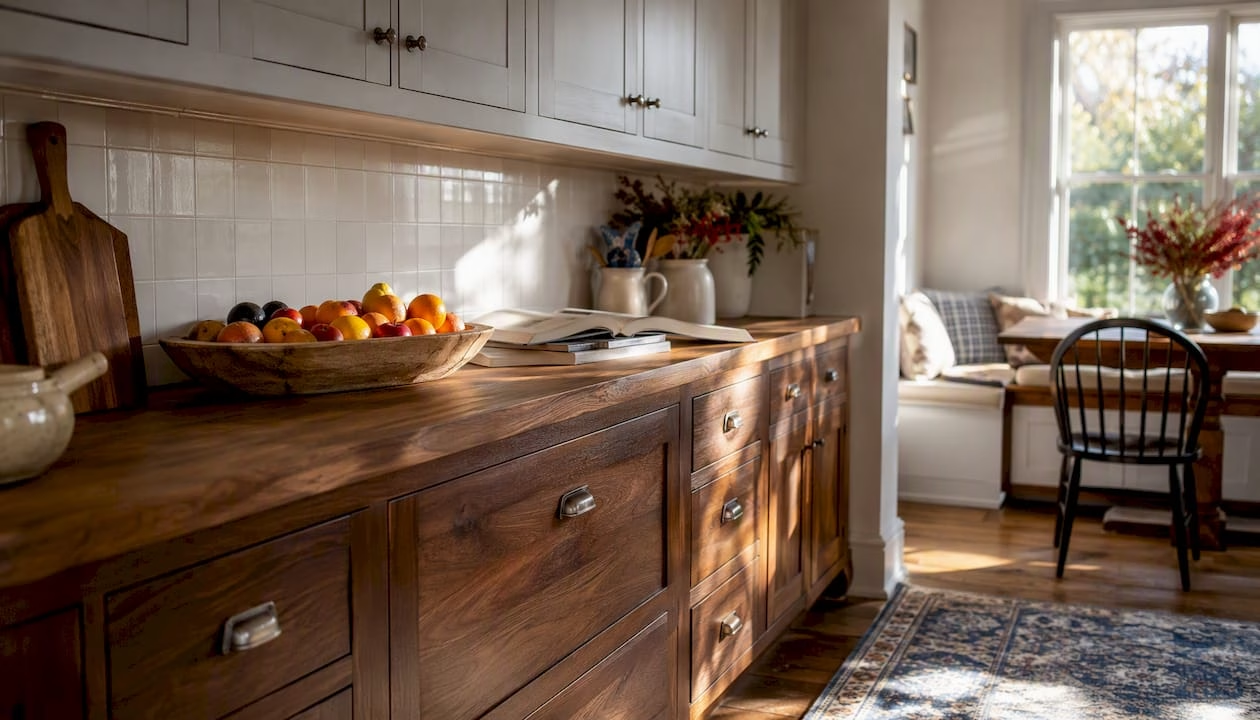
Warm white uppers + medium walnut lowers. This is the most universally flattering pairing. The warmth in the wood and the warmth in the white reinforce each other, and the result reads as intentional rather than trendy. Works especially well in open-plan kitchens where the wood grain adds texture without competing with the rest of the room.
Cream or khaki uppers + smoky sage green lowers. A softer take on the green trend. Sage reads as a neutral in most lighting, so the contrast is subtle enough for smaller kitchens. Pair with brushed nickel or matte black hardware for a clean finish.
Greige uppers + walnut island. Greige (a gray-beige blend) is one of the most flexible upper cabinet colors because it reads warm or cool depending on the light. A walnut island against greige perimeter cabinets gives you a two-tone result without any painted accent at all.
White uppers + deep indigo or navy lowers. A classic tuxedo pairing. Navy lowers ground the room and feel more timeless than trendy. Home Depot’s design guidance recommends testing sample doors in your own lighting before committing to a deep color, since navy can shift significantly between natural and artificial light.
Wood perimeter + bold island. Keep the surrounding cabinets in a consistent wood tone and let the island carry a single saturated color: forest green, terracotta, or deep slate blue. This approach works in contemporary and transitional kitchens and is the easiest to update later.
When choosing finishes, ISTC notes that bar pulls dominate hardware trends, with brushed nickel, matte black, and brushed gold as the most common finishes. Picking one hardware finish across both tones is one of the simplest ways to make a two-tone scheme feel cohesive rather than accidental.
Among homeowners choosing a light upper cabinet color, many pick white, off-white, or a wood tone, while lower cabinets tend to be in wood, blue, green, or deep neutral shades.
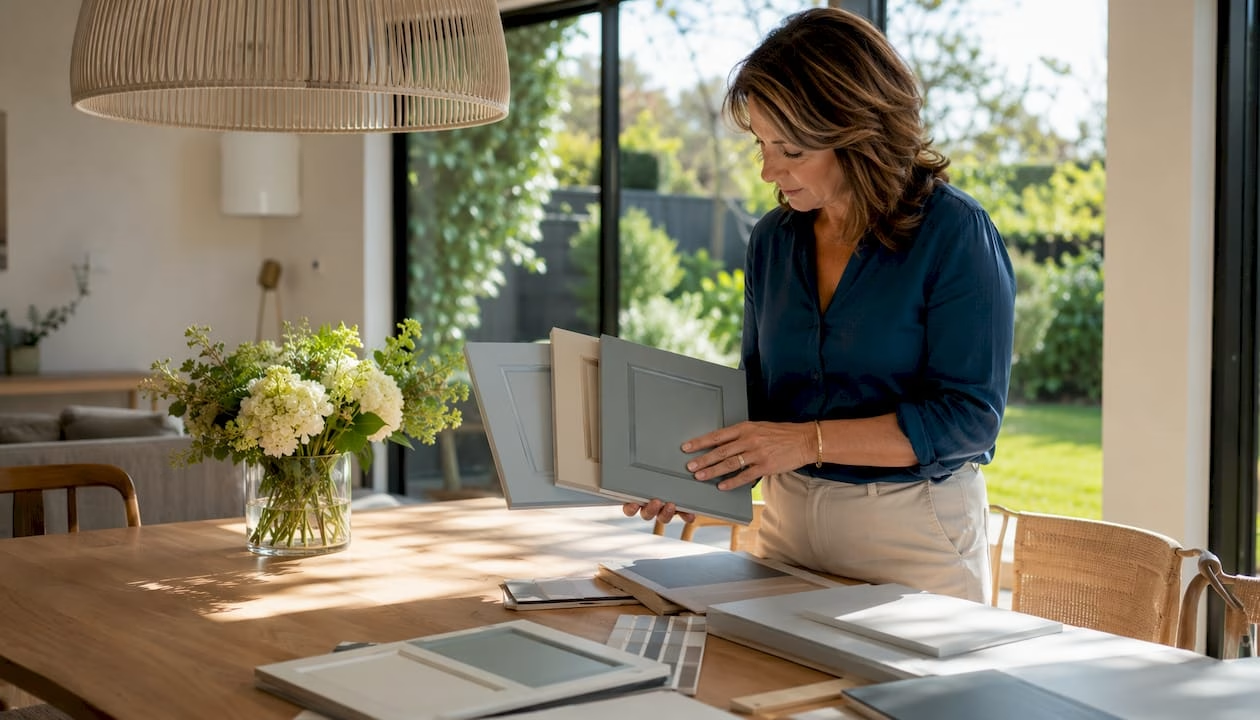
Pro Tip: Order sample doors in both colors and place them side by side in your kitchen at different times of day. A pairing that looks balanced at noon can feel off under warm evening lighting. Tdm-thedoormaker offers sample doors so you can test before you commit.
For more color direction, the 2026 kitchen refacing color trends guide from Tdm-thedoormaker covers the palettes gaining traction this year.
Why does two-tone work? The visual rules behind the look
The light-uppers/dark-lowers principle works because it mirrors how we perceive architectural weight. Lighter colors recede visually, so pale upper cabinets push the ceiling up and make the room feel taller. Darker lowers anchor the space without making it feel closed in. In a small kitchen, this single decision can do more for the perceived size of the room than any other design choice.
The 70/30 dominance rule prevents the room from feeling visually split. One color should cover roughly 70% of the cabinet surface; the accent covers the remaining 30%. When both tones compete for equal space, the eye has nowhere to rest and the kitchen reads as busy rather than layered.
Undertone matching is where most homeowners go wrong. Warm woods pair with warm whites (creamy, ivory, or slightly yellow-based whites). Cool tones like navy or slate pair with cool whites (bright, slightly blue-based whites). To test undertones, hold your paint chip or sample door next to your countertop and floor sample in natural light. If the white looks dingy or yellow next to a cool counter, it’s a warm white and the pairing will fight. Boise Cabinet Co’s guidance reinforces this: tying the palette to counters and floors is one of the three keys to a successful two-tone scheme.
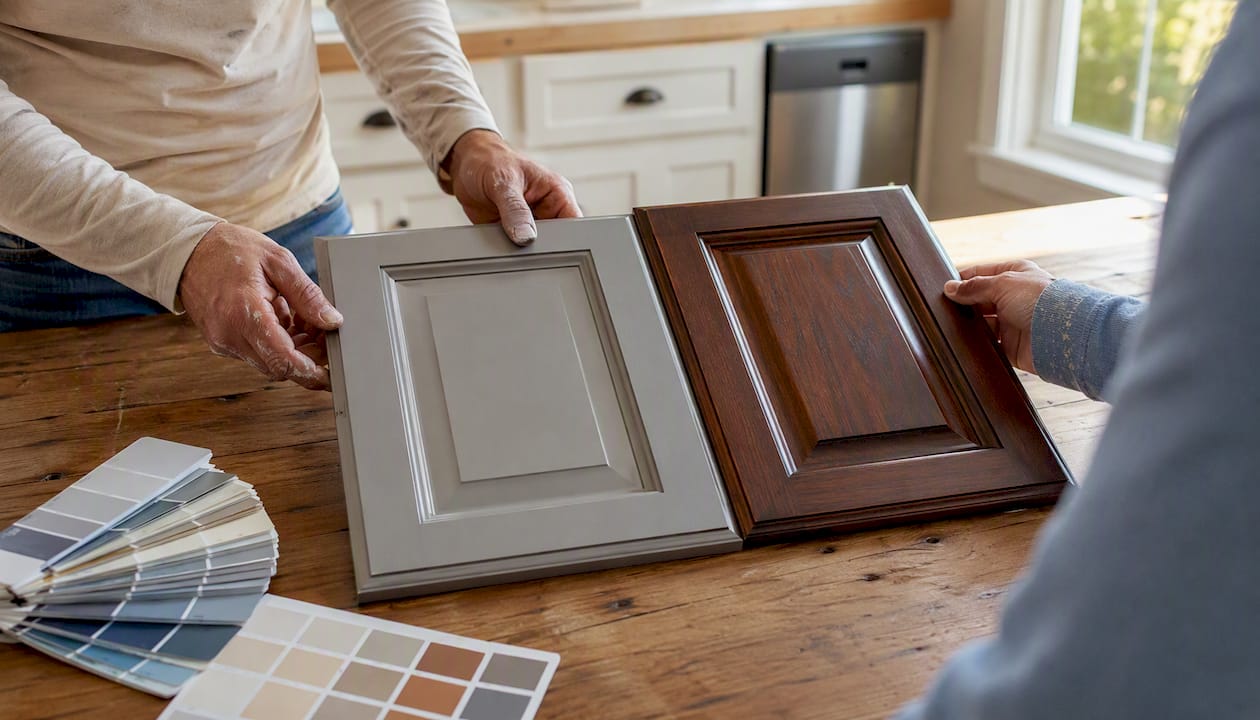
Consistent door profiles matter as much as color. If your upper cabinets have a shaker-style door and your lowers have a flat-panel door, the kitchen reads as two separate projects rather than one intentional design. Choose a vendor that offers the same door profile across multiple finishes so both tones share the same frame. Tdm-thedoormaker’s catalog covers over 30 door styles in 130+ colors and finishes, which makes it straightforward to hold a single profile across two tones.
Pro Tip: When you’re unsure where to put the accent color, start with the island. It’s physically separate from the perimeter cabinets, so it reads as a deliberate design choice rather than a mismatch, and it’s far easier to repaint or reface a single island later than to redo an entire lower run.
How do you pick two colors that actually work together?
Start with one neutral and one accent. The neutral gives the eye a place to rest; the accent does the visual work. This is the safest approach because a neutral upper cabinet will coordinate with almost any countertop or flooring change you make in the future.
Step-by-step color selection process:
- Identify your countertop undertone. Hold a white piece of paper next to your counter. If the counter looks warm (beige, cream, gold), you need a warm neutral. If it looks cool (gray, blue, green), choose a cool neutral.
- Pull two or three accent options that share that undertone. If your counters are warm, consider sage green, terracotta, or warm navy. If cool, look at slate blue, deep teal, or charcoal.
- Order sample doors or large paint chips in both colors. Place them on the actual cabinet surfaces, not just held up in the air.
- Photograph the samples with your phone under natural light, under overhead lighting, and in the evening. Colors shift more than most people expect.
- Live with the samples for at least two days before deciding.
A few additional checks worth running:
- Place the accent sample next to your flooring material. Wood floors with red undertones will clash with a green-based accent unless the green leans warm.
- Check the finish. Matte finishes absorb light and make colors look slightly darker and more muted. Gloss finishes reflect light and intensify the color. In a low-light kitchen, a matte deep color can feel heavy; a satin finish on the same color reads lighter.
- Keep the door profile identical across both colors. Switching profiles between uppers and lowers is one of the most common mistakes in two-tone kitchen design.
For a practical look at how finish type affects color perception, the thermofoil versus painted cabinet fronts comparison from Tdm-thedoormaker covers the differences in durability and color consistency between finish types.
Pro Tip: If you’re torn between two accent colors, choose the one that appears in your countertop, backsplash, or flooring. Pulling a color that already exists in the room creates cohesion without effort.
Paint, refacing, or full replacement: which method fits your project?
For most homeowners, cabinet refacing with custom doors delivers the best balance of cost, durability, and finish quality. Painting is the cheapest entry point but requires the most maintenance over time. Full replacement makes sense only when the cabinet boxes themselves are damaged or when a layout change is needed.
| Method | Typical U.S. Cost Range | Timeline | Durability | Finish Options | Disruption | Updateable Later |
|---|---|---|---|---|---|---|
| Paint (DIY) | $200–$500 | 2–5 days | 3–5 years | Limited to paint colors | Low | Yes, repaint |
| Paint (professional) | — | 3 days | 5–10 years | Paint colors, some glazes | Low–Medium | Yes, repaint |
| Cabinet refacing (custom doors) | $1,500–$5,000 | 1–3 weeks | — | 130+ colors, thermofoil, wood, painted MDF | Low | Yes, swap doors |
| Full replacement | — | 4 weeks | — | Unlimited | High | Partial |
Cost ranges are estimates based on typical U.S. market conditions and vary by kitchen size, region, and material selection. Refacing costs include new doors and drawer fronts but not countertops, plumbing, or electrical work.
Painting is the right choice if you’re on a tight budget and willing to repaint every few years. The finish is only as durable as the prep work and primer underneath, and cabinet fronts take daily abuse from moisture, grease, and repeated handling. Professional painting extends the life considerably, but the surface remains more vulnerable to chipping than a factory-finished door.
Refacing with custom doors is the method most worth considering for a two-tone project. You keep the existing cabinet boxes and replace only the doors, drawer fronts, and hardware. The result is a factory-finished surface that holds up far better than site-applied paint, and you can mix two finishes across the same door profile. For a detailed breakdown of when refacing makes more sense than replacement, the cabinet refacing versus full remodel page from Tdm-thedoormaker walks through the trade-offs clearly.
Full replacement is rarely necessary for a two-tone update unless the cabinet boxes are water-damaged, structurally compromised, or you need a layout change. The cost and disruption are significantly higher, and the kitchen is typically unusable for several weeks.
Pro Tip: Budget an extra $200–$500 for hardware when planning a two-tone project. New pulls and knobs in a consistent finish (matte black, brushed nickel, or brushed gold) do as much to unify the look as the color choice itself.
Where should you put the second color in your kitchen layout?
The island is the most flexible placement for an accent color. It’s physically separate from the perimeter cabinets, which means the contrast reads as intentional, and it’s the easiest surface to update later if your taste changes. Multiple design guides confirm that the island is the safest, most update-friendly location for a bold accent because repainting or refacing a single island costs far less than redoing a full lower run.
Layout options and when each works best:
- Island accent: Best for open-plan kitchens with a freestanding or peninsula island. The island becomes the focal point. Works with almost any perimeter color.
- Upper/lower split (tuxedo style): Classic and high-contrast. Light uppers, dark lowers. Works in kitchens of any size, but requires careful undertone matching to avoid a jarring split.
- Perimeter plus pantry wall: Use the main perimeter in one color and the pantry or butler’s pantry in the accent. Creates a sense of a separate zone without touching the main run.
- Wood perimeter plus painted island: One of the most durable combinations because wood-tone cabinets age gracefully and the painted island can be refreshed independently.
- Reversed layout (dark uppers, light lowers): A dramatic, high-end look that works in kitchens with tall ceilings and strong natural light. Requires careful execution; without adequate ceiling height or light, dark uppers can make the room feel top-heavy.
The 70/30 rule applies to every layout: the dominant color should cover roughly 70% of the visible cabinet surface. In an upper/lower split, that usually means keeping the uppers as the dominant tone. In an island-accent layout, the perimeter is dominant and the island carries the 30%.
Pro Tip: Before committing to a layout, place a sample door on the island surface and step back to the kitchen entrance. That’s the view most guests see first, and it’s the most reliable way to judge whether the accent reads as a design choice or a mismatch.
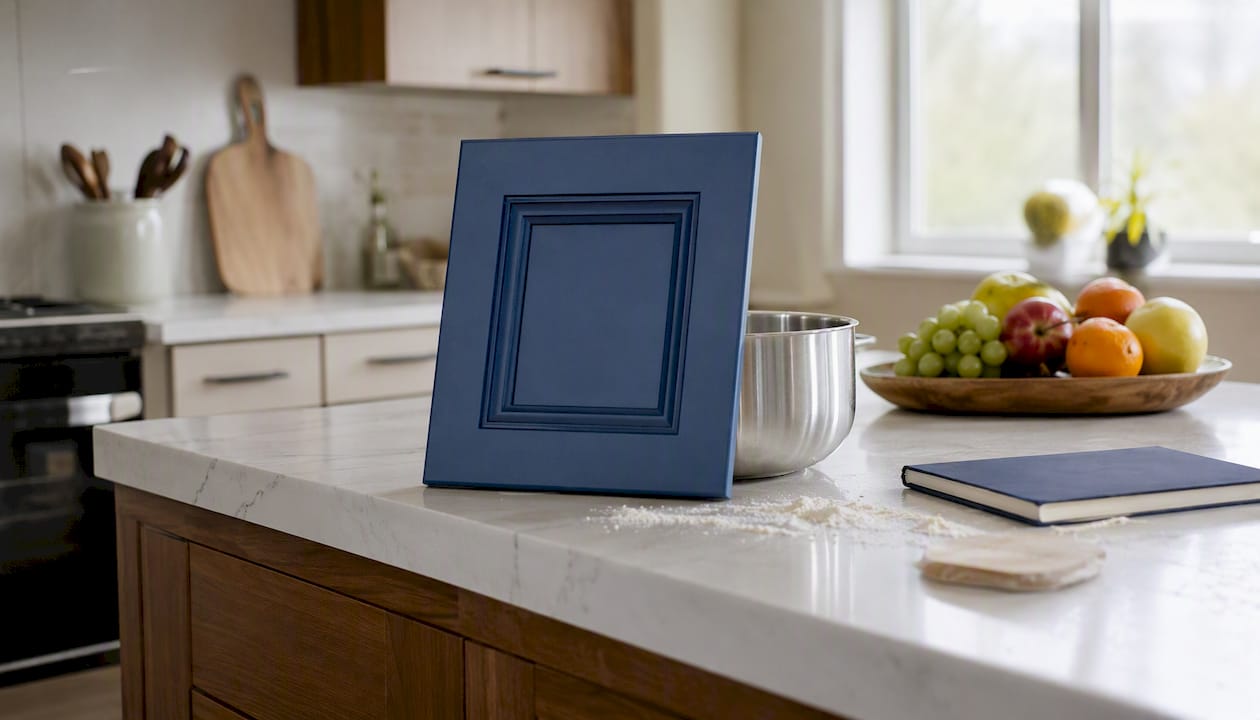
For more layout and style ideas, modern kitchen cabinet ideas for every budget covers a range of approaches worth reviewing alongside your floor plan.
What are the most common two-tone cabinet mistakes homeowners regret?
Too-high contrast. Pure white paired with pure black, or bright white with espresso, ages faster than any other combination. The contrast is striking at first but becomes visually exhausting over time. Fix: soften one end of the pairing. Use an off-white or warm cream instead of pure white, or choose a deep charcoal instead of true black.
Mismatched undertones. A warm wood lower paired with a cool bright white upper creates a subtle visual tension that most homeowners can’t name but definitely feel. Fix: test both colors against your countertop in natural light before ordering.
Switching door profiles between tones. Using a shaker door on uppers and a flat-panel on lowers makes the kitchen look like two separate projects were installed at different times. Fix: choose one door style and apply it across both colors. This is the single most overlooked detail in DIY two-tone projects.
Two equally bold colors. Pairing navy lowers with forest green uppers, for example, gives the eye no place to rest. Fix: one color must be clearly neutral. If you want two saturated colors, limit the bold tone to the island only.
Inconsistent hardware. Mixing brushed nickel pulls on uppers with matte black knobs on lowers fragments the look. Boise Cabinet Co’s guidance is direct on this: consistent hardware across both tones is one of the three non-negotiable keys to a cohesive two-tone result. Fix: choose one hardware finish and apply it everywhere.
Ignoring lighting. A deep green lower cabinet that looks rich and grounded in a showroom can read as nearly black in a kitchen with limited natural light. Fix: test sample doors under your actual kitchen lighting, not just in a store.
Choosing a two-tone scheme without testing samples in your own kitchen first is the most common source of regret. Colors behave differently under different lighting conditions, and what looks balanced in a showroom or on a screen can feel completely different once it’s installed.
On resale: neutral-plus-wood and navy or sage island accents hold up well with buyers. High-contrast pairings like white and espresso, or two saturated colors, tend to narrow your buyer pool.
How does refacing with Tdm-thedoormaker deliver a two-tone result?
Tdm-thedoormaker simplifies two-tone refacing through custom doors, precise sizing to 1/10,000", and an online configurator that walks you through the full process without requiring a contractor visit.
The process, step by step:
- Measure. Measure each cabinet opening: width, height, and depth. Tdm-thedoormaker’s video tutorials cover exactly what to measure and how to account for overlay and inset configurations. Precise measurements are what make custom doors fit without shimming or trimming.
- Design. Use the online configurator to select your door style, choose two colors or finishes (one for uppers, one for lowers or island), and add options like hinge holes. Order sample doors or color swatches first if you haven’t finalized your pairing.
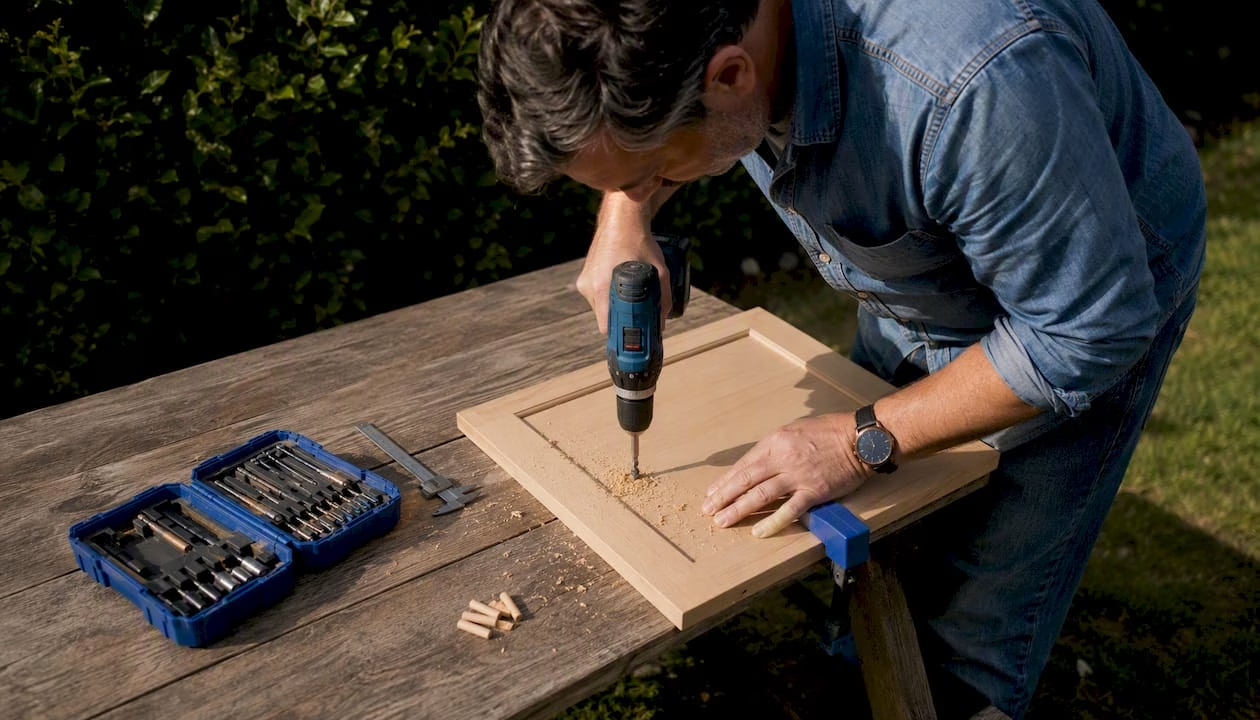
- Order. The configurator generates a complete order with your exact dimensions. You can add drawer fronts, mullions, and frames in the same session. Hinge-hole drilling is available as an add-on, which saves significant time during installation.
- Install. Most homeowners handle installation themselves. Removing old doors and hanging new ones requires basic tools and follows the same process regardless of whether you’re doing one color or two. The DIY cabinet refacing guide from Tdm-thedoormaker covers the installation steps in detail.
What Tdm-thedoormaker delivers:
- Custom doors and drawer fronts in 30+ styles and 130+ colors and finishes
- Sample doors and color swatches for pre-order testing
- Precise sizing to 1/10,000" so doors fit without adjustment
- Hinge-hole drilling as an add-on option
- Video tutorials covering measurement, design, and installation
Tdm-thedoormaker’s direct-to-consumer model means pricing typically undercuts larger retailers significantly, and the turnaround time is faster than ordering through a traditional cabinet supplier.
Pro Tip: Order sample doors in both of your chosen colors before placing your full order. Place them on the actual cabinet surfaces in your kitchen and live with them for a few days. The sample cost is minimal compared to the cost of ordering doors in a color that doesn’t work in your specific lighting.
How do painted and refaced cabinets differ in durability and maintenance?
Painted cabinets and refaced cabinets live very different lives over time, and the difference matters more in a two-tone kitchen where one surface is often darker and shows wear differently than the other.
Site-applied paint, whether DIY or professional, is only as durable as the prep work underneath. Cabinet fronts handle daily contact: grease, moisture, repeated opening and closing, and occasional impacts. Paint applied on-site tends to chip at edges and corners within a few years, particularly on lower cabinets that take more physical contact. Touching up painted cabinets is possible but rarely invisible, especially on darker colors where the sheen difference between old and new paint is visible.
Factory-finished doors from a refacing project use a surface applied under controlled conditions with consistent thickness and adhesion. Thermofoil and painted MDF doors from Tdm-thedoormaker are finished before they arrive at your home, which means the surface is harder and more consistent than anything applied with a brush or roller on-site. For a detailed look at how thermofoil and painted finishes compare in practice, the thermofoil versus painted cabinet fronts breakdown from Tdm-thedoormaker covers the key differences in wear and cleaning.
Cleaning is also simpler with factory-finished surfaces. Most can be wiped down with a damp cloth and mild soap without risk of lifting the finish. Painted on-site surfaces, particularly those with a flat or matte sheen, are more sensitive to repeated wiping and can dull or streak over time.
One practical note for two-tone kitchens specifically: if your lower cabinets are a dark color, they will show fingerprints and grease more visibly than light uppers. A satin or semi-gloss finish on dark lowers makes cleaning easier than a matte finish, which tends to hold grease in the texture.
How does lighting affect two-tone cabinets and how should you plan for it?
Lighting is the variable most homeowners underestimate when planning a two-tone kitchen. The same color can look dramatically different depending on whether the light source is warm or cool, natural or artificial, and how much of it reaches the cabinet surface.
Natural light is the most flattering for two-tone schemes because it renders colors accurately. A north-facing kitchen with limited natural light will make cool colors like navy or slate look darker and heavier than they appear in a showroom. A south-facing kitchen with strong afternoon sun can wash out pale neutrals and make warm whites look almost yellow.
Under-cabinet lighting has a significant effect on lower cabinet color. Warm LED strips (2700K–3000K) will shift a sage green lower toward yellow-green and make a warm wood tone look richer. Cool LED strips (4000K+) will push the same sage toward blue-green and make warm woods look flat. Before finalizing your lower cabinet color, check what color temperature your under-cabinet lights are, or plan to update them as part of the project.
Overhead lighting matters for upper cabinets. Recessed lights directly above upper cabinets can create a hot spot that bleaches out the color at the top and leaves the lower portion of the door in shadow. This effect is more pronounced on darker upper cabinets and less noticeable on white or off-white.
The practical approach is to test sample doors under all three lighting conditions you actually use: morning natural light, midday overhead lighting, and evening artificial light. Photograph each condition with your phone. Colors that hold up consistently across all three are the safest choices for a two-tone kitchen you’ll live with for years.
Key Takeaways
Two-tone cabinets work best when one color is clearly dominant, both tones share an undertone, and a single door profile runs across the entire kitchen.
| Point | Details |
|---|---|
| Layout first | Choose island accent, upper/lower split, or perimeter plus pantry wall before selecting colors. |
| One neutral, one accent | Keep one color clearly neutral so the eye has a place to rest and the look stays resale-friendly. |
| Test before you order | Place sample doors in your kitchen under natural and artificial light for at least two days before committing. |
| Refacing beats painting for durability | Factory-finished custom doors last significantly longer than site-applied paint and require less maintenance. |
| Tdm-thedoormaker for two-tone refacing | Custom doors in 30+ styles and 130+ colors, precise sizing, and an online configurator make two-tone refacing straightforward without a full remodel. |
The case for starting smaller than you think
Two-tone kitchen design gets oversold as a bold commitment, and that framing pushes homeowners toward decisions they later regret. The most successful two-tone kitchens I’ve seen are the ones where the homeowner started with the island, tested the accent color for a few weeks, and only then decided whether to extend it to the lower run.
The reason refacing makes more sense than painting for most two-tone projects isn’t just durability. It’s the ability to make a precise, reversible decision. When you order custom doors in two finishes from Tdm-thedoormaker, you’re choosing a factory-finished surface that holds its color consistently, not hoping that a brush-applied coat of paint will look the same in five years. And if your taste changes, swapping doors is a fraction of the cost of repainting or replacing.
The mistake most homeowners make isn’t choosing the wrong colors. It’s skipping the sample stage and committing to a full order based on a screen or a small paint chip. Order the sample doors. Place them in your kitchen. Live with them. That single step eliminates most of the regret stories you’ll find in renovation forums.
Tdm-thedoormaker makes two-tone refacing practical for real kitchens
Custom two-tone doors without the cost of a full remodel: that’s the practical advantage Tdm-thedoormaker offers homeowners who want a design-forward kitchen without replacing every cabinet box in the room.
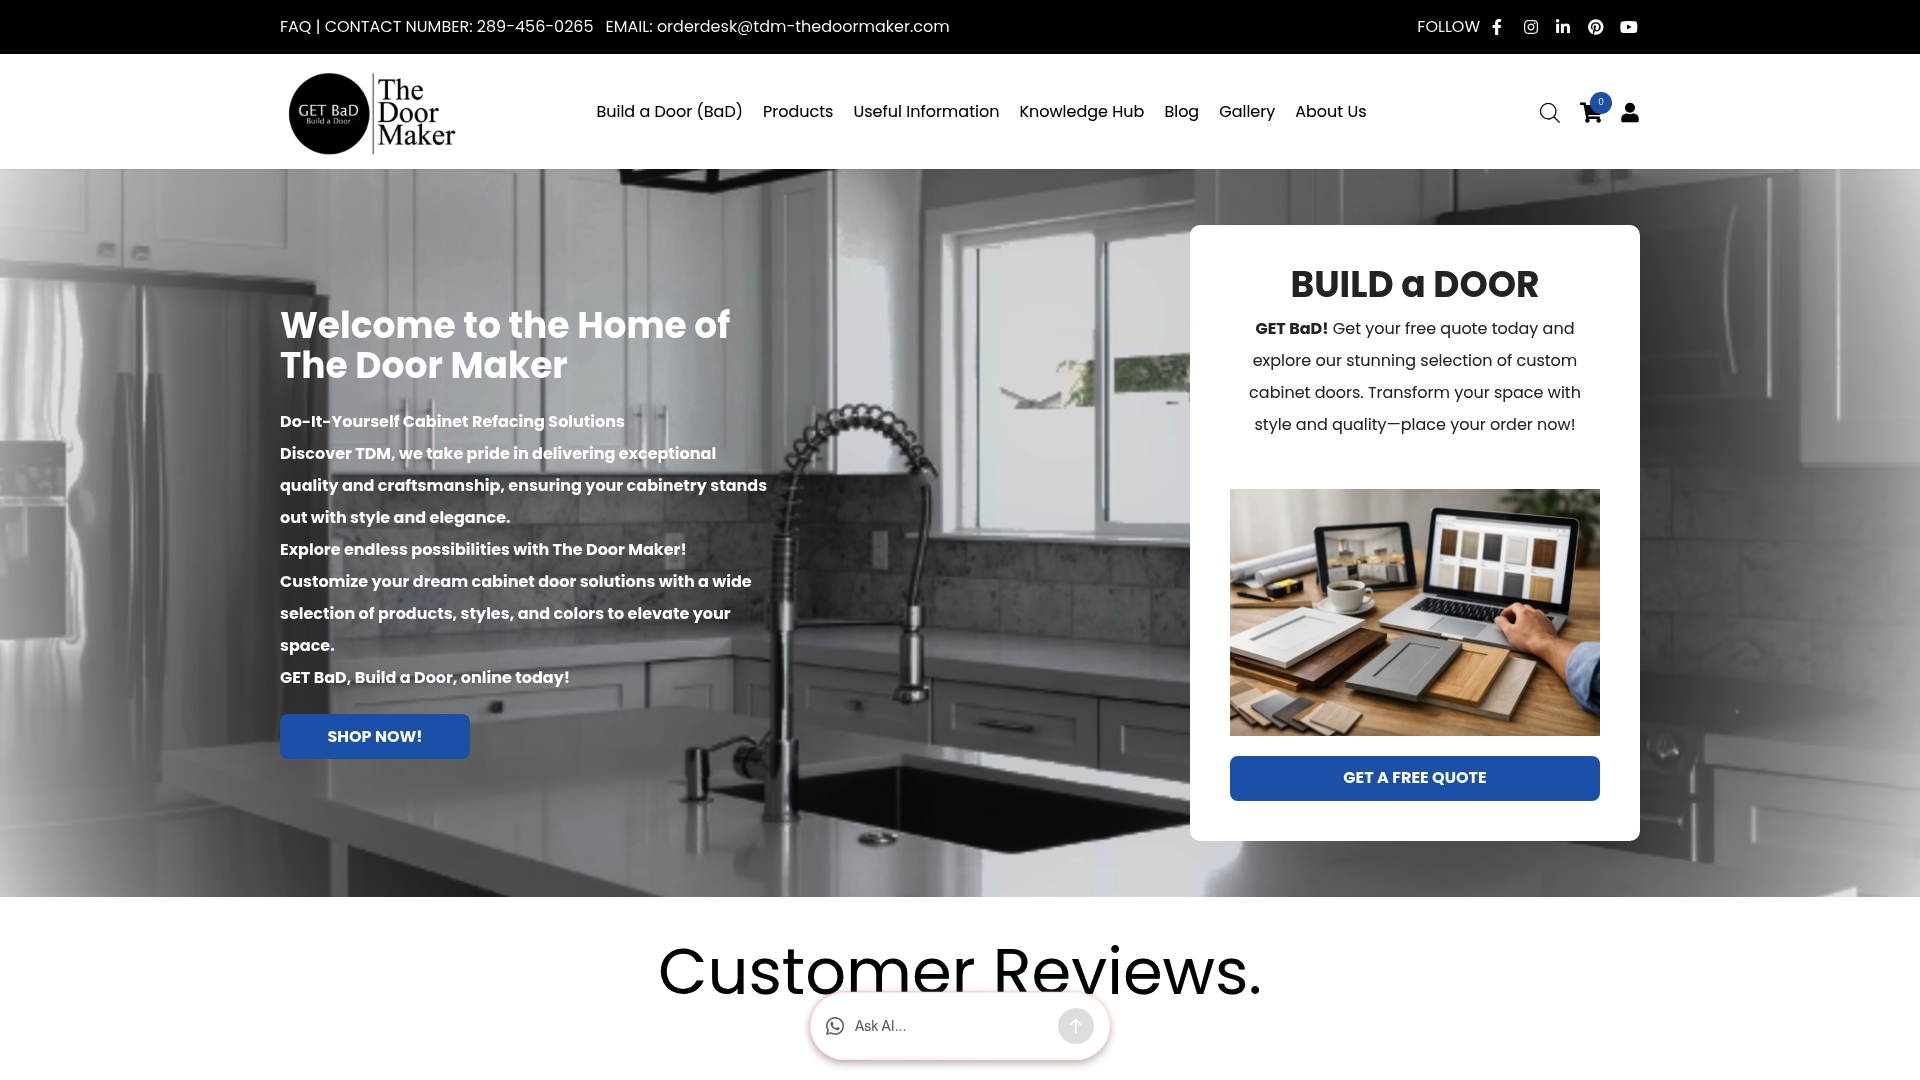
Tdm-thedoormaker’s catalog covers 30+ door styles and 130+ colors and finishes, all available through an online configurator that walks you through measurement, design, and ordering in three steps. Hinge-hole drilling, color swatches, and sample doors are available as add-ons, so you can test your two-tone pairing in your actual kitchen before placing a full order. Sizing is precise to 1/10,000", which means doors arrive ready to hang without trimming or shimming.
For homeowners weighing refacing against full replacement, the cabinet replacement vs. refacing comparison covers the cost and timeline differences in plain terms. If you’re ready to handle installation yourself, the DIY cabinet refacing guide walks through the full process with video support. Start by ordering sample doors in your two chosen colors and use the configurator to build your order from there.
Sources and further reading
- Two-Tone Kitchen Cabinets in 2026: Best Color Pairings, Layouts, and Mistakes to Avoid — ISTC’s comprehensive 2026 trend report covering popular color splits, hardware trends, and common mistakes. The source for the upper cabinet color distribution data cited in this article.
- Two-Toned Kitchens Are Here to Stay — Real Simple’s designer-sourced guidance on neutral-plus-accent pairing and liveable 2026 palettes including earth greens and terracottas.
- Two-Tone Kitchen Cabinets: Ideas, Combinations & How to Choose — Boise Cabinet Co’s practical breakdown of the three keys to a cohesive two-tone result: neutral plus accent, consistent hardware, and palette tied to counters and floors.
- Kitchen Refacing Color Trends for 2026 — Tdm-thedoormaker’s own color trend guide covering the palettes gaining traction in U.S. kitchens this year.
- Cabinet Refacing Versus Full Remodel — Tdm-thedoormaker’s comparison of refacing and full replacement, including cost and timeline trade-offs.
- Thermofoil Versus Painted Cabinet Fronts — Tdm-thedoormaker’s finish comparison covering durability, maintenance, and color consistency differences between thermofoil and painted MDF doors.