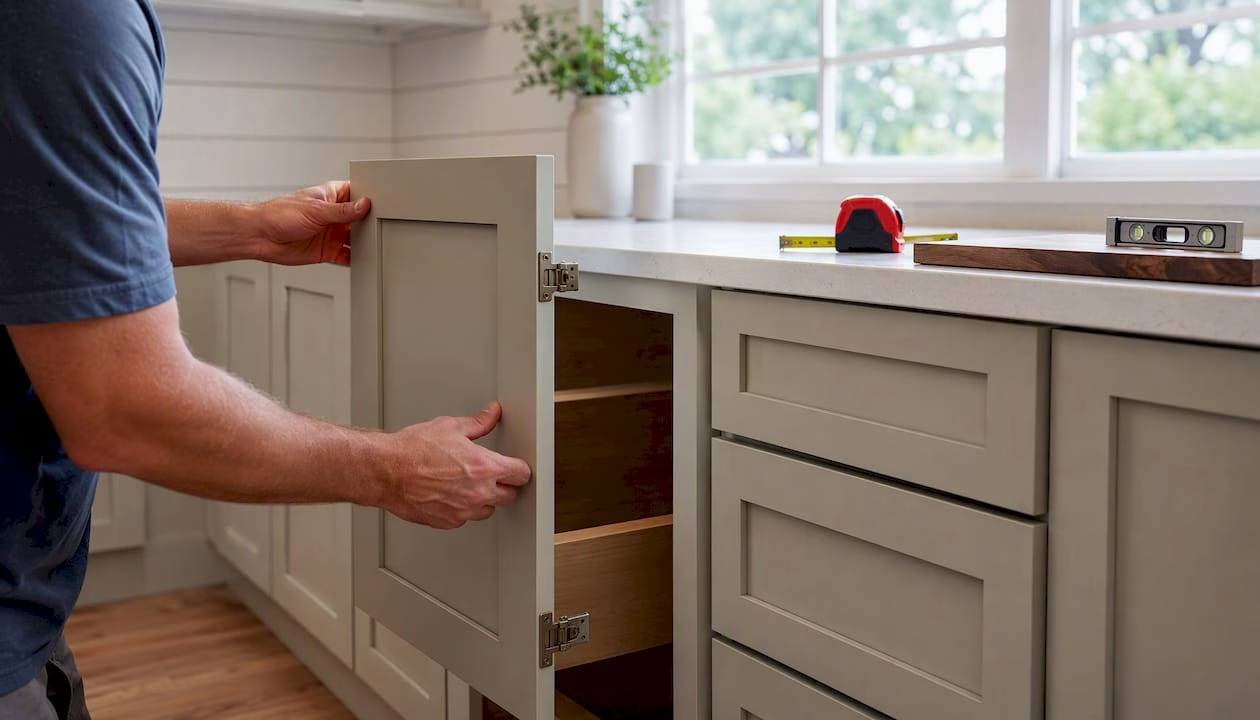
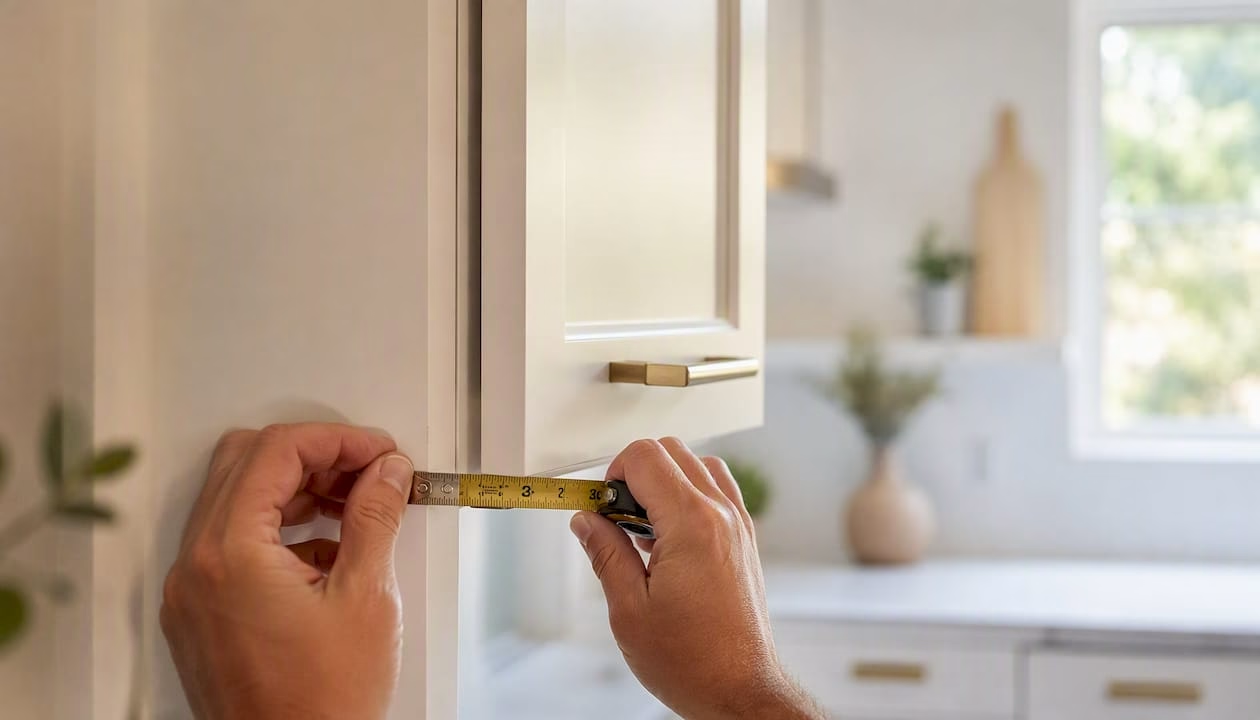
Cabinet door overlay is the distance a door extends over the cabinet opening or face frame when it’s closed. Get that number wrong and your replacement doors won’t fit, your hinges won’t align, and your refacing project stalls before it starts. The single most useful thing you can do right now is measure the hinge-side overlay using a piece of tape: place it at the back edge of the door, close the door, mark where the opening edge falls, open the door, and measure from the inside edge of the tape to that mark. Record that number to the nearest 1/16".
The five overlay families you’ll encounter in Canadian kitchens are:
- Inset: Door sits flush inside the opening, with no overlap at all
- Lipped/partial inset: Door has a small rabbet that lets it sit partially inside the frame
- Partial (half) overlay: Door covers roughly half the face frame, leaving a visible reveal
- Full overlay (Euro): Door covers nearly all of the face frame for a clean, modern look
- Frameless/twin overlay: Used on frameless (European-style) boxes where doors meet at the center with a small gap
Each type pairs with a specific hinge category and produces a different finished door size, which is why knowing your overlay before you order custom doors is non-negotiable.
Key Takeaways
Overlay is the single measurement that determines door size, hinge type, and the finished look of your cabinetry, so measure it first and measure it accurately.
| Point | Details |
|---|---|
| Overlay defined | Overlay is how far a cabinet door extends over the opening or face frame when closed. |
| Measure to 1/16" | Use the tape method at the hinge side and record every cabinet individually to the nearest 1/16". |
| Common sizes | Partial overlay is typically 1/2"; full overlay (Euro) is typically 1-1/4"; typical range is 3/8"–1-9/16". |
| Hinge must match overlay | Confirm your hinge’s rated overlay range and boring distance before finalizing any door order. |
| Tdm-thedoormaker next step | Enter your overlay and opening dimensions into Tdm-thedoormaker’s configurator to get doors cut to exact spec. |
Table of Contents
- What is cabinet door overlay, and which type do you have?
- How to measure your cabinet door overlay accurately
- Common overlay sizes and how they translate to door dimensions
- How overlay affects your hinge selection and hardware
- How to choose the right overlay for your kitchen
- Measurement checklist before you order custom doors
- How Tdm-thedoormaker supports your overlay-based order
- What overlay should most Canadian DIYers choose first?
- Ready to order doors sized to your exact overlay?
- Sources
What is cabinet door overlay, and which type do you have?
Cabinet door overlay describes how much of the cabinet face frame a door covers. The face frame is the flat border of wood around the cabinet box opening. Overlay determines what you see when the kitchen is at rest: whether the wood frame peeks through, disappears behind the doors, or whether the door sits flush inside the box entirely.
Inset
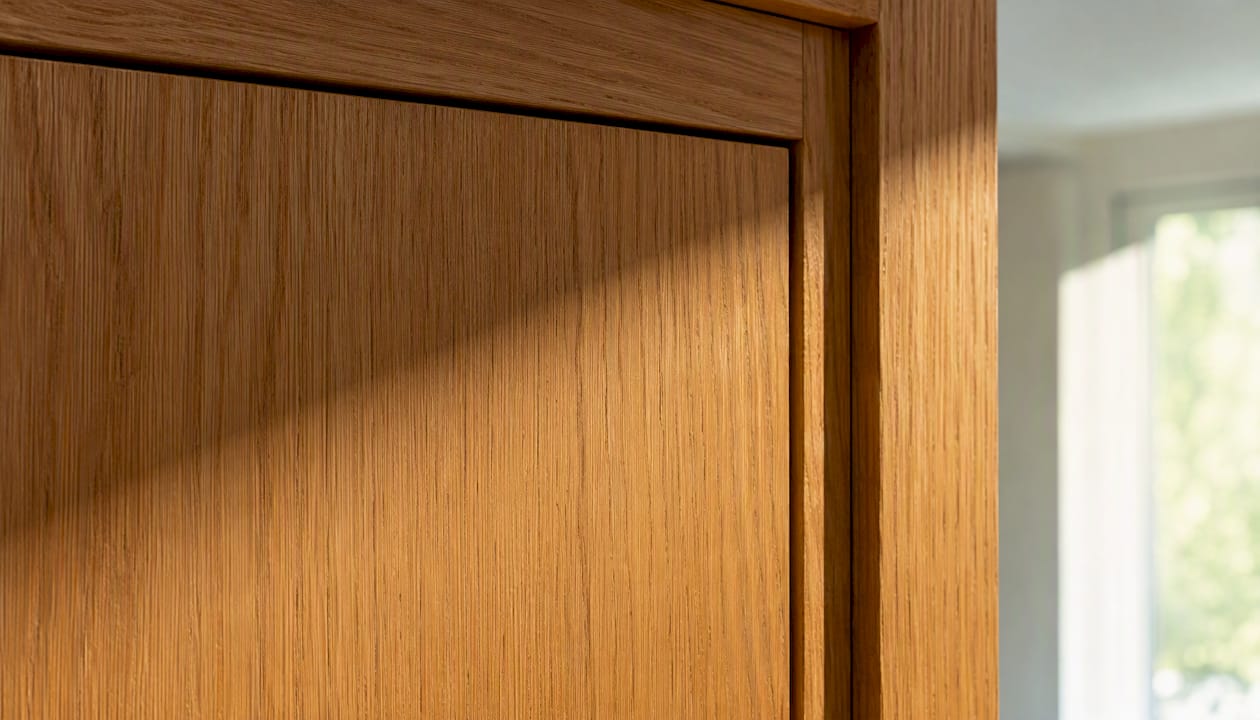
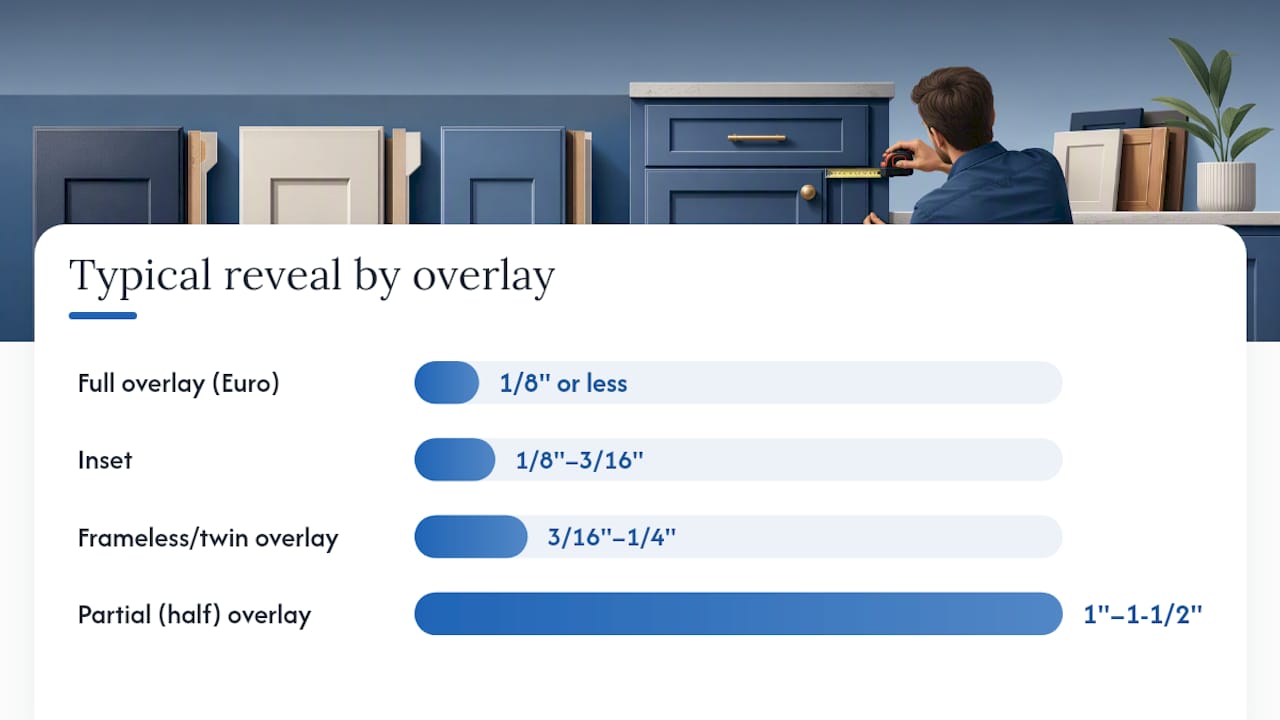
An inset door sits completely inside the face-frame opening, flush with the front surface. When you close an inset door, you see a consistent gap (the reveal) running around all four edges. This style reads as traditional or furniture-grade, and it demands the most precise fitting. Even a 1/16" discrepancy is visible. Inset cabinets are common in higher-end Canadian kitchens and period-style renovations, but they are the least forgiving for DIY refacing because the box and frame must be perfectly square.
Lipped/partial inset
A lipped door has a small rabbet cut around its perimeter so it sits partially inside the opening while the lip rests on the face frame. You’ll find this style on older Canadian cabinetry from the 1960s through the 1980s. The visual cue is a slight step at the door edge rather than a clean flush surface or a flat overlay. Replacement doors in this style are less common today, which makes refacing a lipped cabinet a good reason to consider converting to partial or full overlay instead.
Partial (half) overlay
Partial overlay, sometimes called half overlay, is the most common configuration in Canadian tract homes and builder-grade kitchens. The door covers part of the face frame, typically leaving a 1" to 1-1/2" reveal between adjacent doors. You can see the face frame clearly when standing in front of the cabinets. This style works with a wide range of hinge types and is the most retrofit-friendly option when you’re refacing without touching the box structure.
Full overlay (Euro)
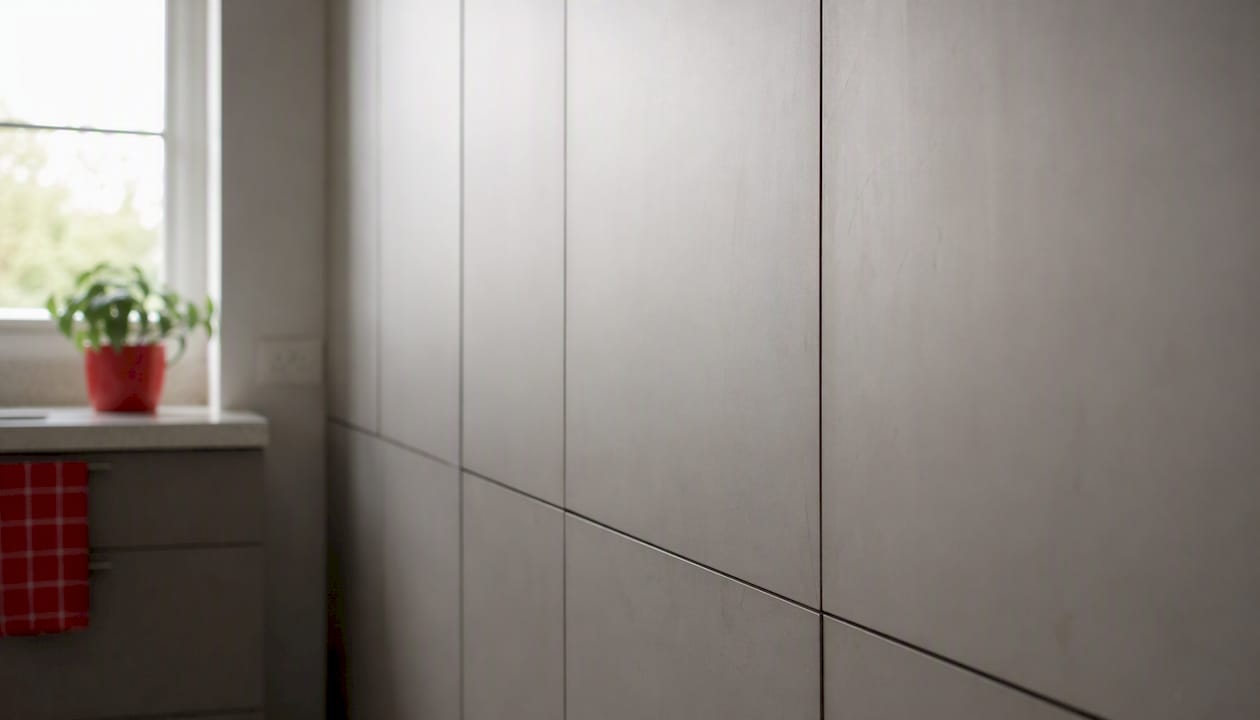
Full overlay covers most of the face frame, leaving only a small reveal (usually 1/8" or less) between adjacent doors. The result is a flat, uninterrupted wall of doors that reads as modern or contemporary. Full overlay is the standard for European-style frameless cabinets and is increasingly popular in Canadian kitchen renovations where homeowners want a sleek, handle-free aesthetic. It requires concealed cup hinges with a specific crank (offset) to achieve the correct door position.
Frameless/twin overlay
On a frameless cabinet box, there is no face frame at all. Two adjacent doors share the same panel edge, and each door overlaps the box side by a set amount (commonly 5/8" to 3/4"). The gap between the two doors is typically 3/16" to 1/4". This configuration is standard in IKEA-style cabinetry and most European imports. Hinge selection here is critical because the mounting plate must account for the full overlay without a face frame to reference.
Pro Tip: To tell inset from overlay at a glance, run your fingertip along the door edge where it meets the frame. If you feel the door surface sitting proud of the frame, it’s overlay. If the door is recessed and your finger drops into a gap, it’s inset.
| Overlay Type | Face Frame Visible? | Typical Reveal | Best Style Match | Retrofit Friendly? |
|---|---|---|---|---|
| Inset | No | 1/8"–3/16" gap all around | Traditional, furniture-grade | Low |
| Lipped/partial inset | Partially | Lip covers frame edge | Vintage, 1960s–1980s | Low |
| Partial (half) overlay | Yes | 1"–1-1/2" between doors | Builder-grade, transitional | High |
| Full overlay (Euro) | Barely | 1/8" or less | Modern, contemporary | Medium |
| Frameless/twin overlay | No frame | 3/16"–1/4" between doors | European, minimalist | Medium |
How to measure your cabinet door overlay accurately
The tape method is the most reliable approach for homeowners, and it works whether your doors are still mounted or already removed. Measuring to the nearest 1/16" is the standard that custom door manufacturers expect.
Measuring with doors in place (tape method)
- Gather your tools. You need a tape measure, a pencil, and a small strip of painter’s tape.
- Place the tape. Open the door fully. Stick a strip of painter’s tape on the back face of the door, right at the hinge-side edge.
- Close the door. Gently close the door so it sits in its normal closed position.
- Mark the opening edge. With the door closed, use a pencil to mark on the tape exactly where the inside edge of the cabinet opening falls.
- Open the door. Open the door again and measure from the inside edge of the tape strip to your pencil mark. That distance is your hinge-side overlay.
- Repeat on the latch side. Do the same on the opposite edge. On a well-hung door, both sides should match. If they differ by more than 1/16", the door may be misaligned or the opening may not be square.
- Record both numbers. Write them down immediately. Don’t rely on memory when you’re measuring a full kitchen.
Measuring from a removed door
If the doors are already off, calculate overlay using the formula: subtract the opening width from the door width, then divide by two.
Overlay = (Door Width − Opening Width) ÷ 2
For example: a door that is 15" wide over a 13.5" opening gives you (15 − 13.5) ÷ 2 = 0.75", or 3/4" overlay on each side.
Single doors vs. split (double) doors
For a single door covering one opening, the formula above applies directly. For a pair of doors sharing one opening, you need to account for the center reveal (the gap between the two closed doors, typically 1/8"). The formula becomes:
Each door width = (Opening Width + (Overlay × 2) − Center Reveal) ÷ 2
So a 27" opening with 1/2" overlay on each side and a 1/8" center reveal gives: (27 + 1 − 0.125) ÷ 2 = 13.9375", which rounds to 13-15/16".
Special cases
Corner cabinets often have a blind section where one door partially hides behind an adjacent cabinet. Measure the visible portion of the opening separately from the blind section and note which side carries the overlay. Bi-fold doors and tall pantry doors follow the same overlay logic, but their height measurements require checking for floor-level clearance as well.
Pro Tip: Measure every cabinet individually, even if they look identical. Builder-grade kitchens frequently have openings that vary by 1/8" or more across a run of cabinets. Assuming uniformity is one of the most common and costly mistakes in a custom-door order.
Common overlay sizes and how they translate to door dimensions
Standard overlay values cluster around a handful of sizes that align with common hinge specifications. Knowing where your measurement falls helps you confirm you’re ordering the right door size and the right hinge.
Typical overlays in practice range from about 3/8" to 1-9/16", with 1/2" being the most common partial overlay and 1-1/4" the most common full overlay for concealed-hinge installations.
Calculating finished door size
Once you know your overlay, the finished door width formula is straightforward:
Single door width = Opening Width + (Overlay × 2)
For height, the same logic applies: add the overlay amount to the top and bottom of the opening. A 24" tall opening with 1/2" overlay top and bottom gives a door height of 25".
For split doors, subtract the center reveal before dividing:
Each door width = (Opening Width + (Overlay × 2) − Center Reveal) ÷ 2
The center reveal is almost always 1/8" (3 mm) for face-frame cabinets. Frameless cabinets use a slightly larger gap, typically 3/16".
Tolerances and ordering precision
Measure to the nearest 1/16" and do not round up or down to a “nicer” number. Custom door manufacturers cut to exact dimensions, so a door ordered at 13-7/8" will not fit a 14" opening with the same clearance as one ordered at 14". For inset doors specifically, you need a clearance gap of 1/16" on each side, meaning the door width should be the opening width minus 1/8" total. Overlay doors have no such clearance requirement on the overlay edges, but the top and bottom still need 1/16" clearance to swing freely.
European concealed hinges are specified in millimeters and typically cover overlays from 0 mm (inset) to 18 mm (full overlay), with 13 mm being the most common partial-overlay specification. Confirm the hinge’s rated overlay range before finalizing your door dimensions.
How overlay affects your hinge selection and hardware
Overlay and hinge type are inseparable decisions. Choosing one without confirming the other is the most common hardware mistake in a DIY refacing project, and the NKBA recommends planning hardware and clearance before finalizing any cabinet design.
The relationship works like this: the hinge’s mounting plate determines how far the door sits from the cabinet side, and the cup (the circular recess drilled into the back of the door) positions the pivot point. Change the overlay and you change both.
- Partial overlay hinges are designed for overlays in the 3/8"–1/2" range. They use a standard crank mounting plate that positions the door close to the face frame. These are the most widely available hinges at Canadian hardware retailers.
- Full overlay hinges use a zero-protrusion or low-profile mounting plate that pulls the door further from the cabinet side, allowing it to cover more of the face frame. The cup placement on the door back is the same 35 mm diameter, but the plate offset differs.
- Inset hinges require the door to sit flush inside the opening. Concealed inset hinges use a negative-crank plate that pulls the door inward. Surface-mount inset hinges (butt hinges) are the traditional alternative and require a mortise cut into the door and frame.
- Frameless/full overlay concealed hinges mount directly to the cabinet side panel with no face frame. The plate attaches to the panel itself, and the overlay is measured from the panel edge, not a frame.
Cup drilling is standardized at 35 mm diameter and typically placed 3 mm from the door edge, but the distance from the door edge to the cup center (the “boring distance”) varies by hinge model. Always confirm the boring distance from the hinge spec sheet before ordering doors with pre-drilled hinge holes. A door drilled for one hinge brand may not accept another brand’s cup without a visible gap or misalignment.
Mounting plate height (the vertical position of the hinge on the cabinet interior) affects door alignment but not overlay. Set the top hinge 2"–3" from the top of the door and the bottom hinge 2"–3" from the bottom as a starting point, then adjust for door weight and panel material.
How to choose the right overlay for your kitchen
The right overlay depends on three things: the look you want, the cabinet structure you’re working with, and how much installation complexity you’re willing to take on.
Aesthetic goals
Full overlay reads as modern and clean because the face frame nearly disappears. If you’re drawn to flat-front doors, handleless profiles, or a Scandinavian-influenced kitchen, full overlay is the natural match. You can explore contemporary door styles that pair well with this configuration before committing to an overlay size.
Partial overlay suits transitional and traditional kitchens where some face-frame visibility is part of the design. Inset is the choice for a furniture-grade, period-accurate look, but it demands the most precise installation and the most precise box construction.
Refacing vs. full replacement
Refacing and full replacement have different overlay constraints. When you reface, you keep the existing box and face frame, which means your overlay options are limited by the frame width. A face frame that’s only 3/4" wide can’t support a 1-1/4" full overlay without the door covering the adjacent cabinet’s frame. Measure your face frame width before deciding to upgrade from partial to full overlay during a reface.
Full replacement gives you complete freedom to choose any overlay because the box and frame are built to spec. The trade-off is cost: refacing typically costs significantly less than a full remodel, which is why most Canadian homeowners doing a budget-conscious update stick with their existing overlay type or make a modest upgrade from partial to full overlay.
Accessibility and clearance
In tight galley kitchens or kitchens with islands, door swing clearance matters. Full overlay doors are slightly wider than partial overlay doors for the same opening, which means they swing a bit further into the room. If you have a 36" aisle between the counter and an island, check that a full overlay door on a 24"-deep base cabinet doesn’t block the walkway when open.
Handle placement also shifts with overlay. On a partial overlay door, the handle sits closer to the face frame edge. On a full overlay door, the handle is further from the frame, which can feel more natural for taller users.
Are overlay cabinets out of style?
No. Partial overlay cabinets are the most common configuration in Canadian homes and remain a practical, cost-effective choice. Full overlay has grown in popularity as modern kitchen aesthetics have taken hold, and it’s now the default for new construction in many urban Canadian markets. Inset is experiencing a quiet revival in higher-end renovations. The honest answer is that overlay type follows function first: choose the one that fits your box, your budget, and your aesthetic, and it will look current.
Measurement checklist before you order custom doors
Run through this list before placing any custom door order. A missed measurement is far more expensive to fix after the doors arrive than before.
Measurements to collect:
- Door width and height for every cabinet (measure each one individually)
- Opening width and height for every cabinet
- Hinge-side overlay (tape method, to nearest 1/16")
- Latch-side overlay (should match hinge side; note any discrepancy)
- Center reveal for all split-door pairs (typically 1/8")
- Drawer front width and height (measured the same way as door overlay)
- Face frame width (to confirm overlay feasibility)
Photos to take:
- Full-face photo of each cabinet run with doors closed
- Close-up of one hinge interior showing the cup, mounting plate, and any markings
- Photo of the hinge spec label if visible
Common mistakes to avoid:
- Measuring outside-to-outside of the door instead of the opening width
- Ignoring the center reveal on split-door pairs (this makes each door too wide by 1/16")
- Rounding to the nearest 1/4" instead of 1/16" (custom manufacturers cut to exact spec)
- Assuming all cabinets in a run are identical without measuring each one
- Ordering without confirming hinge type (the wrong hinge makes a correctly sized door hang wrong)
How Tdm-thedoormaker supports your overlay-based order
Tdm-thedoormaker’s ordering process is built around the same measurement steps covered in this article. The three-step workflow, measure, design, and order, maps directly to what you’ve just done: you have your overlay number, your opening dimensions, and your hinge type noted.
The online configurator at Tdm-thedoormaker walks you through entering your exact measurements, including overlay, opening size, and hinge-hole placement. Doors are cut to 1/10,000" precision, which means the number you enter is the number you get. If you’re not confident in your measurements yet, the measurement tutorial on the site covers the tape method with additional examples, and the custom sizing guide walks through the door-size formula step by step.
Before using the configurator, have the following ready: all opening dimensions (width and height per cabinet), your overlay measurement, your hinge type or a photo of the existing hinge, and a decision on whether you want hinge holes pre-drilled. Sample doors are available if you want to confirm a finish or color before committing to a full order, which is worth doing when you’re choosing between similar shades or finishes across 20 or more doors. Tdm-thedoormaker ships across Canada, so lead time and delivery expectations are part of the checkout process.
What overlay should most Canadian DIYers choose first?
For a typical Canadian kitchen refacing project, partial overlay (1/2") is the most forgiving starting point. It works with the widest range of existing face-frame widths, pairs with the most commonly available concealed hinges, and leaves enough room for minor installation adjustments without the door looking misaligned. Full overlay is a worthwhile upgrade if your face frame is wide enough to support it and you want a more modern result, but it demands more precise hinge selection and leaves less margin for error during installation.
The practical recommendation: measure your existing overlay first. If your current doors use 1/2" partial overlay, stay there unless you have a specific aesthetic reason to change. If you’re converting from lipped to overlay, 1/2" partial overlay is the easiest transition. Reserve full overlay for projects where you’ve confirmed the face-frame width, chosen the correct concealed hinge, and are comfortable with the tighter installation tolerances.
When to call a professional instead of doing it yourself: frameless cabinet systems with structural modifications, any project that requires shimming or releveling the cabinet boxes, and installations where the existing boxes are out of square by more than 1/4". Those situations go beyond overlay selection and into carpentry work that affects the entire installation.
Ready to order doors sized to your exact overlay?
Knowing your overlay number is the step that separates a smooth custom-door order from a frustrating return. Tdm-thedoormaker’s configurator lets you enter your exact measurements, choose from over 30 door styles and 130+ colors and finishes, and add hinge holes to spec, all without leaving your home. The price is typically well below what a local cabinet shop charges for the same custom work, and the precision cut to 1/10,000" means what you measure is what arrives.

Before you start your order, confirm you have: every opening’s width and height measured to the nearest 1/16", your overlay number from the tape method, your hinge type (or a photo of the existing hinge), and a note on whether you need pre-drilled hinge holes. If you want to verify a finish before ordering a full set, request a sample door first. When you’re ready, order your custom cabinet doors online through the configurator and get an exact quote at checkout.
Sources
- What is Cabinet Door Overlay? | Woodworker Express
- Measuring Cabinet Door Overlay
- Cabinet Doors Measuring Instructions | Eagle Woodworking
- How To Determine Cabinet Door Overlay | QuikDrawers
- Cabinet Overlays 101 | Chris Loves Julia
- National Kitchen & Bath Association (NKBA)