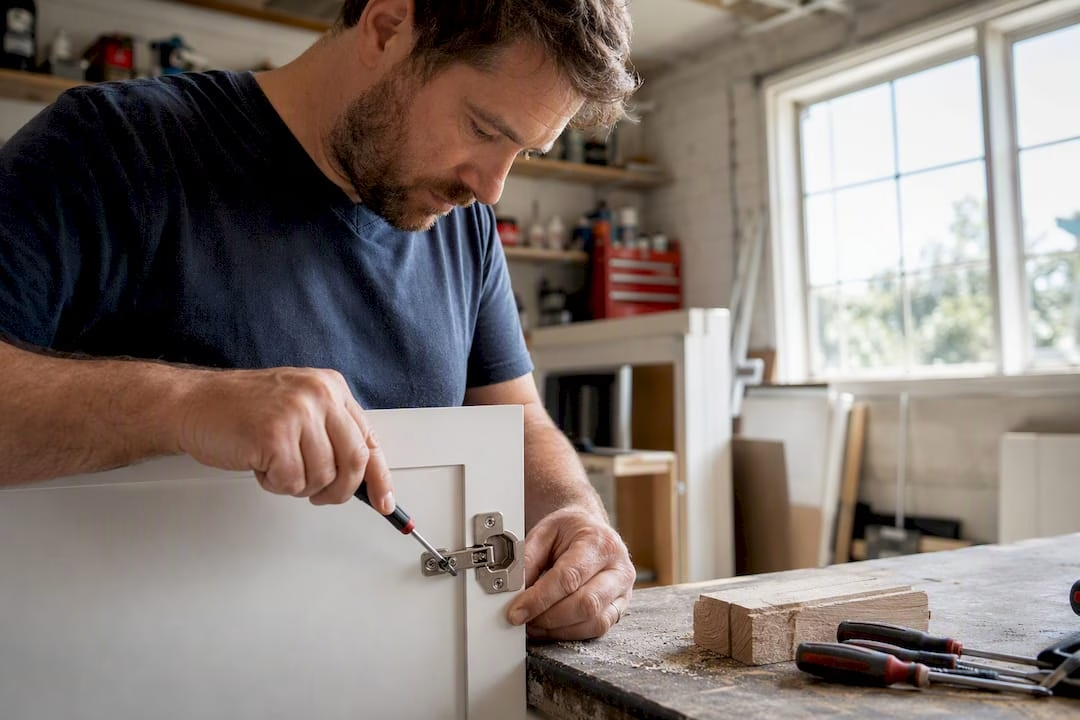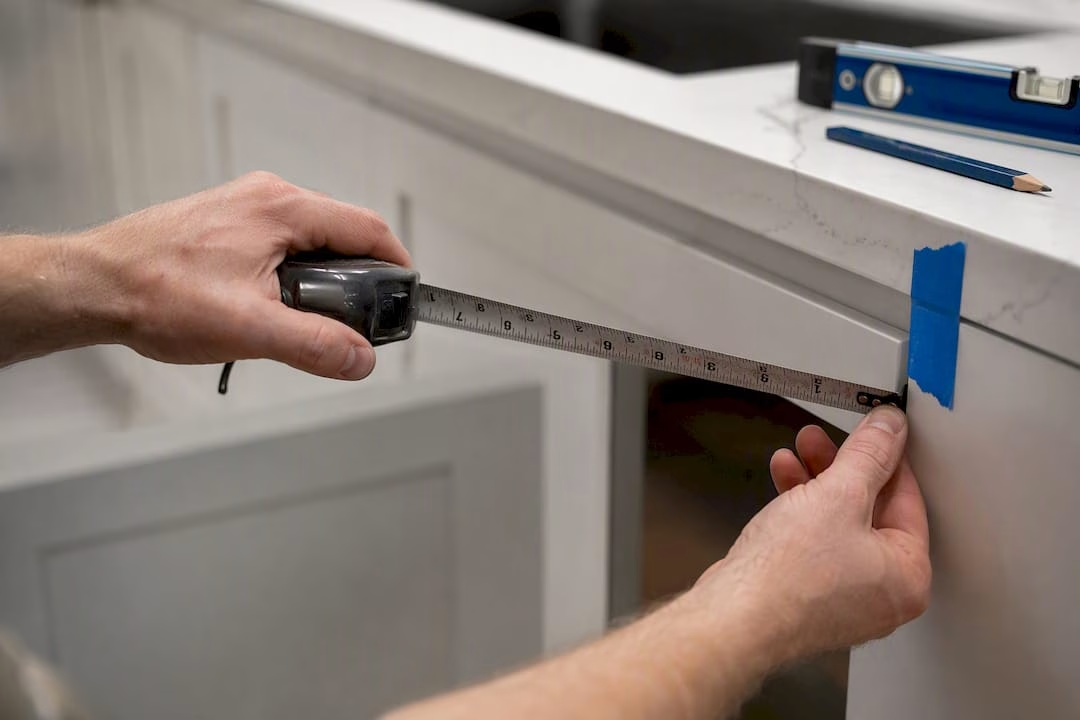

The core rule for kitchen hardware placement is straightforward: place knobs a few inches from the corner of the door, on the side opposite the hinge. On upper cabinets, measure from the bottom corner; on base cabinets, measure from the top corner. Pulls go centered on the stile for doors, or centered on the drawer face for drawers under 24" wide. Wide drawers use two pulls positioned at roughly the one-third and two-third marks across the face.
Before you pick up a drill, tape a paper template to one door and step back. View it from across the room. What looks right at arm’s length often shifts when you see the full run of cabinets. That 30-second check prevents the most common and most frustrating mistake in hardware installation: a hole drilled in the wrong spot.
Quick reference: Upper doors, measure from the bottom corner. Base doors, measure from the top corner. Always measure from the inside edge of the stile on framed or Shaker doors, not the outer edge of the door.
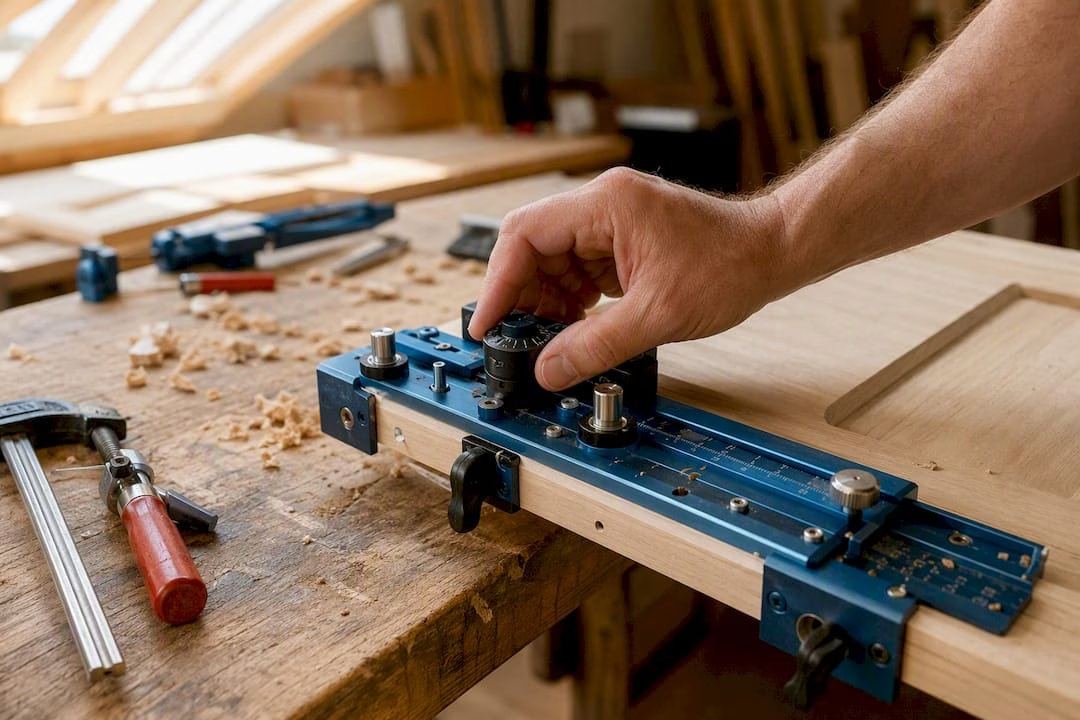
Professionals use a hardware jig for exactly this reason. A True Position-style jig (the TP-1934 is a widely used example) clamps to the door corner and transfers hole positions repeatably across every cabinet in the run. You can also make a cardboard template cut to your cabinet dimensions with holes marked at your chosen offset. Either way, label the template clearly: mark which edge is the hinge side and which is the top. Flipping a template is the single most common DIY error, and a piece of painter’s tape with “HINGE” written on it costs nothing.
Pro Tip: Stick a strip of painter’s tape over your pencil mark before drilling. It protects the finish from chipping and keeps the bit from wandering on smooth surfaces.
Table of Contents
- What placement style should you use for your kitchen?
- Knobs or pulls: which one actually works better?
- How do you size and space drawer pulls correctly?
- Where exactly should you place hardware on cabinet doors?
- How to measure, mark, and drill without errors
- Does pull length need to match the door or drawer size?
- What about corner cabinets, appliance panels, and other tricky spots?
- Which hardware finishes are working well right now?
- Your printable measurement cheat-sheet and installer checklist
- Key Takeaways
- The case for measuring twice and drilling once
- New doors make hardware placement worth the effort
- Useful sources
What placement style should you use for your kitchen?
The three main placement systems are Traditional, Classic, and Modern. Each one creates a different visual rhythm across the room, and the right choice depends on your cabinet style and how you want the kitchen to feel.
Traditional placement uses corner-mounted knobs on all doors, positioned at the standard 2.5–3" offset, with centered pulls on drawers. This is the natural fit for period-style kitchens, cottage designs, and raised-panel doors where the knob reads as a decorative detail rather than a purely functional grip.
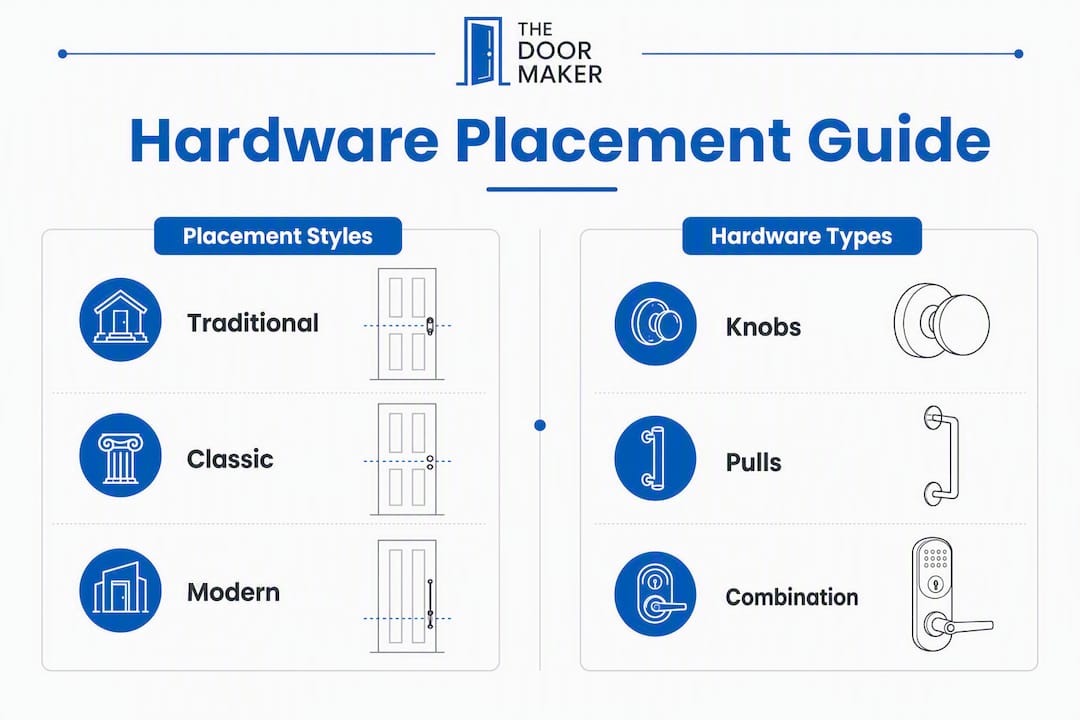
Classic placement keeps knobs on upper cabinet doors and switches to pulls on all drawers. The corner offset stays consistent throughout, which gives the kitchen a tidy, organized look without committing to a fully modern aesthetic. Transitional kitchens with Shaker-style doors tend to land here.
Modern/Contemporary placement uses uniform pulls across every door and drawer. Long bar pulls are centered on the stile for doors (often oriented vertically) and centered on the face for drawers (oriented horizontally). The result is a clean grid that reads as intentional and architectural. Slab-door kitchens almost always use this system.
The underlying principle across all three styles is consistency. Pick one placement logic and apply it to every cabinet in the room. A kitchen where some pulls are corner-mounted and others are stile-centered looks unfinished, even if each individual placement is technically correct. Mixing hardware types is fine; mixing placement logic is not.
Knobs or pulls: which one actually works better?
Choose pulls when ease of use is the priority. Choose knobs when you want a smaller, decorative accent on doors where the opening force is light.
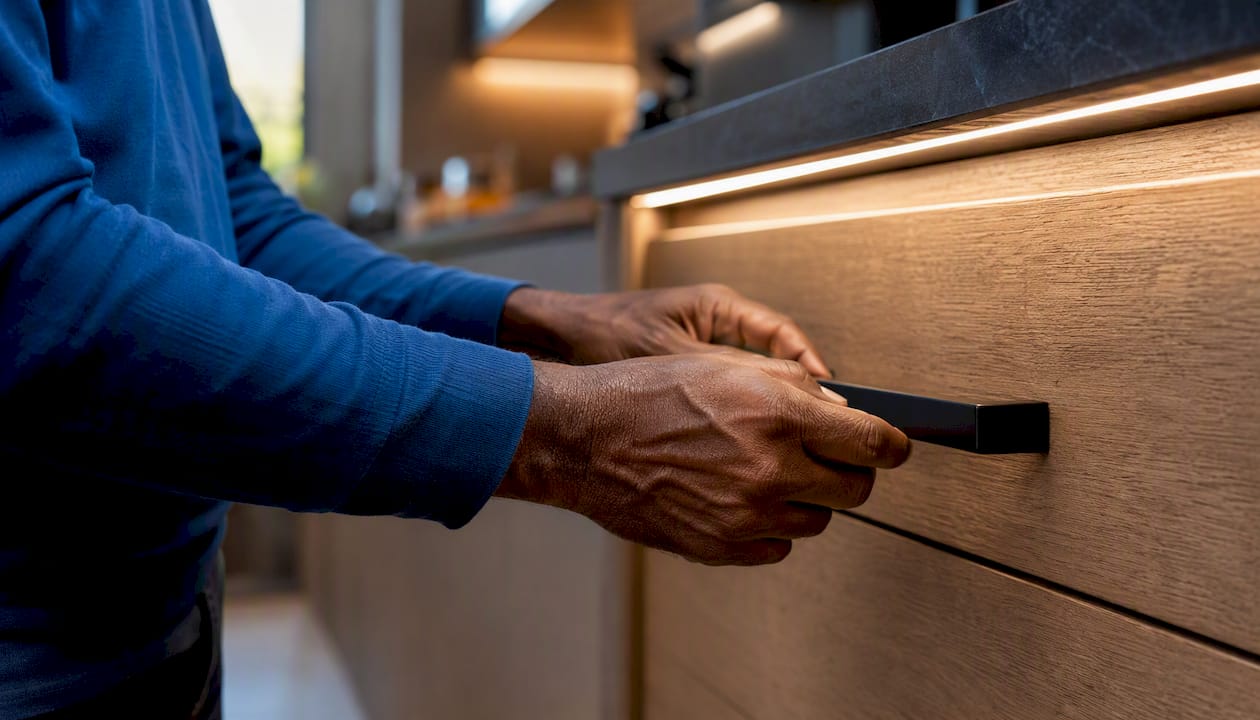
The ergonomic difference is real. A pull gives you a full-hand grip and distributes opening force across your fingers and palm. A knob requires a pinch grip, which works fine on a lightweight upper cabinet door but becomes tiring on a heavy base cabinet or a deep drawer loaded with pots. For households with children, older adults, or anyone with limited hand strength, pulls across the board are the practical call.
That said, knobs have a legitimate place. On upper cabinet doors with light-duty hinges and smaller door sizes, a 1.25"–1.5" diameter knob reads as a clean, proportional accent. The key is keeping the knob diameter in scale with the door: a small knob on a 42" tall pantry door looks lost.
The approved mix is knobs on upper doors and pulls on drawers and base cabinet doors. This combination is common because it balances the decorative quality of knobs (at eye level, where you see them most) with the functional advantage of pulls (at waist and hip level, where you use them hardest). You can explore the full range of knob and handle styles to find combinations that suit your cabinet doors before committing.
One firm rule: keep the finish consistent. Mixing satin nickel knobs with matte black pulls reads as an oversight, not a design choice. If you mix hardware types, match the metal and the visual weight.
How do you size and space drawer pulls correctly?
The starting point is drawer width. Drawers under 24" wide get one centered pull. Drawers between 24" and 36" wide typically use two pulls, placed at the one-third and two-third marks across the face. Drawers over 36" can use one long bar pull centered on the face, or two pulls using the same one-third rule.
Understanding center-to-center (C-C) spacing
Pull length is described two ways: overall length (the full physical length of the pull) and center-to-center (C-C) distance (the distance between the two screw holes). When you order or shop for pulls, C-C is the measurement that determines whether the hardware fits your existing holes. Common C-C sizes are 3", 3.75", 5", 6.25", and 7.5". A pull with a 5" C-C will have an overall length of roughly 6.5"–7", depending on the end caps.
For a 30" drawer, a single pull with a 7.5" C-C (roughly 9" overall) reads as balanced and proportional. For a 36" drawer, two pulls with a 5" C-C each, spaced at the 12" and 24" marks, gives good structural leverage and a clean look.
| Drawer width | Pull strategy |
|---|---|
| Under 24 inches | 1 centered pull |
| Wider drawers | 2 pulls at 1/3 and 2/3 |
| Very wide drawers | 1 long pull or 2 pulls |
On stacked drawer banks, the bottom drawer often looks visually heavy. Raising the pull slightly (about 1/4"–1/2" above true center) on the lowest drawer in a stack corrects this without being noticeable up close.
For installation, follow these steps in order:
- Measure the drawer width and select your pull strategy from the table above.
- Calculate the center point of the drawer face horizontally and vertically.
- For two pulls, divide the drawer width into thirds and mark the one-third and two-third positions.
- Mark both hole positions with a pencil, then cover each mark with painter’s tape.
- Drill a pilot hole first (typically 3/32" for most wood drawer fronts).
- Follow with the finish hole sized to your screw diameter (usually 3/16"–7/32").
- Install the pull from the back of the drawer front where the construction allows, using screws long enough to pass through the drawer front with at least 3/4" of thread engagement.
Check screw length carefully. A standard 3/4" thick drawer front needs a screw that clears the front plus reaches the pull post. Most pulls ship with 1" machine screws; if your drawer front is thicker (some are 7/8" or 1"), you will need longer screws. For more detailed drawer front replacement guidance, including sizing and screw specs, that resource covers the full process.
Where exactly should you place hardware on cabinet doors?
On every door, hardware goes on the side opposite the hinge. That is the non-negotiable starting point. From there, the exact position depends on whether the door is an upper or a base cabinet and what construction style it uses.
- Upper cabinet doors: Place hardware near the bottom corner on the pull side, 2.5–3" from the corner (for slab doors and most doors). On Shaker or inset doors, measure 2"–2.5" from the inside frame edge to keep the hardware within the frame. For base cabinets, place hardware near the top corner on the pull side at the same offset, matching the reference point for each door style.
- Vertical vs. horizontal pulls on doors: Pulls on doors are typically oriented vertically. This aligns with the natural pulling motion and reinforces the vertical lines of the door. Horizontal pulls on doors can work in a modern kitchen but tend to look better on very wide doors where a vertical pull would look undersized.
- Edge clearance: Placing hardware too close to a thin edge can weaken the door over time and feels uncomfortable to grip. The 2.5–3" offset exists partly for this reason. Never place a screw within 1" of the door edge.
How to measure, mark, and drill without errors
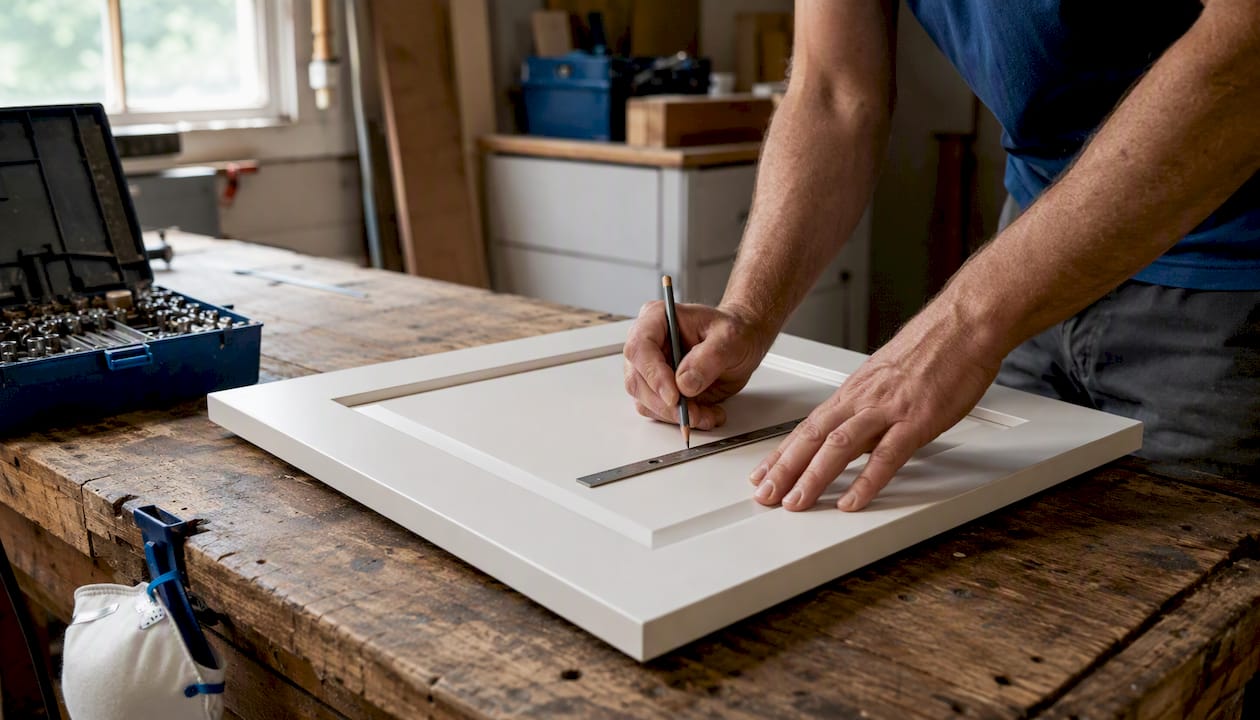
Use a template or jig for every door. Measuring each cabinet individually and drilling freehand produces visible inconsistencies across a run of 20 or 30 doors. A jig eliminates that variable entirely.
Here is the full installation sequence:
- Lay out all doors and drawer fronts on a flat surface or lean them against the wall in order. Label each one with painter’s tape: mark the hinge side and the top before you do anything else.
- Set your template or jig to the chosen offset (2.5"–3" from the corner for doors; centered for drawers). If using a cardboard template, cut it to match the door corner and mark the hole positions precisely.
- Label the template with “HINGE SIDE” and “TOP” in permanent marker. This is the step most DIYers skip, and it is the reason most templates get flipped.
- Transfer the centerlines to each door using the template. Mark with a pencil, then place a small strip of painter’s tape over each mark.
- Clamp the jig (or hold the template firmly) and mark through the tape.
- Drill pilot holes at 3/32" to establish position and prevent splitting.
- Finish the holes at the diameter matching your screw size (typically 3/16"–7/32"). Drill from the front face with a backing board clamped behind the door to prevent blowout, or drill halfway through from the front and finish from the back.
- Install hardware with the screw inserted from the back of the door where possible. Tighten snugly but not so hard that you compress the wood.
Pro Tip: When drilling MDF or thermofoil doors, go slow on the finish hole. High RPM on smooth surfaces causes the bit to wander and can chip the face. A sharp brad-point bit at low speed gives a clean entry.
For detailed drill bit sizes and screw length recommendations by door thickness, Tdm-thedoormaker’s hardware hole drilling guide covers the specifics for common cabinet materials including MDF, plywood, and solid wood.
Does pull length need to match the door or drawer size?
Yes, and the 1/3 rule is the most reliable starting point: pull length should equal roughly one-third of the drawer width or, when used vertically on a door, one-third of the door height. For a more modern look, you can push toward one-half, which gives a bolder, more architectural feel.
Knob sizing follows a simpler logic. A 1.25" diameter knob suits most standard upper cabinet doors. Go up to 1.5" on larger doors (over 18" wide) and down to 1" on small spice-rack or decorative doors. A knob that is too large on a small door looks clunky; one that is too small on a tall door disappears.
| Door/drawer size | Suggested pull length | Knob diameter |
|---|---|---|
| Drawer under 18" | 3"–4" (C-C) | N/A |
| Drawer 18"–30" | 4"–6" (C-C) | N/A |
| Drawer 30"–36" | 6"–8" (C-C) | N/A |
| Upper door (standard) | 3"–5" vertical pull | 1.25"–1.5" |
| Base door (standard) | 4"–6" vertical pull | 1.25"–1.5" |
| Tall pantry door | 6"–8" vertical pull | 1.5" |
A quick visual check: stand at the far end of the kitchen and look at the hardware. If a pull disappears into the door visually, it is too short. If it dominates the door face, it is too long. The 1/3 rule gets you close; your eye confirms it.
On stacked drawer banks, the lowest drawer in the stack often benefits from a slightly longer pull than the drawers above it. The visual weight of a deep base drawer calls for a pull that matches it.
What about corner cabinets, appliance panels, and other tricky spots?
Standard placement rules cover most cabinets, but several common situations call for adjustments.
- Diagonal corner doors: Center the hardware on the door face rather than using a corner offset. The angled geometry makes a corner measurement awkward and often puts hardware too close to the hinge.
- Appliance panels: Align hardware height with the adjacent cabinet doors. The goal is a continuous horizontal line across the run, so the panel reads as part of the kitchen rather than an interruption.
- Toe-kick drawers: Use small finger pulls or recessed cup pulls. Standard bar pulls are too large for the shallow face and can interfere with foot clearance.
- False fronts and dummy panels: Install dummy hardware at the same position as the real hardware on adjacent doors. Consistency across the run matters more than whether the hardware is functional.
- Inset doors: Measure from the inside edge of the frame, and use a slightly tighter offset (2"–2.5") to keep hardware within the inset panel area. On Shaker-style inset doors, align on the rail or stile edge rather than centering on the panel itself.
- ADA and accessibility: Pulls are strongly preferred over knobs for accessible kitchens. Lower upper cabinet hardware by 1"–2" if the primary user has limited reach. Longer pulls (6"+ C-C) give better leverage for users with limited grip strength.
- Misaligned existing holes: If new hardware does not match old hole spacing, fill the old holes with a wood filler rated for painted surfaces, sand flush, spot-prime, and refinish before drilling new positions. Trying to bridge mismatched holes with a longer pull works only when the C-C difference is small (under 1/2") and the pull design hides the old hole.
Which hardware finishes are working well right now?
The current direction in kitchen hardware favors clean silhouettes and consistent finishes across the full kitchen. Mixing knob and pull types is common and accepted; mixing three or four different metal tones is not.
- Matte black reads as high contrast against white, light gray, or natural wood cabinets. It shows fingerprints less than polished finishes and suits both modern and transitional kitchens.
- Satin nickel is the most versatile finish in the market. It coordinates with stainless appliances, chrome plumbing, and brushed aluminum without clashing, making it a reliable default for kitchens with mixed metal tones.
- Warm brass and unlacquered brass suit traditional and transitional kitchens, particularly those with warm wood tones, cream cabinets, or earthy color palettes. Unlacquered brass develops a patina over time, which some homeowners prefer and others find high-maintenance.
- Brushed gold sits between satin nickel and warm brass in temperature. It works well in kitchens where the lighting is warm and the cabinet color is in the greige or off-white range.
Limit yourself to two metal tones in the kitchen. The practical rule is to match hardware finish temperature to your plumbing fixtures and light fixtures. If your faucet is matte black, matte black hardware reads as intentional. If your faucet is brushed nickel and your hardware is warm brass, the mismatch is visible every day.
For silhouette, simple cylindrical or bar pulls suit modern and transitional kitchens. More detailed shapes (cup pulls, bin pulls, decorative backplates) belong in traditional rooms where the ornament is part of the design language. For a broader look at how current finish trends connect to cabinet color choices, that resource covers the 2026 direction in detail. You can also find guidance on choosing interior door finishes that coordinate with your cabinet hardware for a cohesive whole-room look.
Your printable measurement cheat-sheet and installer checklist
The table below covers the go-to measurements for the most common cabinet configurations. Print it, fold it, and keep it in your tool bag.
| Measurement / spec | Standard value | Notes |
|---|---|---|
| Upper door offset | 2.5"–3" from bottom corner (slab/most doors); 2"–2.5" from inside frame edge (Shaker/inset) | Measure from inside stile edge on framed doors |
| Base door offset | 2.5"–3" from top corner (slab/most doors); 2"–2.5" from inside frame edge (Shaker/inset) | Same reference point as uppers |
| Shaker/inset door offset | 2"–2.5" from inside frame edge | Do not measure from outer door edge |
| Single drawer pull | Centered on face | For drawers under 24" wide |
| Double drawer pulls | At 1/3 and 2/3 of width | For drawers 24"–36" wide |
| Pilot hole size | 3/32" | For most wood and MDF fronts |
| Finish hole size | 3/16"–7/32" | Match to screw diameter |
| Screw length (3/4" front) | 1" machine screw | Standard pull post depth |
| Screw length (7/8"–1" front) | 1.25"–1.5" machine screw | Verify pull post depth first |
Installer checklist (one page, job-site ready):
- Label every door and drawer front before moving them (hinge side, top).
- Set template or jig to chosen offset; label template with “HINGE SIDE” and “TOP.”
- Apply painter’s tape over each pencil mark before drilling.
- Drill pilot holes at 3/32" first; finish holes at 3/16"–7/32".
- Use a backing board or drill halfway from front and finish from back to prevent blowout.
- Check screw length against door thickness before installing.
- Install hardware from the back of the door where construction allows.
- Step back and sight down the full run before final tightening.
Tdm-thedoormaker’s hardware hole drilling guide goes deeper on drill bit selection and screw specs for specific cabinet materials, including MDF and thermofoil doors where technique matters most.
Key Takeaways
Consistent kitchen hardware placement comes down to three measurements: 2.5–3" from the corner on slab/most doors (2"–2.5" from inside frame edge for Shaker/inset doors), centered on drawer faces, and pull length at roughly one-third of the drawer width.
| Point | Details |
|---|---|
| Standard door offset | Place knobs or pulls 2.5–3" from the corner on slab/most doors or 2"–2.5" from inside frame edge on Shaker/inset doors, on the side opposite the hinge. |
| Drawer pull rule | Center one pull on drawers under 24"; use two pulls at 1/3 and 2/3 for drawers 24"–36" wide. |
| Use a jig or template | Label it with hinge side and top to prevent flipping; repeat for every door in the run. |
| Match finish, not type | Mixing knobs and pulls is fine; mixing metal finishes or placement logic is not. |
| Tdm-thedoormaker resource | The hardware hole drilling guide covers drill sizes, screw lengths, and material-specific technique for DIY installs. |
The case for measuring twice and drilling once
There is a version of this project that goes wrong in the first ten minutes: someone measures from the outer edge of the door instead of the inside stile, drills without a template, and ends up with 24 cabinet doors where the hardware walks half an inch across the run. It is not a dramatic error. It is just visible enough to bother you every morning.
The placement rules in this guide are not arbitrary. The 2.5–3" offset exists because it keeps hardware away from thin edges that can split under repeated stress, while still landing where your hand naturally reaches. The 1/3 rule for pull length exists because a pull that is too short on a wide drawer looks like an afterthought. These are installer-tested proportions that hold up across traditional, transitional, and modern kitchens.
What most guides understate is how much the template step matters. Not because measuring is hard, but because doing it 30 times in a row without a reference point introduces drift. A jig or a labeled cardboard template is not a professional shortcut; it is the difference between a kitchen that looks custom and one that looks close.
The other thing worth saying plainly: if you are going through the effort of placing and installing new hardware, it is worth looking at whether the doors themselves are worth keeping. Hardware can refresh a kitchen significantly, but if the doors are worn, damaged, or simply the wrong style, new hardware on old fronts is a partial fix. That is a decision worth making deliberately, not by default.
New doors make hardware placement worth the effort
If you are already measuring and drilling for new hardware, you are most of the way to a kitchen that looks genuinely updated. The next step some homeowners take at this point is replacing the cabinet fronts themselves, which turns a hardware refresh into a full visual transformation without touching the cabinet boxes.

Tdm-thedoormaker makes that step straightforward. Custom cabinet doors and drawer fronts are available in over 30 styles and 130+ colors and finishes, sized to 1/10,000" precision so they fit your existing boxes exactly. The ordering process runs through a three-step online configurator: measure, design, and order. You can add pre-drilled hardware holes at checkout, which means your new doors arrive ready for the exact placement specs you have already worked out. Order a sample door first to confirm color and finish before committing to the full order, or go straight to the DIY cabinet refacing guide to see how the full process works from measurement to install.
Useful sources
These are the resources worth bookmarking for measurements, templates, and installation technique:
- Where to put knobs and handles on kitchen cabinets — The Spruce: Practical placement guidance with structural and ergonomic context.