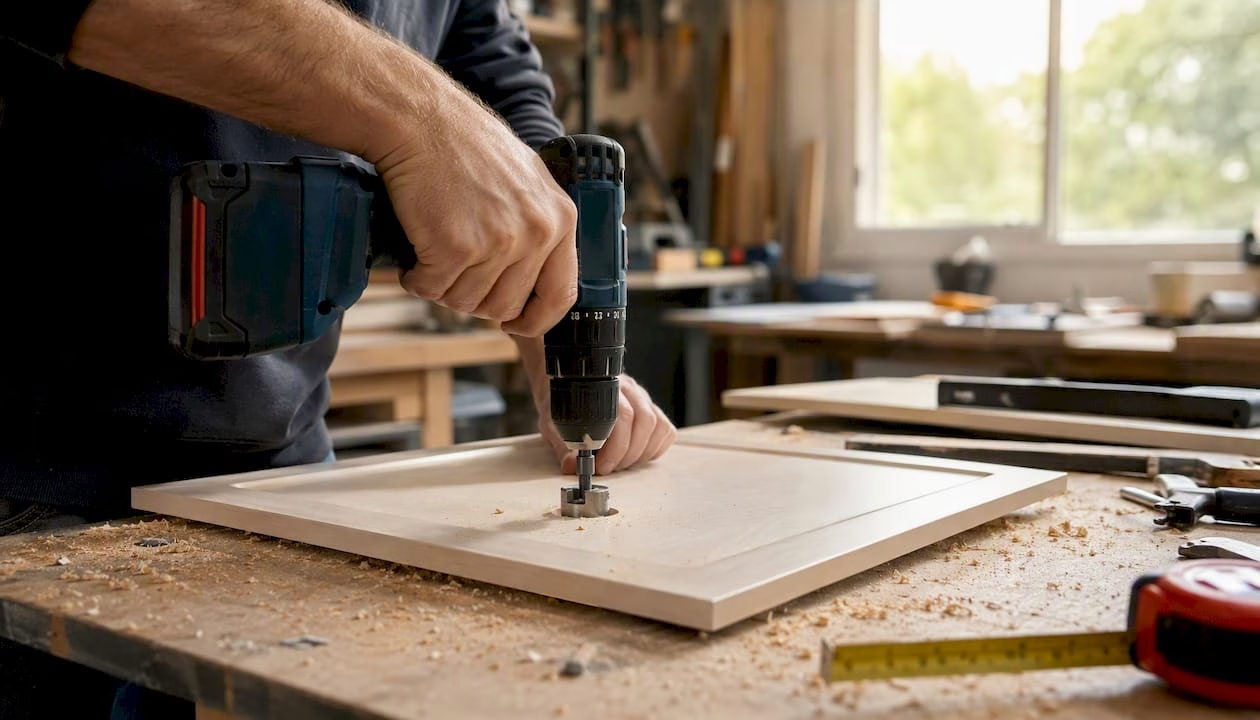
For concealed (Euro) hinges, drill a 35 mm cup at the specified setback (commonly 3 mm or 5 mm) and follow your hinge’s drilling-pattern schematic, then use a jig to hit depth and spacing precisely. That single sentence solves most of what sends people searching for hinge measurements at 9 p.m. the night before installation.
Here’s what you need before you pick up a drill:
- Cup diameter: 35 mm on virtually every concealed hinge you’ll encounter.
- Cup depth typically varies within a certain range depending on the hinge series and soft-close mechanism.
- Setback (edge of door to cup center) is commonly one of two typical distances, depending on hinge type and overlay.
- Secondary holes vary in size depending on style, typically larger for dowel or press-fit types and smaller for screw-mounted pilot holes.
The single biggest mistake DIYers make isn’t drilling too shallow or too deep. It’s assuming one hinge’s spec applies to another hinge that looks identical.
Pro Tip: Before you touch a drill, pull up the exact spec sheet for the hinge in your hand. A 2 mm difference in cup depth is enough to make a door bind or sit proud of the cabinet frame.
If you’d rather skip the measuring altogether, Tdm-thedoormaker offers hinge hole drilling as an add-on when you order custom doors, which is worth knowing before you commit to a Forstner bit and a Saturday afternoon.
Key Takeaways
Accurate hinge drilling depends on matching the Ø35 mm cup diameter, correct depth, and setback to your specific hinge’s schematic before drilling anything.
| Point | Details |
|---|---|
| Standard cup size | Nearly all concealed hinges use a Ø35 mm cup, but depth (11 to 13 mm) varies by model. |
| Setback drives fit | Overlay and mounting plate height determine whether your setback should be 3 mm or 5 mm. |
| Jigs beat freehand | Manufacturer templates or universal jigs deliver the repeatable accuracy freehand drilling cannot. |
| Small errors are fixable | Dowel plugs, adjustment cams, and re-boring solve most misalignment without replacing the door. |
| Skip the risk entirely | Tdm-thedoormaker’s hinge hole add-on delivers doors pre-drilled to your exact pattern and setback. |
Table of Contents
- What Are the Different Hinge Drilling Patterns?
- Which Bits and Jigs Do You Actually Need?
- How Do You Measure Setback and Hinge Spacing?
- What Is the Step-by-Step Drilling Process?
- Should You Use a Manufacturer Template or a Universal Jig?
- How Do You Fix a Misdrilled Hinge Hole?
- Is It Better to Drill Hinges Yourself or Order Pre-Drilled Doors?
- Order Pre-Drilled Doors and Skip the Guesswork
- Where to Verify Your Exact Hinge Specs
- Frequently Asked Questions
- Sources
What Are the Different Hinge Drilling Patterns?
Concealed hinge manufacturers group their hardware into pattern families, generally labeled A through F. Every pattern in that lineup shares one constant: the Ø35 mm cup. What changes is everything else that surrounds it.
- Patterns A and B typically use simple two-hole or four-hole screw mounting with 3 to 5 mm pilot holes and shallower cup depths.
- Patterns C and D often introduce 8 mm dowel or press-fit holes for tool-free plate attachment, common on factory-built cabinetry.
- Patterns E and F frequently pair deeper cups (up to 13 mm) with wider hole spacing to accommodate heavier soft-close mechanisms.
The variable elements that actually determine whether a hinge fits your existing holes are cup depth, the number and size of secondary holes, and the center-to-center spacing between them. A hinge pattern guide from Hettich shows that pattern families differ in secondary-hole placement and installation method, and that some patterns can be adapted to others only by filling existing holes or re-boring to a new depth.
A quick number worth remembering: Ø35 mm. That single measurement covers the vast majority of concealed hinges sold today. Everything else on the schematic is what separates one manufacturer’s system from another’s, which is exactly why swapping hinge brands mid-project without checking the pattern first causes more headaches than any other step in cabinet refacing.
Which Bits and Jigs Do You Actually Need?
You need surprisingly few tools, but the right ones matter more here than almost anywhere else in cabinetry.
- A Ø35 mm Forstner bit or dedicated hinge-boring bit, ideally with a built-in depth stop set to 11 to 13 mm.
- A 1/8″ (3 mm) pilot bit for screw holes, and an 8 mm bit if your pattern calls for dowel or press-fit holes.
- One of three jig types: a manufacturer template matched to your exact hinge series, a universal concealed-hinge jig for mixed hardware, or a router-based template for high-volume runs.
- A cordless drill with an adjustable clutch, or a drill press if you’re doing more than a handful of doors.
Freehand boring simply cannot deliver the repeat accuracy this job demands. Kreg’s routing jig and similar products exist because consistent depth and setback across multiple doors are nearly impossible to hold by eye.
Pro Tip: Clamp a sacrificial backer board underneath the door before boring. It stops blowout on the back face, which is the single most common rookie mistake with a Ø35 mm bit.
How Do You Measure Setback and Hinge Spacing?
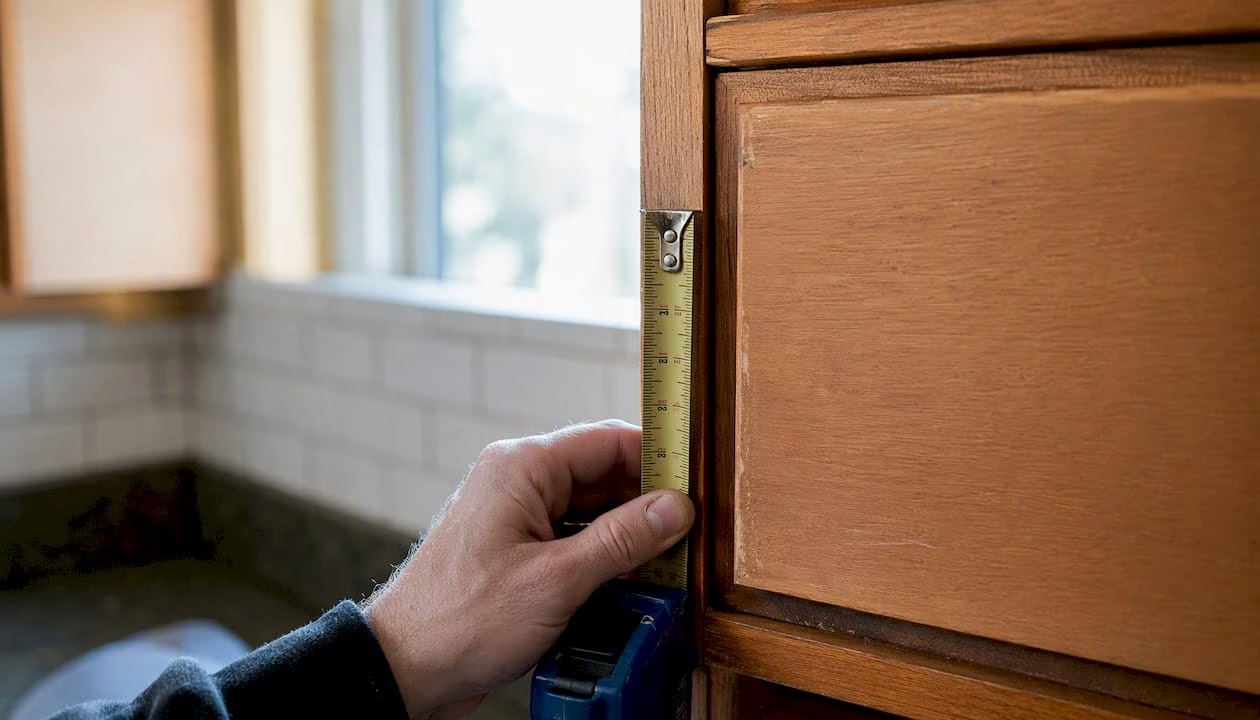
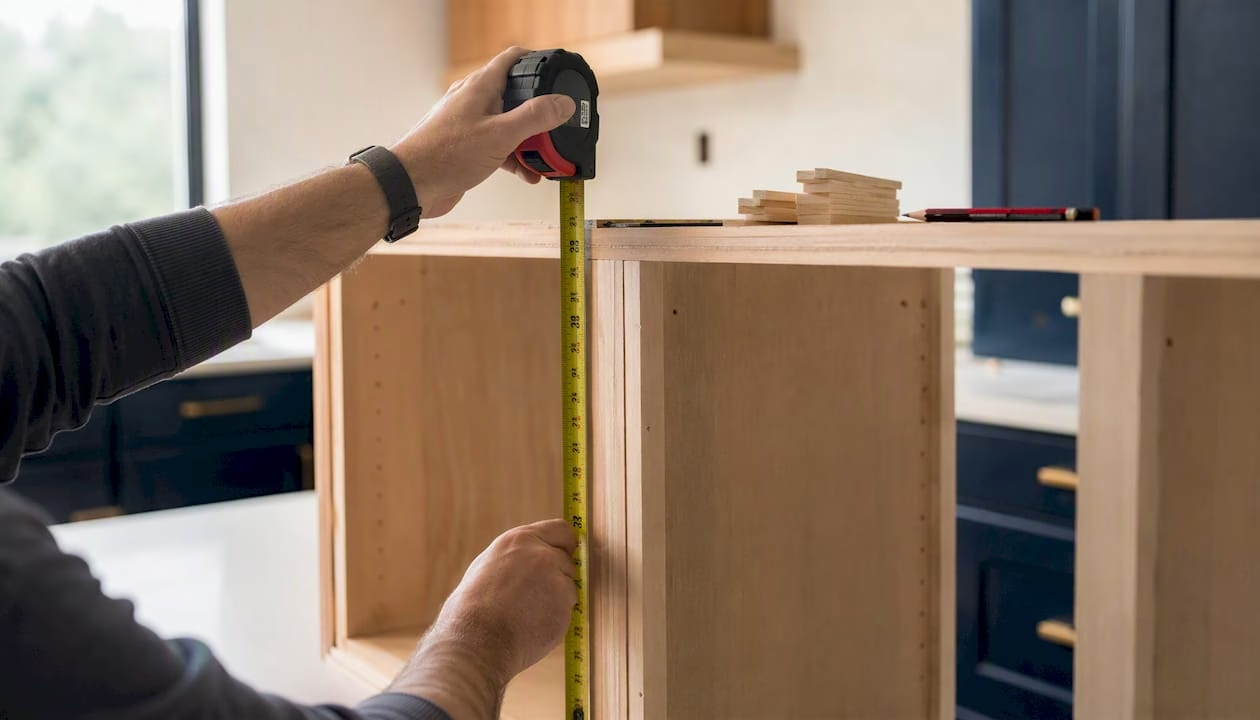
Measuring comes down to four numbers: overlay, setback, vertical cup placement, and how many hinges the door needs.
- Determine your overlay (how far the door covers the cabinet face frame or box side).
- Calculate setback by subtracting the mounting plate’s projection from your target overlay. Full overlay doors commonly land at 3 mm; inset or partial overlay doors often need 5 mm.
- Mark vertical cup centers at roughly 3 inches (75 mm) from the top and bottom edges of the door.
- Add a third hinge on any door taller than 36 to 40 inches to prevent sagging.
A worked example: if your mounting plate has a 0 mm plate height and you want a standard full overlay, a 3 mm setback usually centers the door correctly on the frame. Change the mounting plate and that number shifts, since overlay and mounting-plate height directly determine your final setback.
- Overlay type changes your target setback.
- Mounting plate height changes how far the hinge arm sits from the cup.
- Door height above 36 to 40 inches means a third hinge, non-negotiable for structural support.
Pro Tip: Drill your first cup in a scrap piece the same thickness as your door before committing to the real thing. It costs you two minutes and saves you a $60 mistake if your overlay math is off.
What Is the Step-by-Step Drilling Process?
Once your measurements are marked, the actual drilling sequence is short and repeatable.
- Confirm the hinge’s technical spec sheet one more time. Cup depth and hole diameter should match exactly.
- Select your Ø35 mm bit and set the depth stop according to your hinge’s spec sheet; common depths include certain standard values for CLIP top style hinges, with some variants requiring a deeper cut.
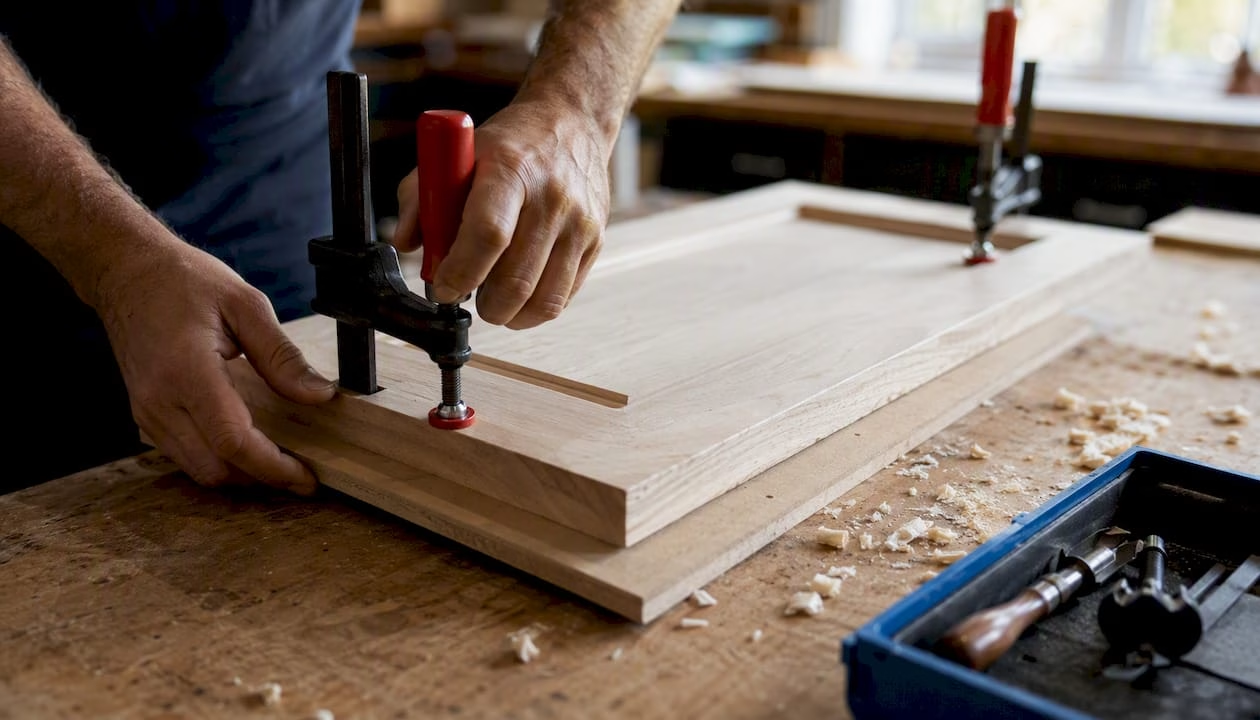
- Clamp the door securely to your bench or drill press table.
- Mark the cup center with a square and a center punch to prevent bit walk.
- Bore the cup at a steady, moderate feed rate, lifting periodically to clear debris and avoid heat buildup.
- Pre-drill screw holes at the recommended pilot diameter, usually 1/8″ (3 mm), at the depth specified on the schematic.
- Insert the hinge cup and test-fit before driving any screws home.
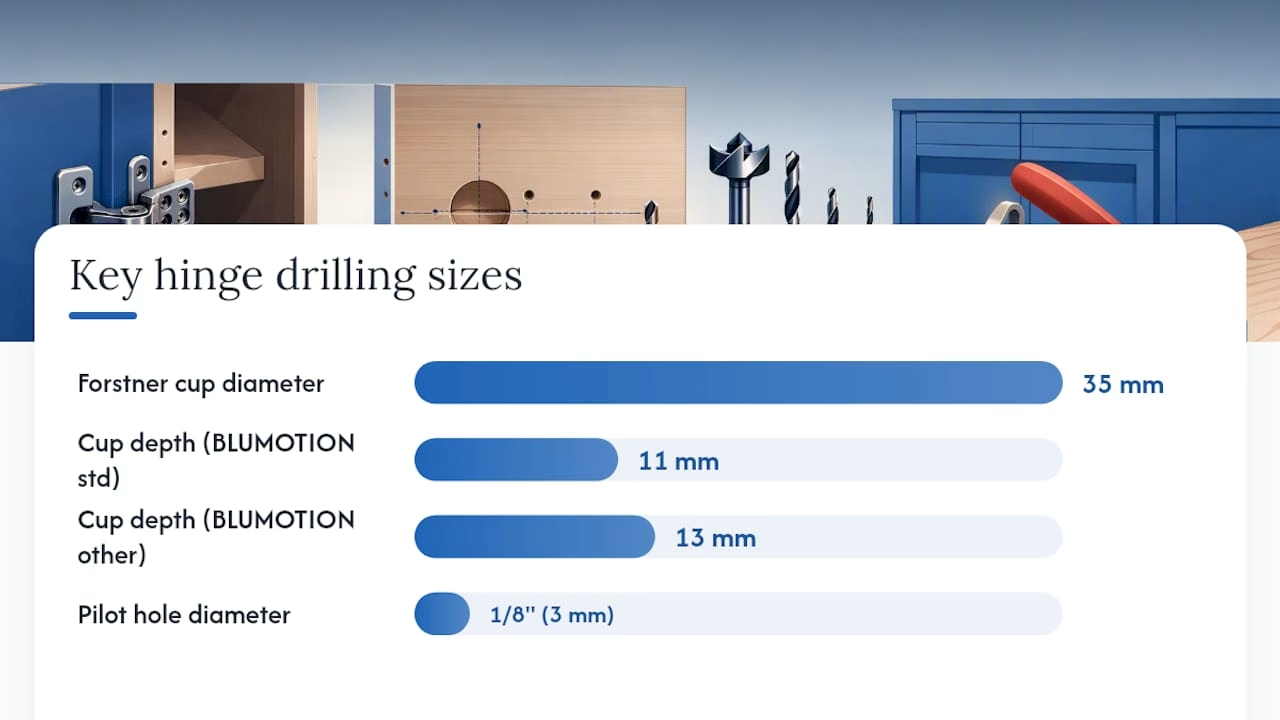
According to Blum’s assembly documentation, an 11 mm cup depth is standard for many CLIP top BLUMOTION variants, though the same manufacturer specifies 13 mm for other hinge configurations in that same product line. That one detail explains why two hinges that look nearly identical on a shelf can require completely different drill settings.
Run your drill at a moderate speed rather than full throttle. A high RPM generates heat that scorches MDF edges and can melt melamine coating around the cup. Wear eye protection and a dust mask, since a 35 mm Forstner bit throws a surprising amount of debris even in a well-ventilated shop.
Should You Use a Manufacturer Template or a Universal Jig?
The right jig depends on volume and how much your hardware varies from door to door.
- Manufacturer templates (like Blum’s boring templates and assembly aids) give you exact-fit accuracy when you’re staying within one hinge series.
- Universal concealed-hinge jigs flex across brands and are the practical choice if your project mixes hardware from different suppliers.
- Router-based templates, such as those built for high-volume shops, suit anyone drilling dozens of doors or working with square-corner hinge styles.
- Retail options like a drilling template for Euro hinges give hobbyists an affordable middle ground between a full manufacturer kit and freehand marking.
Look for positive placement pins and adjustable setback on any jig you buy. If you’re drilling more than a few doors, or working with hardware you’ve never touched before, ordering pre-drilled doors removes the guesswork entirely.
How Do You Fix a Misdrilled Hinge Hole?
Small errors are usually fixable without replacing the door.
- Oversize or off-center cups: glue in a dowel plug, let it cure, sand flush, and re-bore at the correct location.
- Binding or gaps after hanging: most hinges have side, height, and depth adjustment cams that move the door a few millimeters in each direction without redrilling anything.
- Converting press-fit to screw-on: fill the old holes, let them cure fully, then pre-drill fresh pilot holes at the correct diameter.
- Material matters: solid wood takes a plug and glue well, MDF needs a slightly different filler to avoid crumbling at the edge, and coated panels like melamine or thermofoil require careful color matching if the repair will show.
Pro Tip: Try the adjustment cams before you reach for a drill. Most fit issues that look like a bad hole are actually a hinge that just needs a quarter turn on its depth screw.
Is It Better to Drill Hinges Yourself or Order Pre-Drilled Doors?
DIY drilling makes sense for small jobs where you already own a jig and trust your measurements. Large batches, unusual patterns, or delicate veneers tip the scale toward ordering pre-drilled doors instead. A cabinet maker weighing an afternoon of setup time against the risk of one ruined door usually finds the math favors precision over speed.
Order Pre-Drilled Doors and Skip the Guesswork
Tdm-thedoormaker builds hinge holes directly into your custom doors, so the Ø35 mm cup, setback, and secondary holes are cut to spec before the door ever reaches your kitchen. That means no scrap-wood test drilling, no ruined melamine panel from a bit that walked off center, and no afternoon lost to a jig that didn’t fit your hinge brand.
The holes for hinges add-on works through the same online configurator you’d use for the doors themselves. You’ll just need your hinge type, drilling pattern, setback, and overlay on hand when you order, the same numbers this guide walked you through. If you’re still deciding whether refacing or full replacement makes more sense for your project, the refacing versus replacement comparison breaks down the cost and time trade-offs. And if you’d rather compare the full DIY route against a done-for-you finish, the guide on DIY cabinet refacing that looks custom is a useful next stop. For a broader sense of what a project like this costs beyond hardware, Sigma Painting’s cabinet painting cost guide is a solid outside reference. When you’re ready, start your order with pre-drilled hinge holes already specified.
Where to Verify Your Exact Hinge Specs
Always confirm numbers against the source before drilling:
- Blum’s CLIP top BLUMOTION assembly documentation for cup depth and setback specs.
- Hettich’s hinge and plate guide for pattern family differences.
- Print your hinge’s schematic and follow its cup depth and secondary-hole instructions exactly, since substituting a similar-looking hinge’s numbers is the most common cause of a bad fit.
Frequently Asked Questions
What is the standard hinge drilling pattern for cabinet doors?
Most concealed hinges use a Ø35 mm cup with a setback of 3 mm or 5 mm and a cup depth between 11 and 13 mm, though you should always confirm against your specific hinge’s spec sheet.
How deep should I drill a Euro hinge cup?
Depth typically runs 11 to 13 mm depending on the hinge series. CLIP top BLUMOTION hinges commonly specify 11 mm for some variants and 13 mm for others.
Can I use one hinge brand’s drilling pattern for a different brand?
Sometimes, but only with adaptation. Secondary hole spacing and cup depth often differ enough that you’ll need to fill old holes or re-bore to a new depth rather than swap hardware directly.
What size drill bit do I need for hinge holes?
A Ø35 mm Forstner or hinge-boring bit for the cup, plus a 1/8″ (3 mm) pilot bit for screw holes and an 8 mm bit if your pattern uses dowel or press-fit mounting.
Is it better to order pre-drilled cabinet doors instead of drilling myself?
For large batches, uncommon patterns, or delicate finishes like veneer or melamine, ordering pre-drilled doors reduces the risk of a costly mistake compared to freehand or first-time drilling.